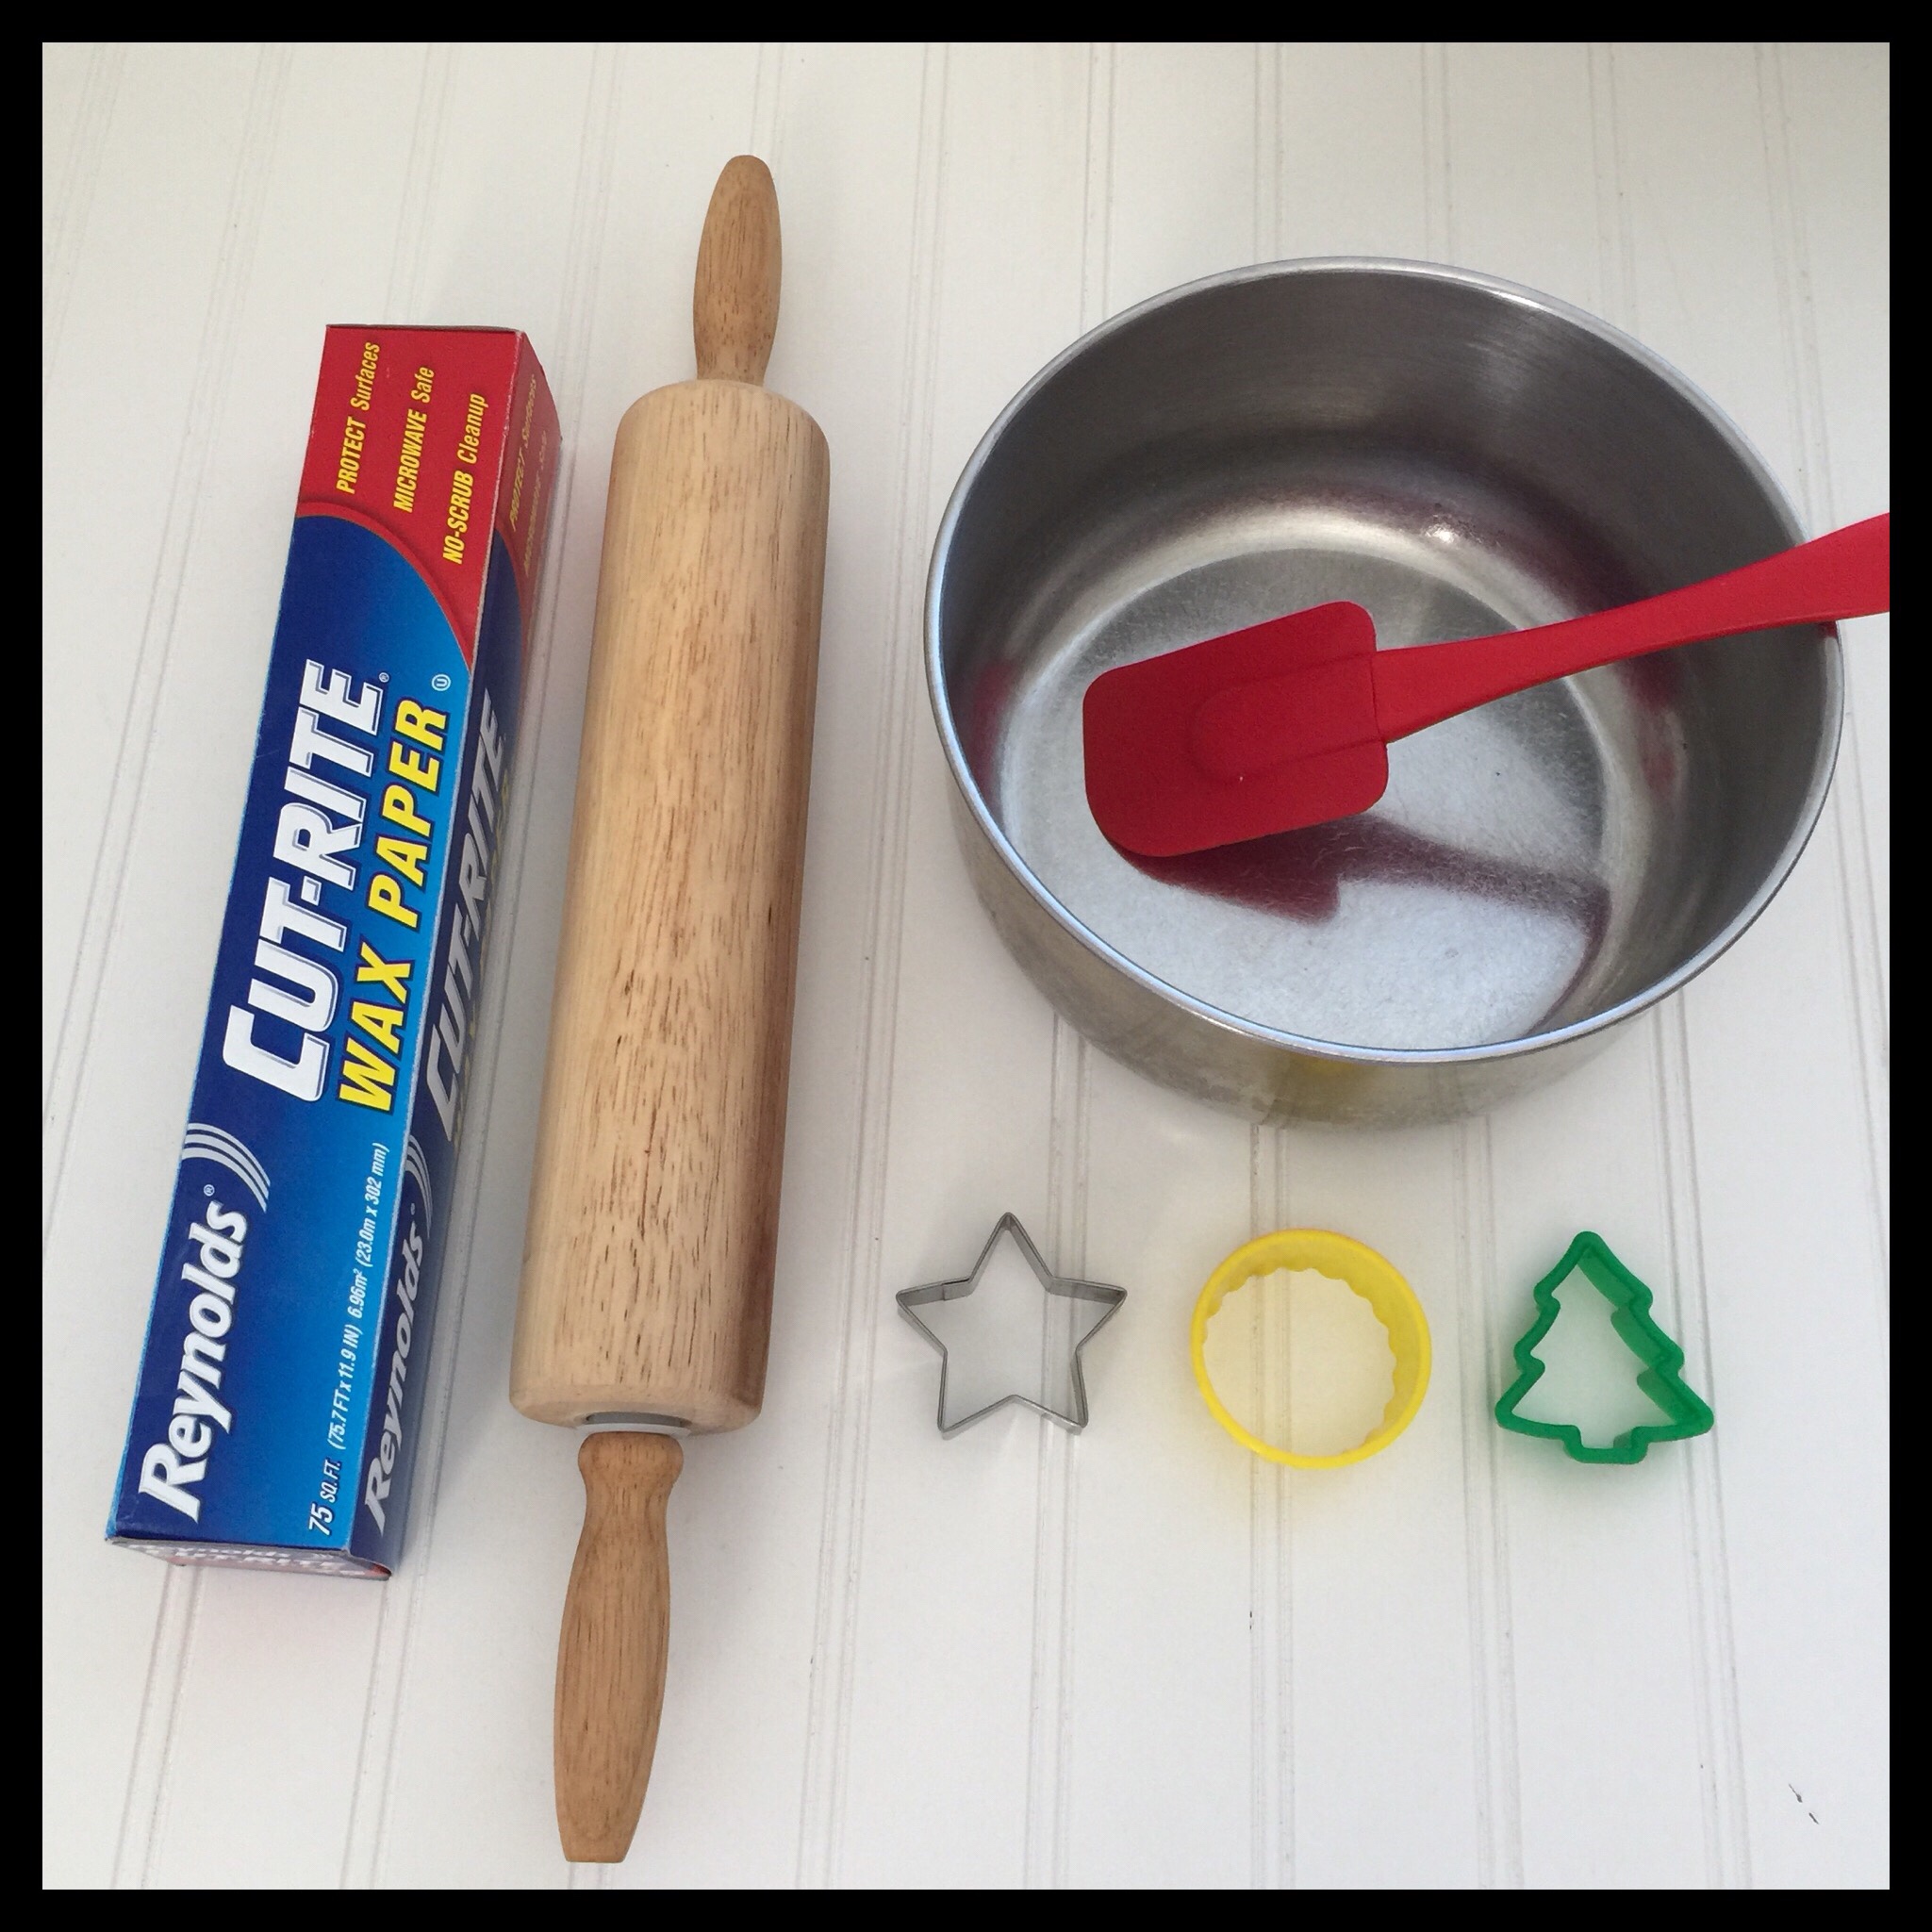
These delicious chocolate covered peppermint candies are fun and easy to make! You can make them into truffles or patties, and can also cut them into festive shapes! This is one of my favorite recipes, and I make it every year! Here are the ingredients and basic equipment you will need to make your own vegan peppermint patties:
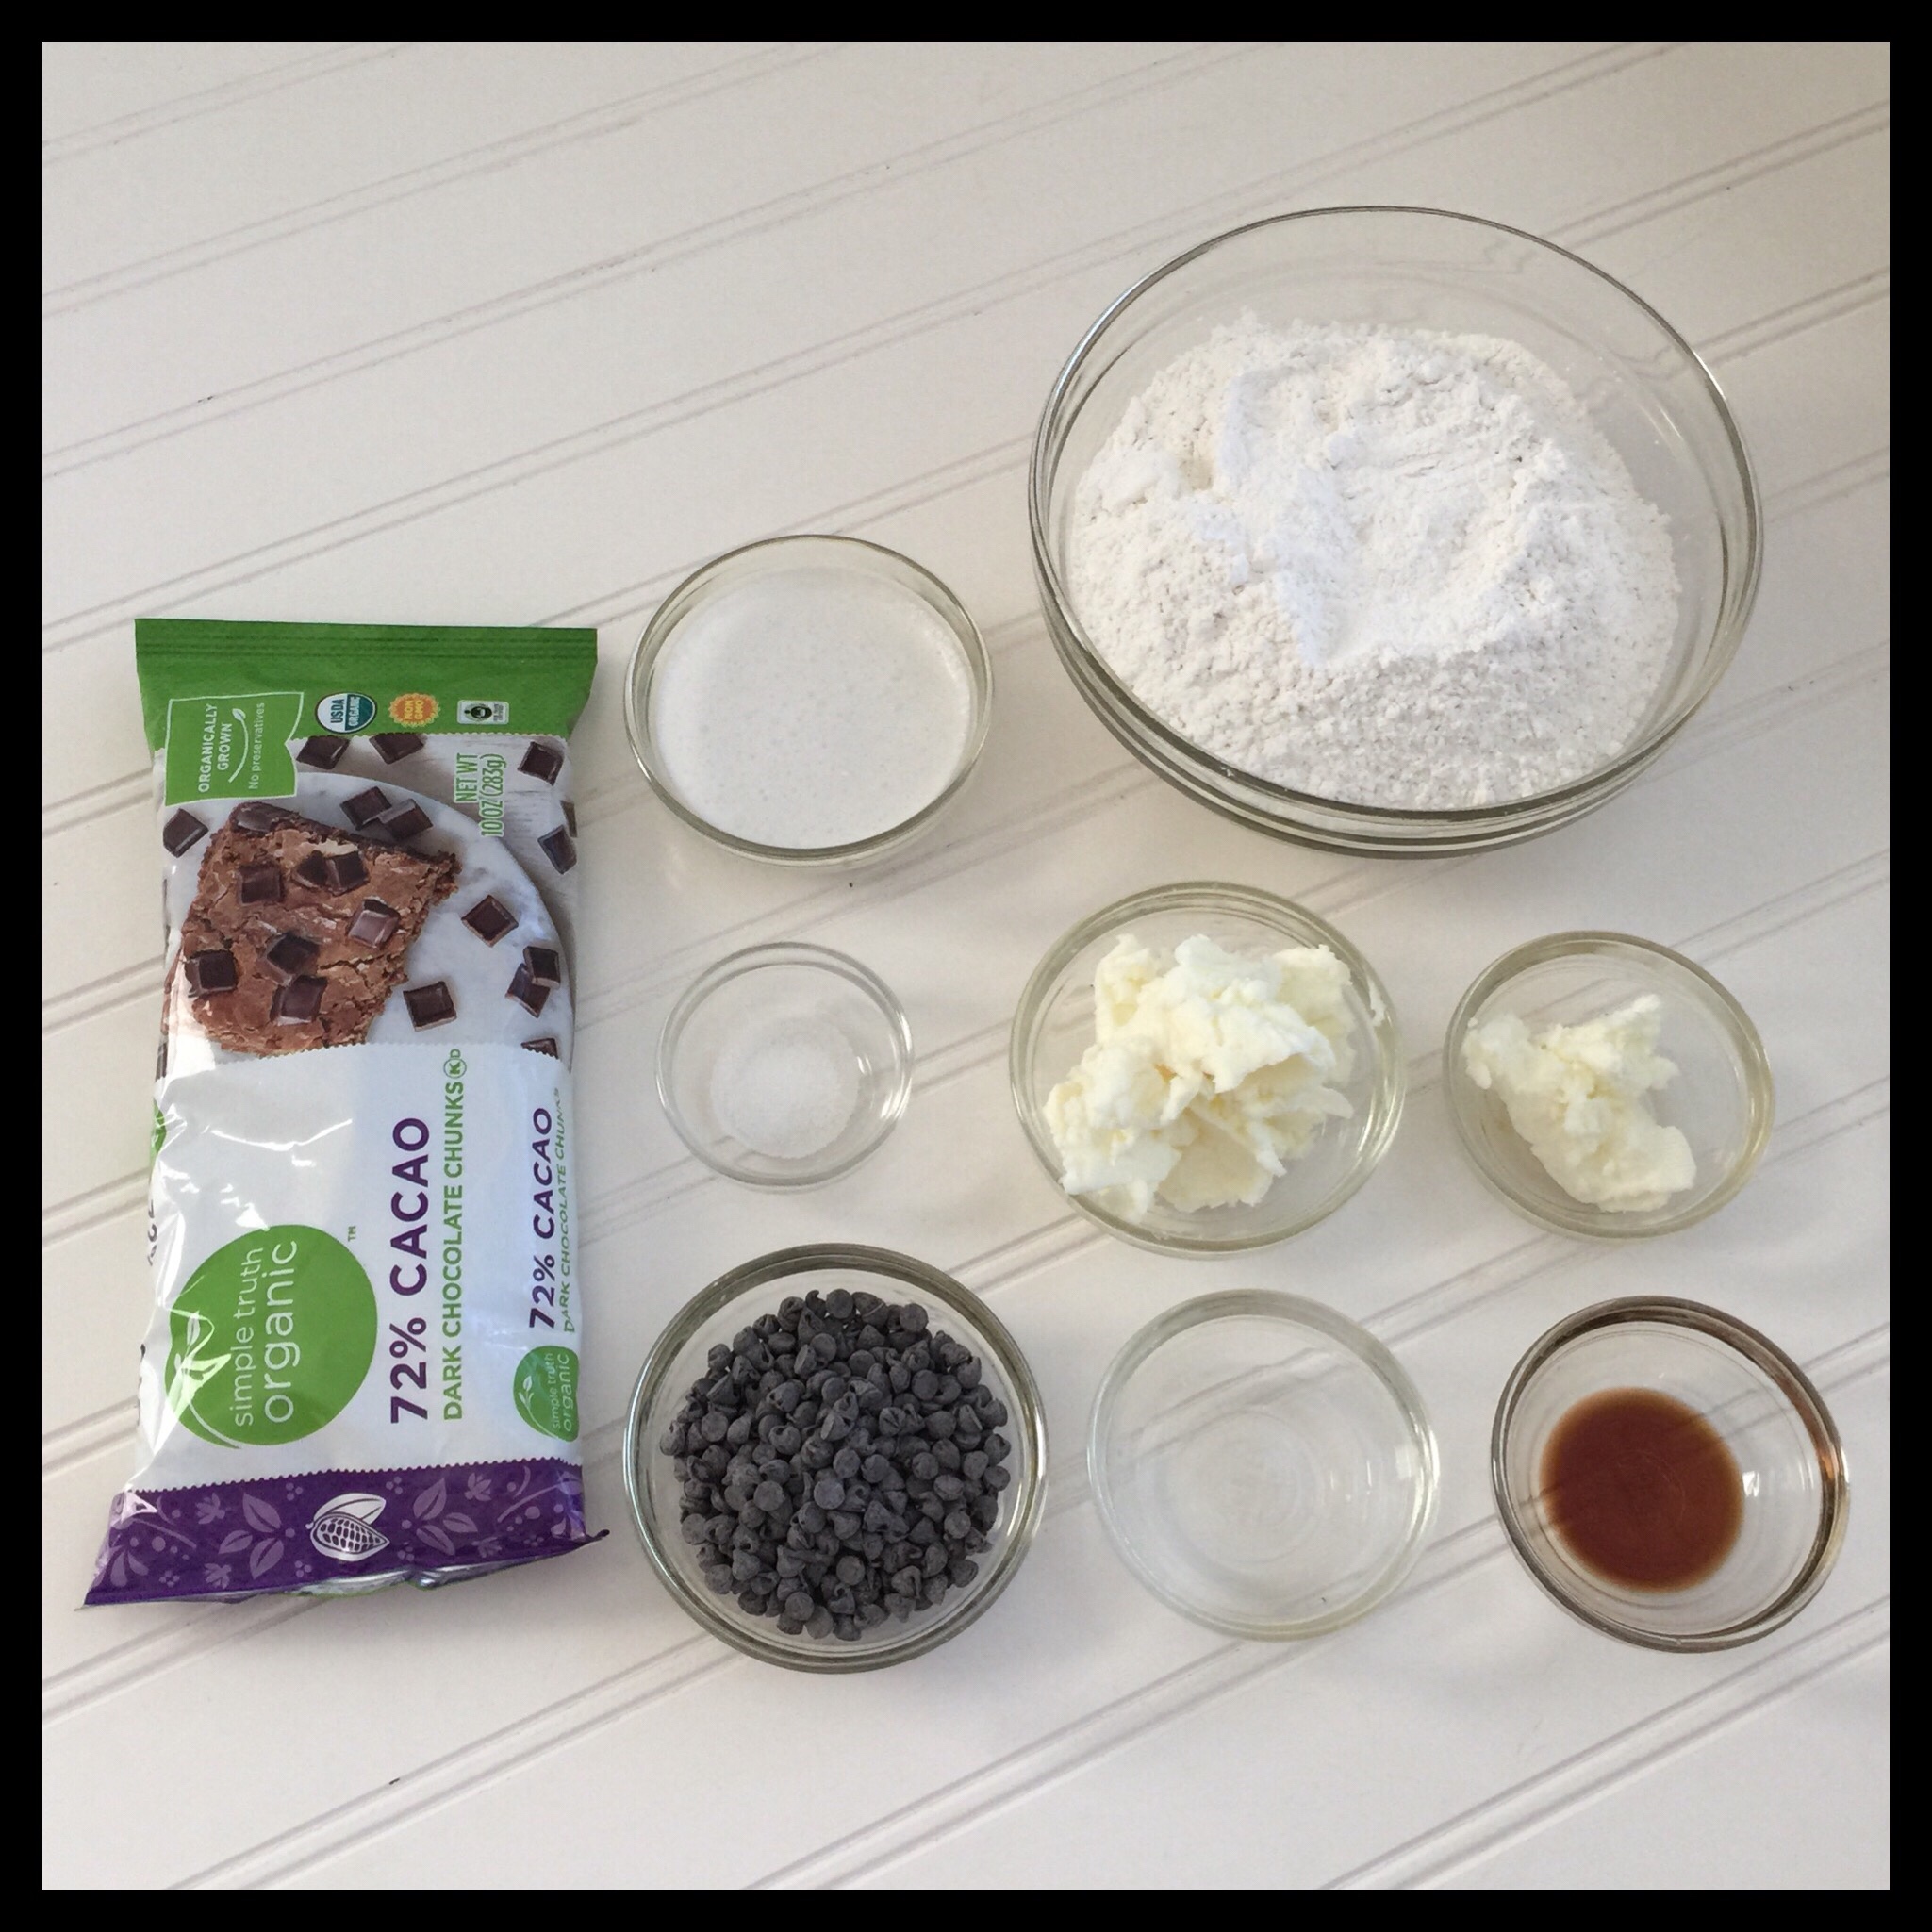
I used my homemade vegan powdered sugar, but you can use store-bought if you prefer. Homemade is much less expensive, and there is no difference in the texture after the candies have been sitting for a day. (The peppermint mixture will be very slightly gritty at first, but then the tiny bits of sugar will dissolve.)
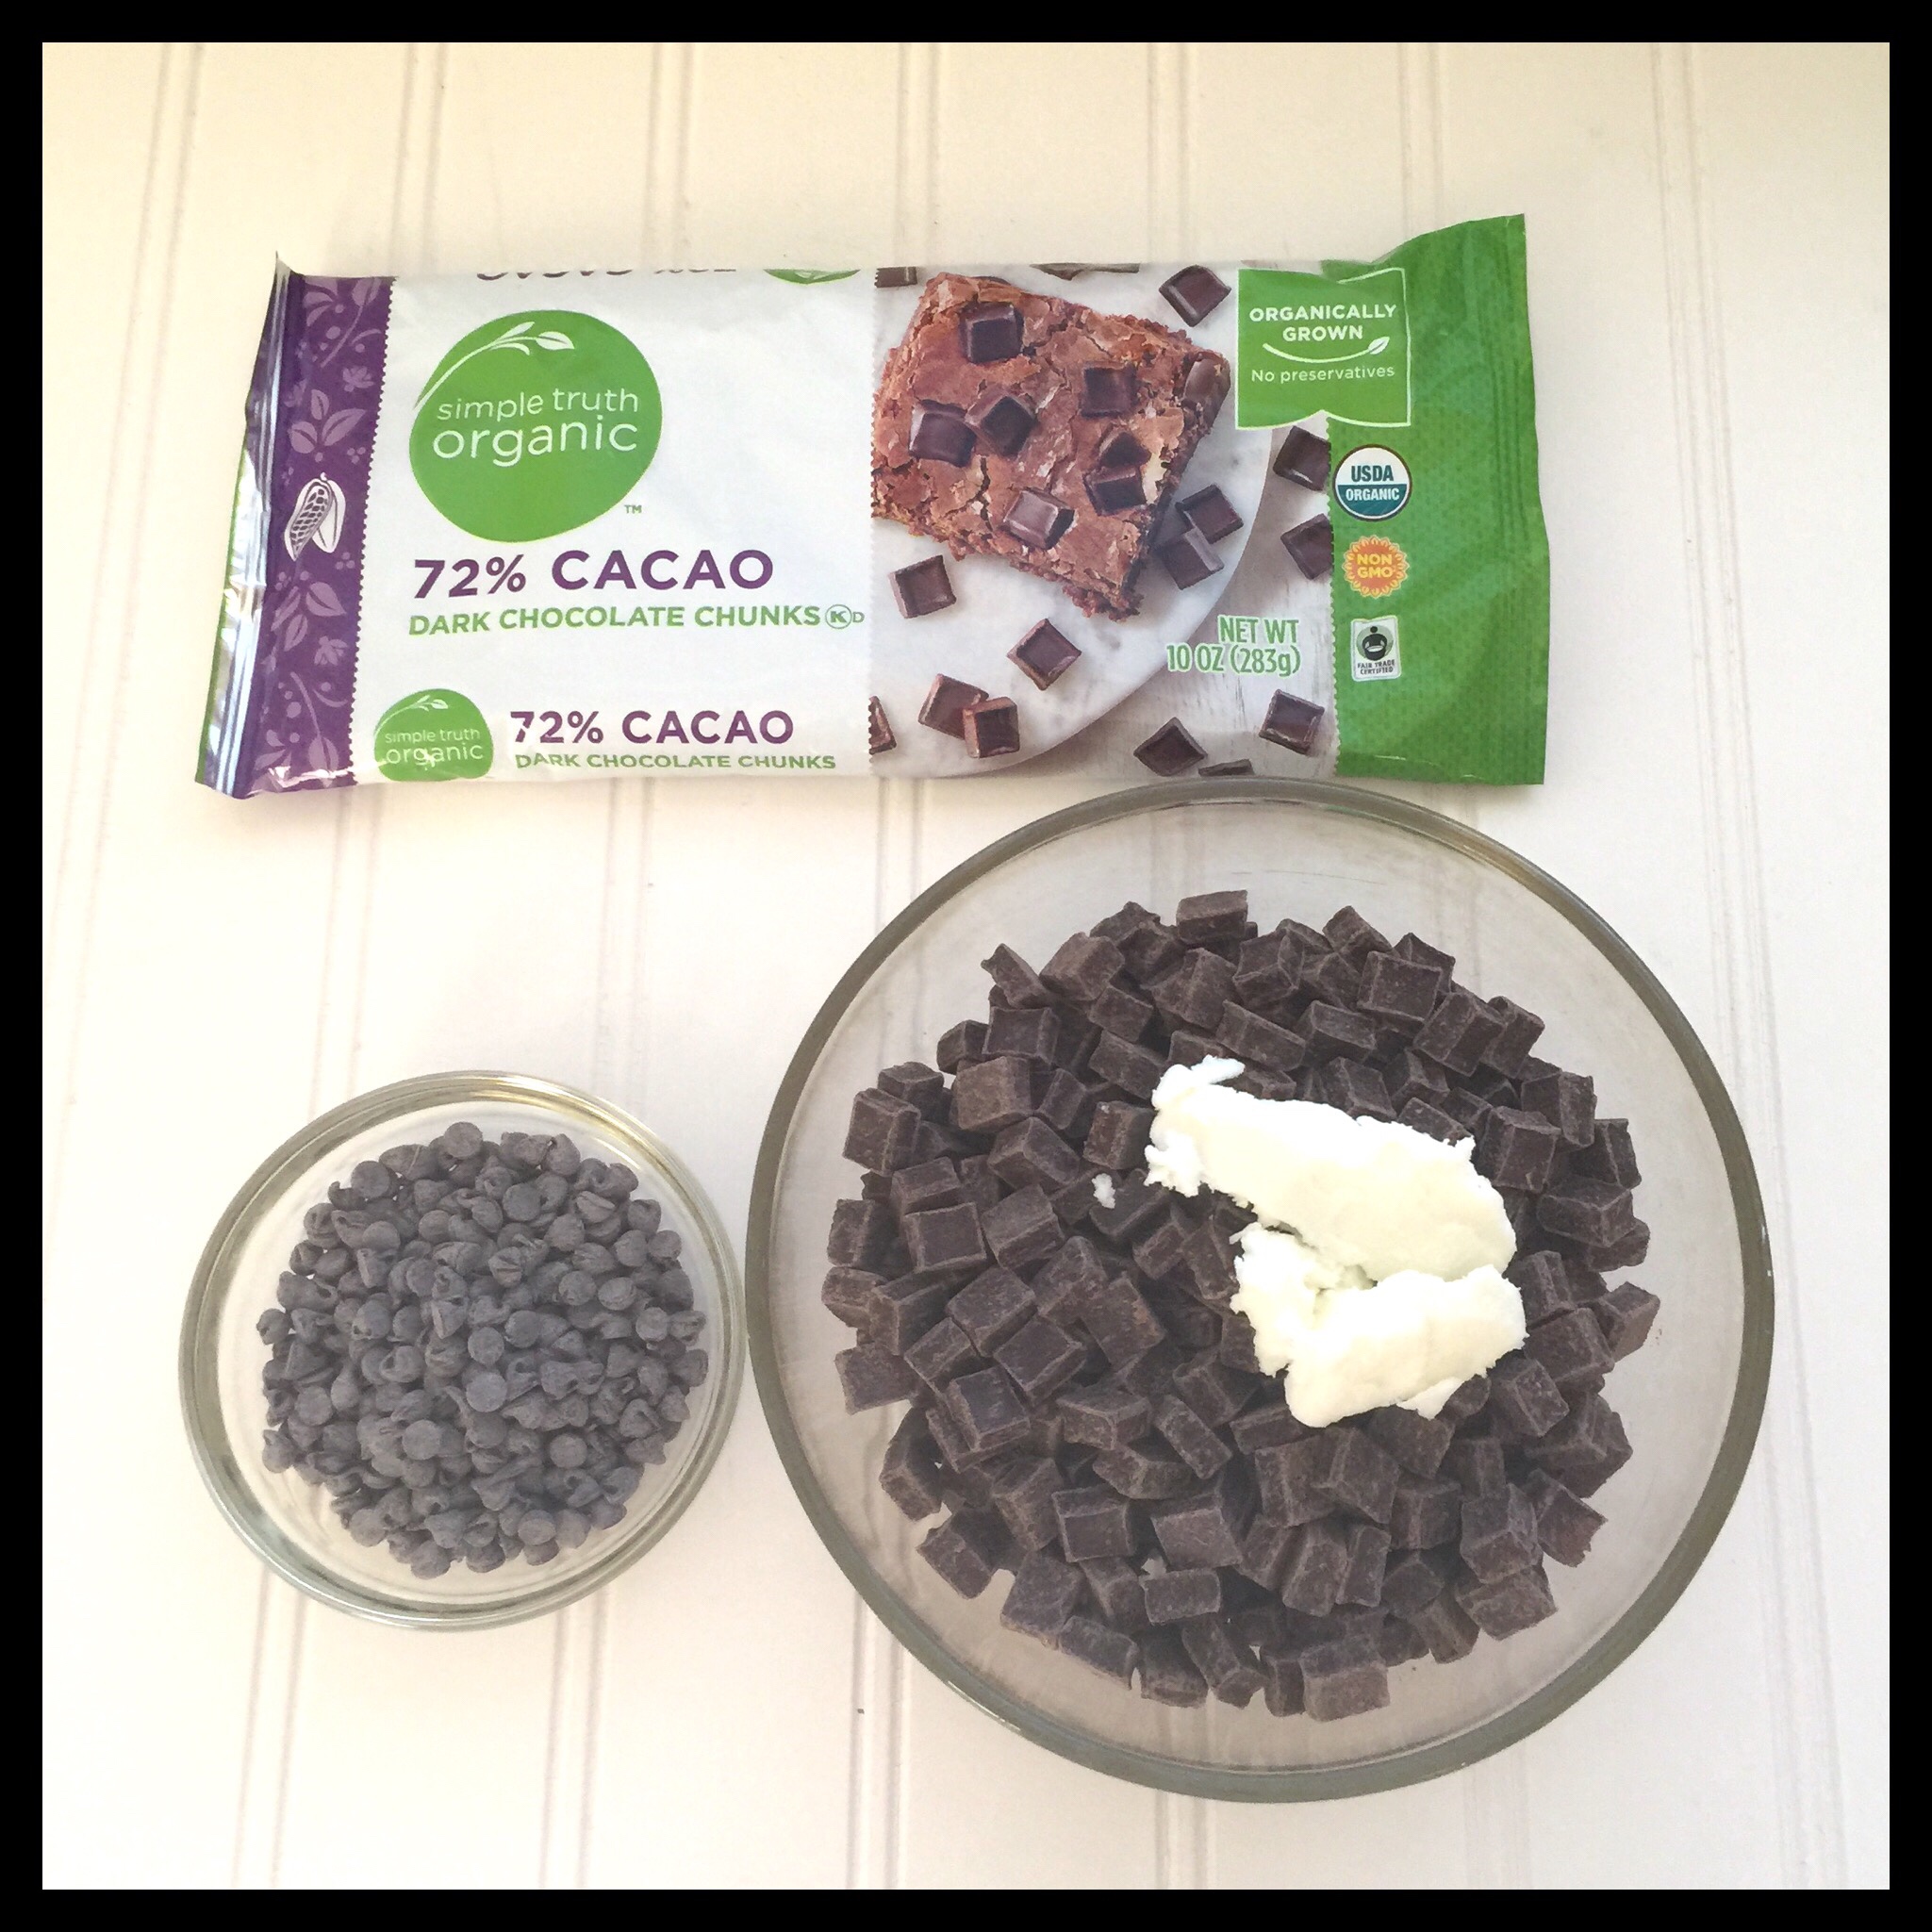
You will also need 12 oz of good quality vegan chocolate chips, and I like to use quite a dark chocolate to cover the mint centers. Ten of the ounces can be any size chip or chunk, and two oz need to be mini chip size. My Kroger sells the chips in the photo above, and many stores will have a similar option. Enjoy Life and Equal Exchange also make vegan dark chocolate chips that are available at Whole Foods and Vitacost. If you use one of these options, you will also need another 2 to 3 oz of chocolate to get to the needed 12 oz. Enjoy Life and Vitacost brand make vegan mini chocolate chips, or you can chop up larger ones. You can also use a 12 oz bag of Trader Joe’s semi-sweet chocolate chips, and chop up 2 oz to use for tempering. They are my favorite vegan chocolate chips for most purposes, but are not quite dark enough for these candies in my opinion. (They are the best price, though, at only $1.99 for 12 oz.) I have detailed directions for how to temper chocolate successfully in this post.
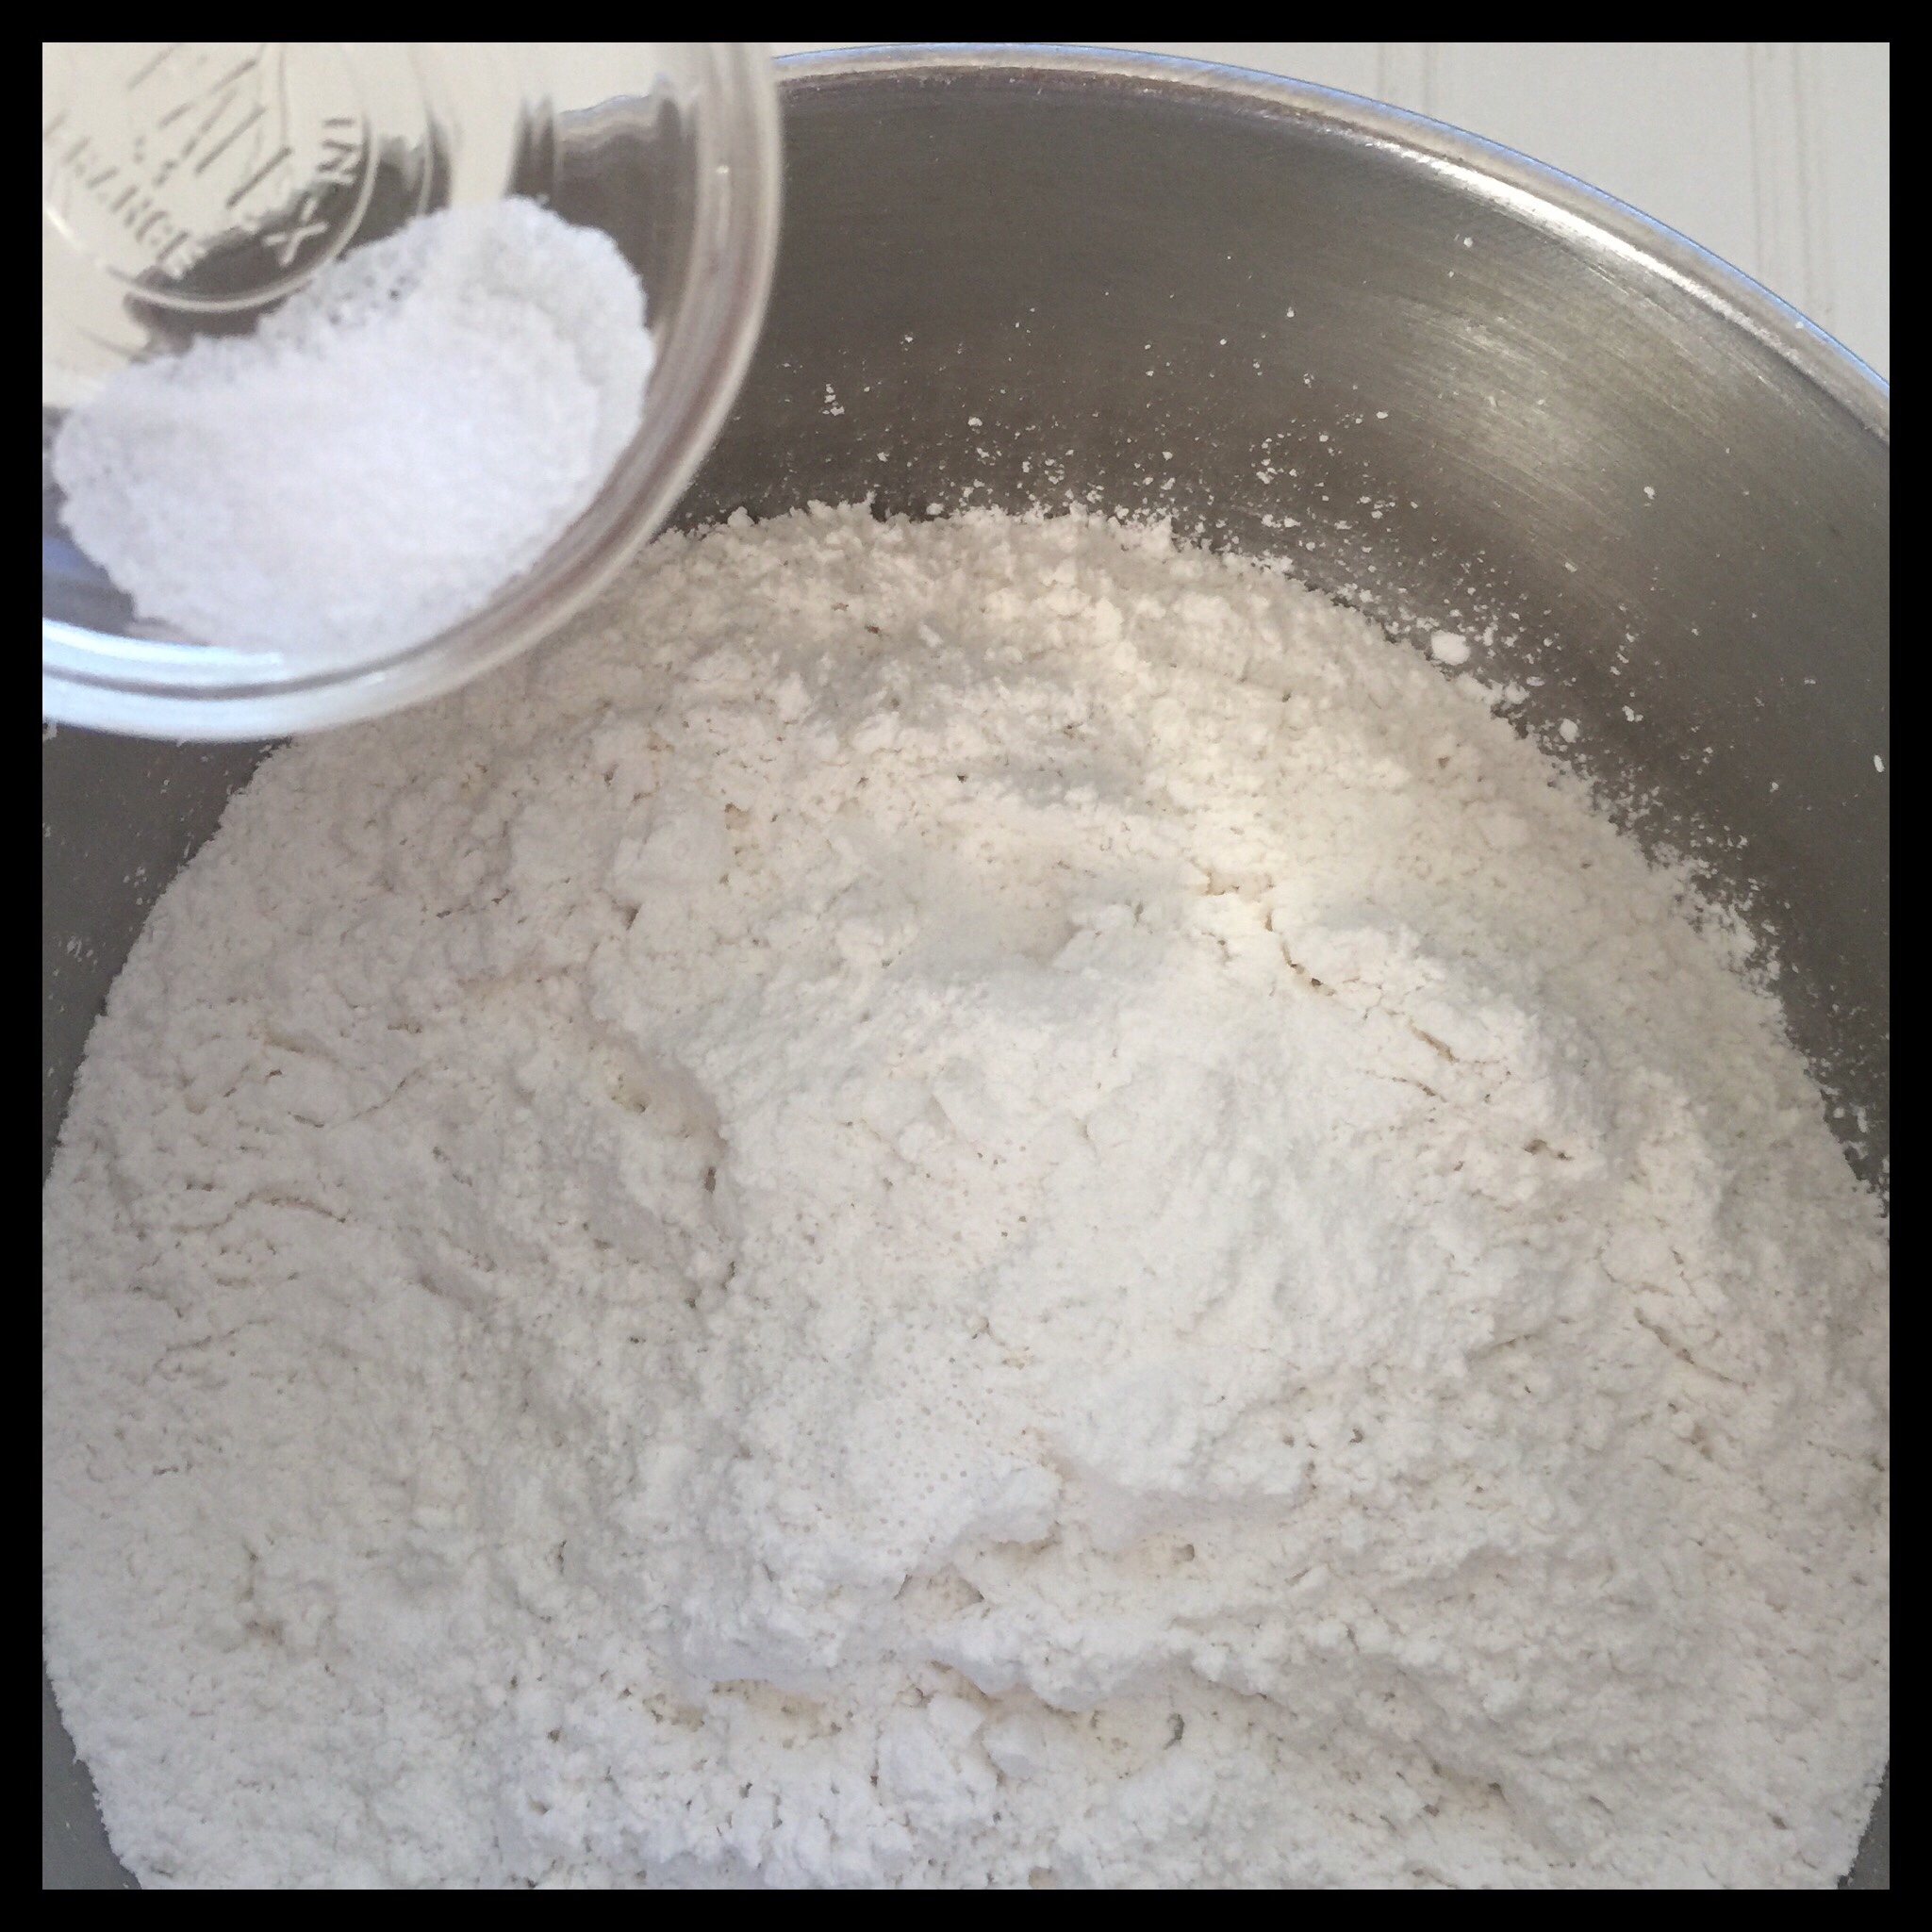
Add the salt to 420 g of the powdered sugar and mix them together. (420 g equals 3 cups of homemade or 3 1/2 cups of store-bought.)
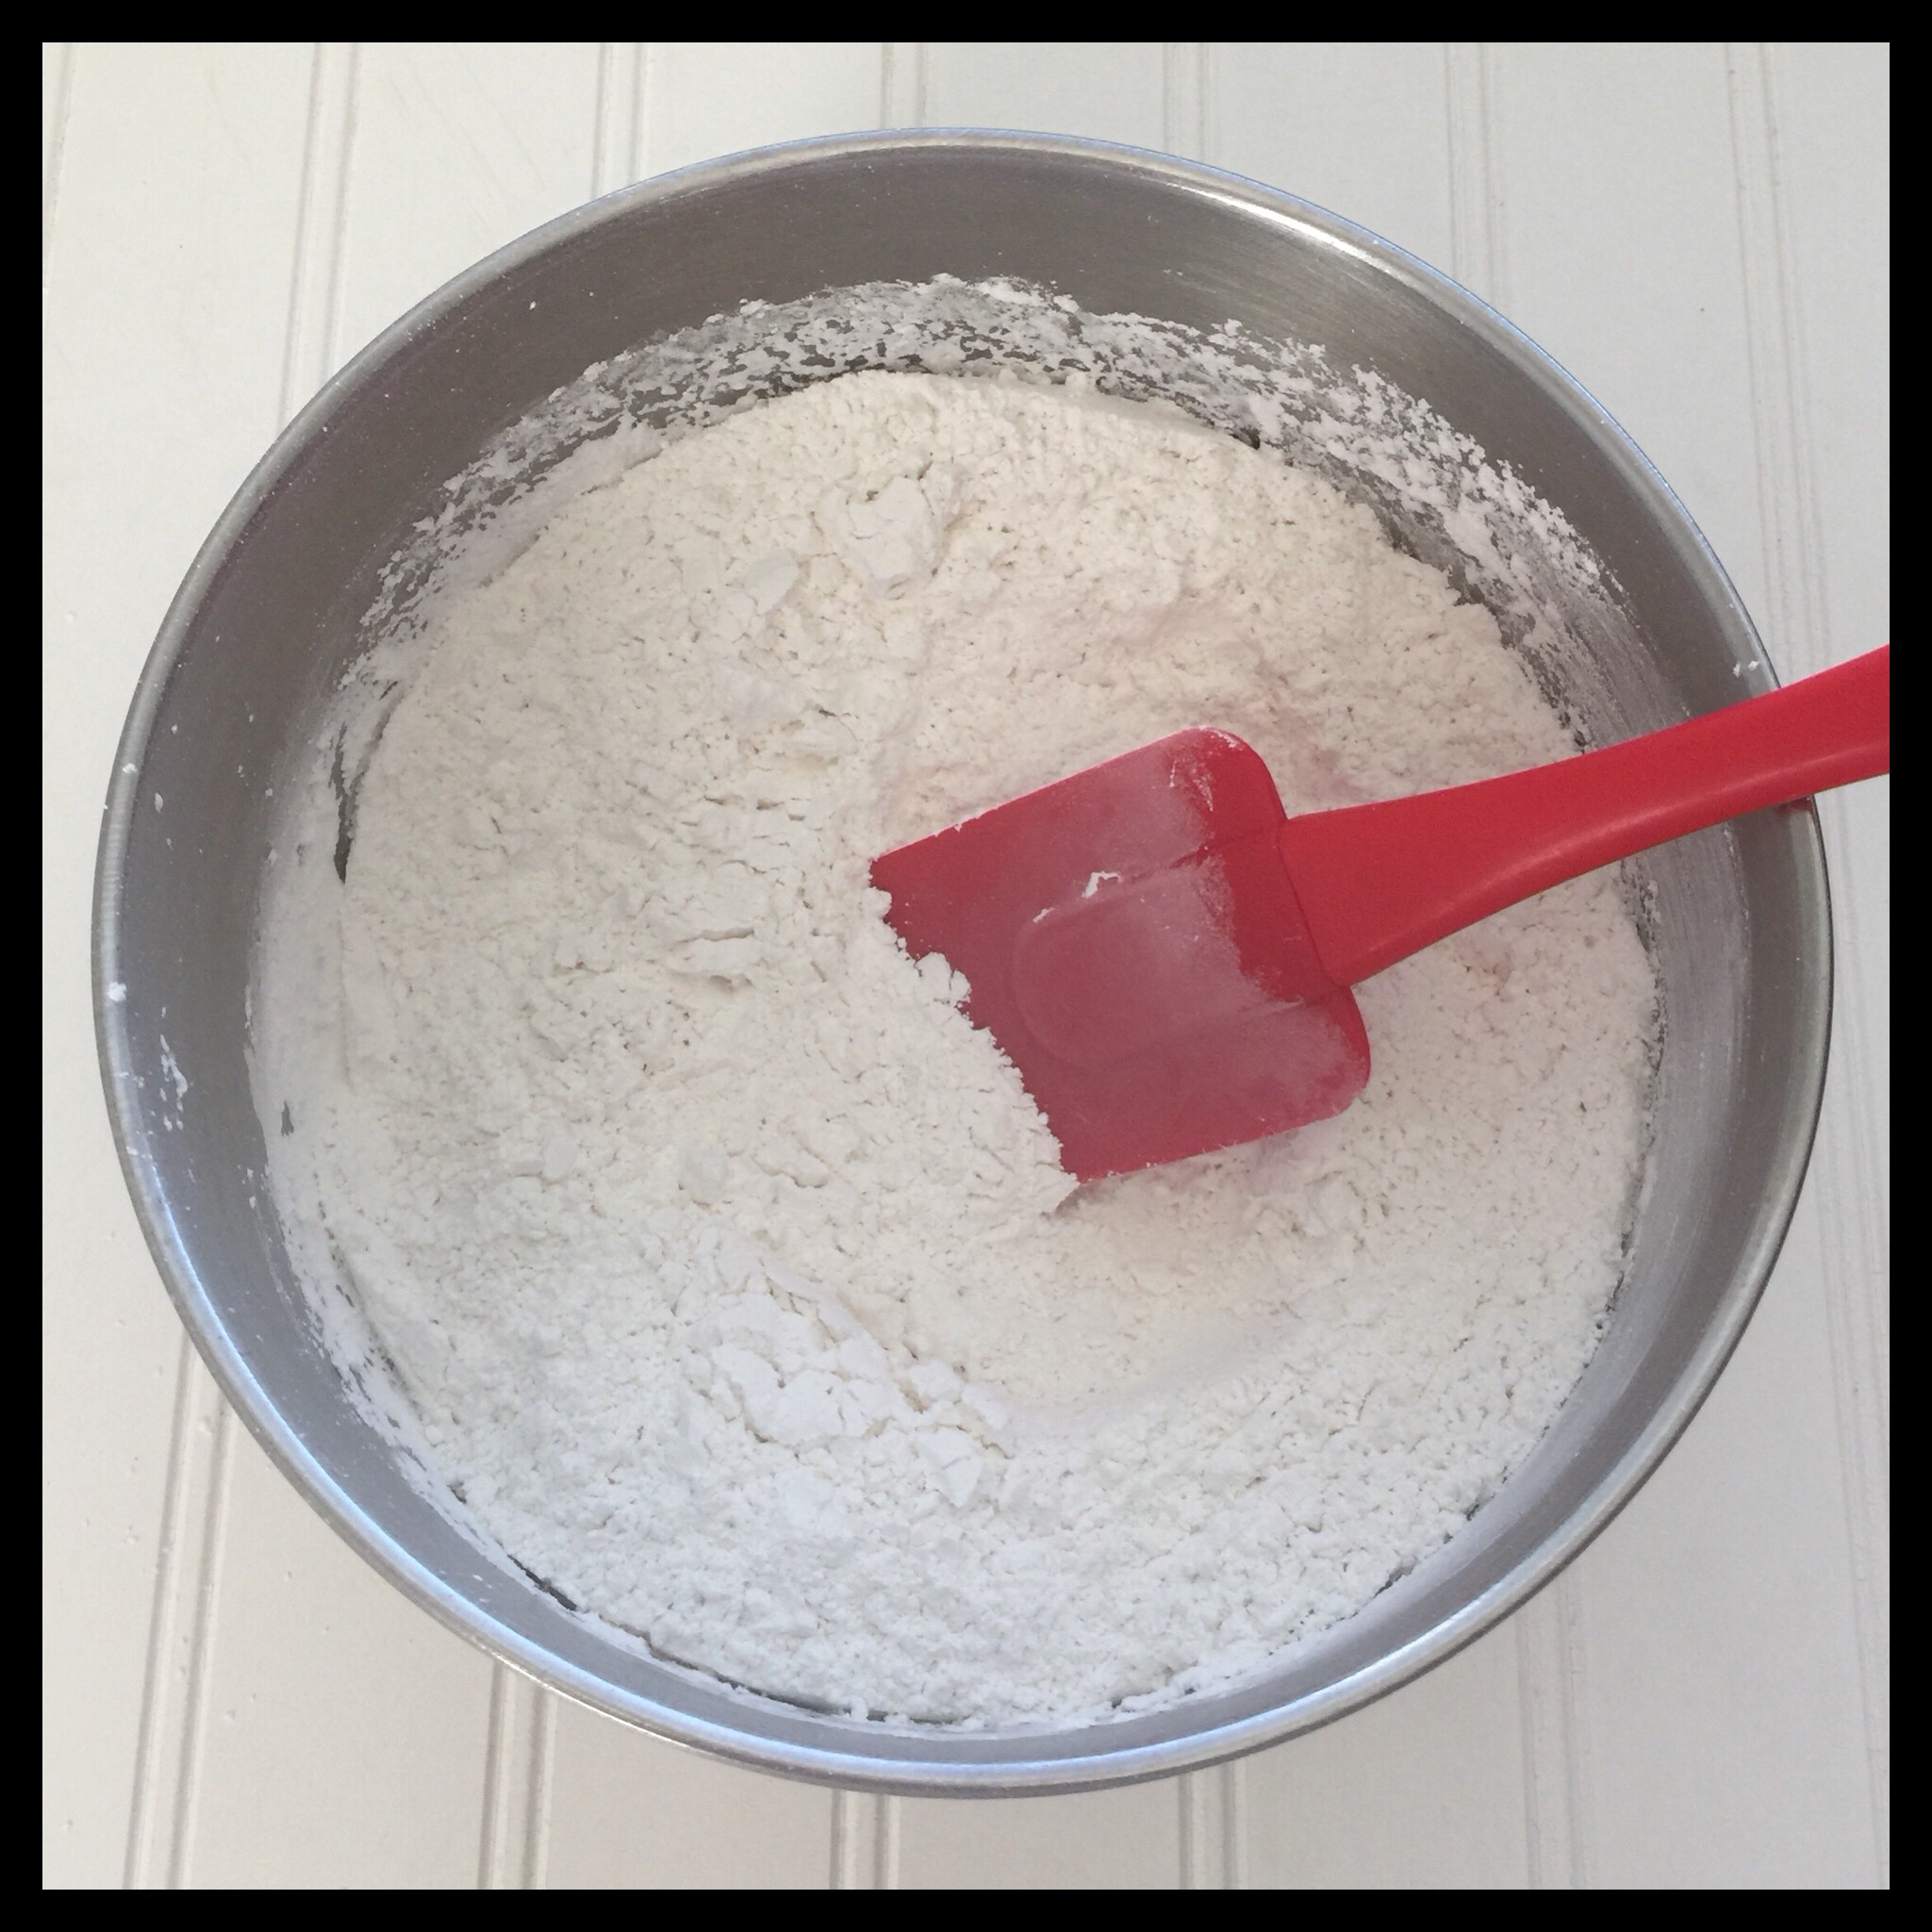
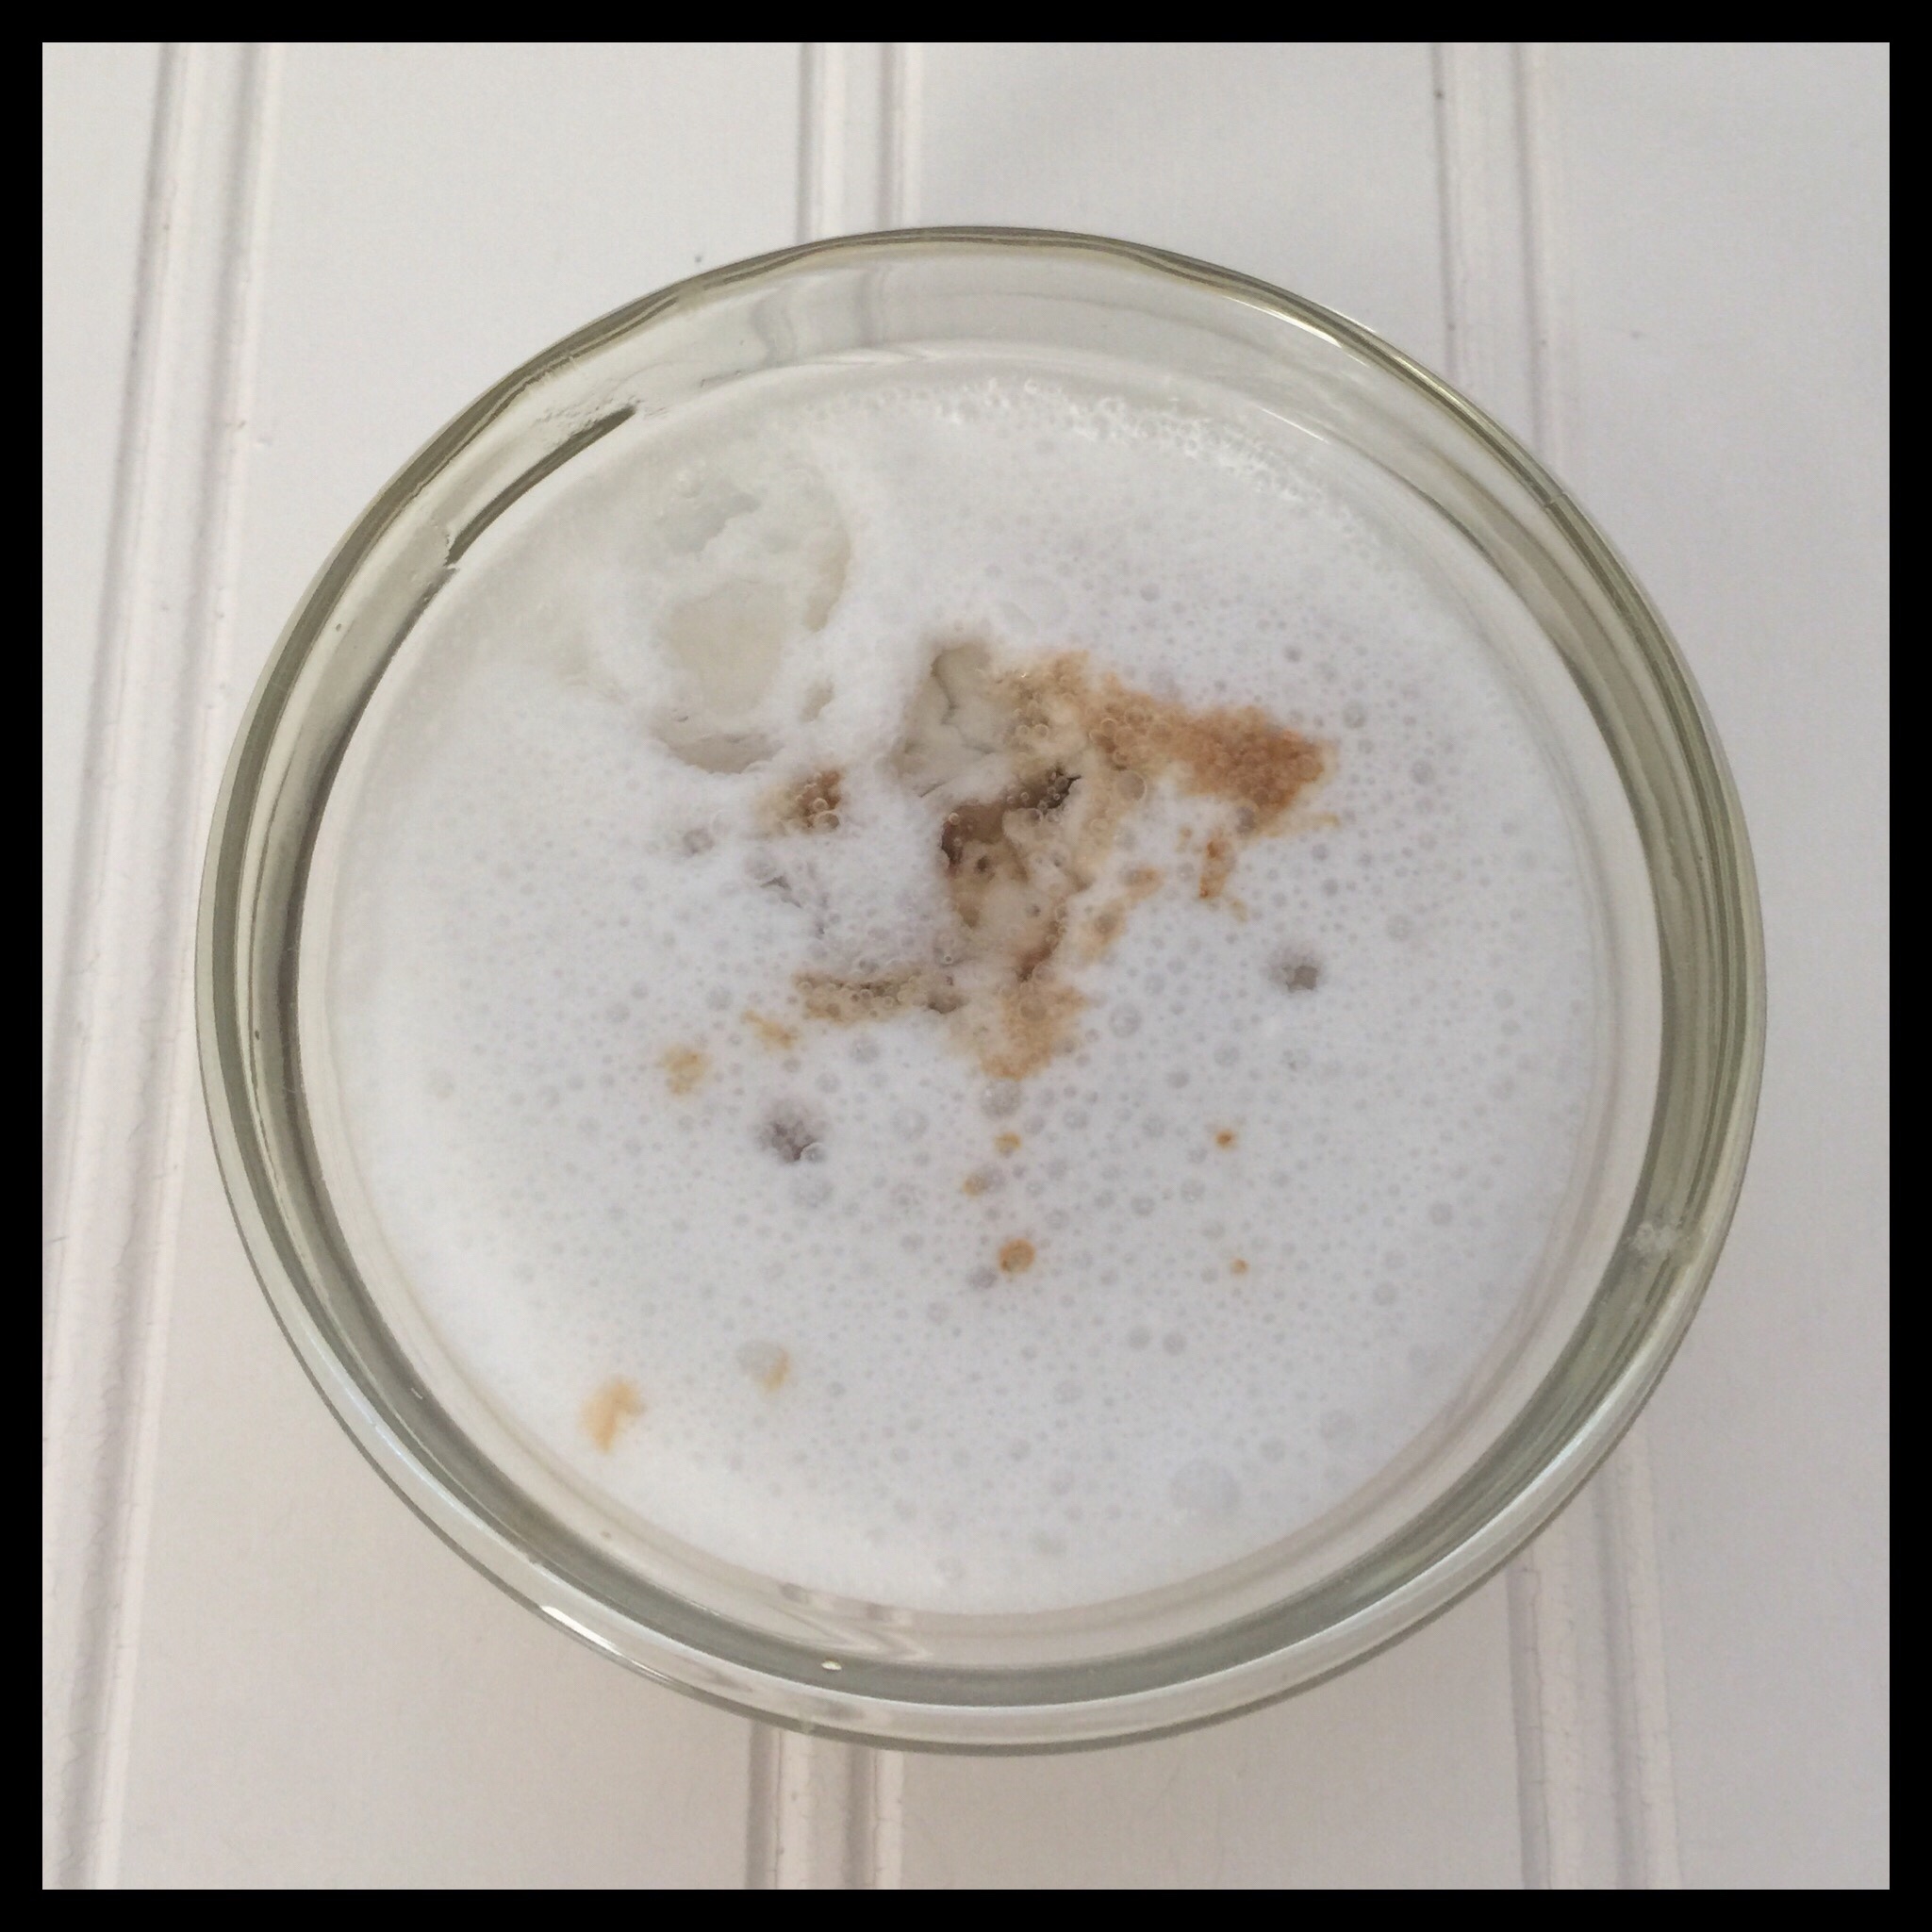
Add the two extracts to the light coconut milk, then pour the mixture into the bowl with the powdered sugar:
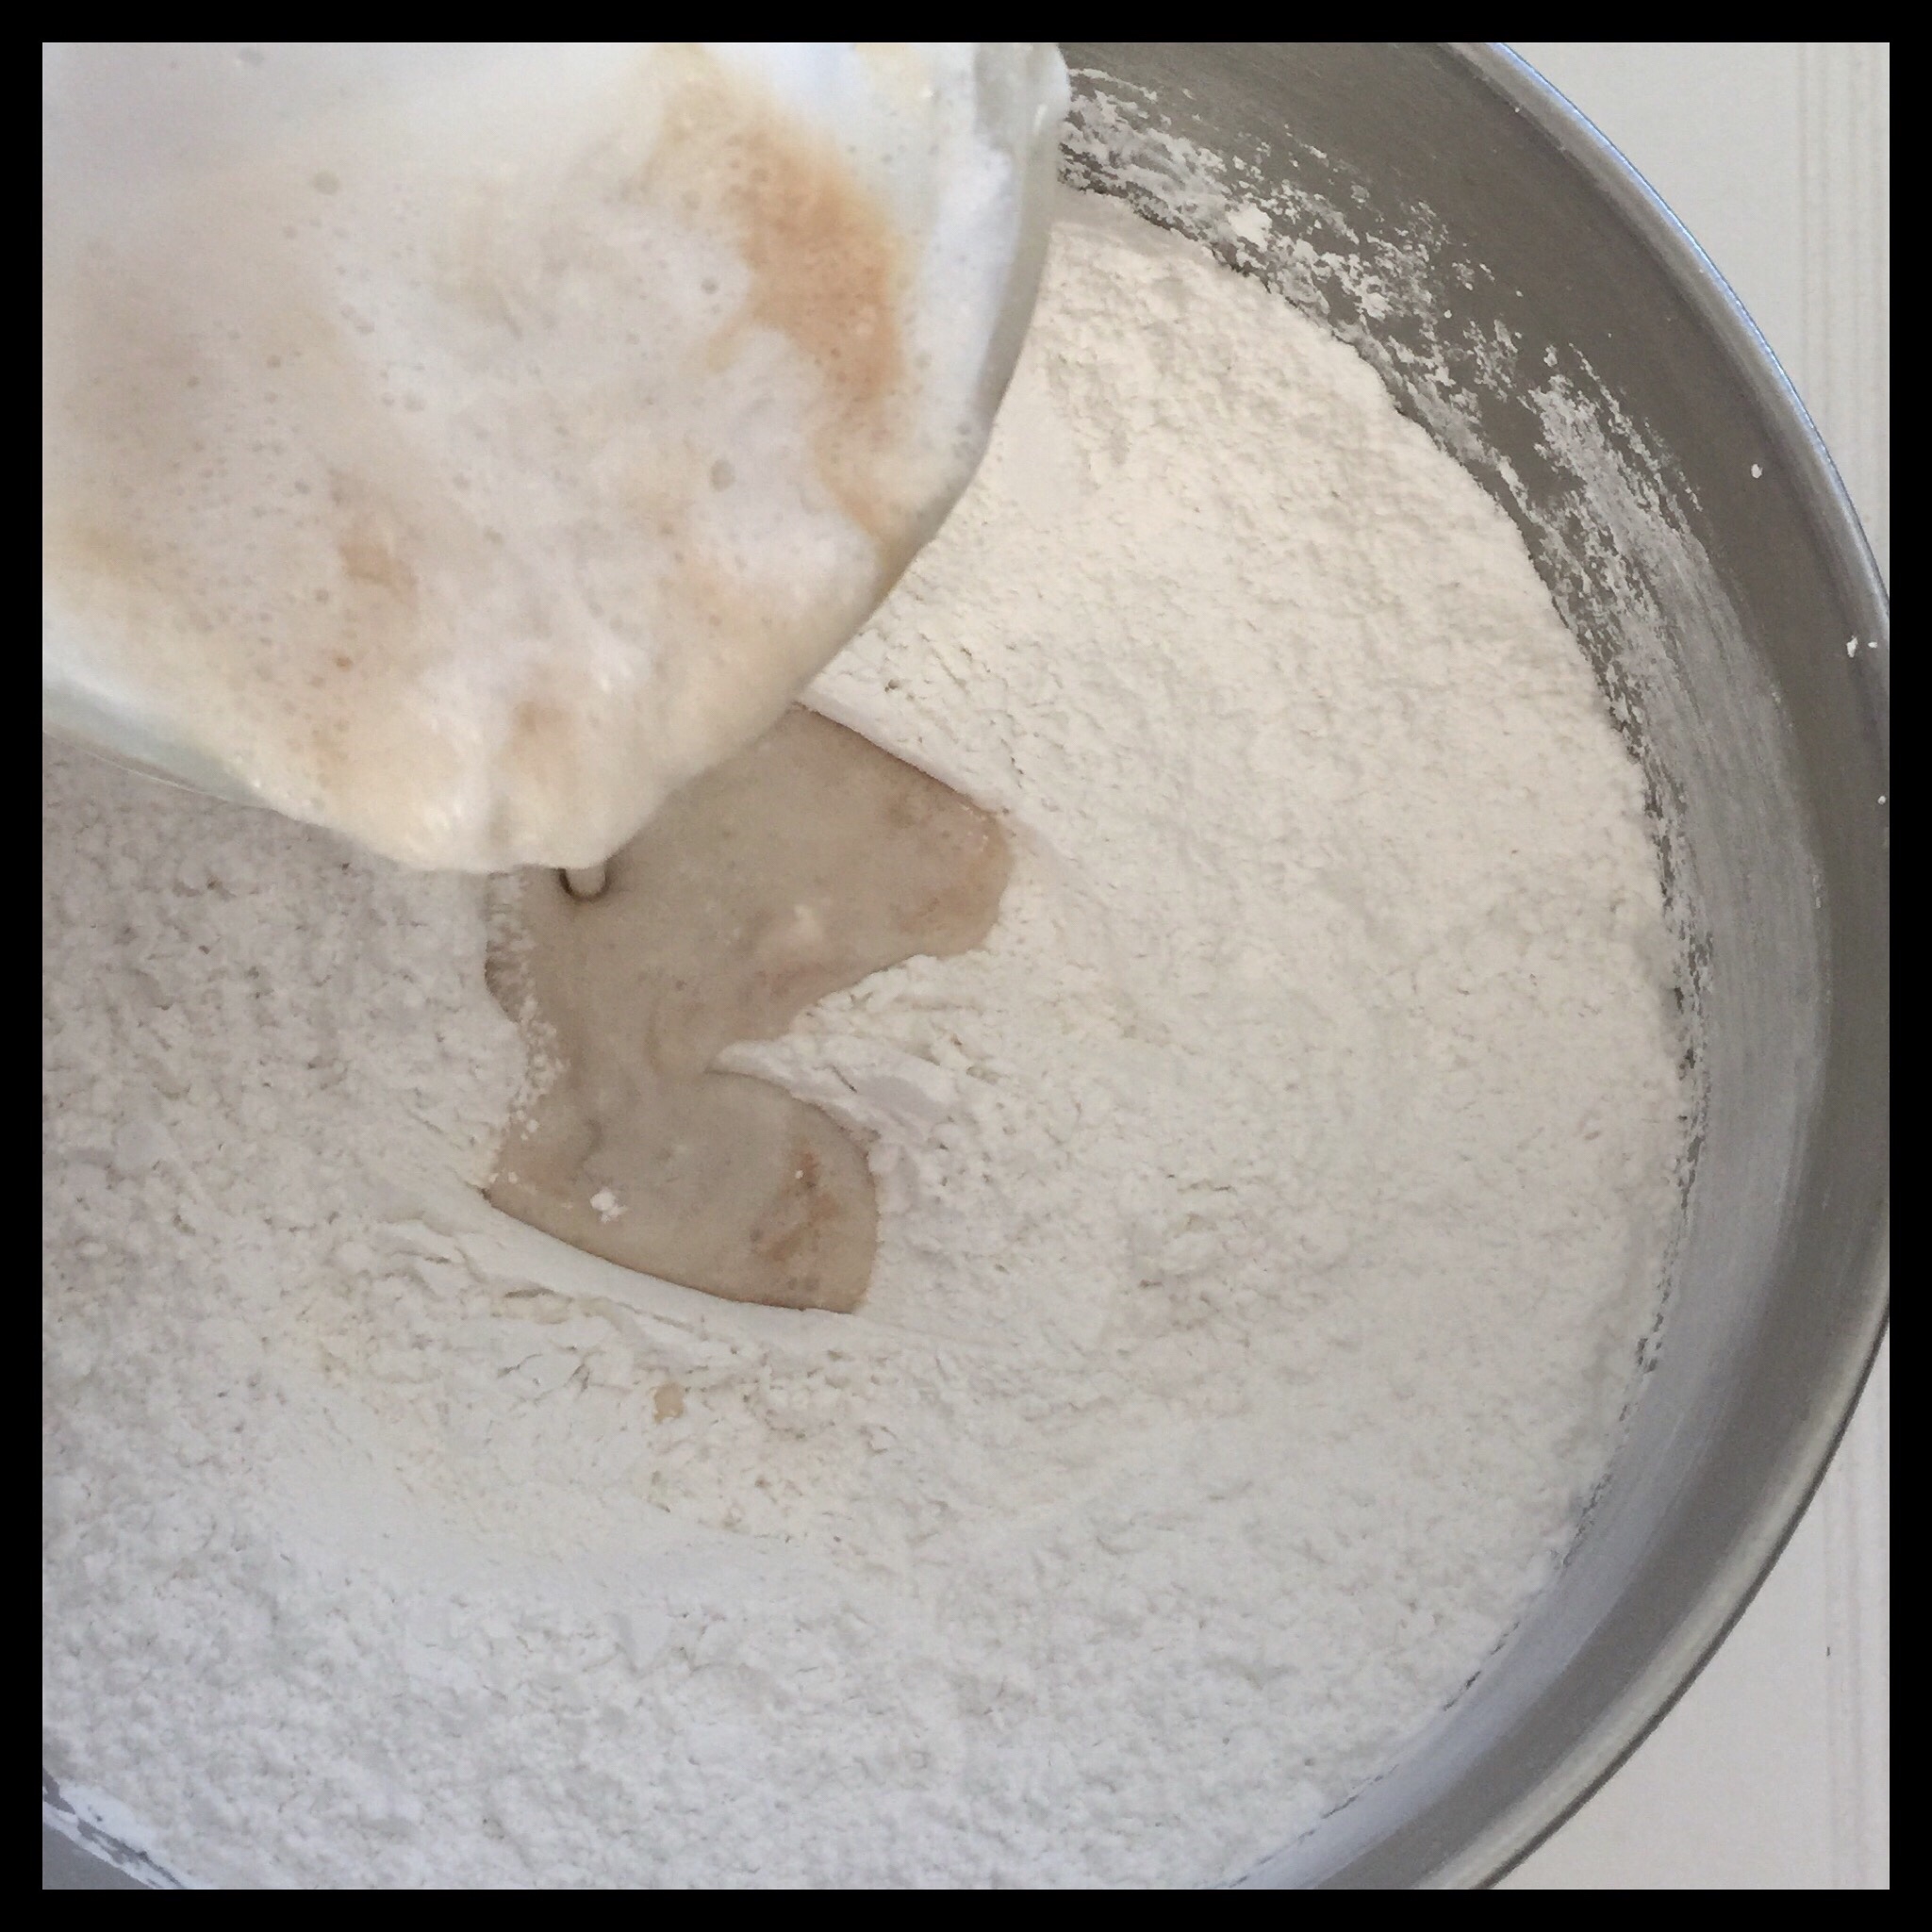
Add the 40 g of shortening and start mixing the peppermint filling together.
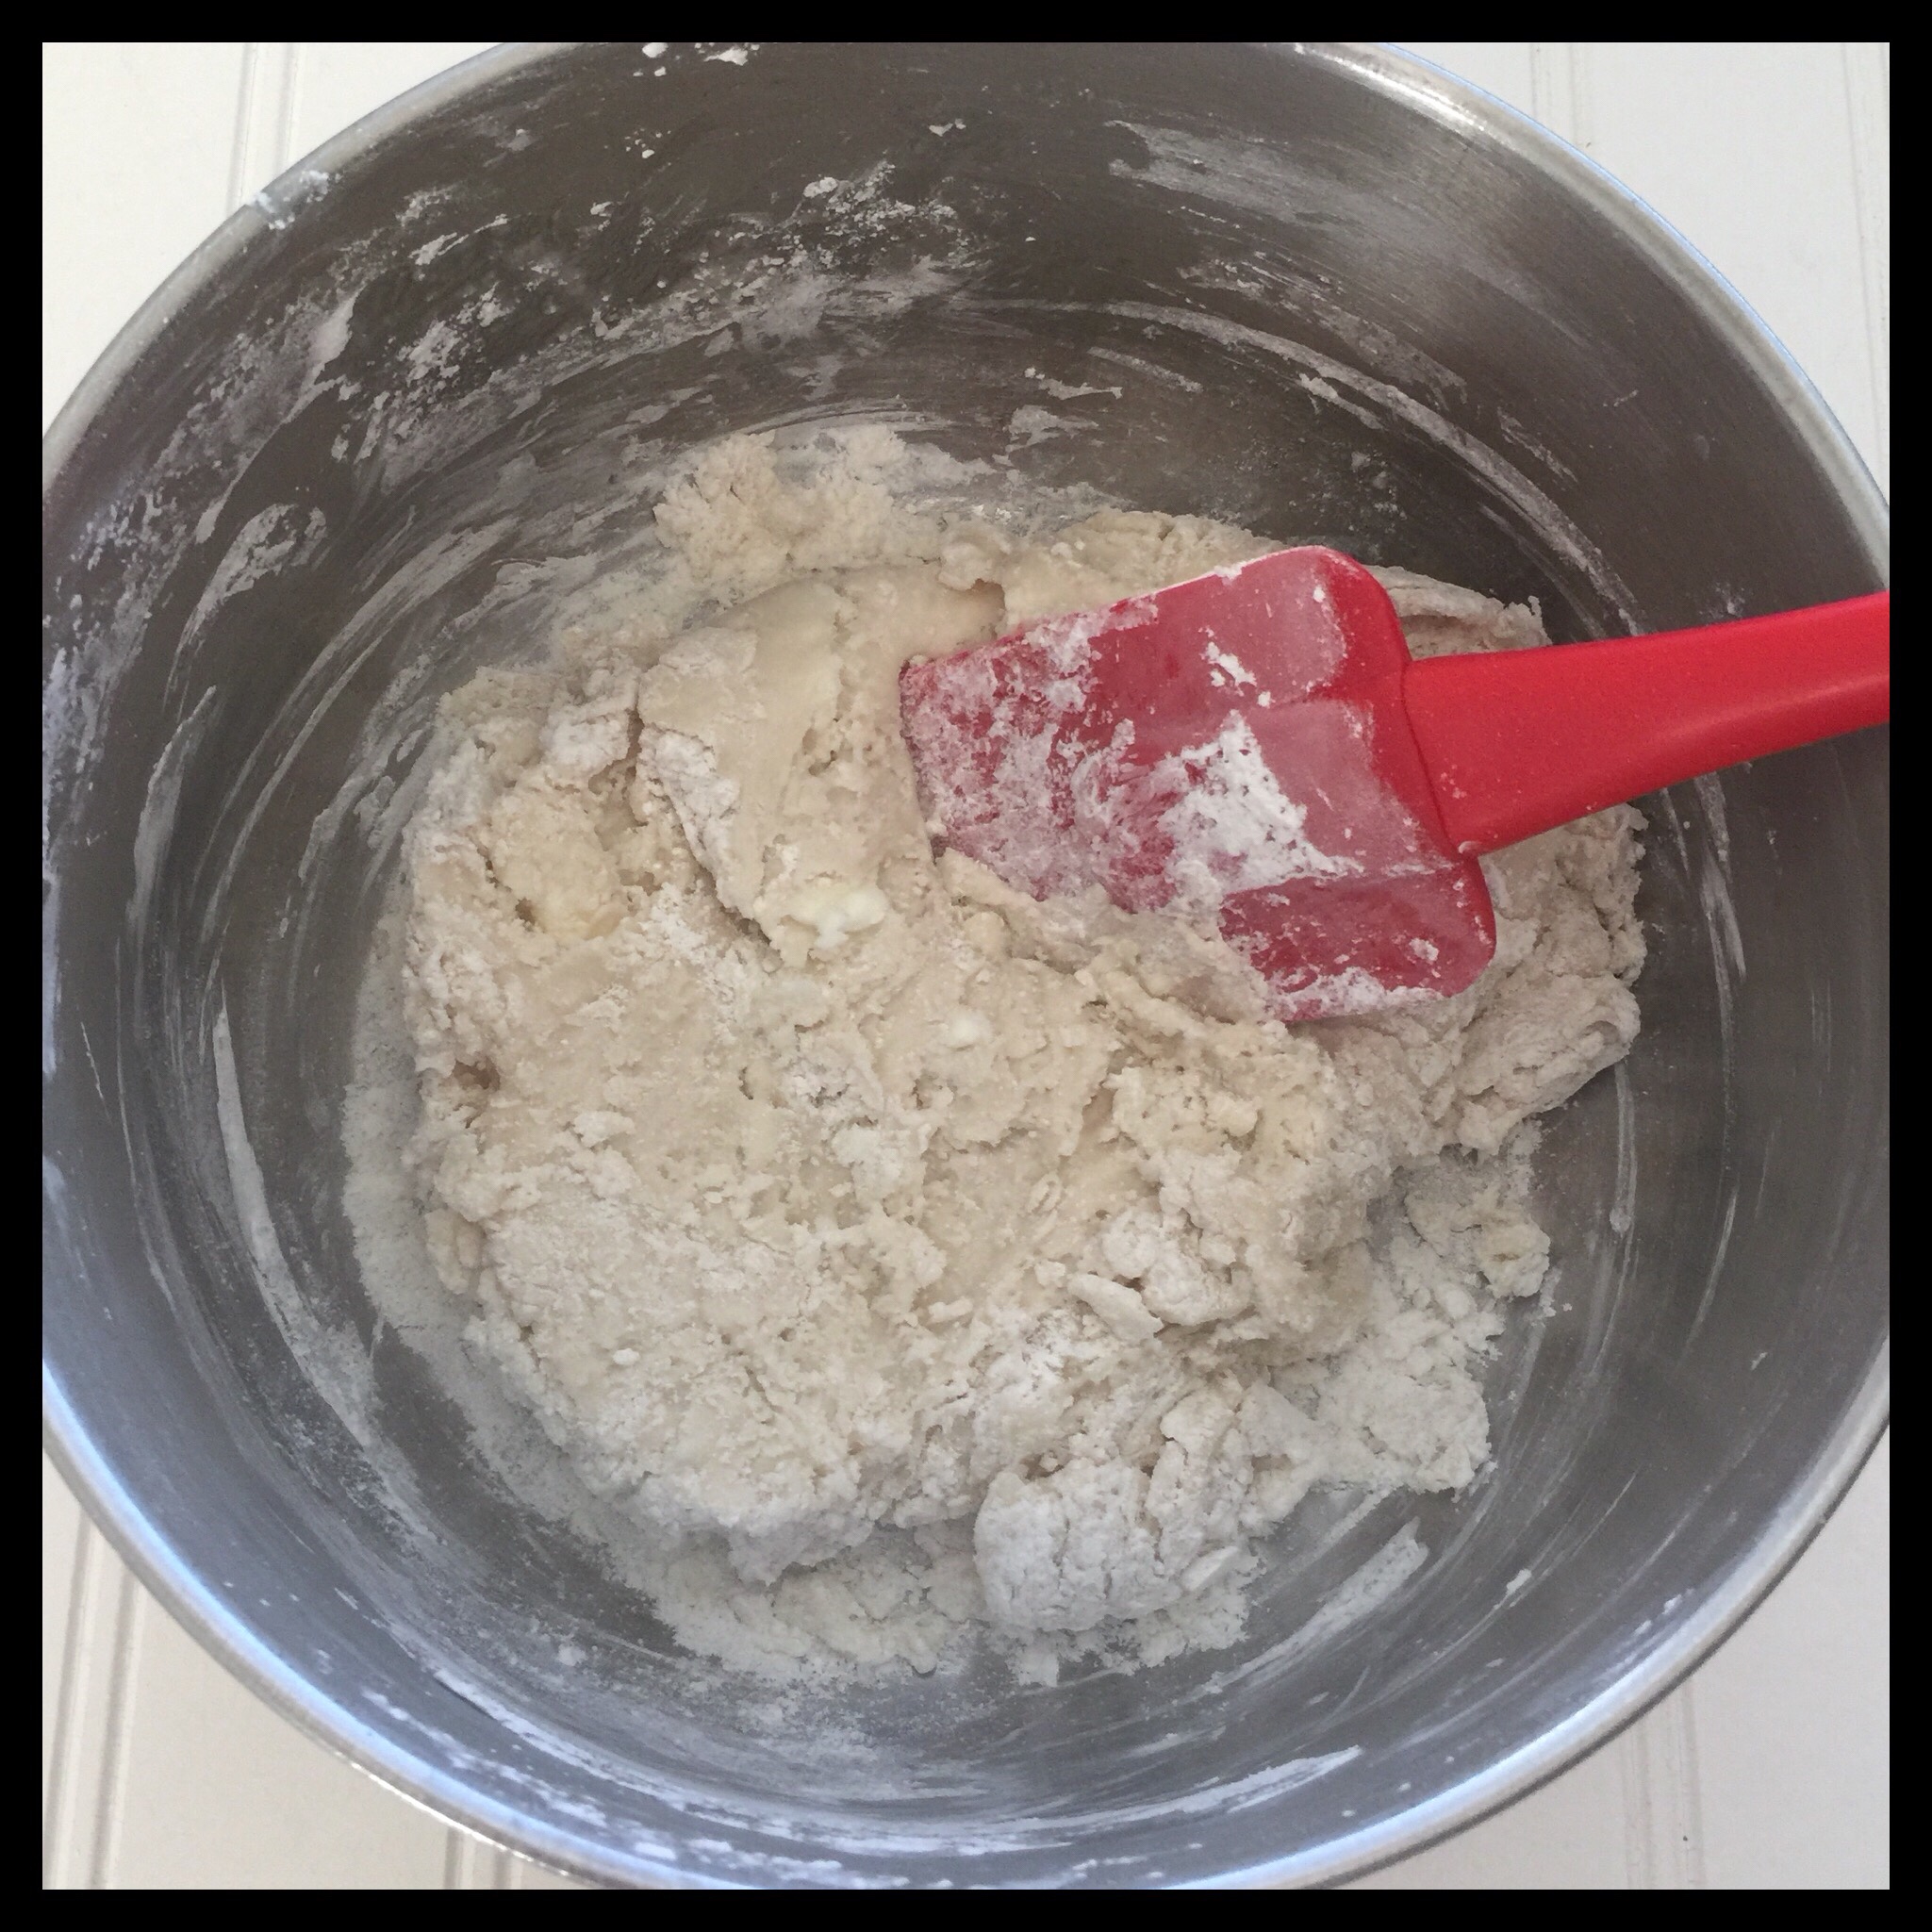
The shortening will not fully incorporate until you start kneading the filling. First, though, you need to get the filling thick enough to knead. This is too soft, and I needed to add another 140 g (1 cup) of my homemade powdered sugar. You may or may not need to add anymore, depending on the sugar you use and the humidity in your house.
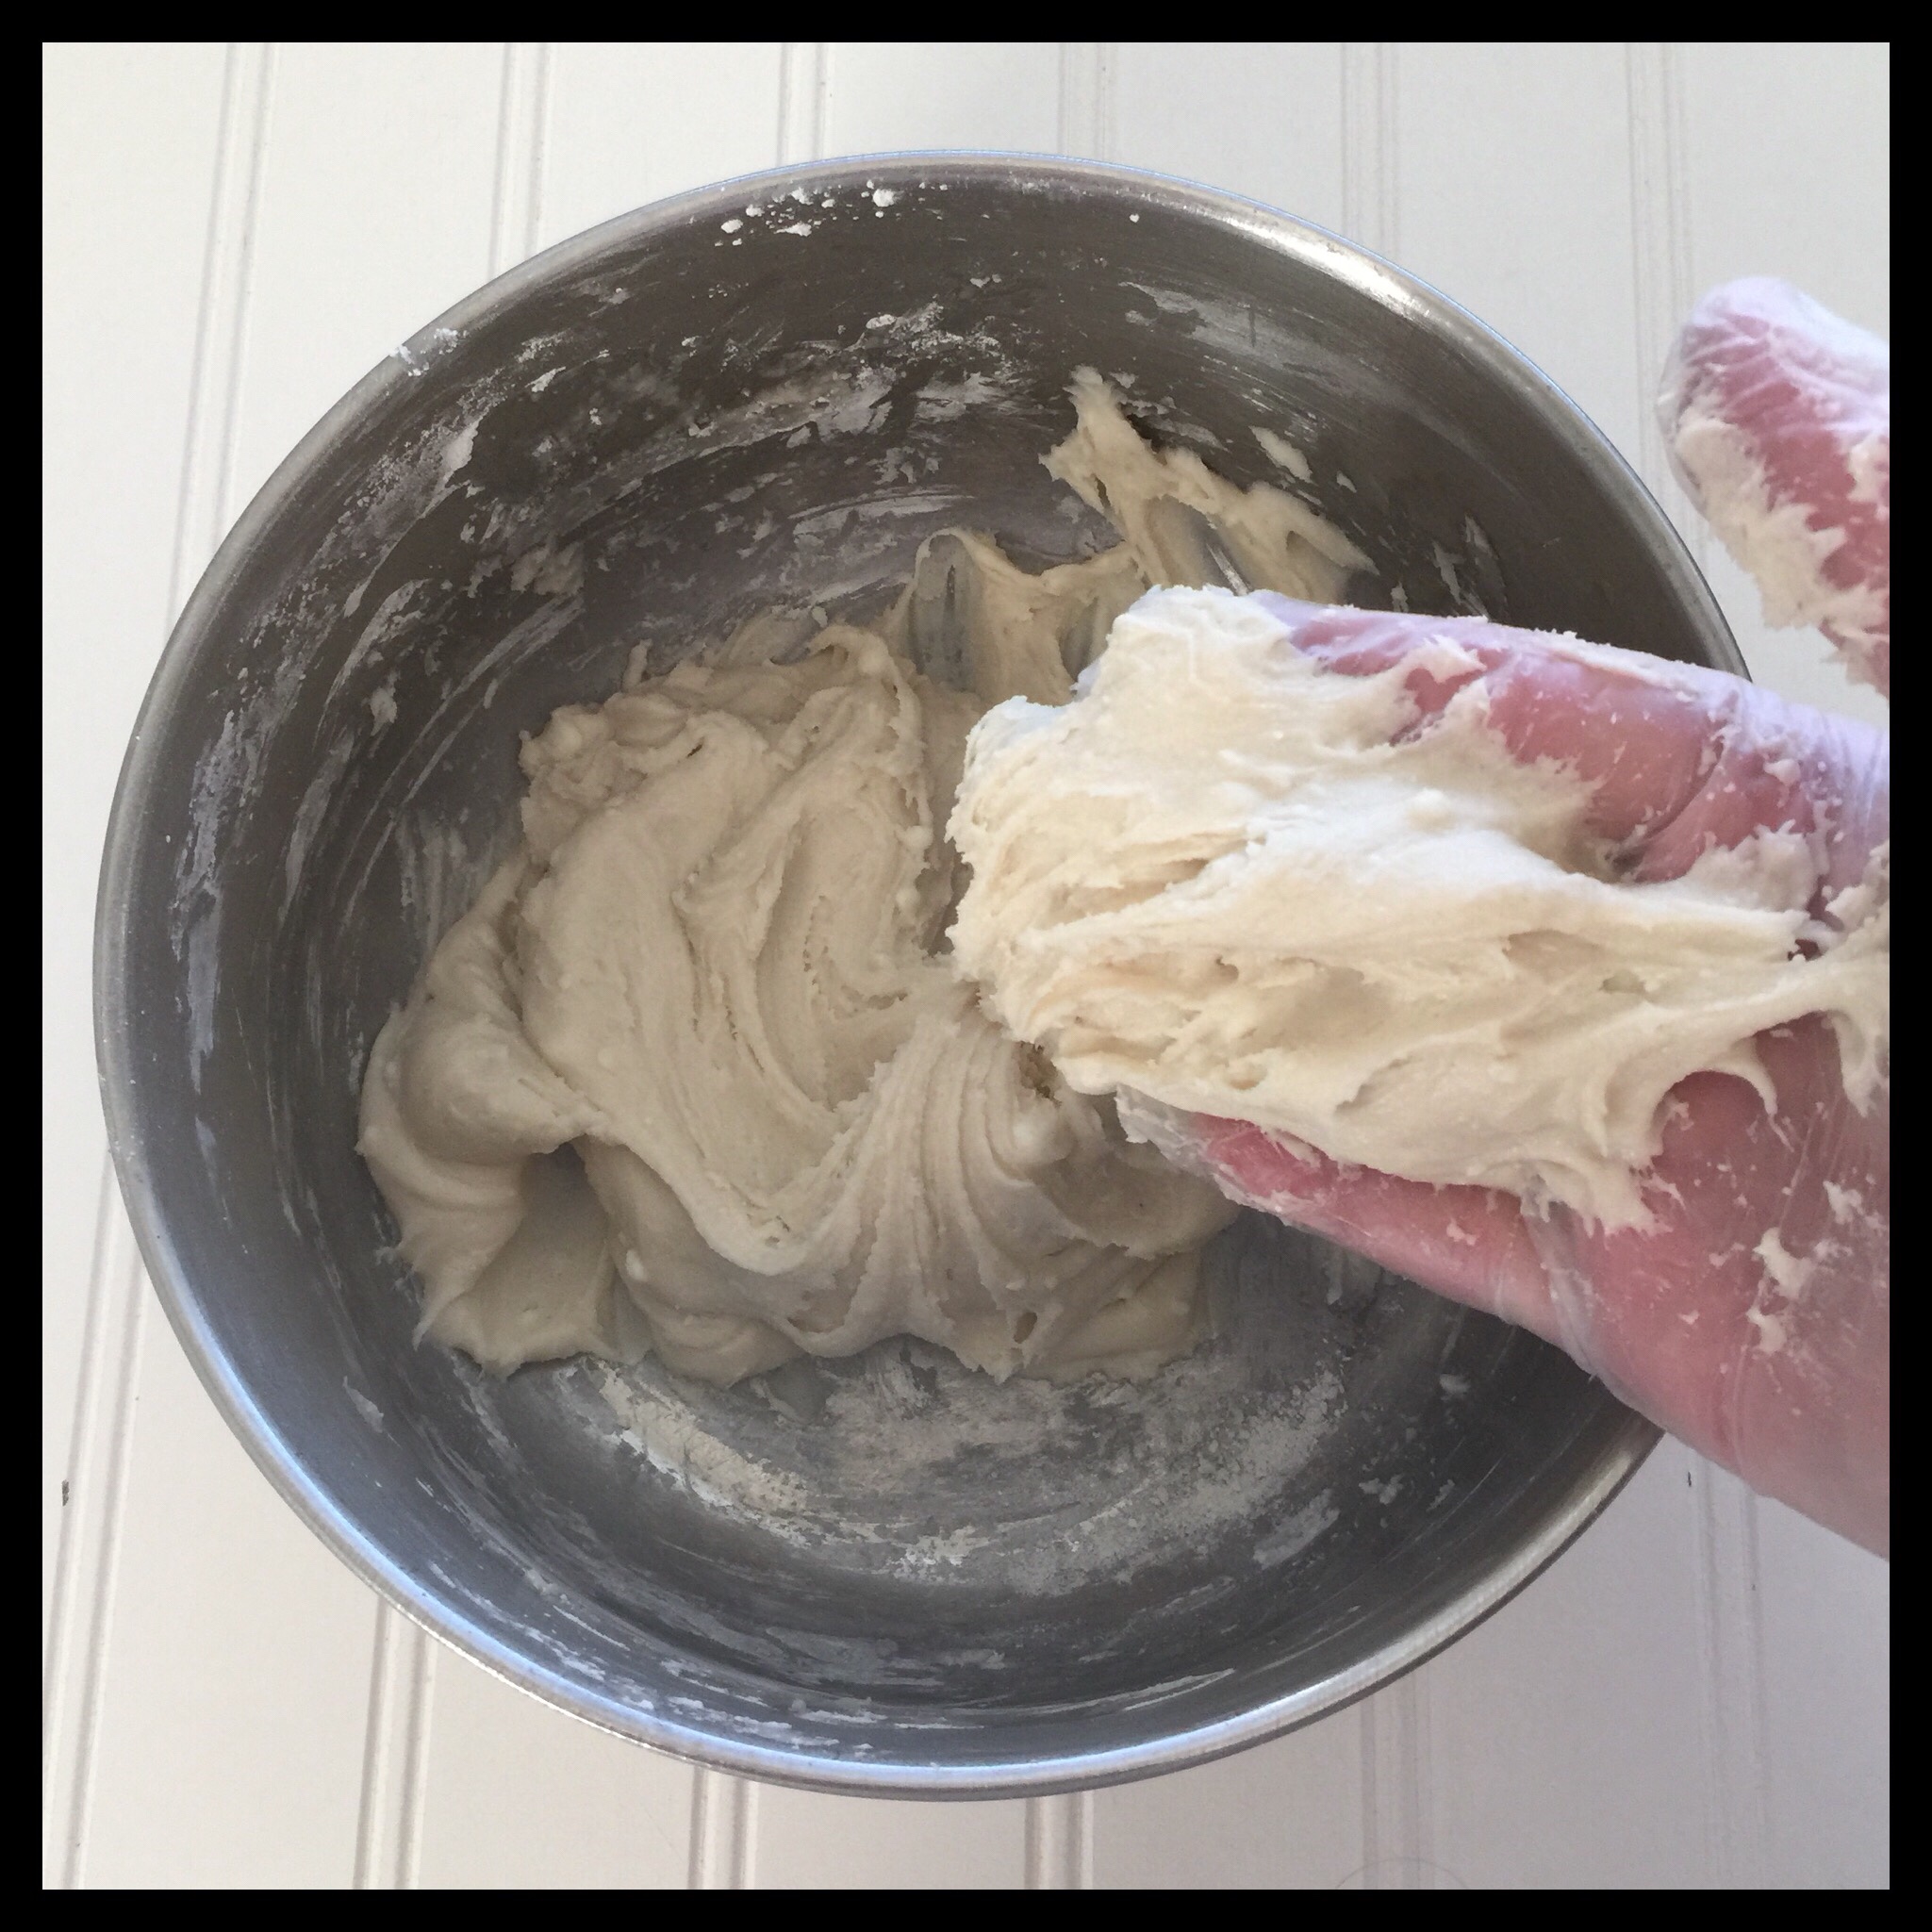
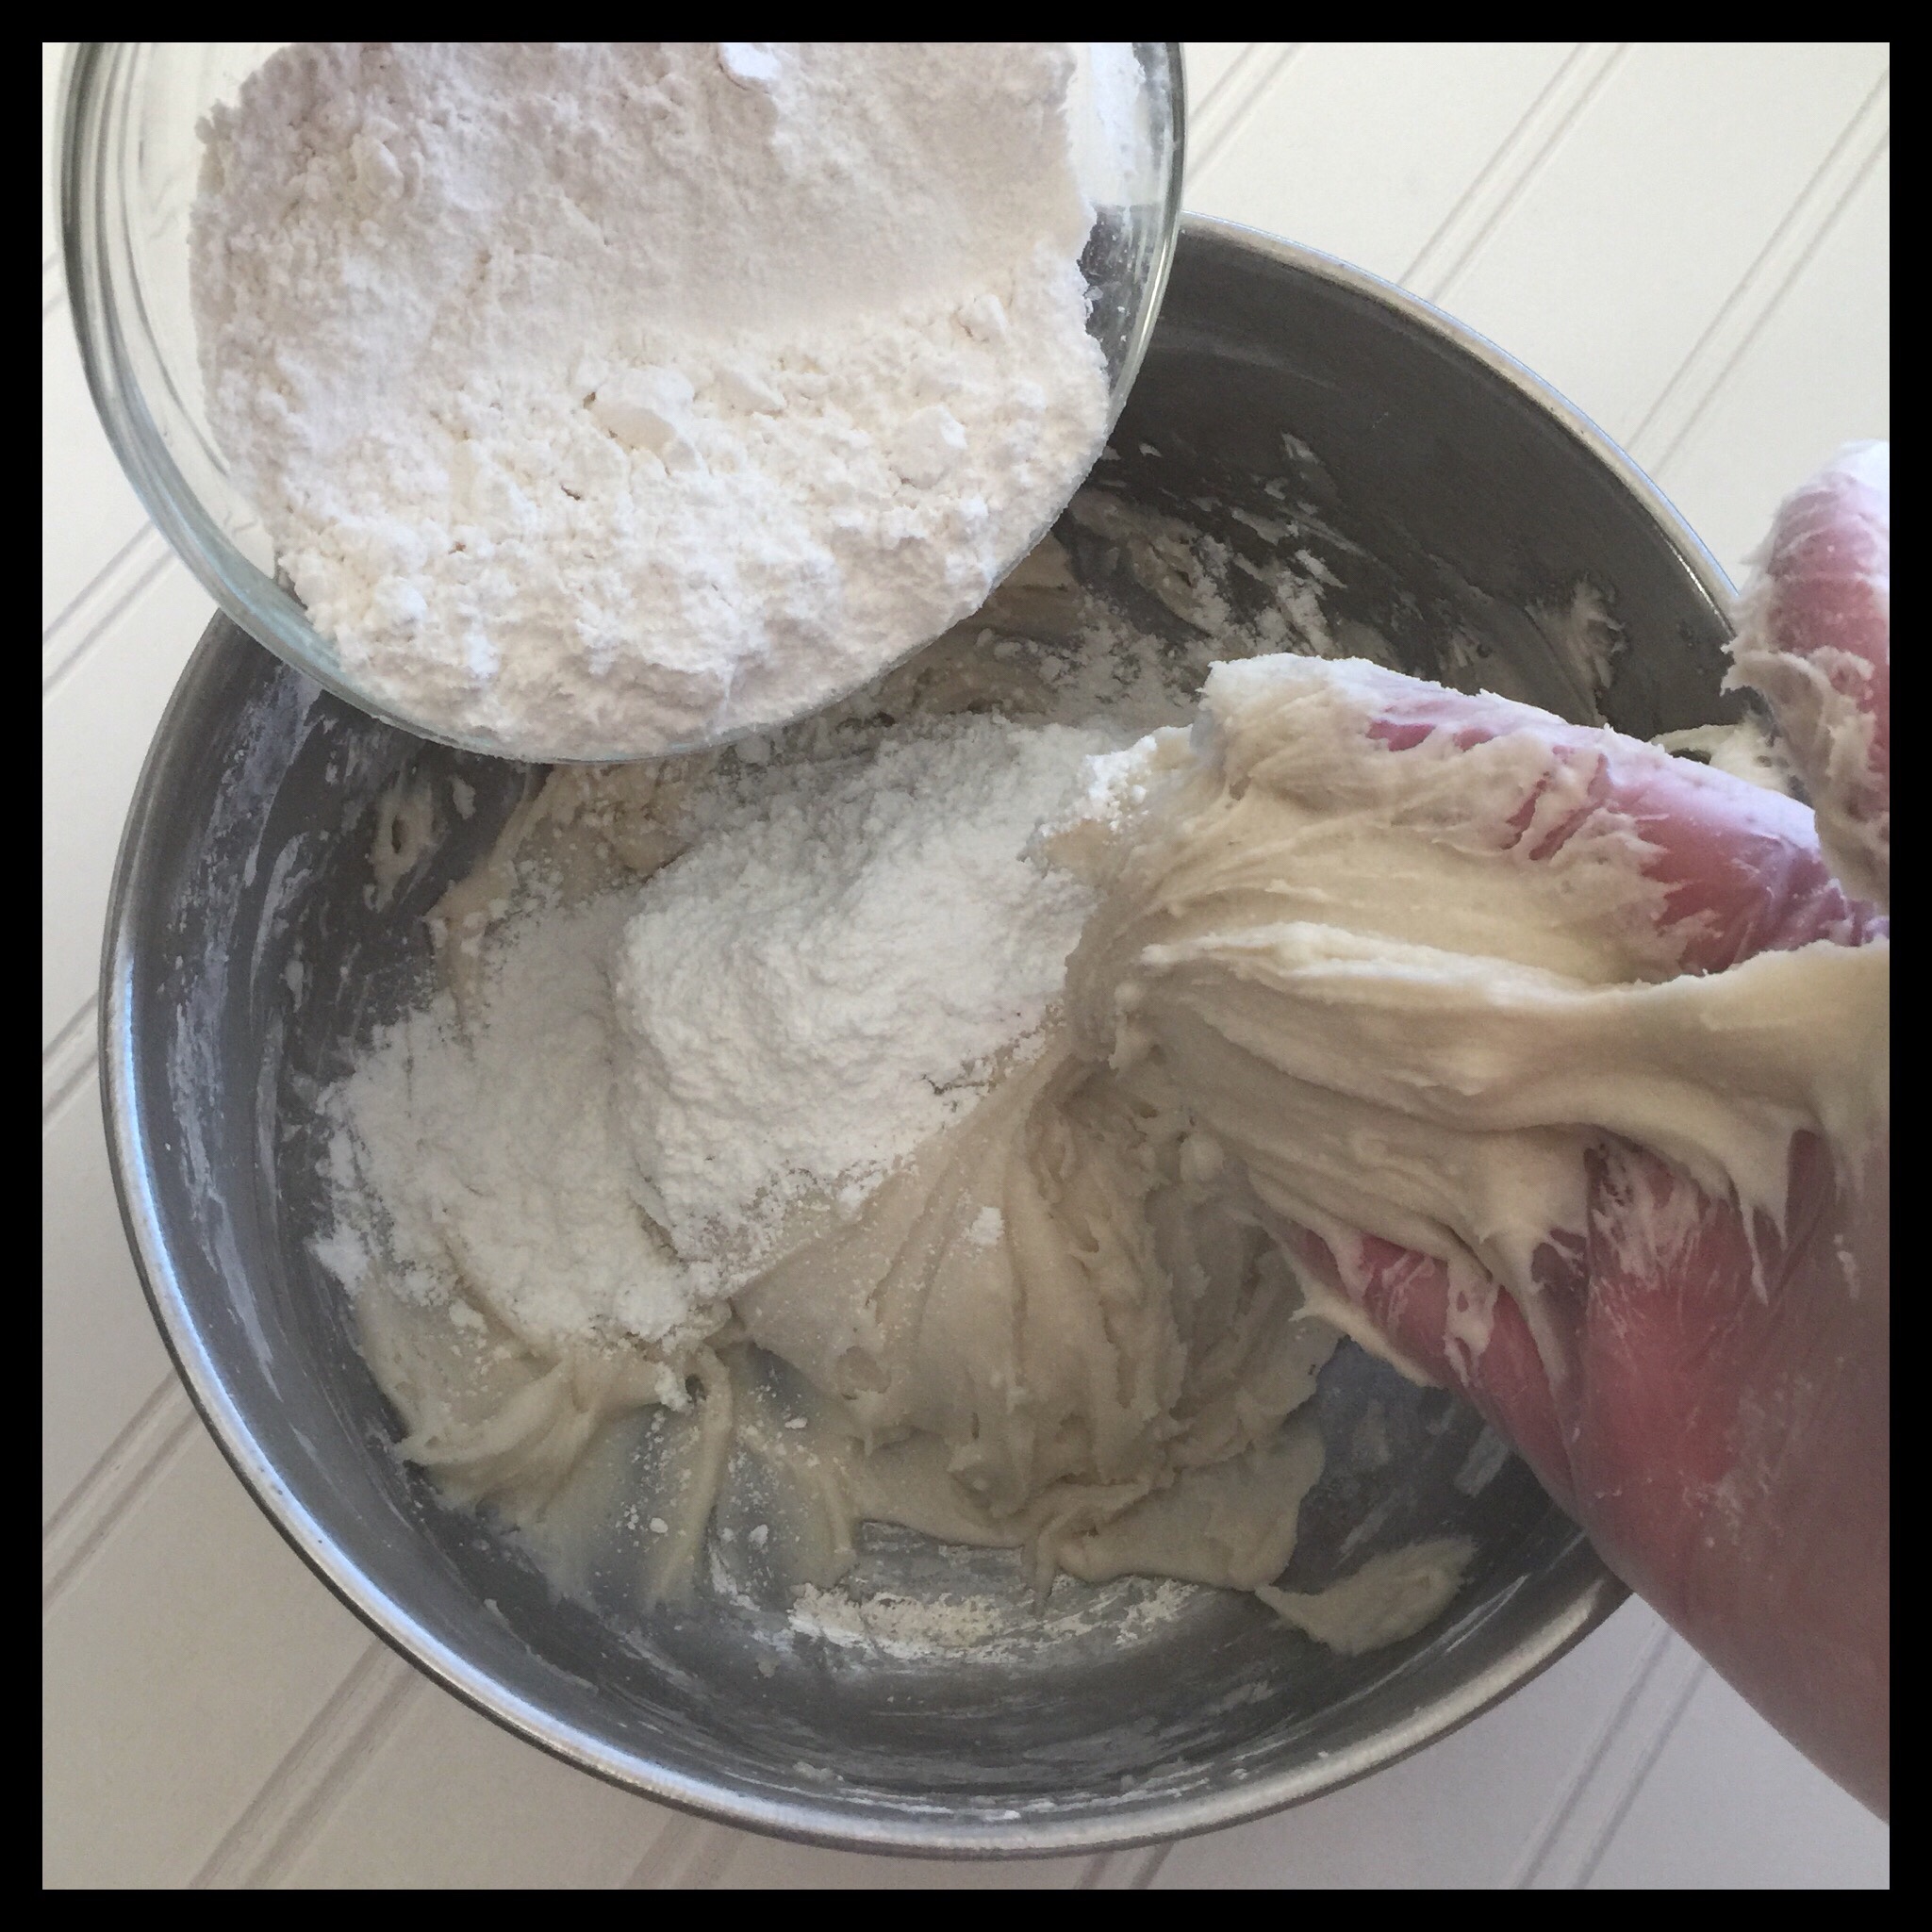
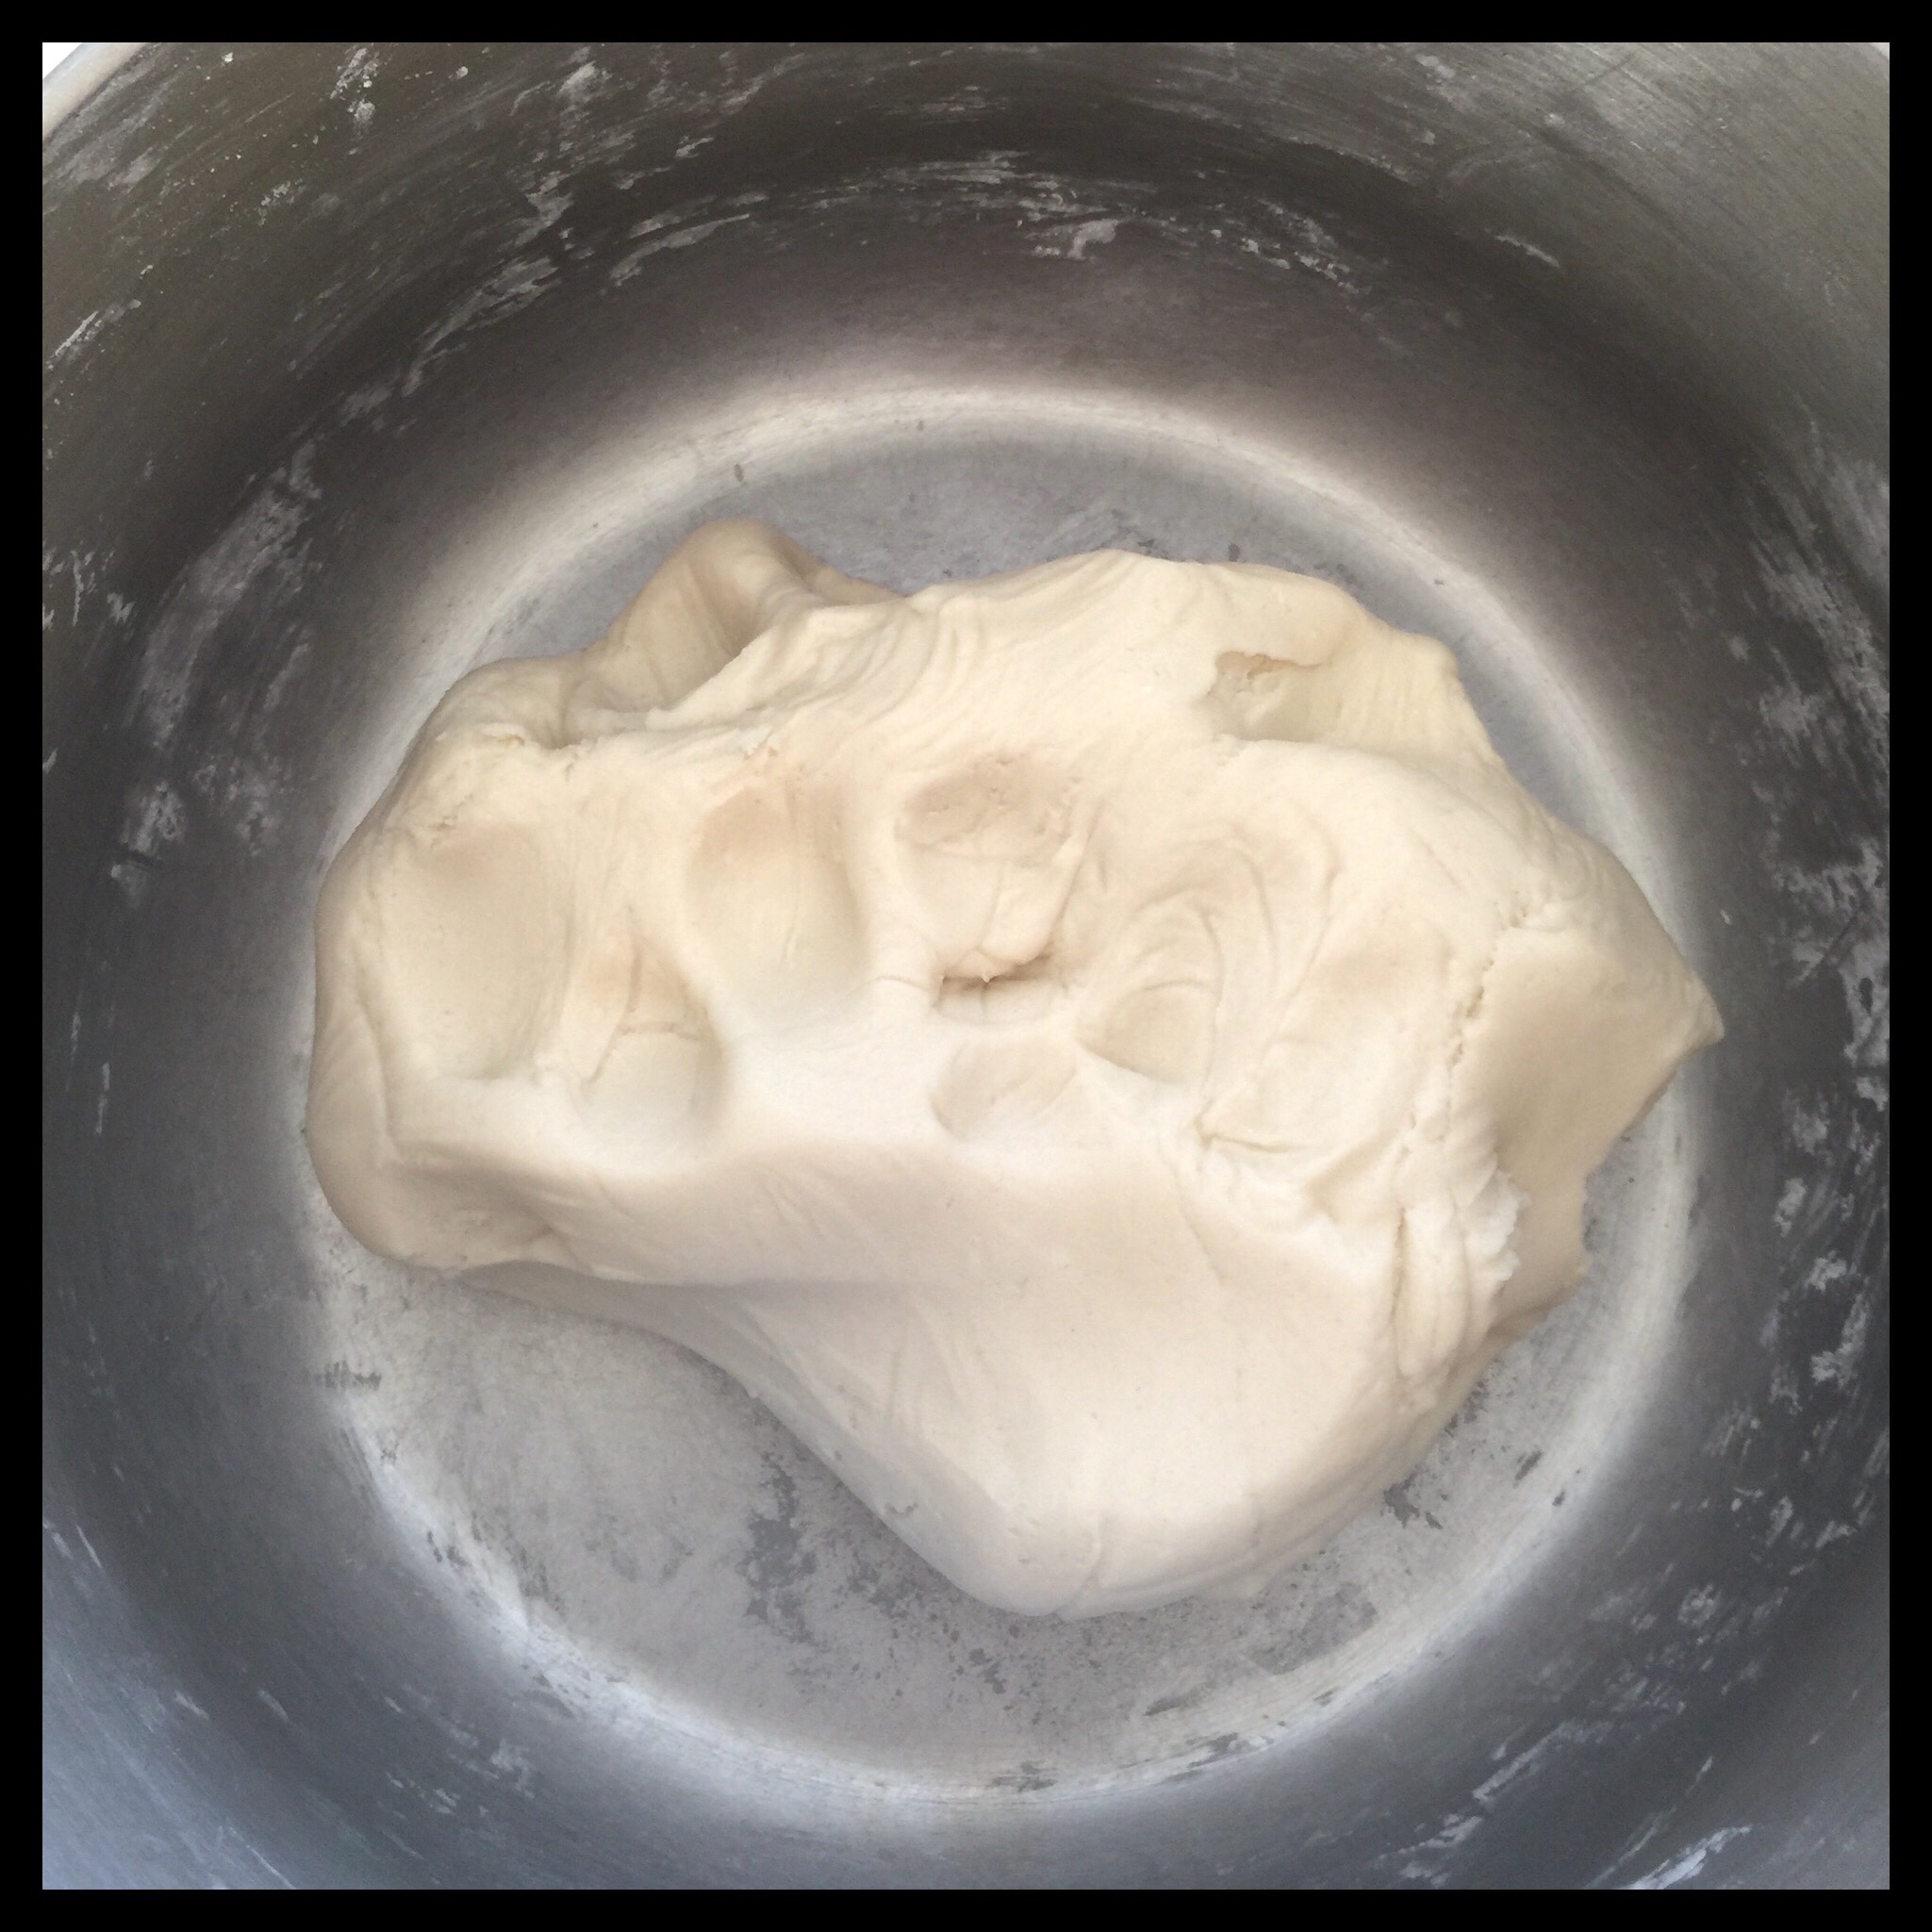
Once your filling is stiff enough, knead the filling for several minutes until it looks like this:
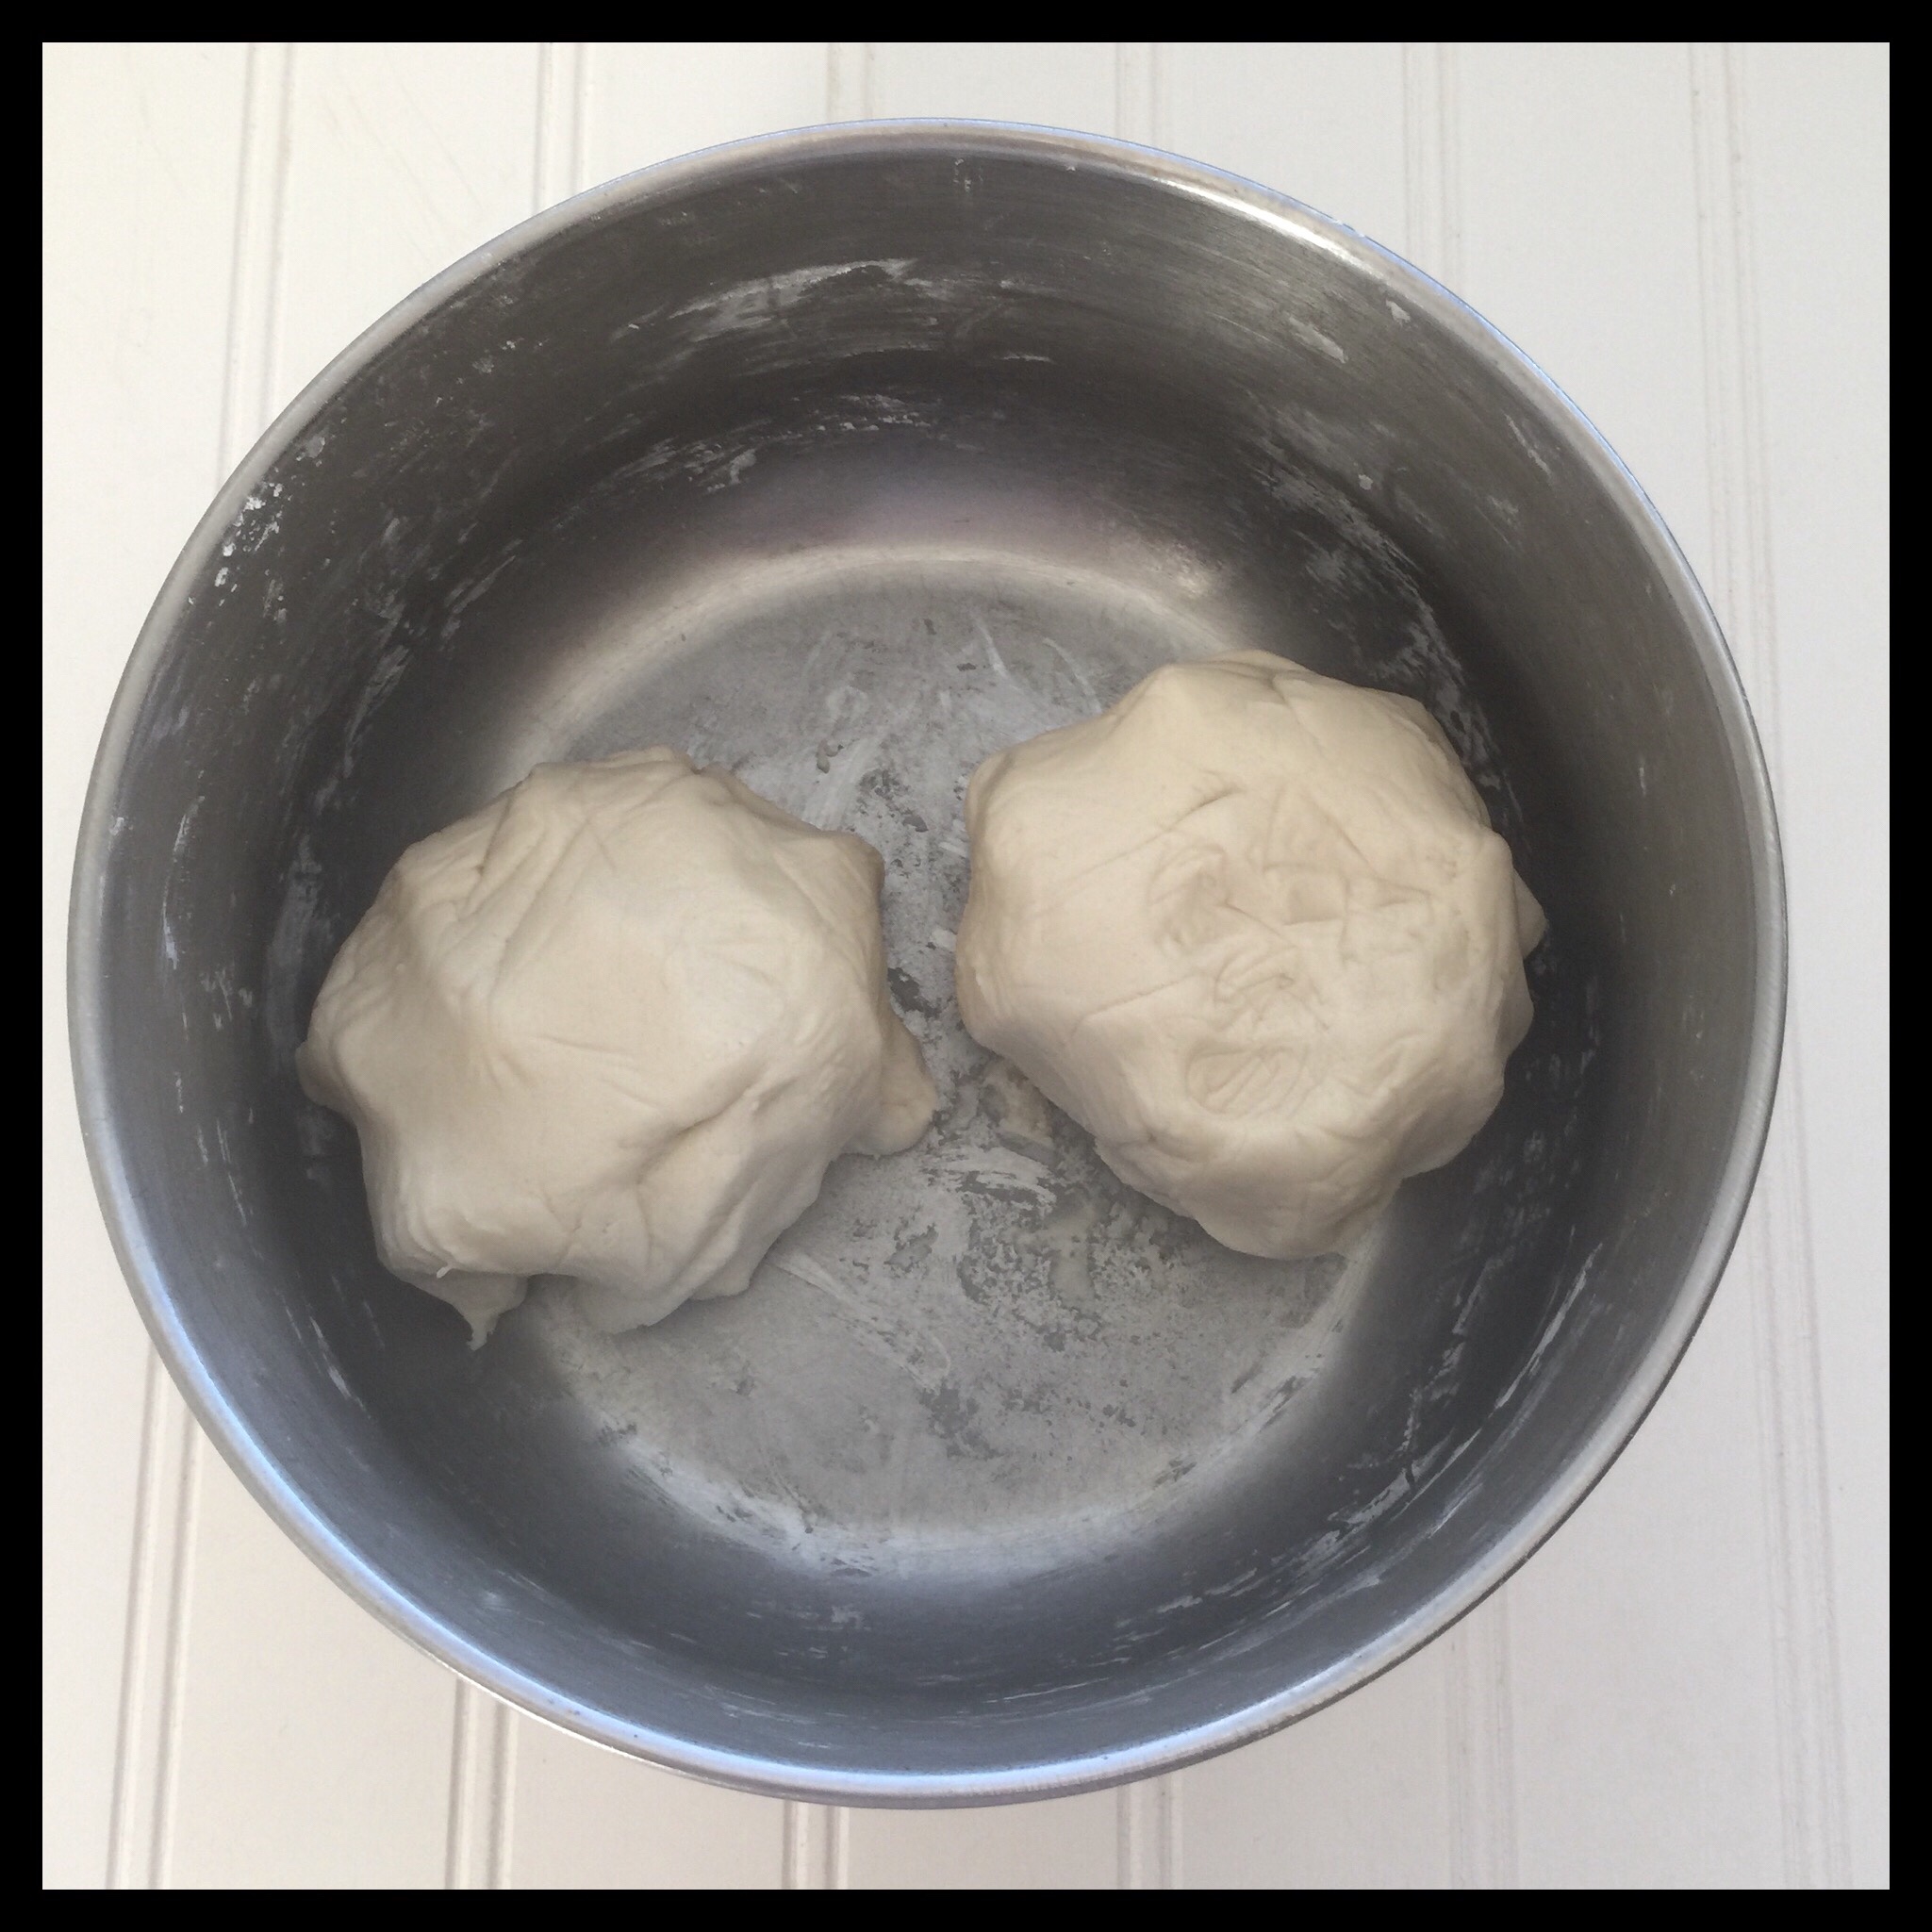
Divide into two portions if you are making patties.
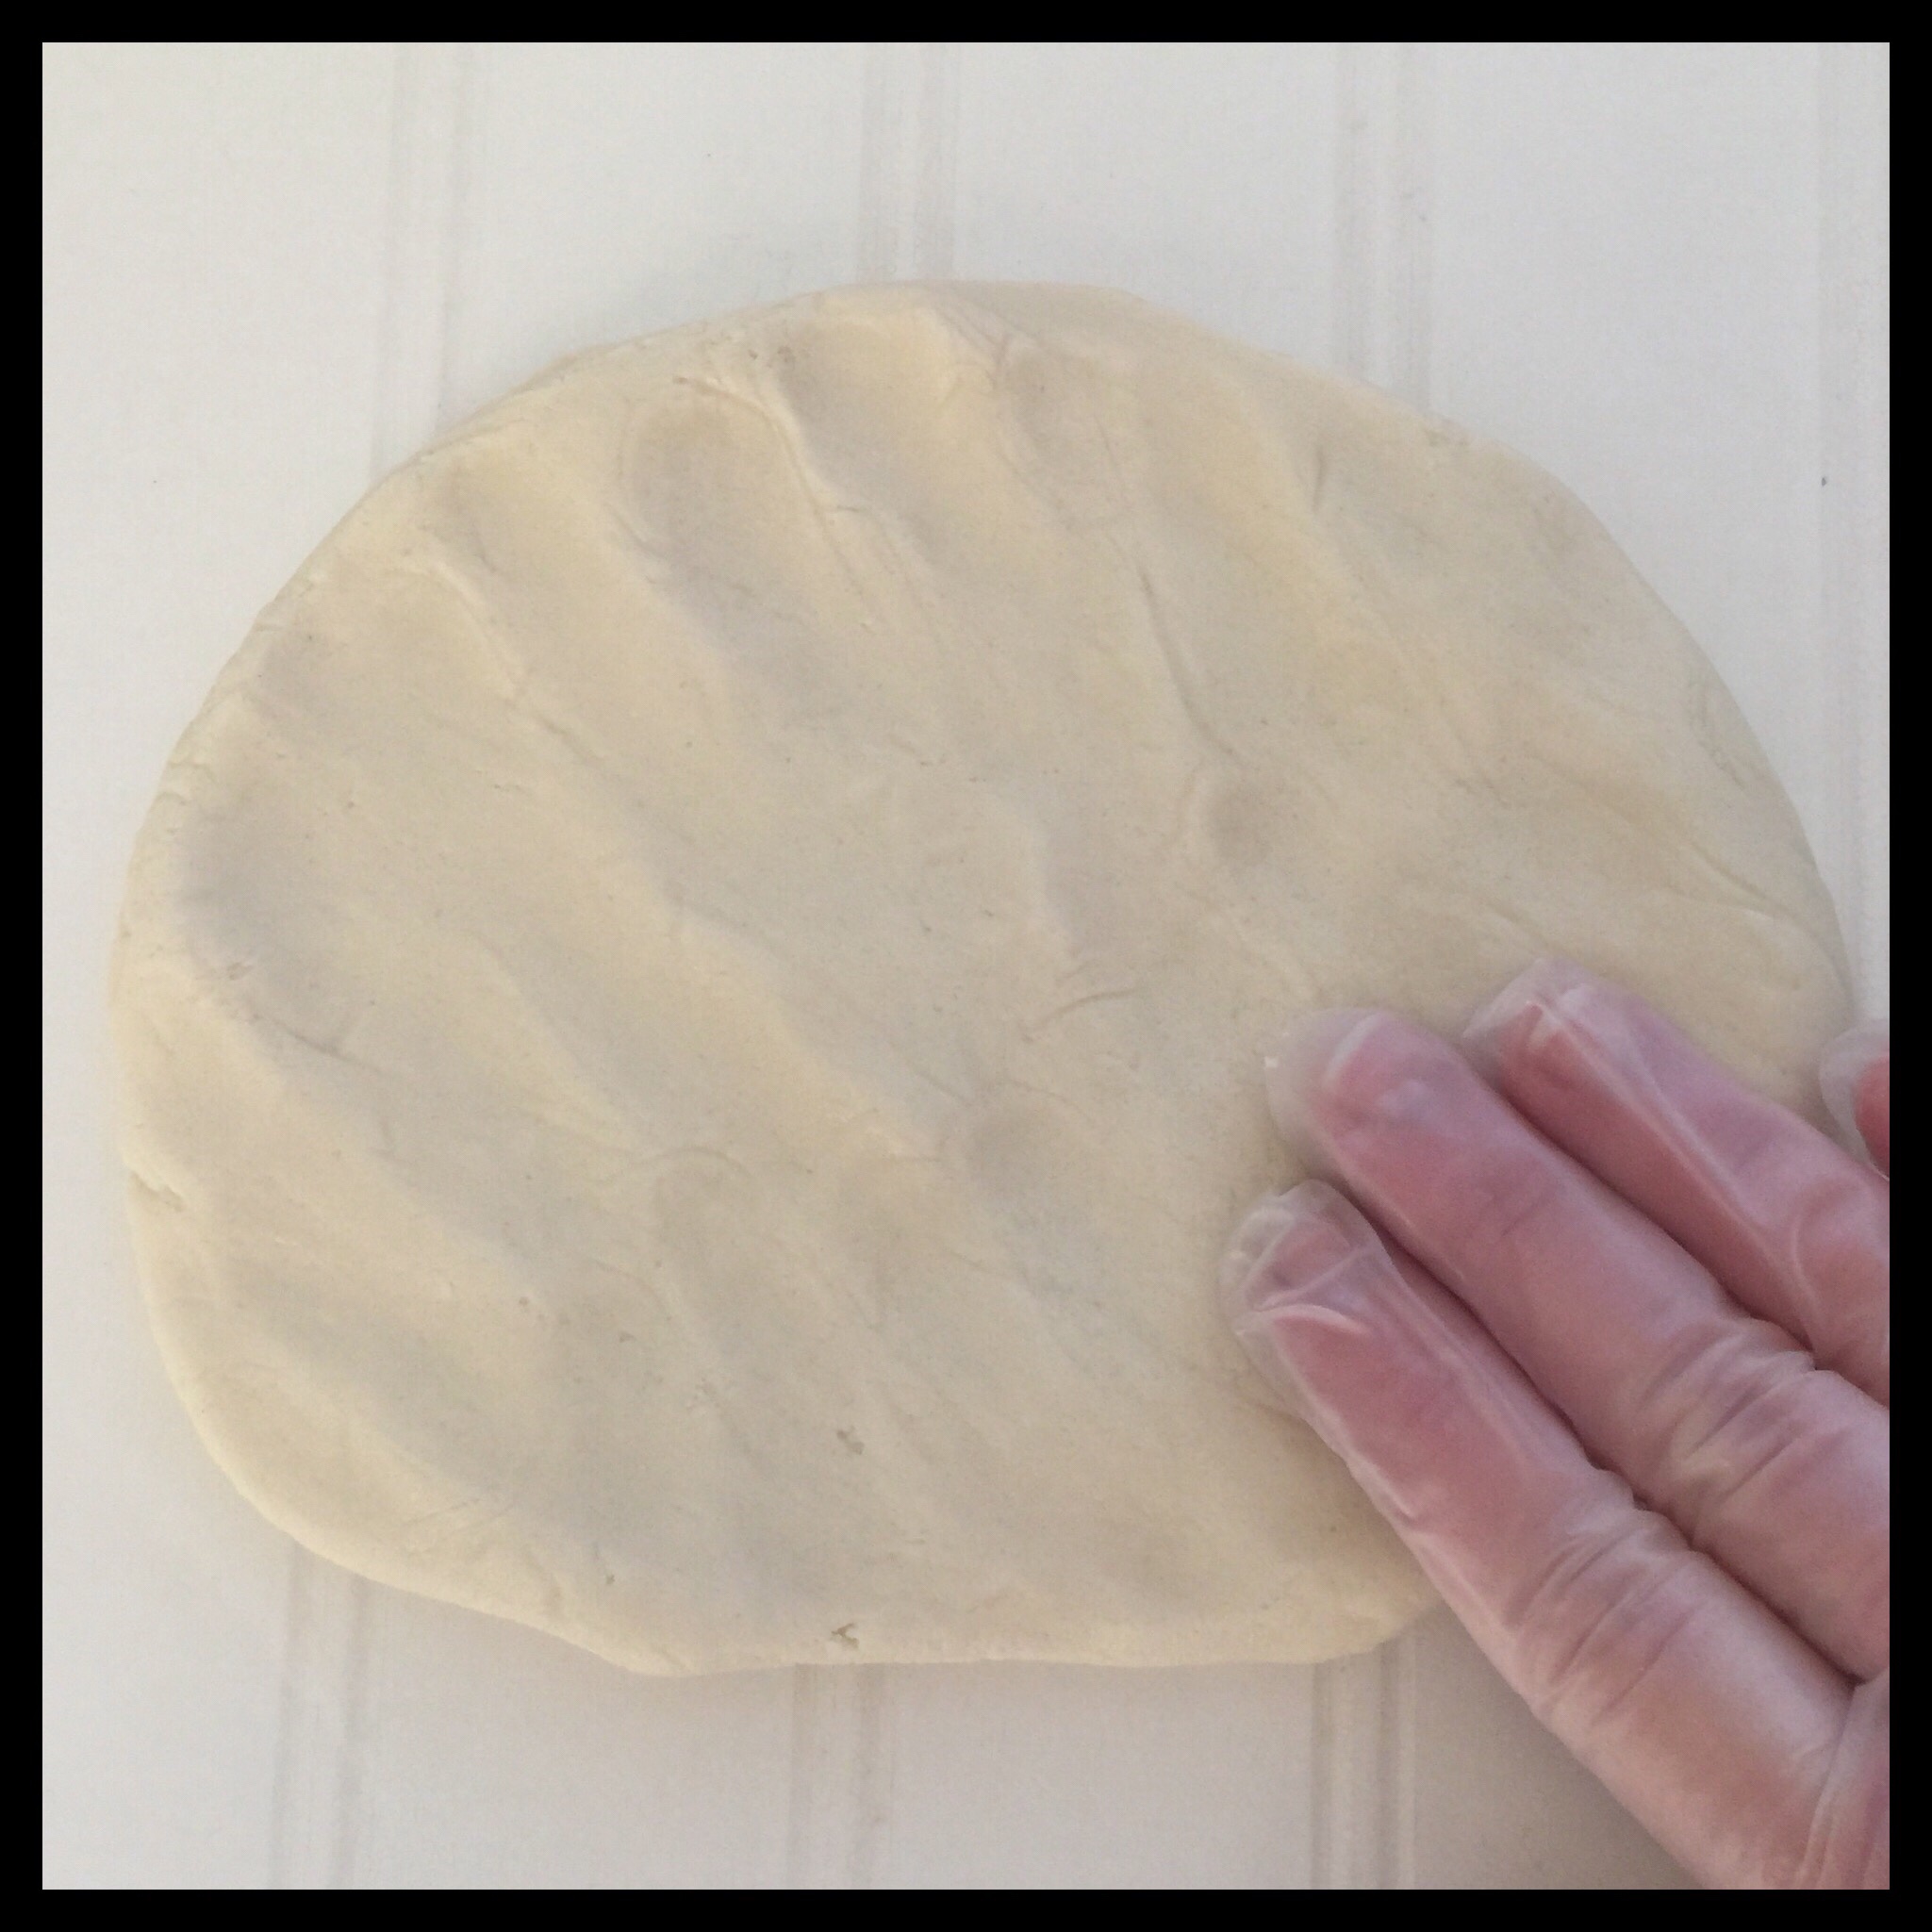
For patties, pat half of filling into a circle on a square of waxed paper. Top with another square of waxed paper, then roll out the filling until it is about 1/4″ thick:
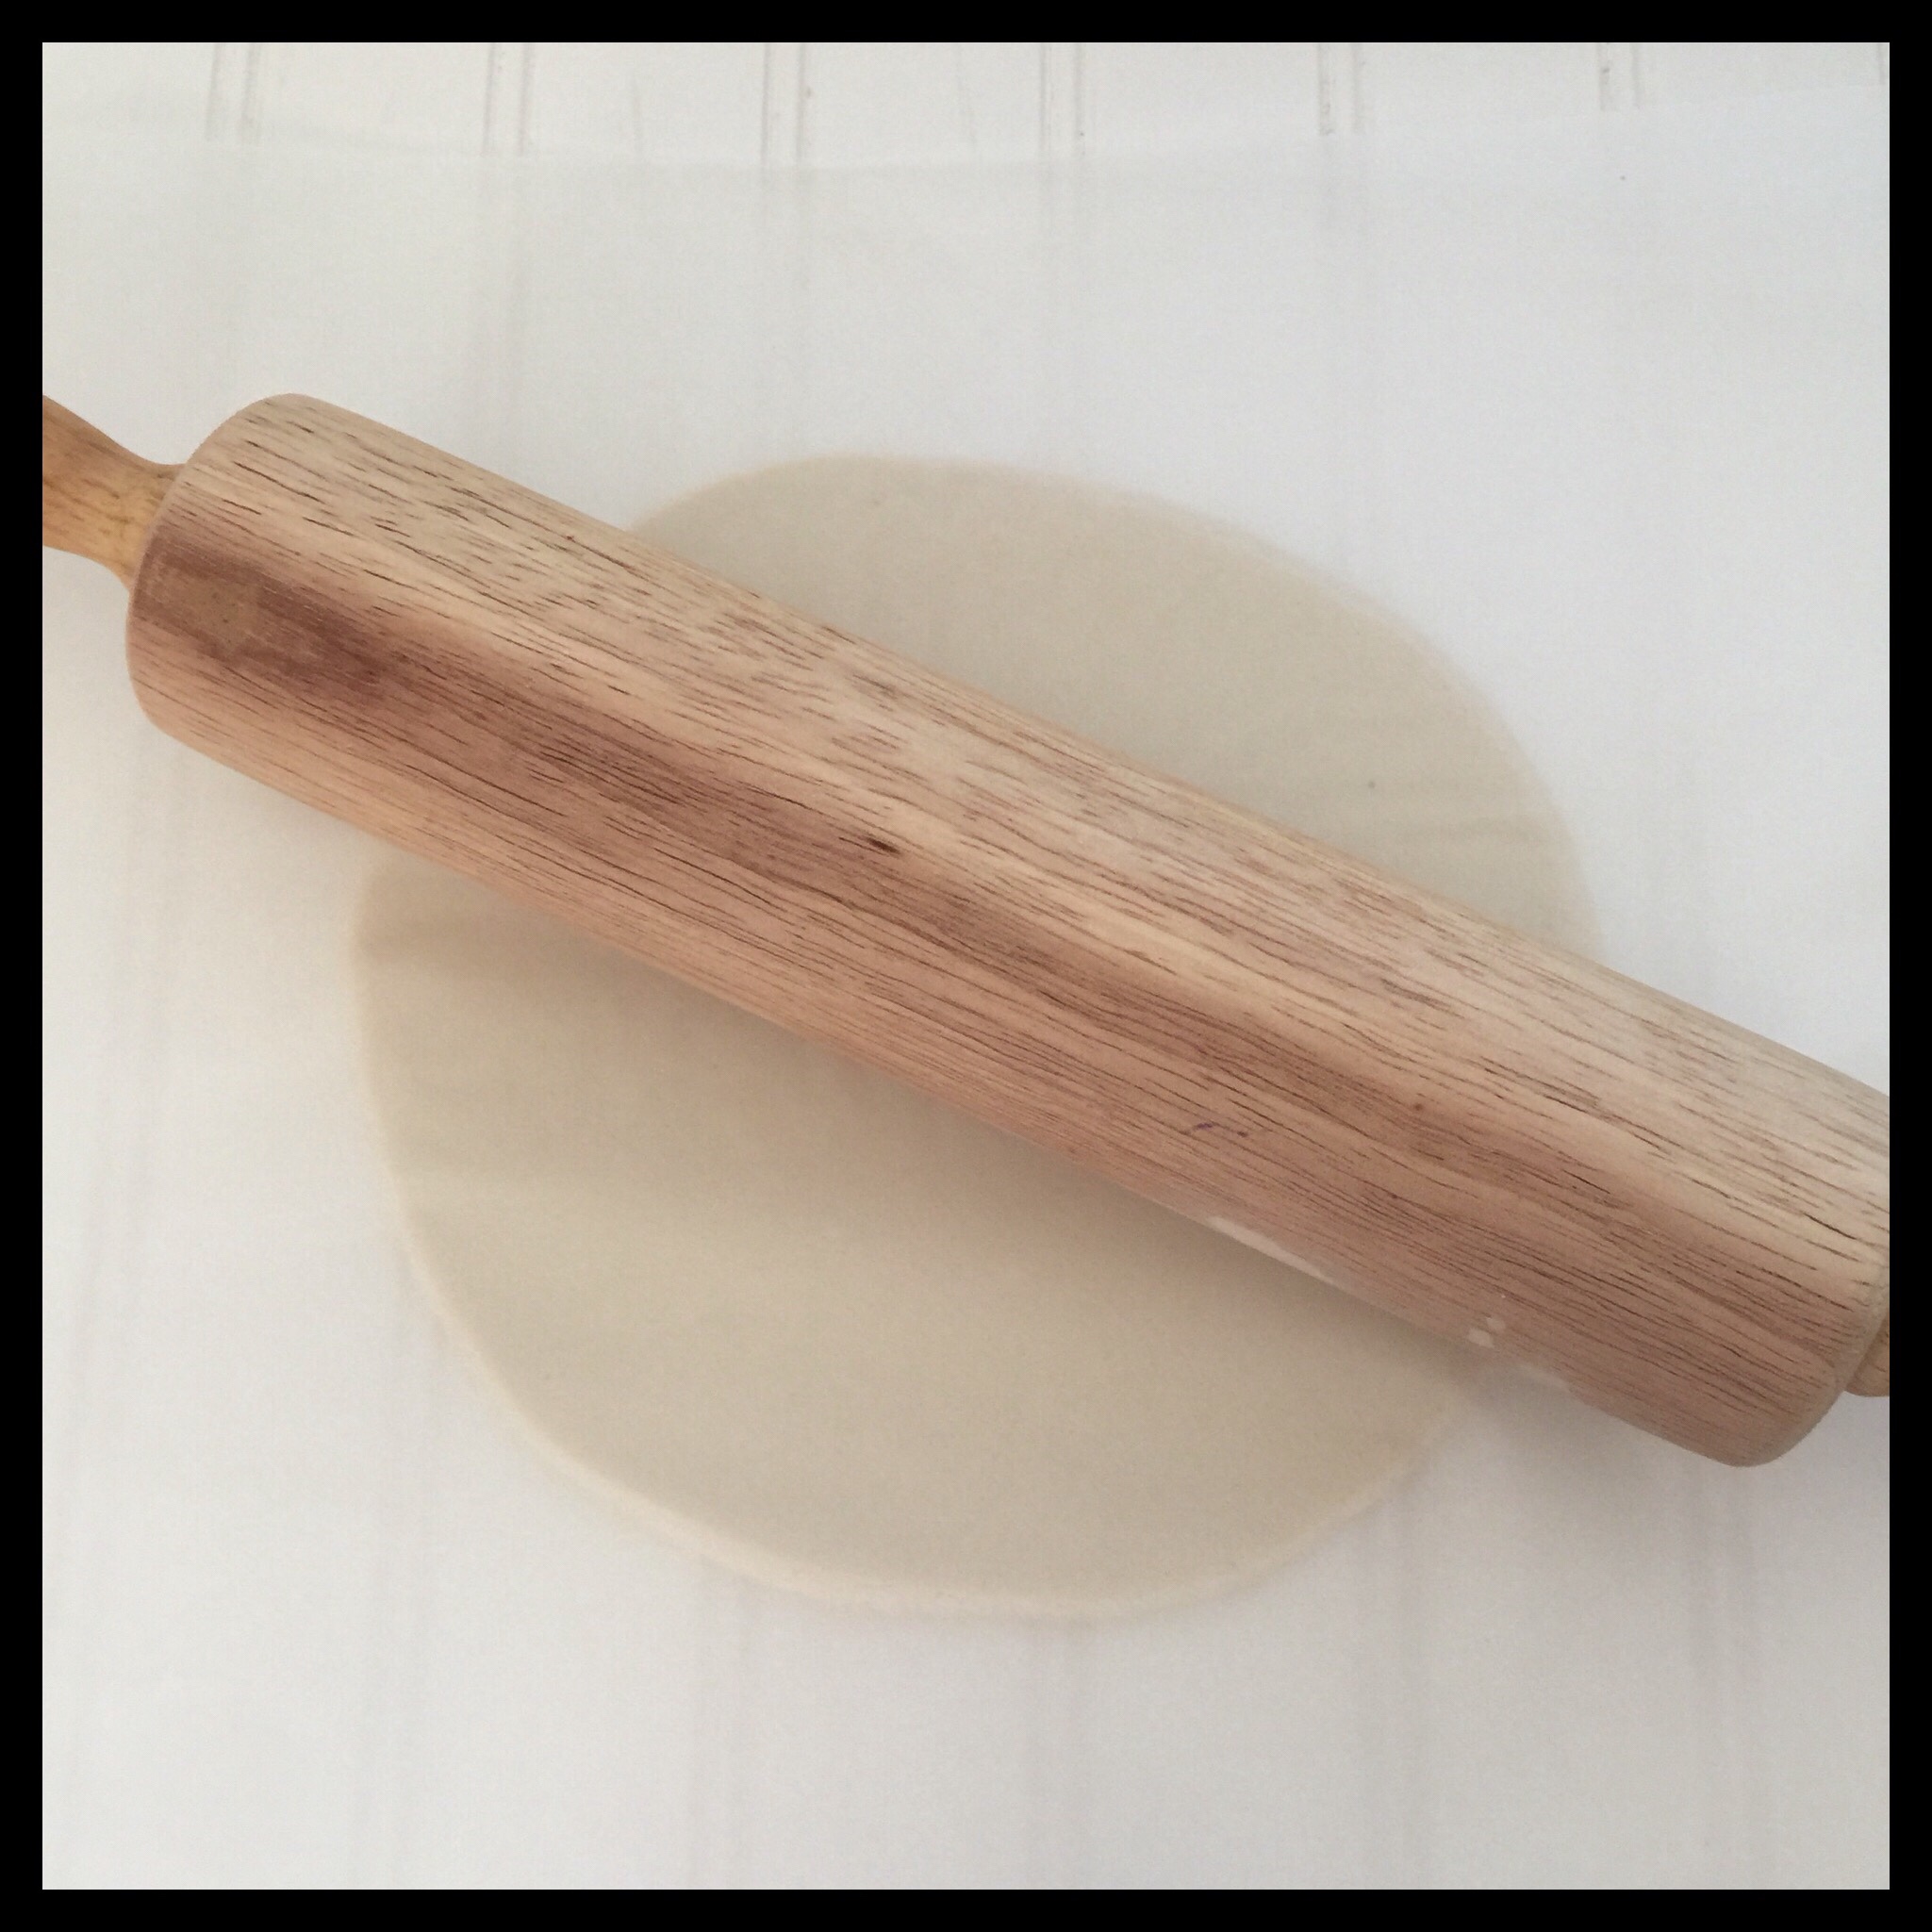
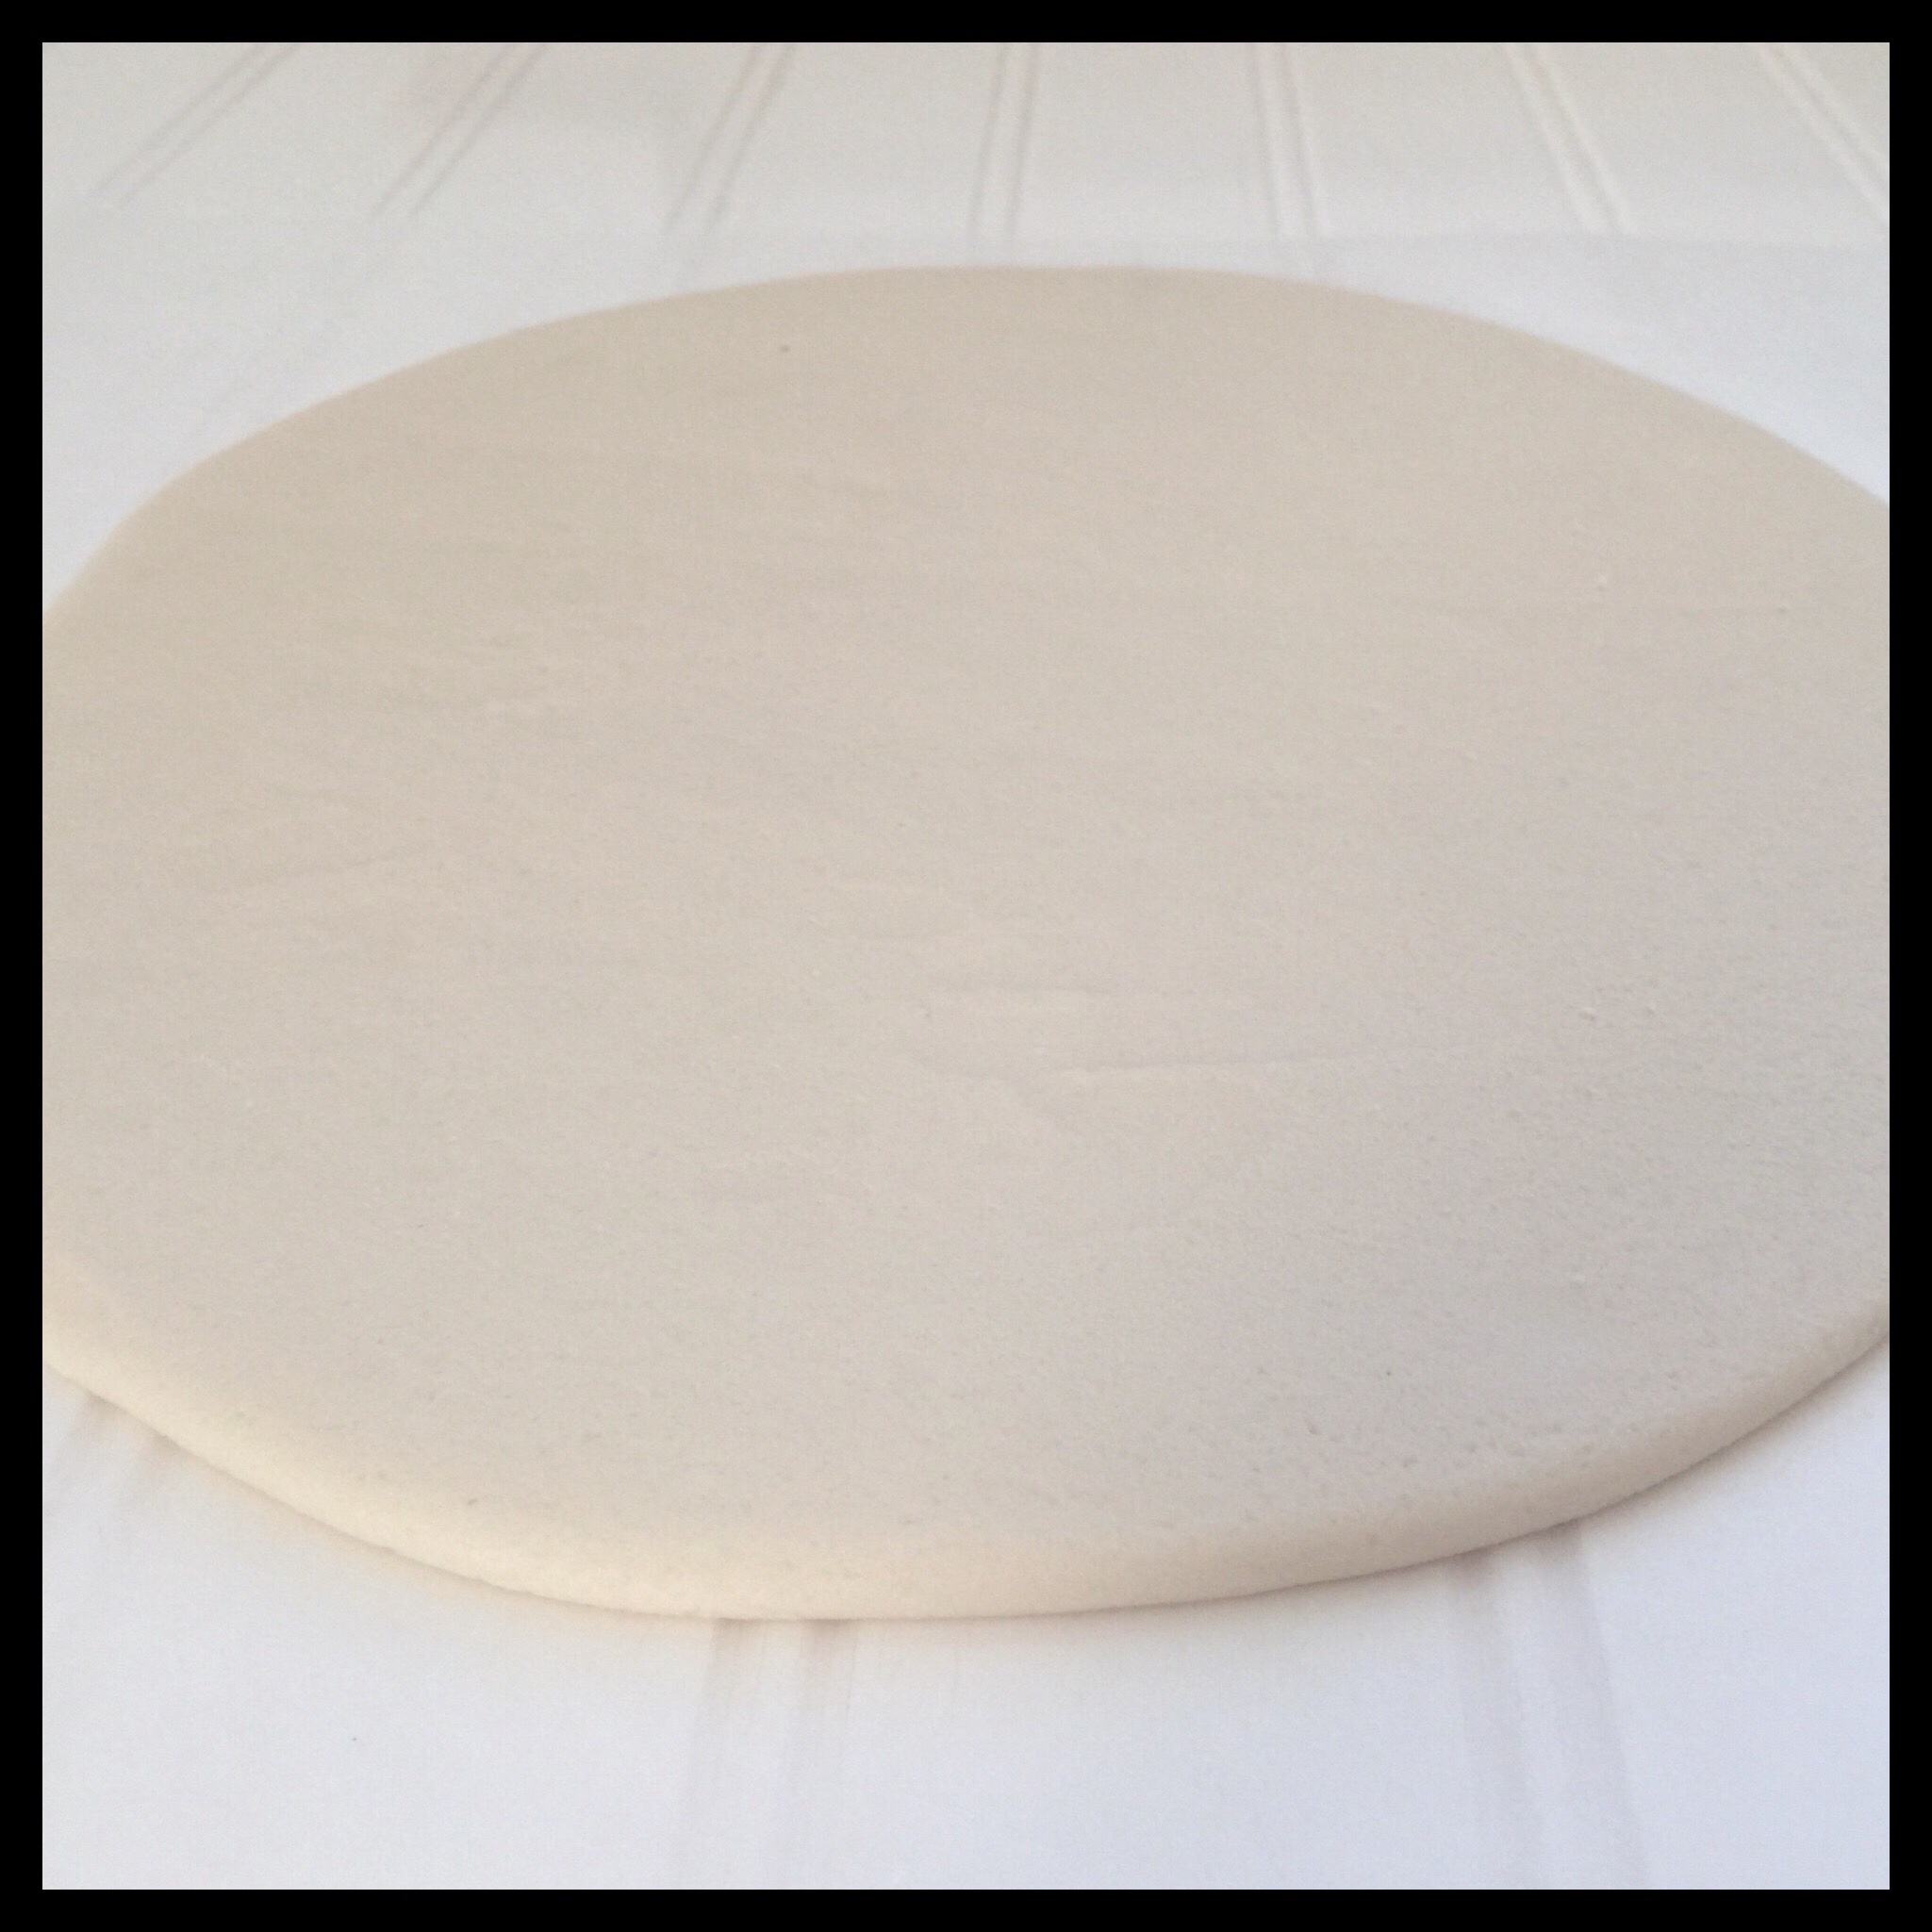
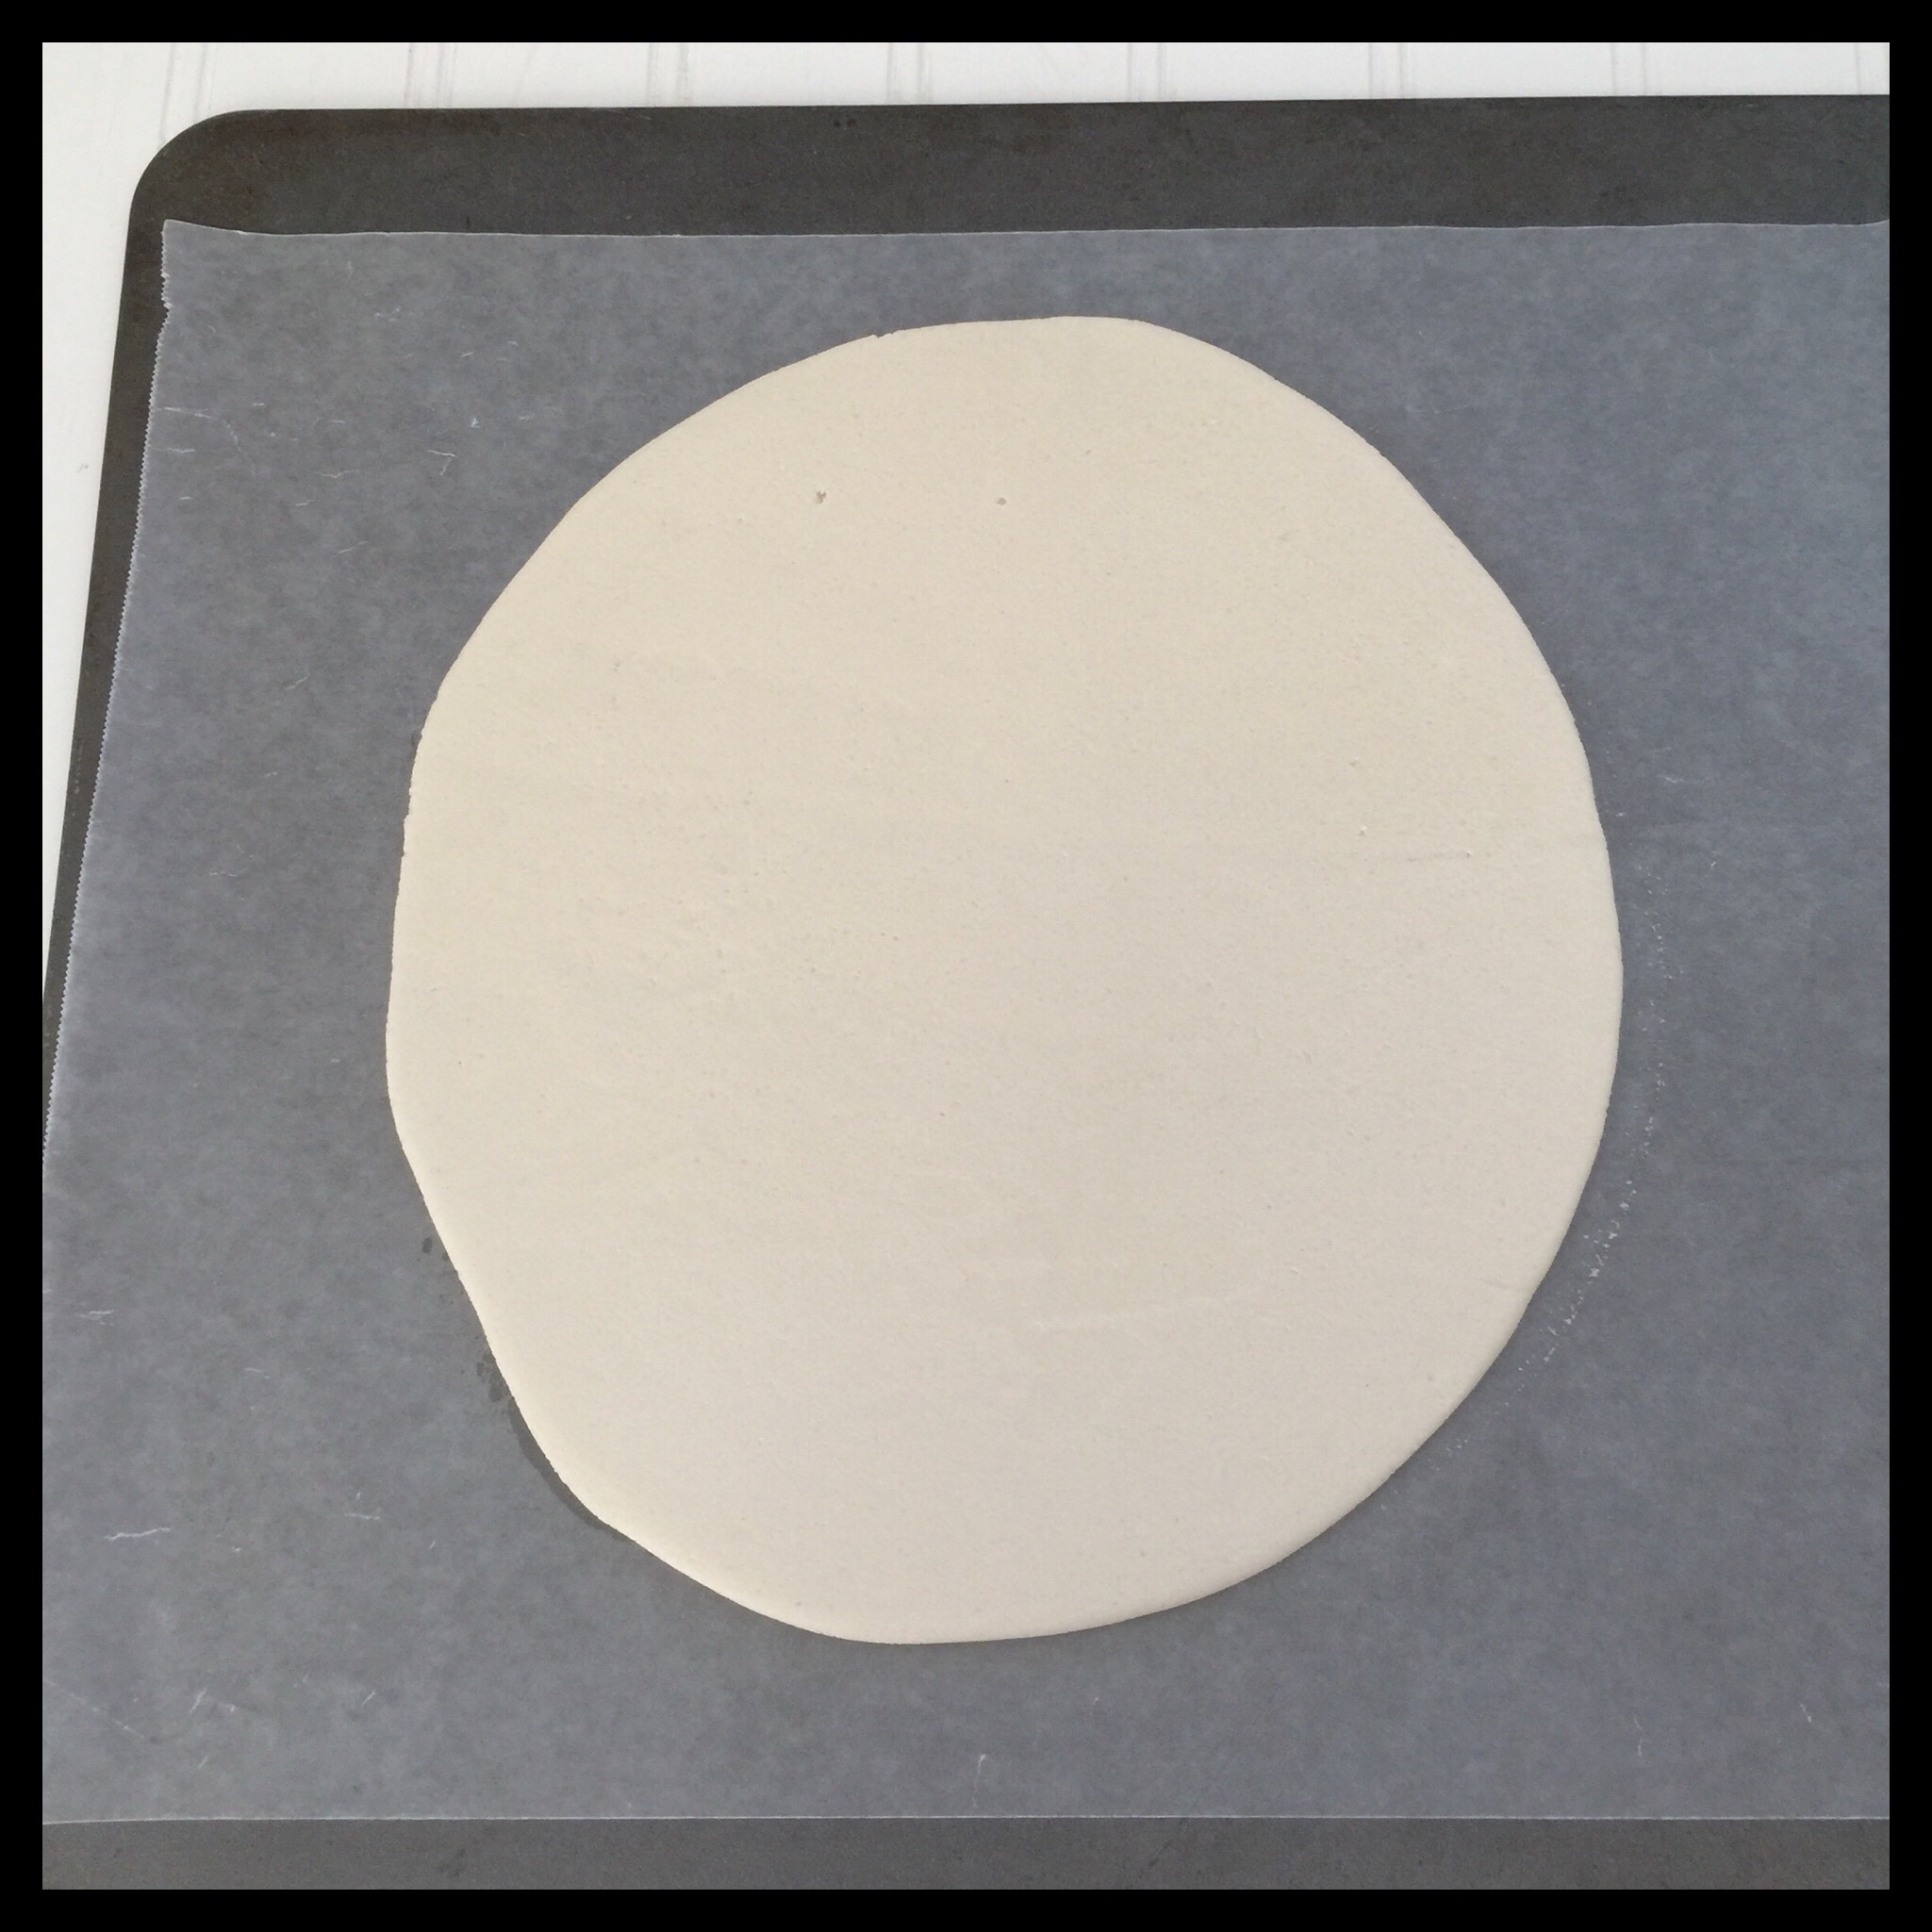
Transfer the rolled-out filling (still on the bottom piece of waxed paper) to a cookie sheet. Chill in the freezer for about five minutes.
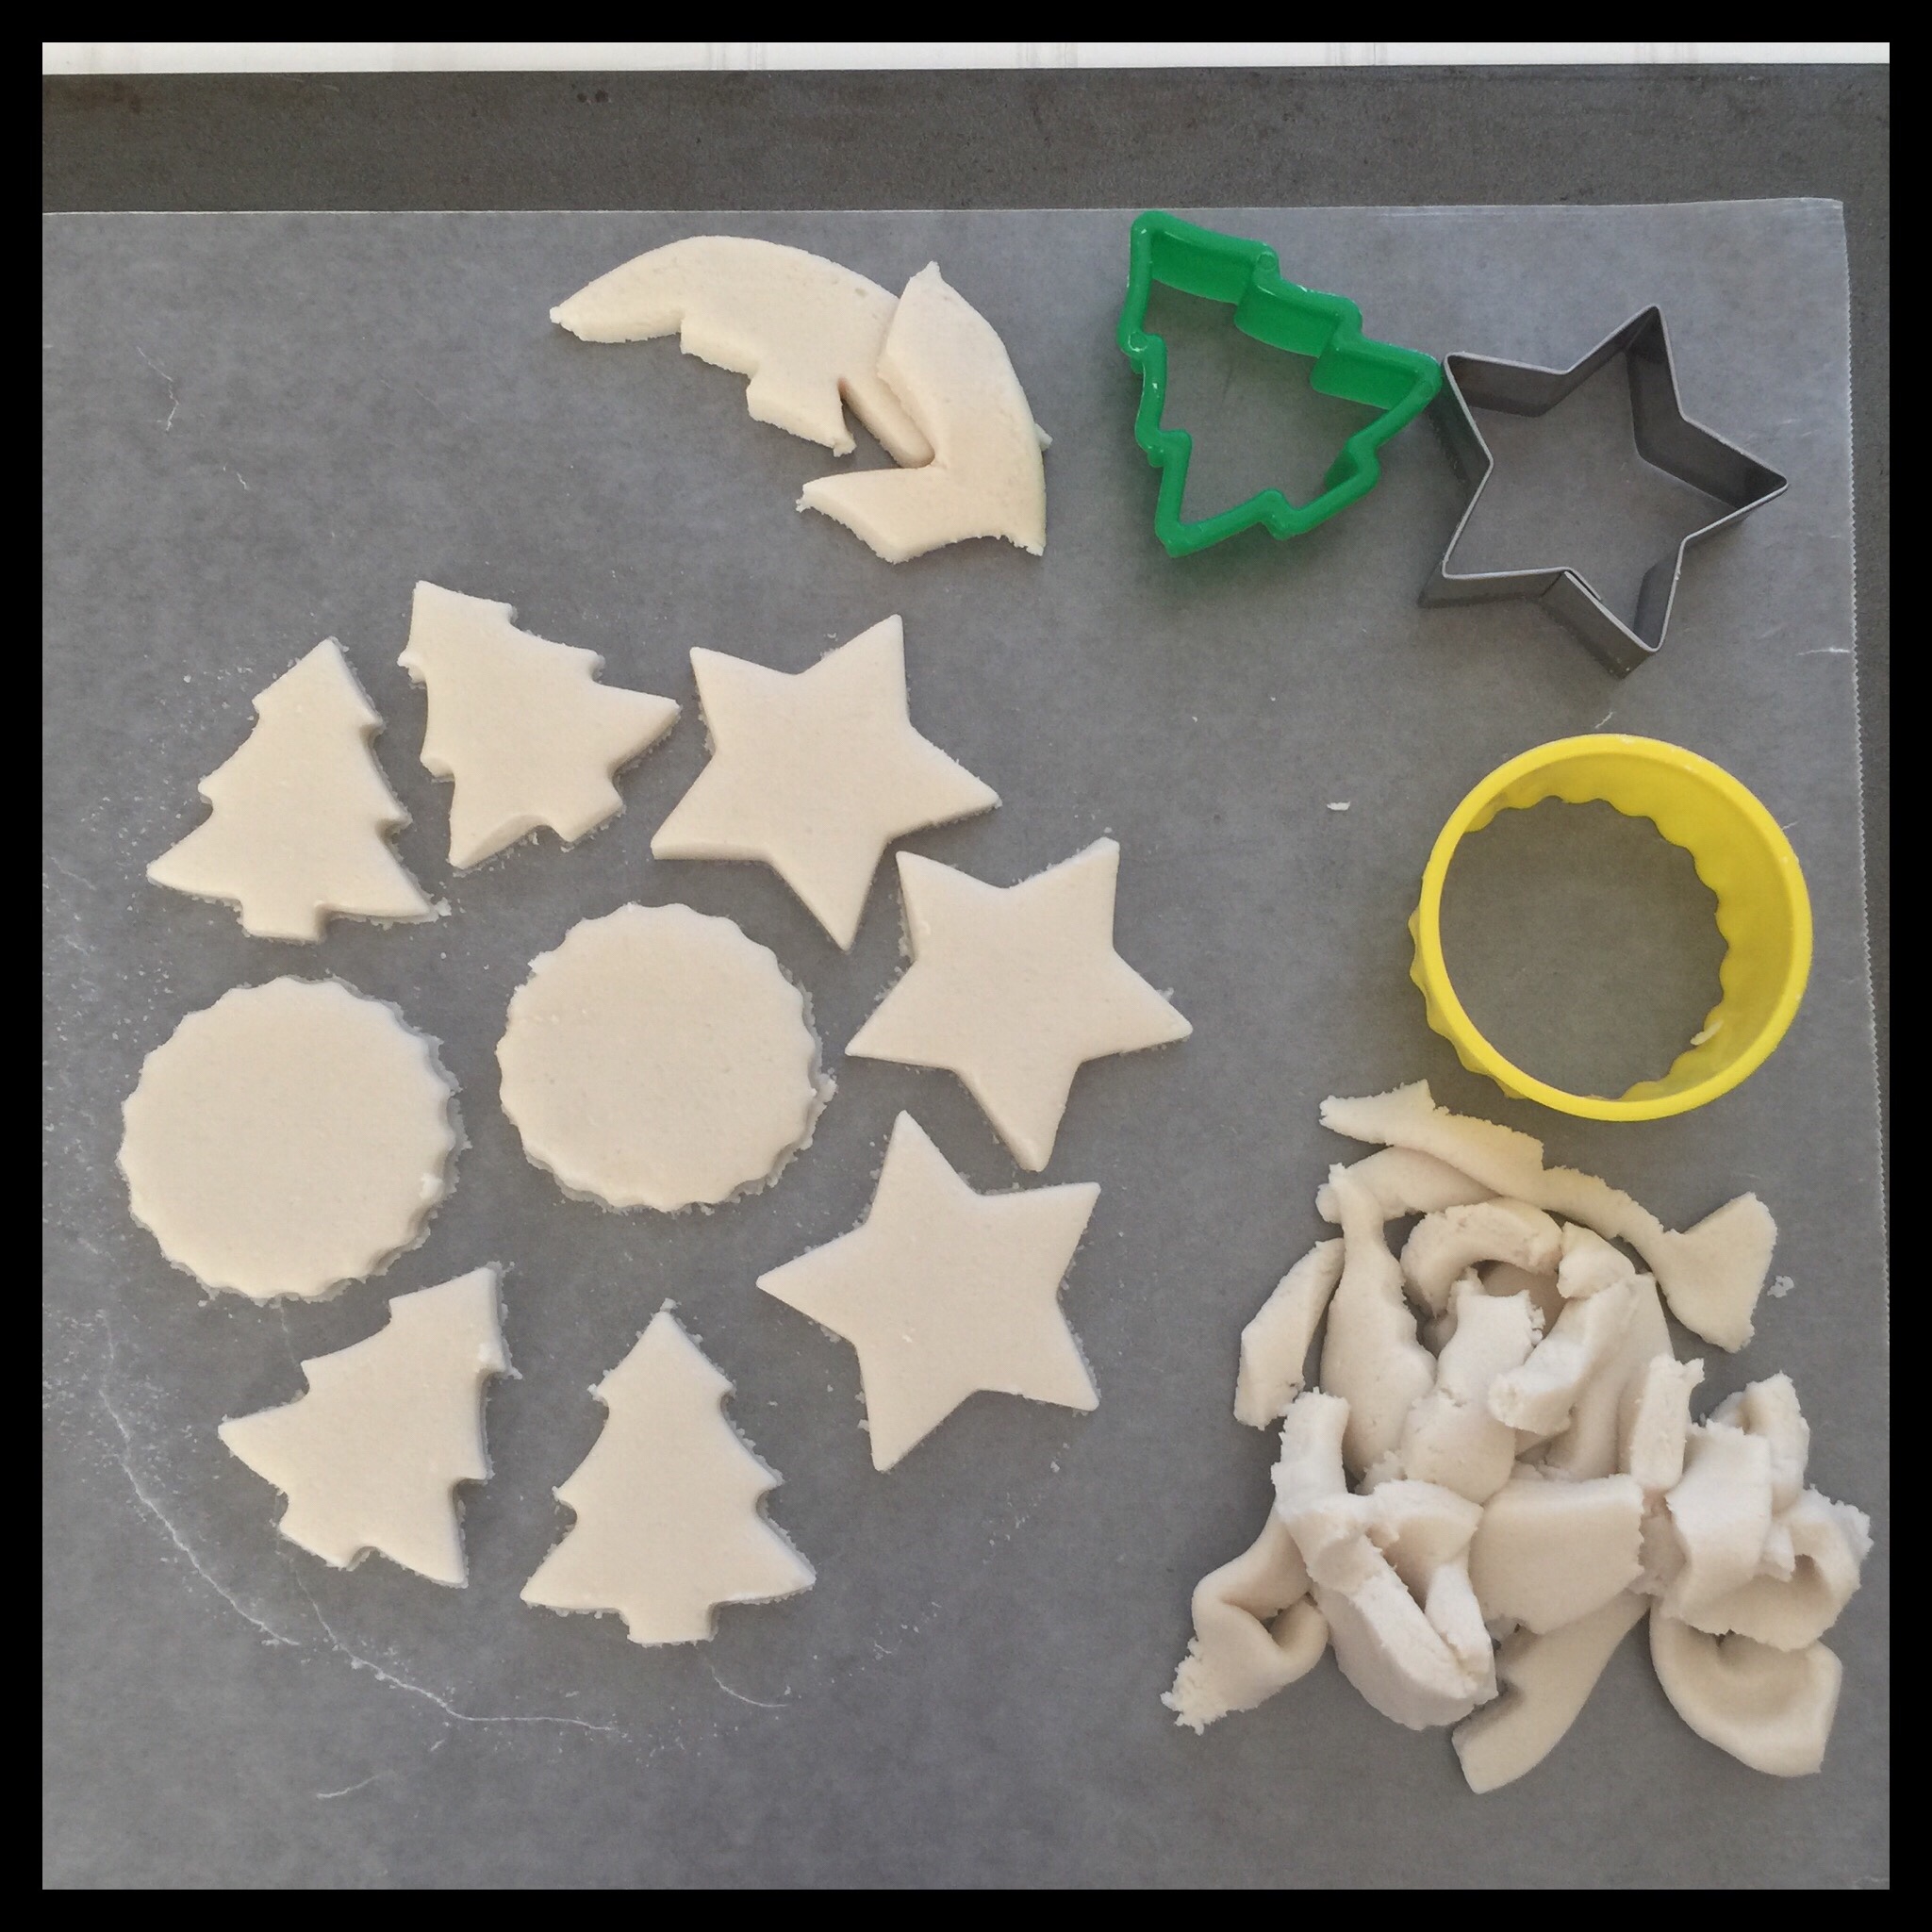
Use small cookie cutters (about 1 1/2″ tall) to cut out shapes:
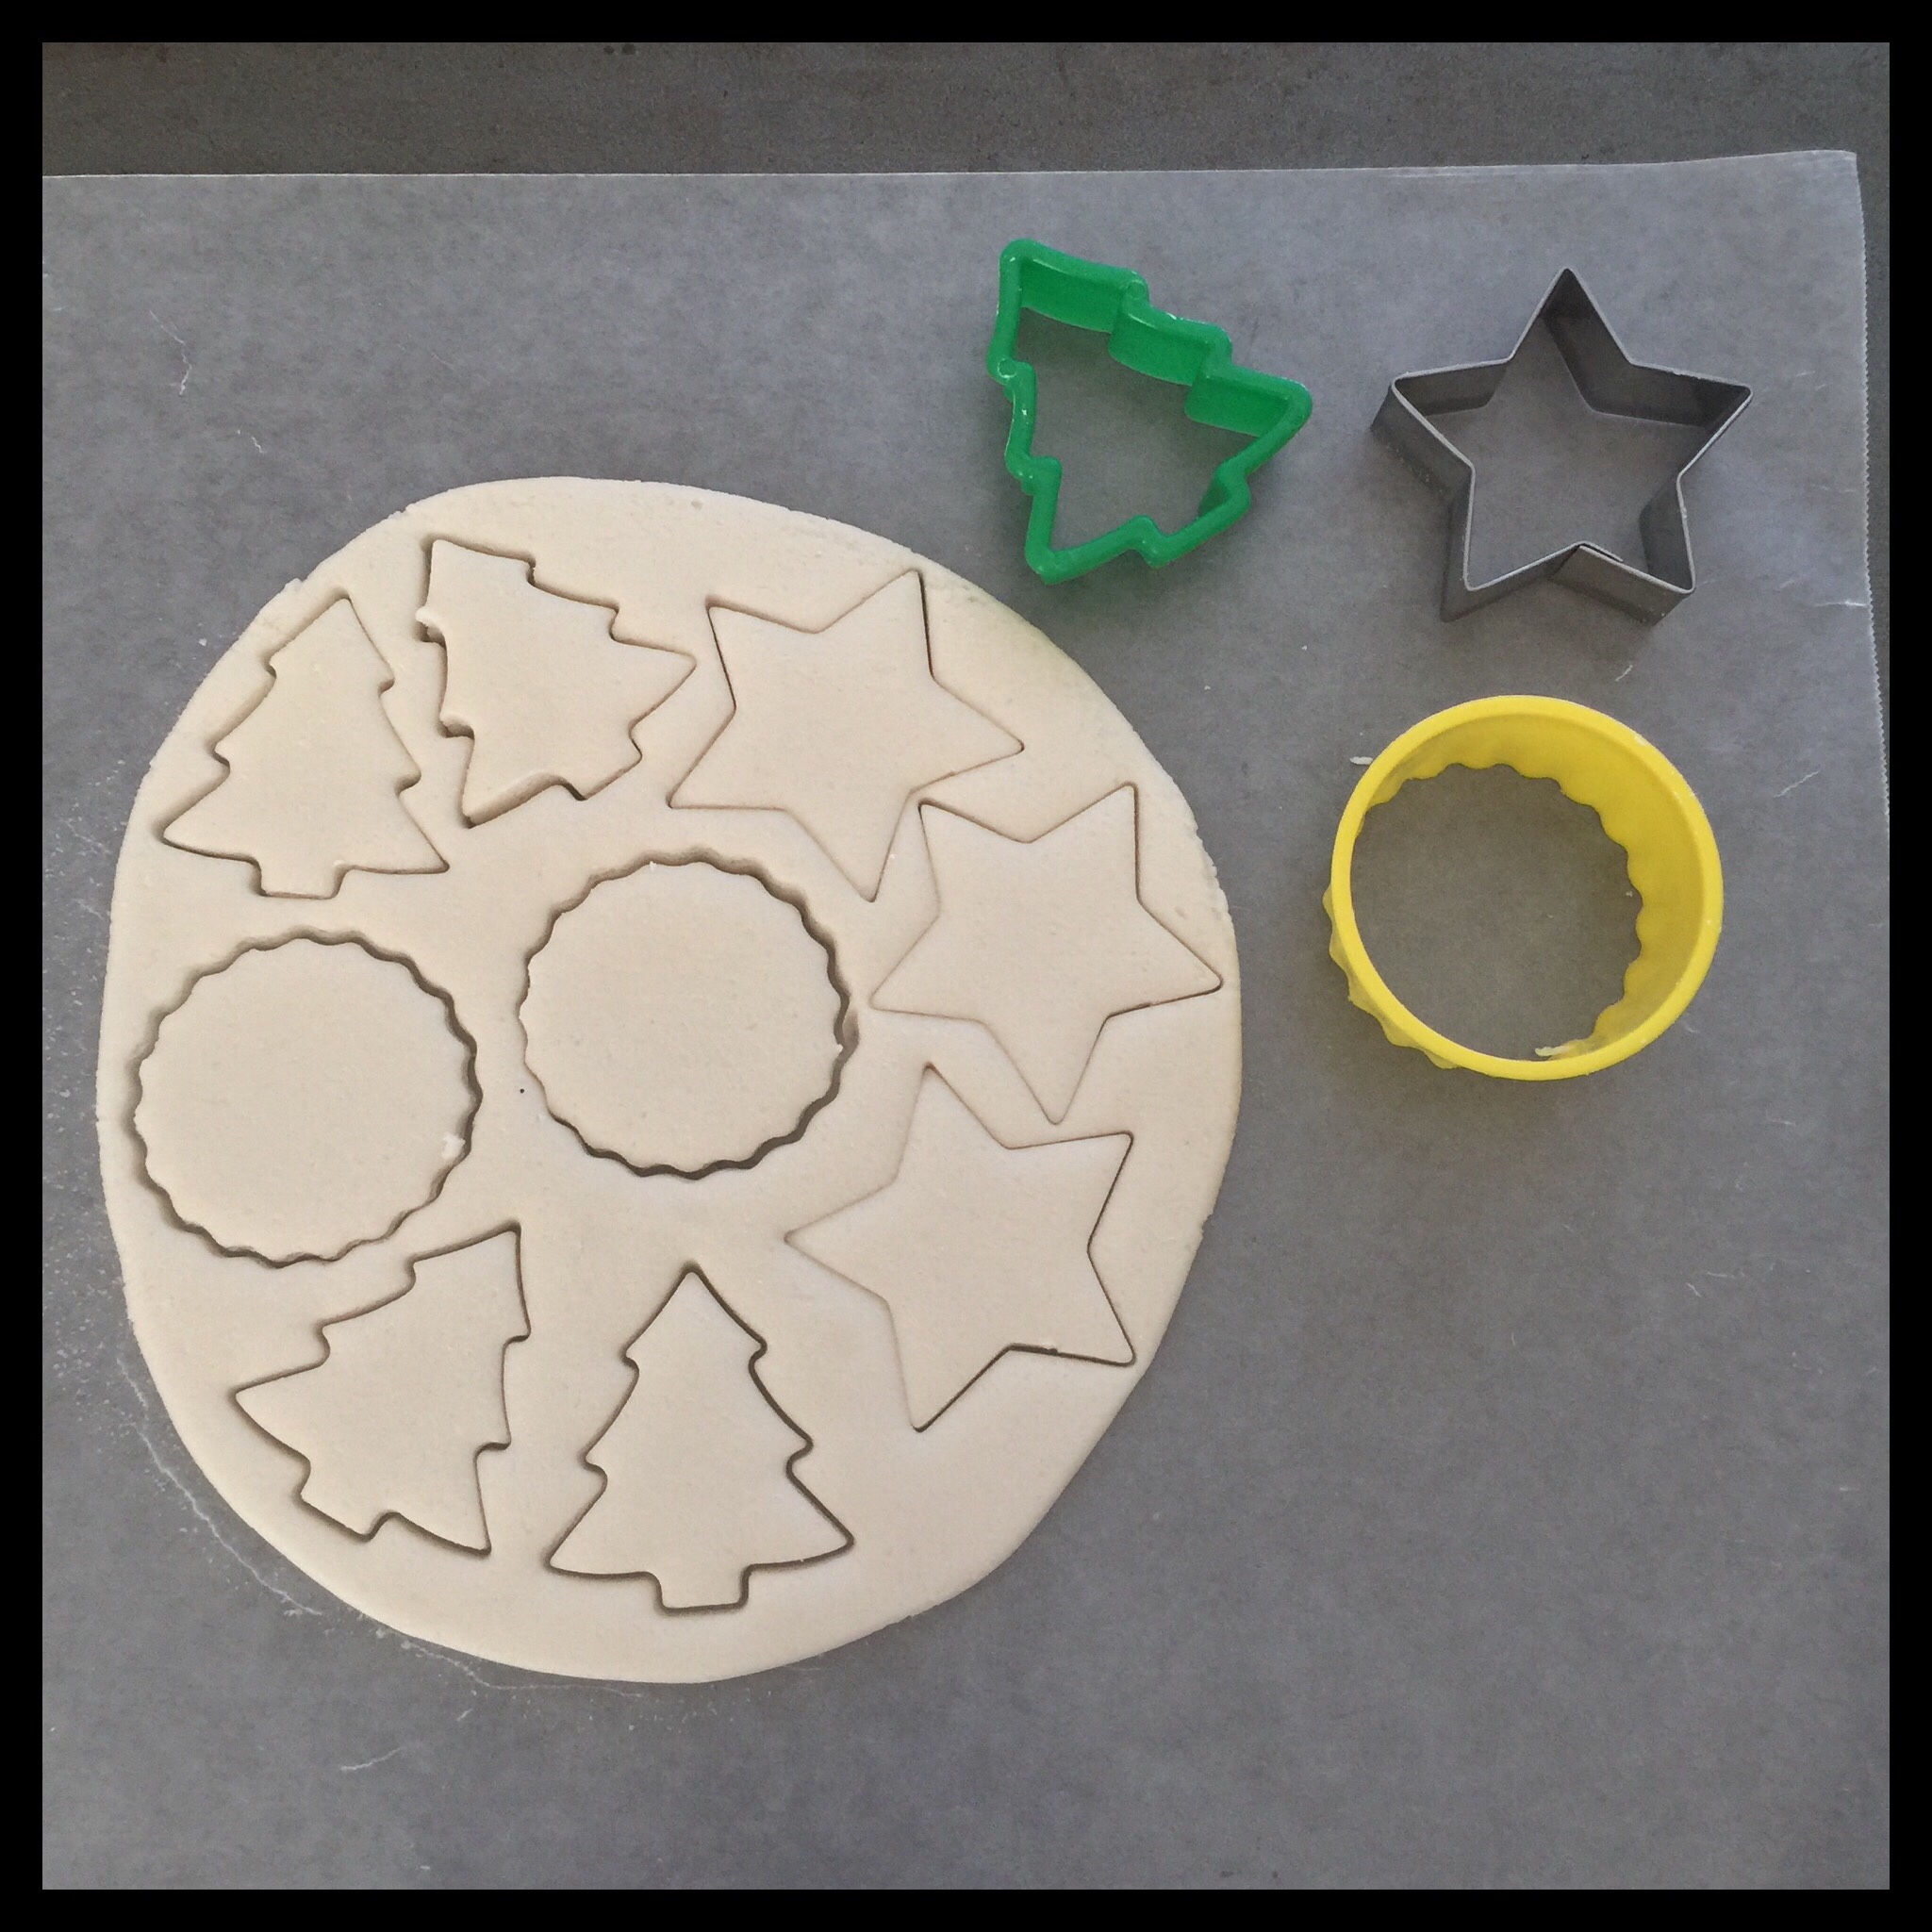
Peel off the scraps, and roll them out again (or use them to make truffles.) Chill the shapes (still on the waxed paper) in the fridge for 30 minutes. You can chill them longer if you need to, but then you will need to cover the shapes with plastic wrap to keep them from drying out.
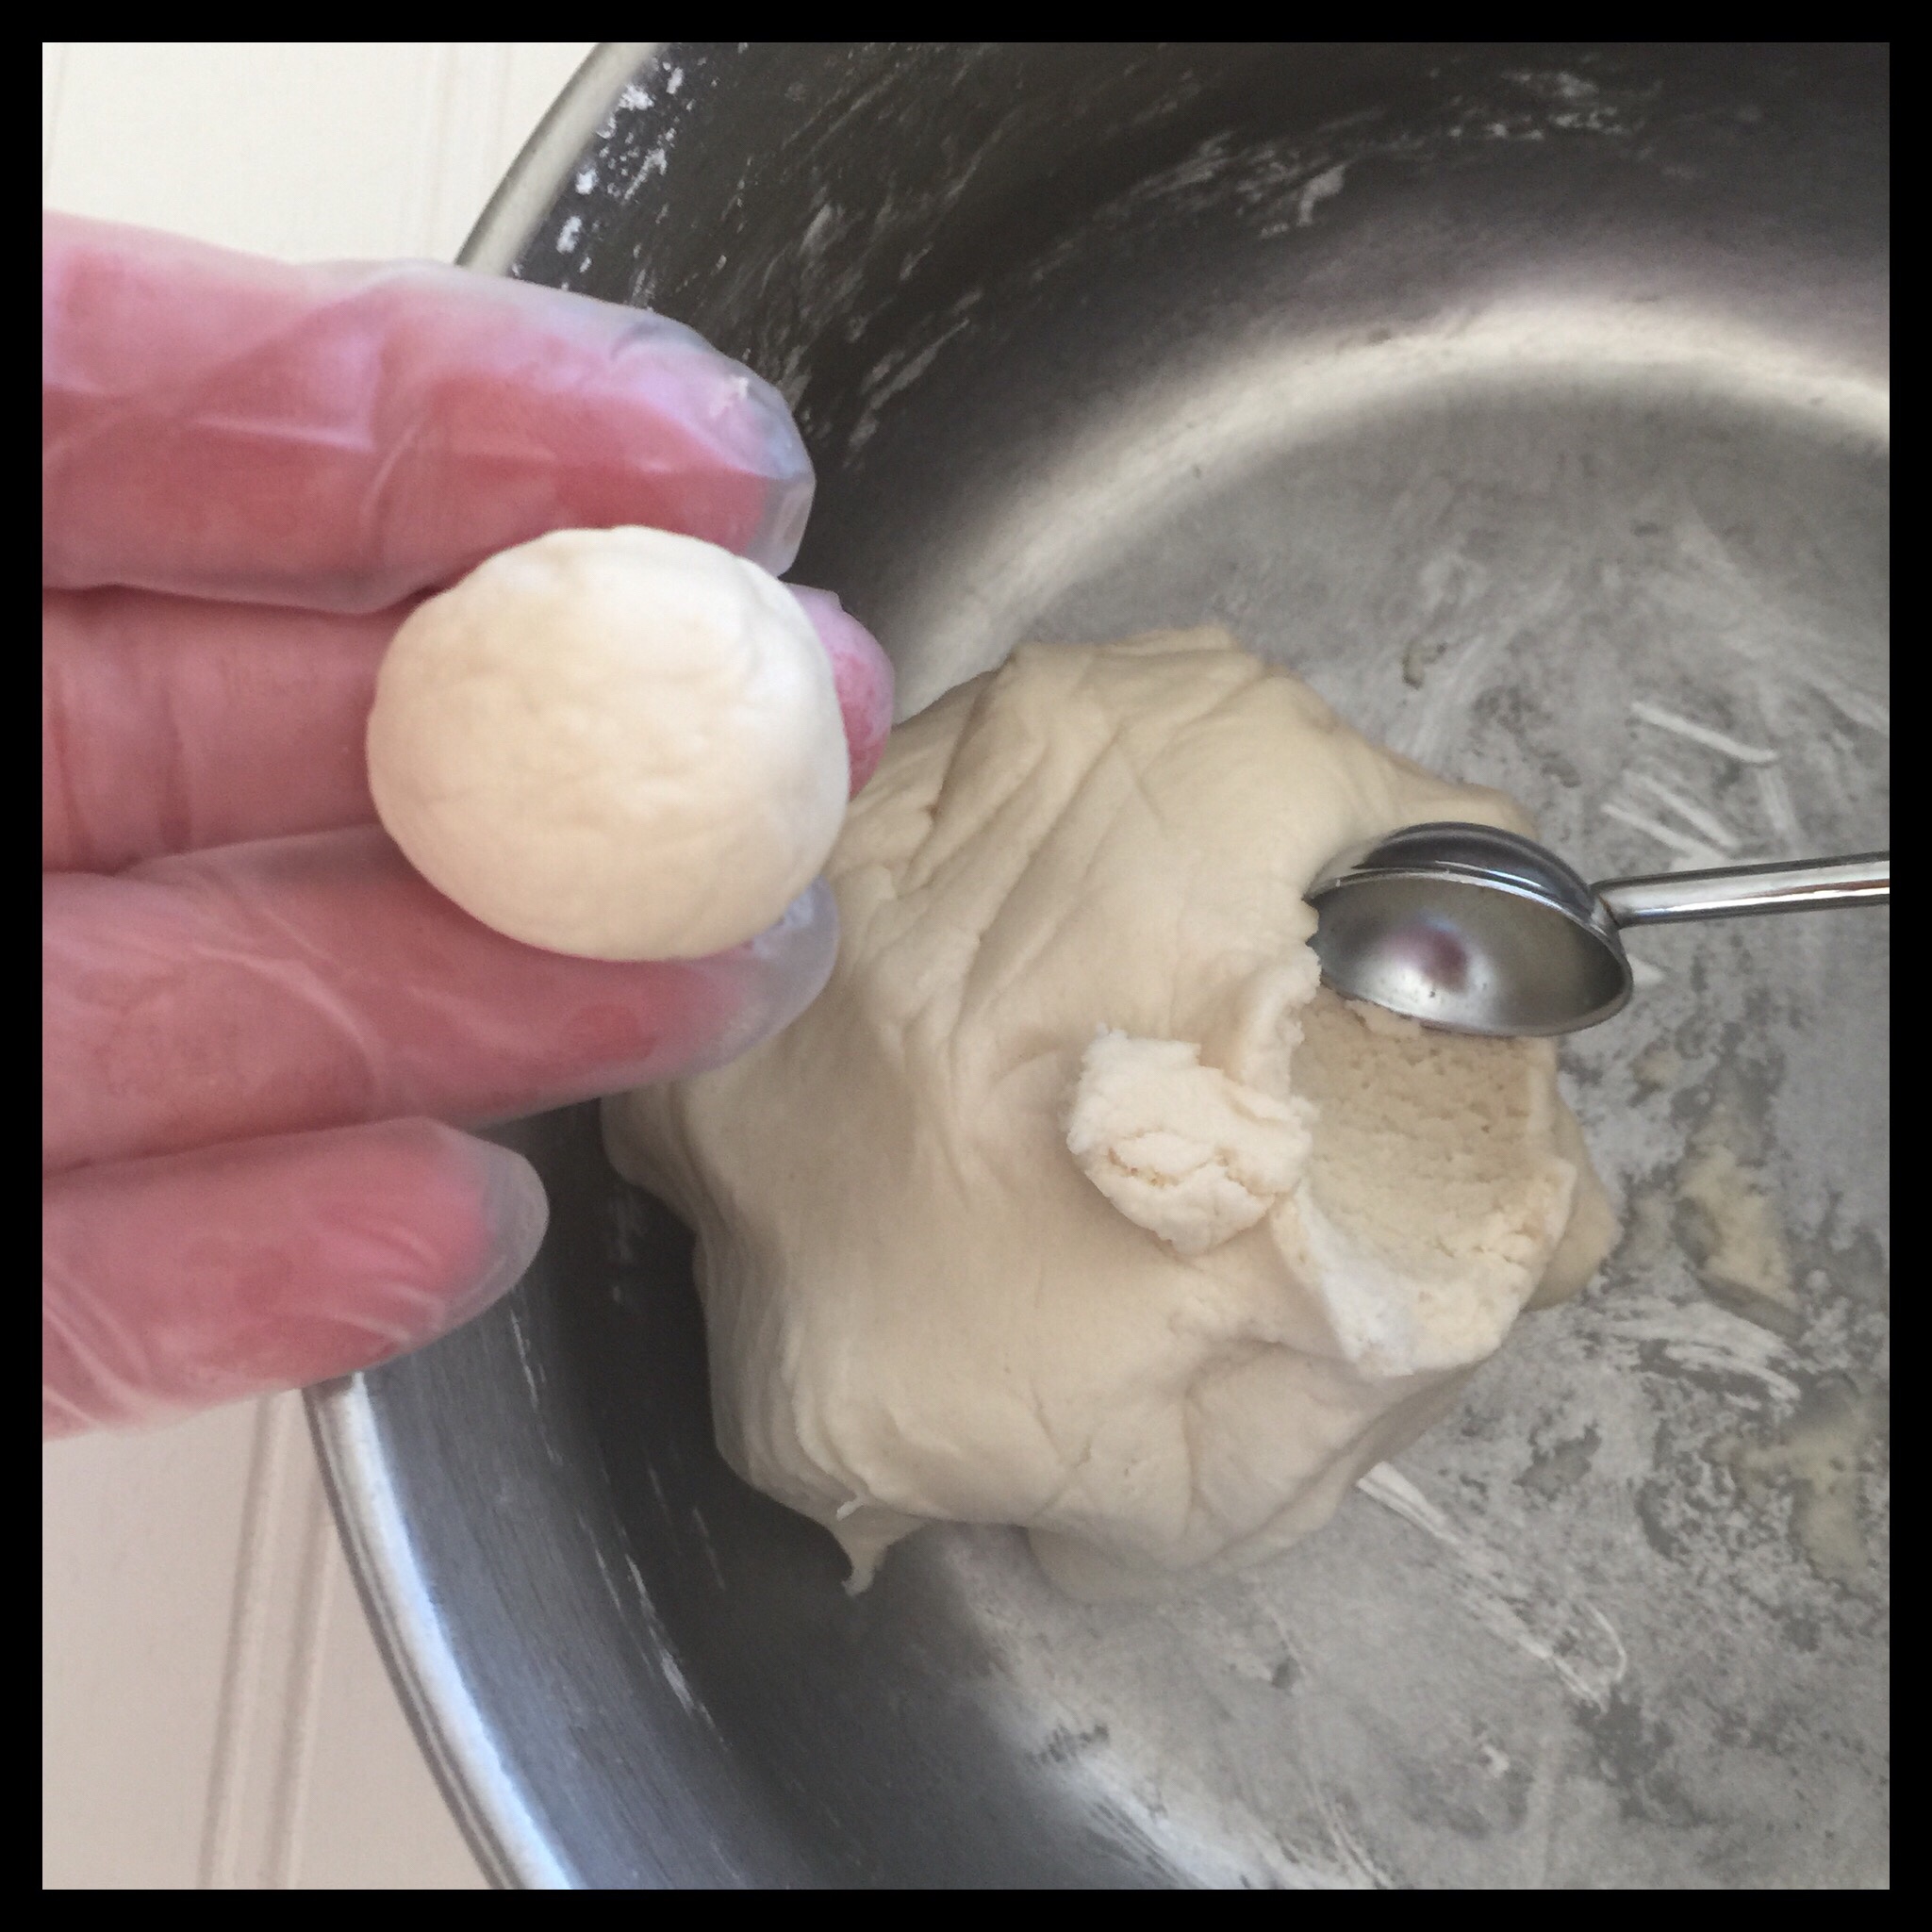
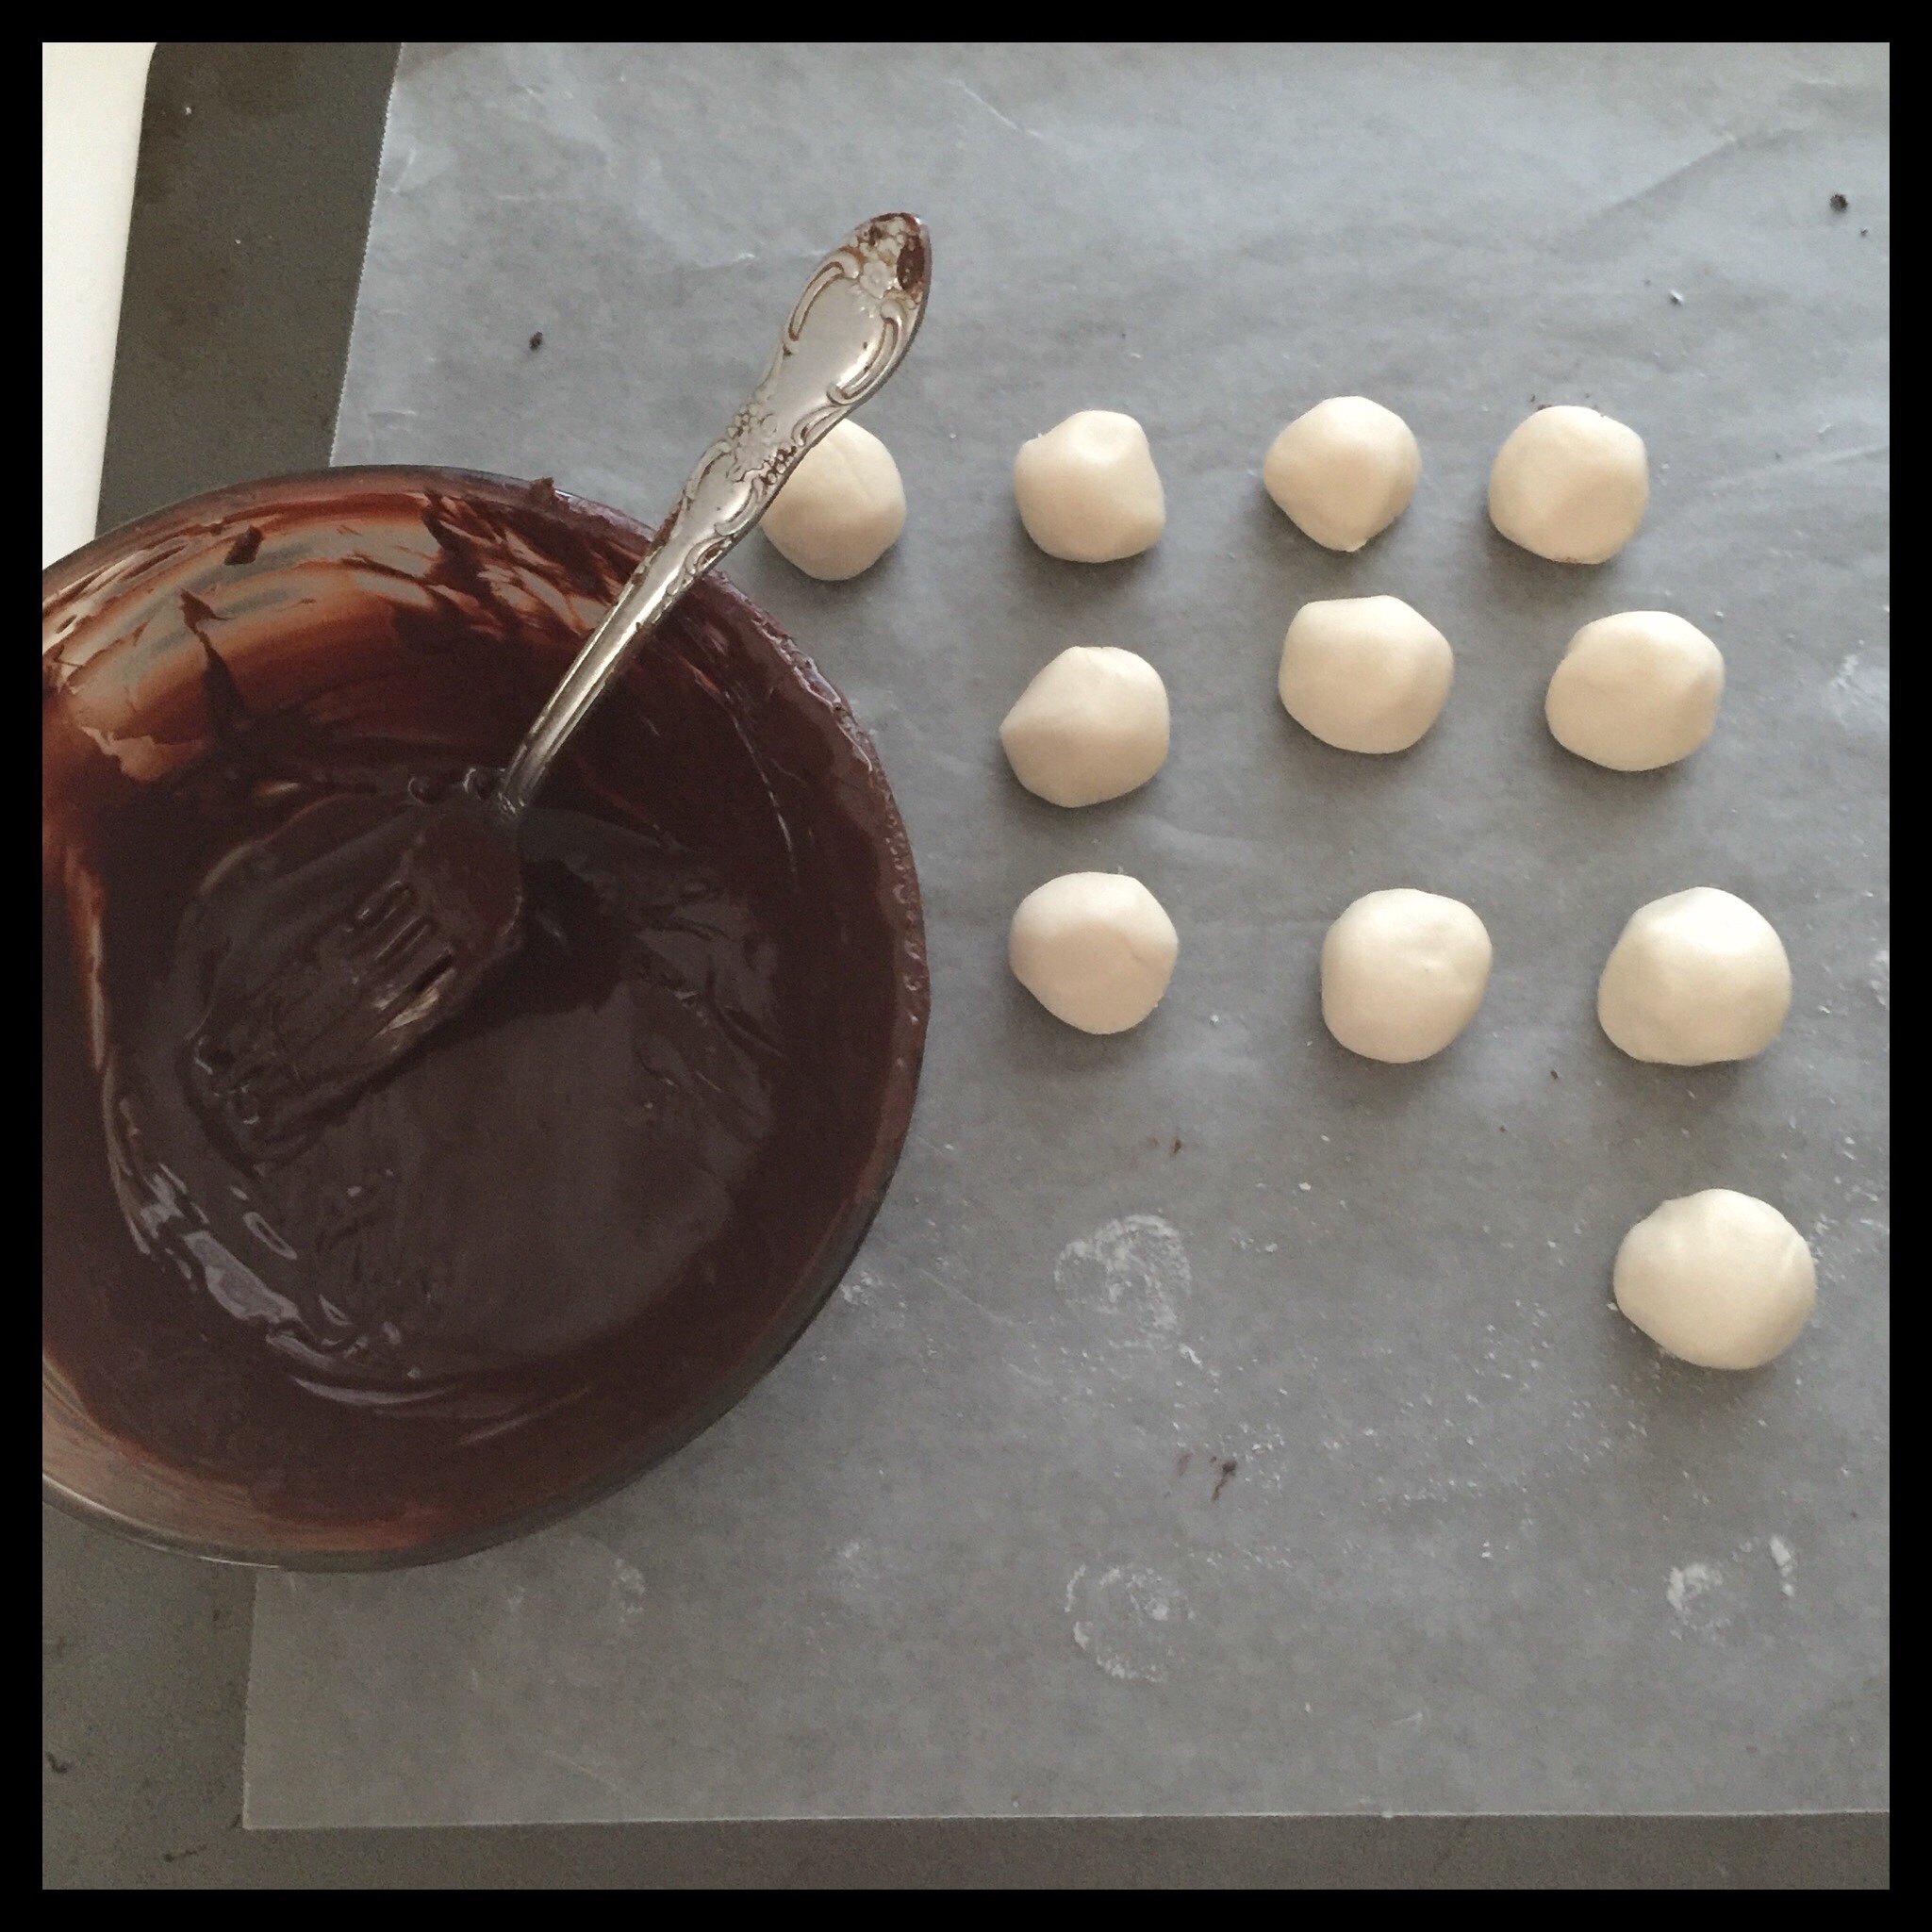
For truffles, scoop or pinch small balls of filling. You want them to be about one inch in diameter. Roll each ball in your hands to shape it, then place it on a sheet of waxed paper. Chill the balls (still on the waxed paper) in the fridge for 30 minutes. You can chill them longer if you need to, but then you will need to cover the shapes with plastic wrap to keep them from drying out.
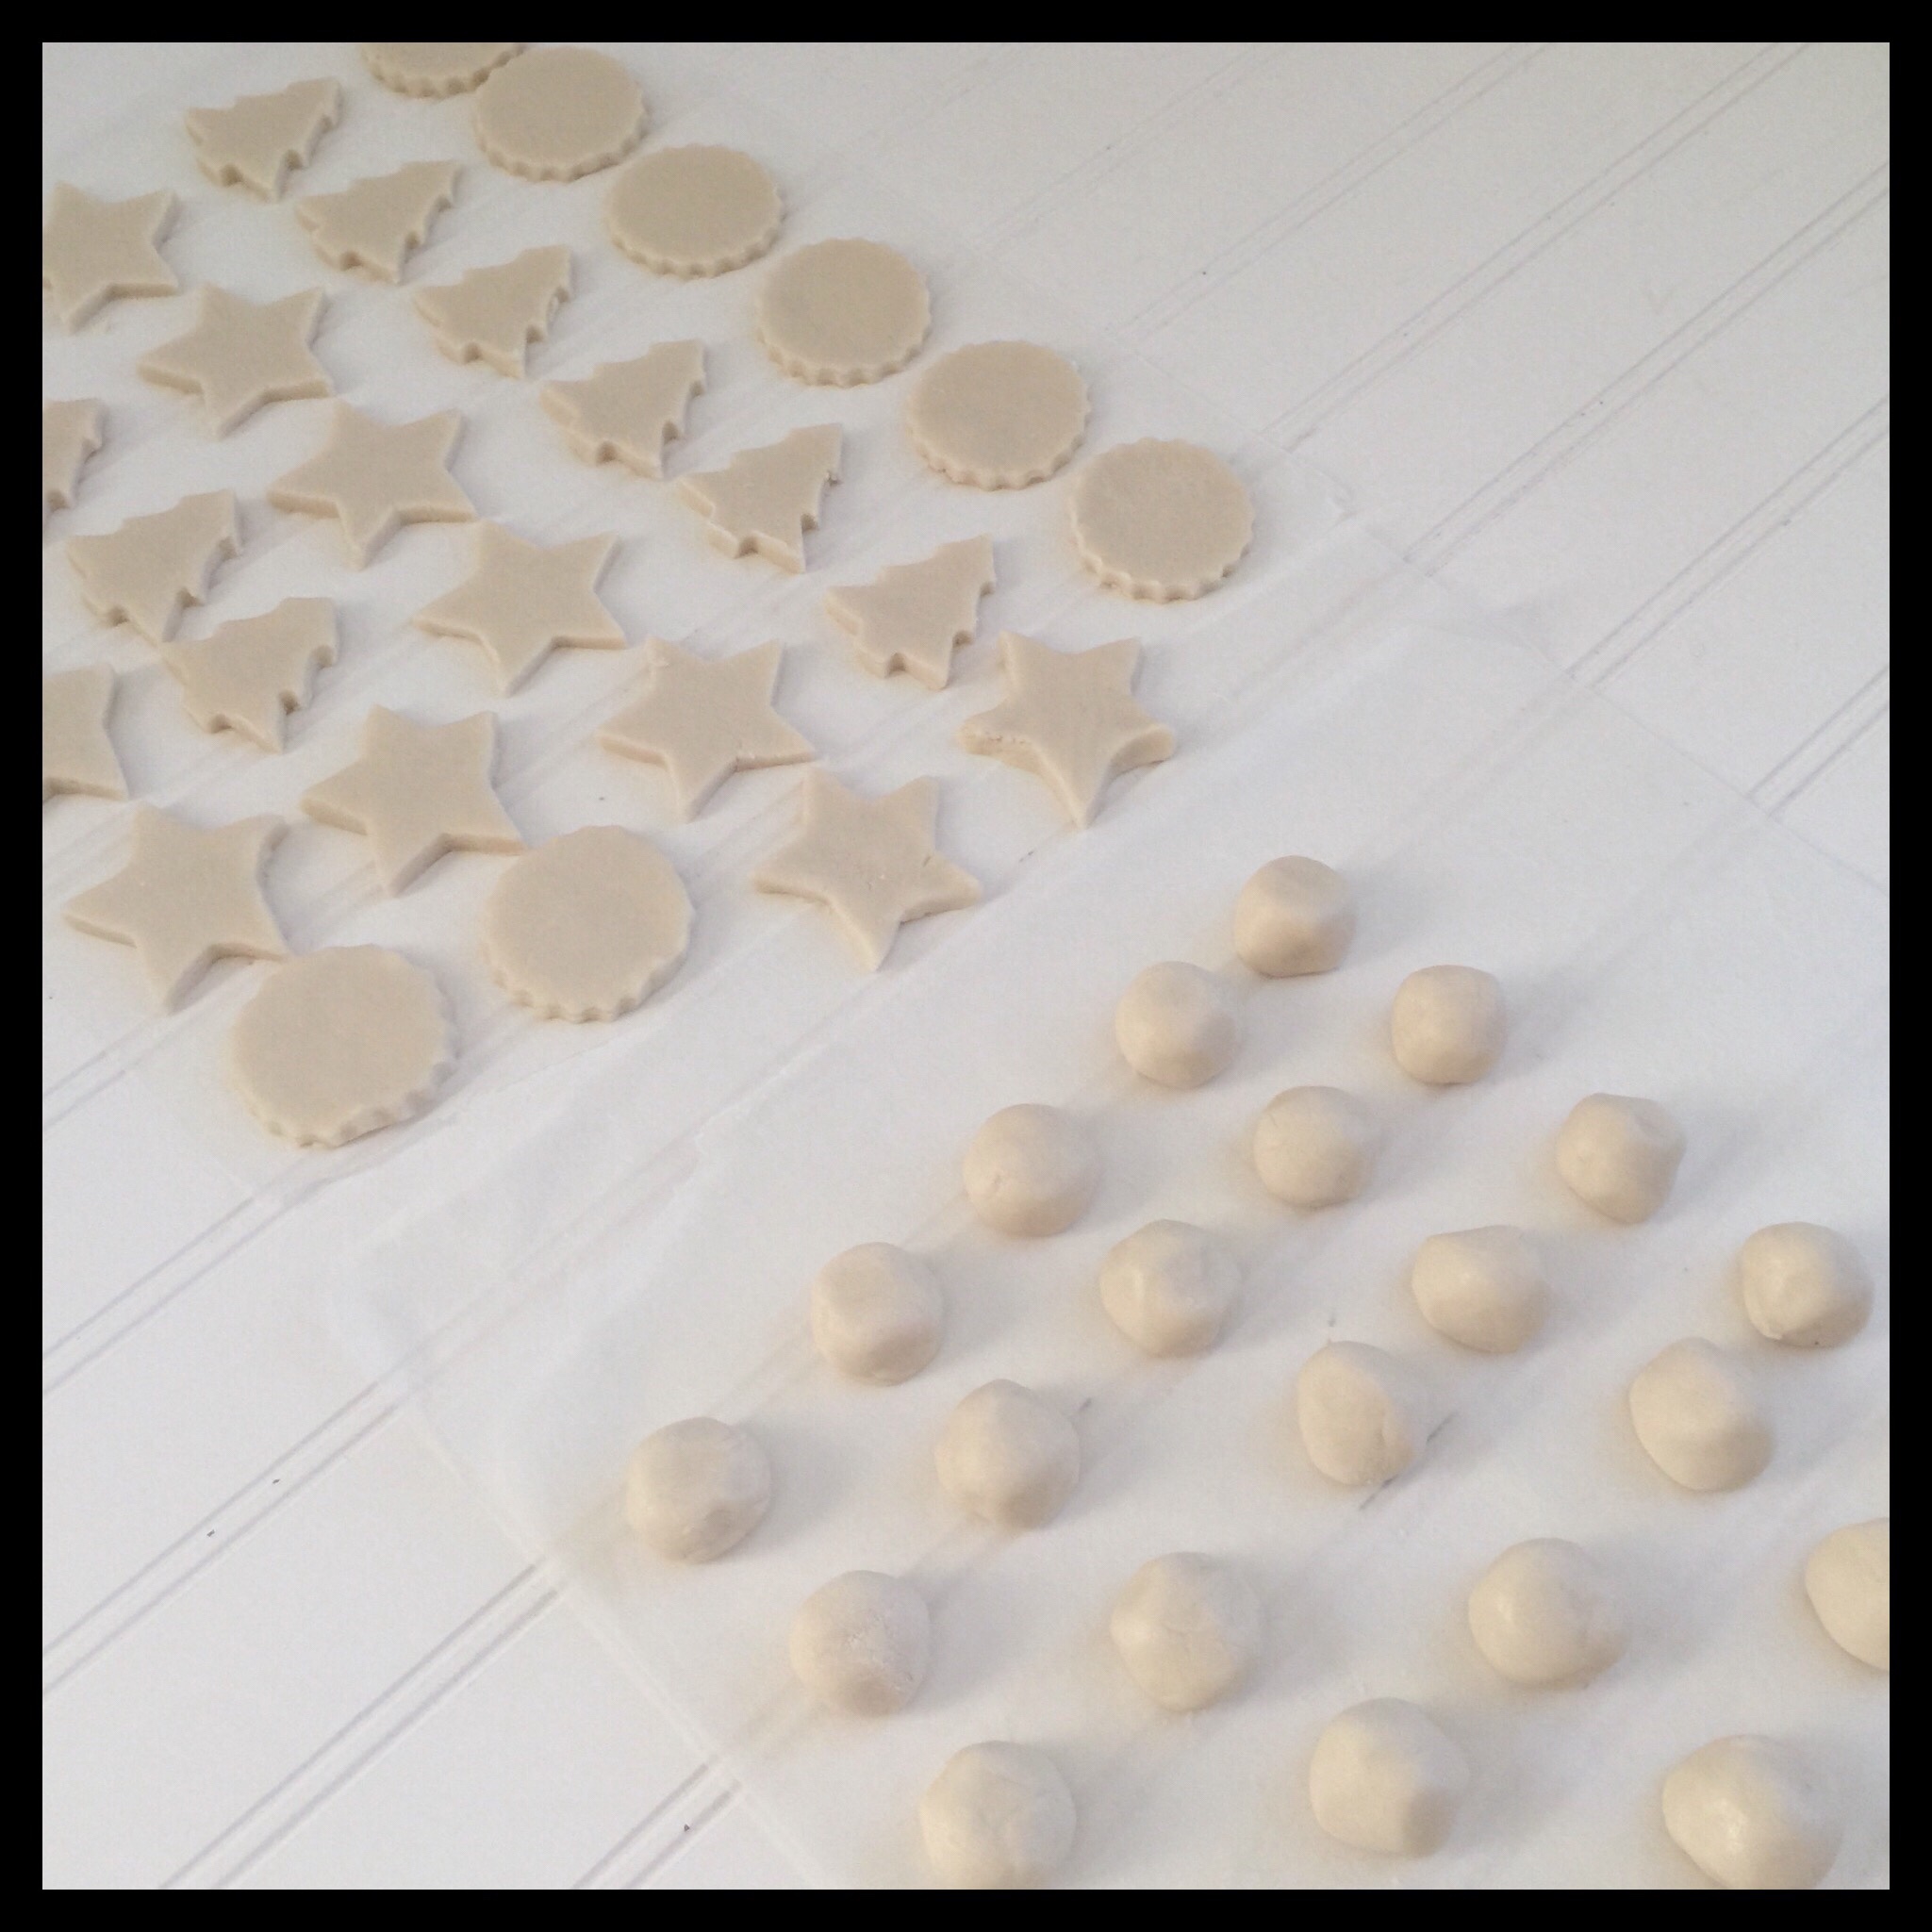
You should have about 60 shapes and/or balls all together:
When you are ready to coat your candies, temper your chocolate, and get half of your peppermint shapes out of the fridge. (Some will get too warm if you take them all out at once.)
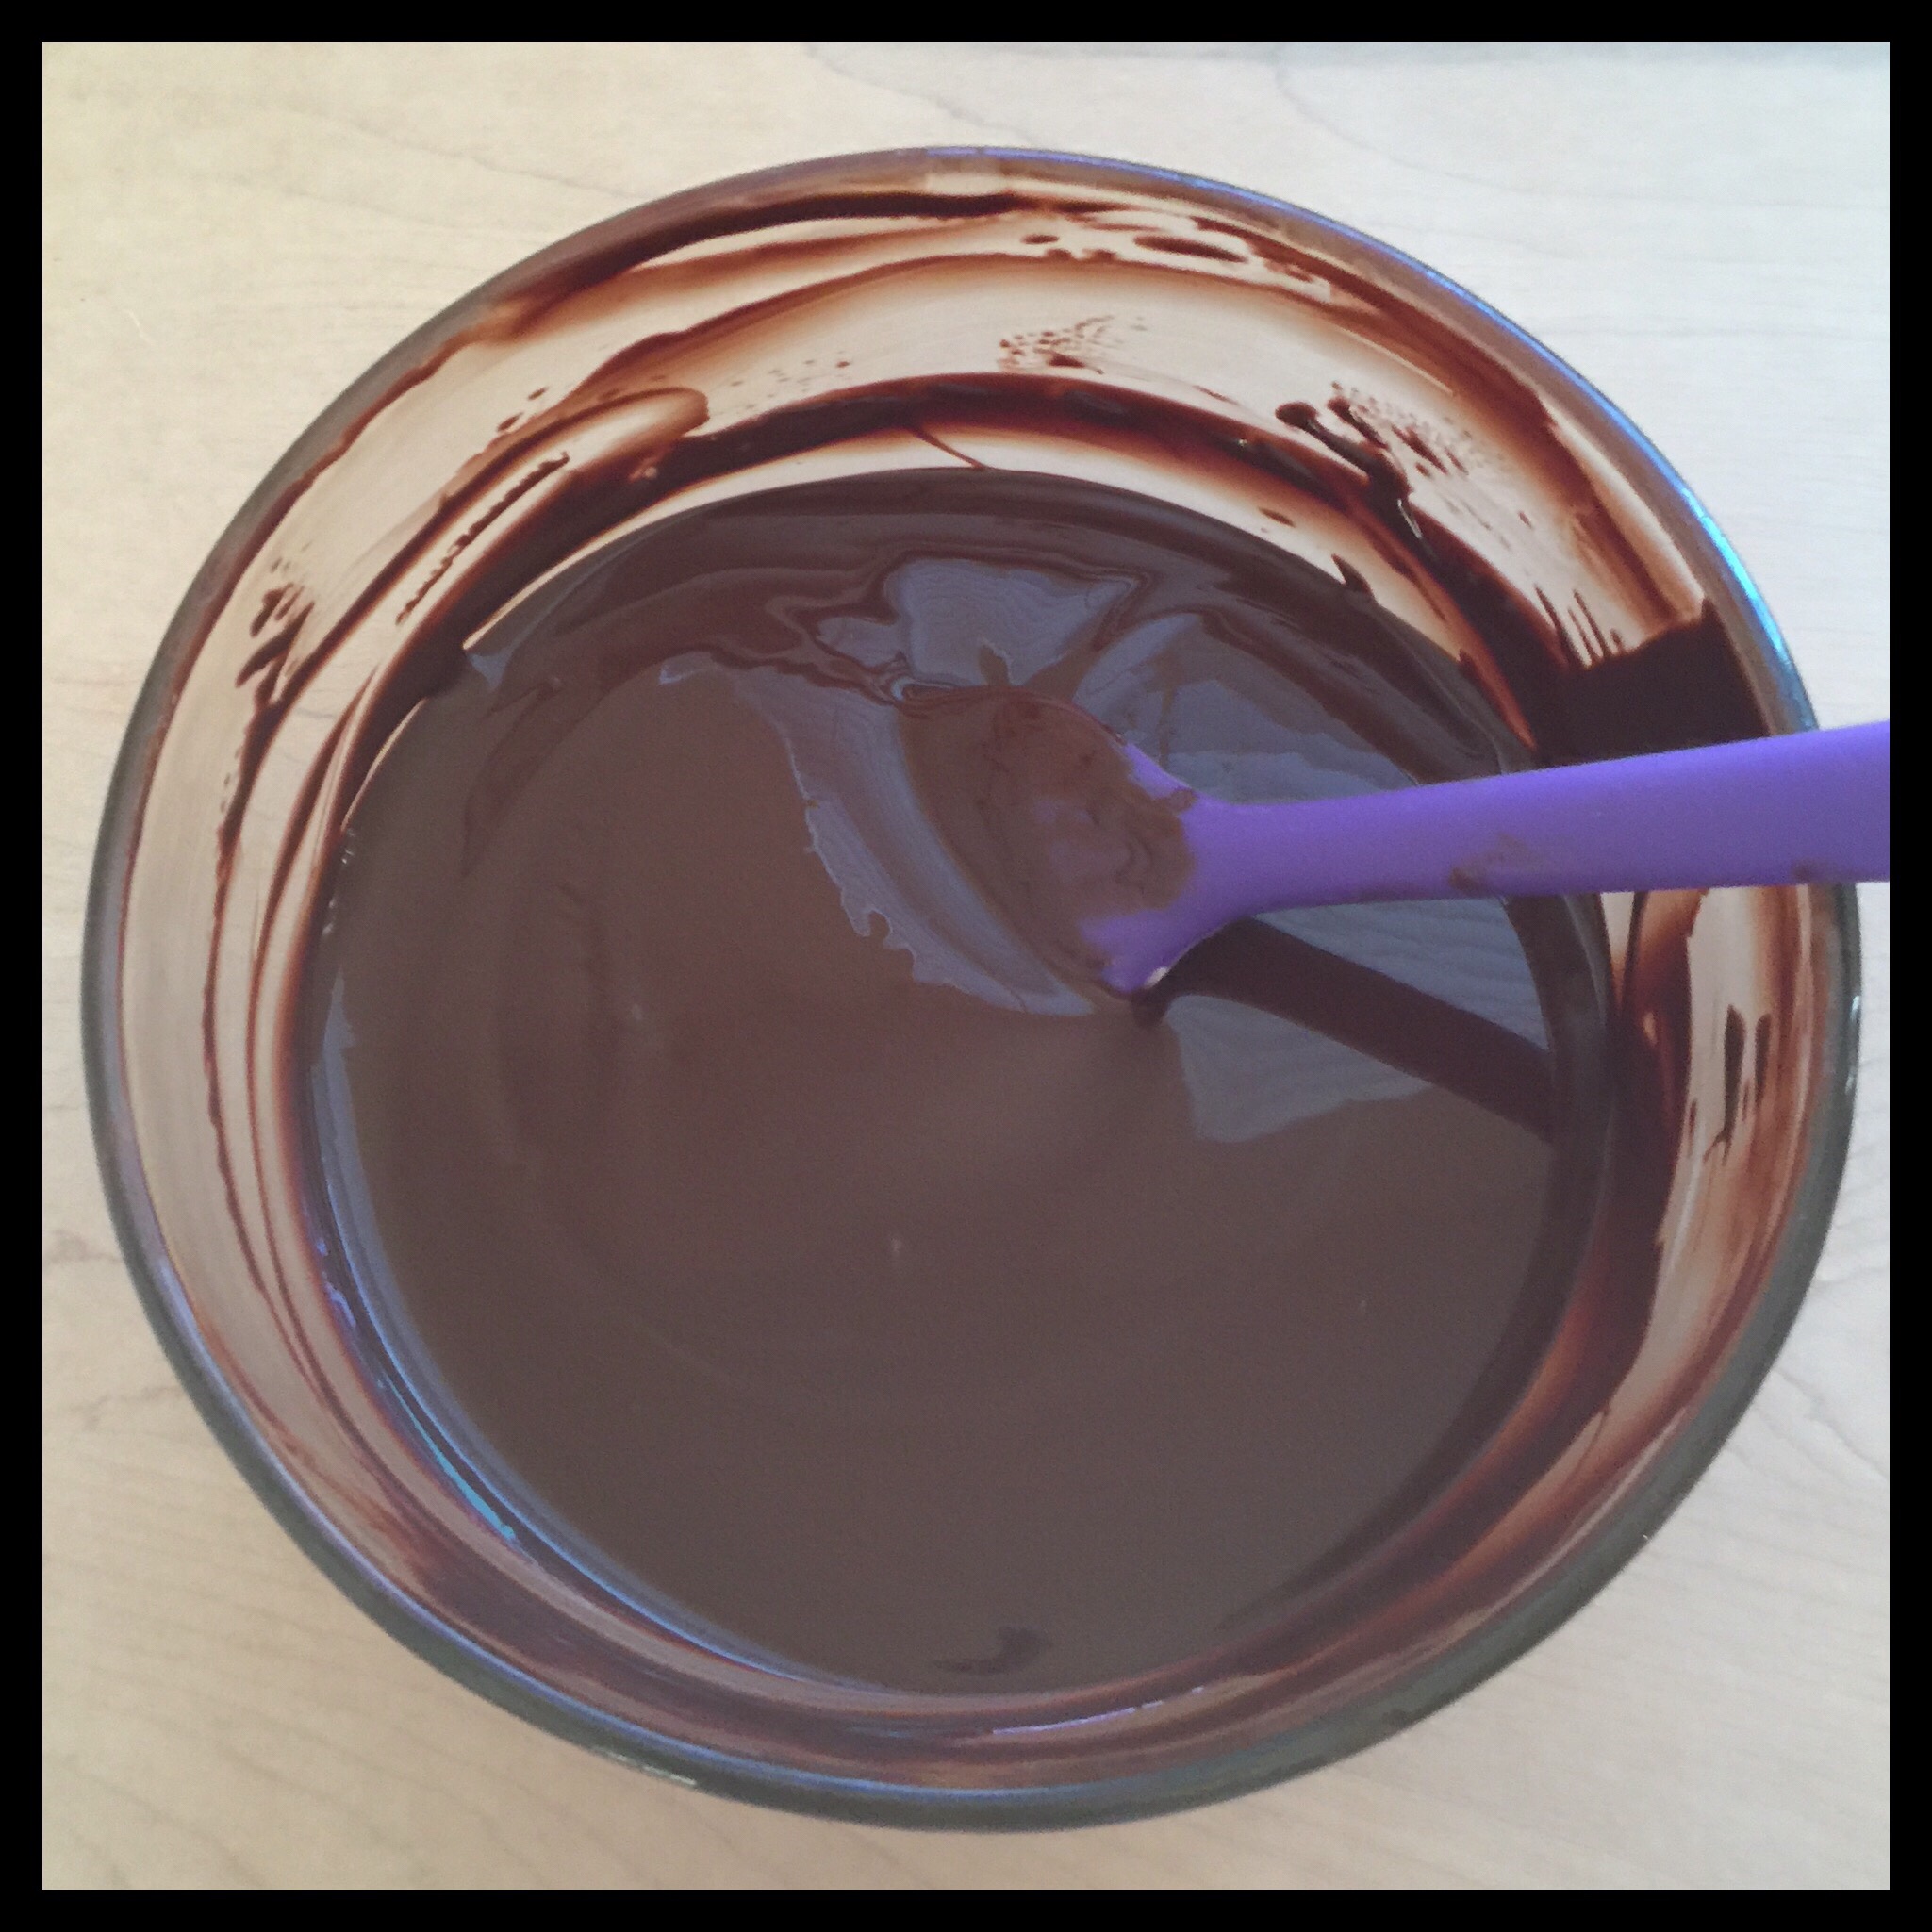
Place one piece upside down onto the tempered chocolate:
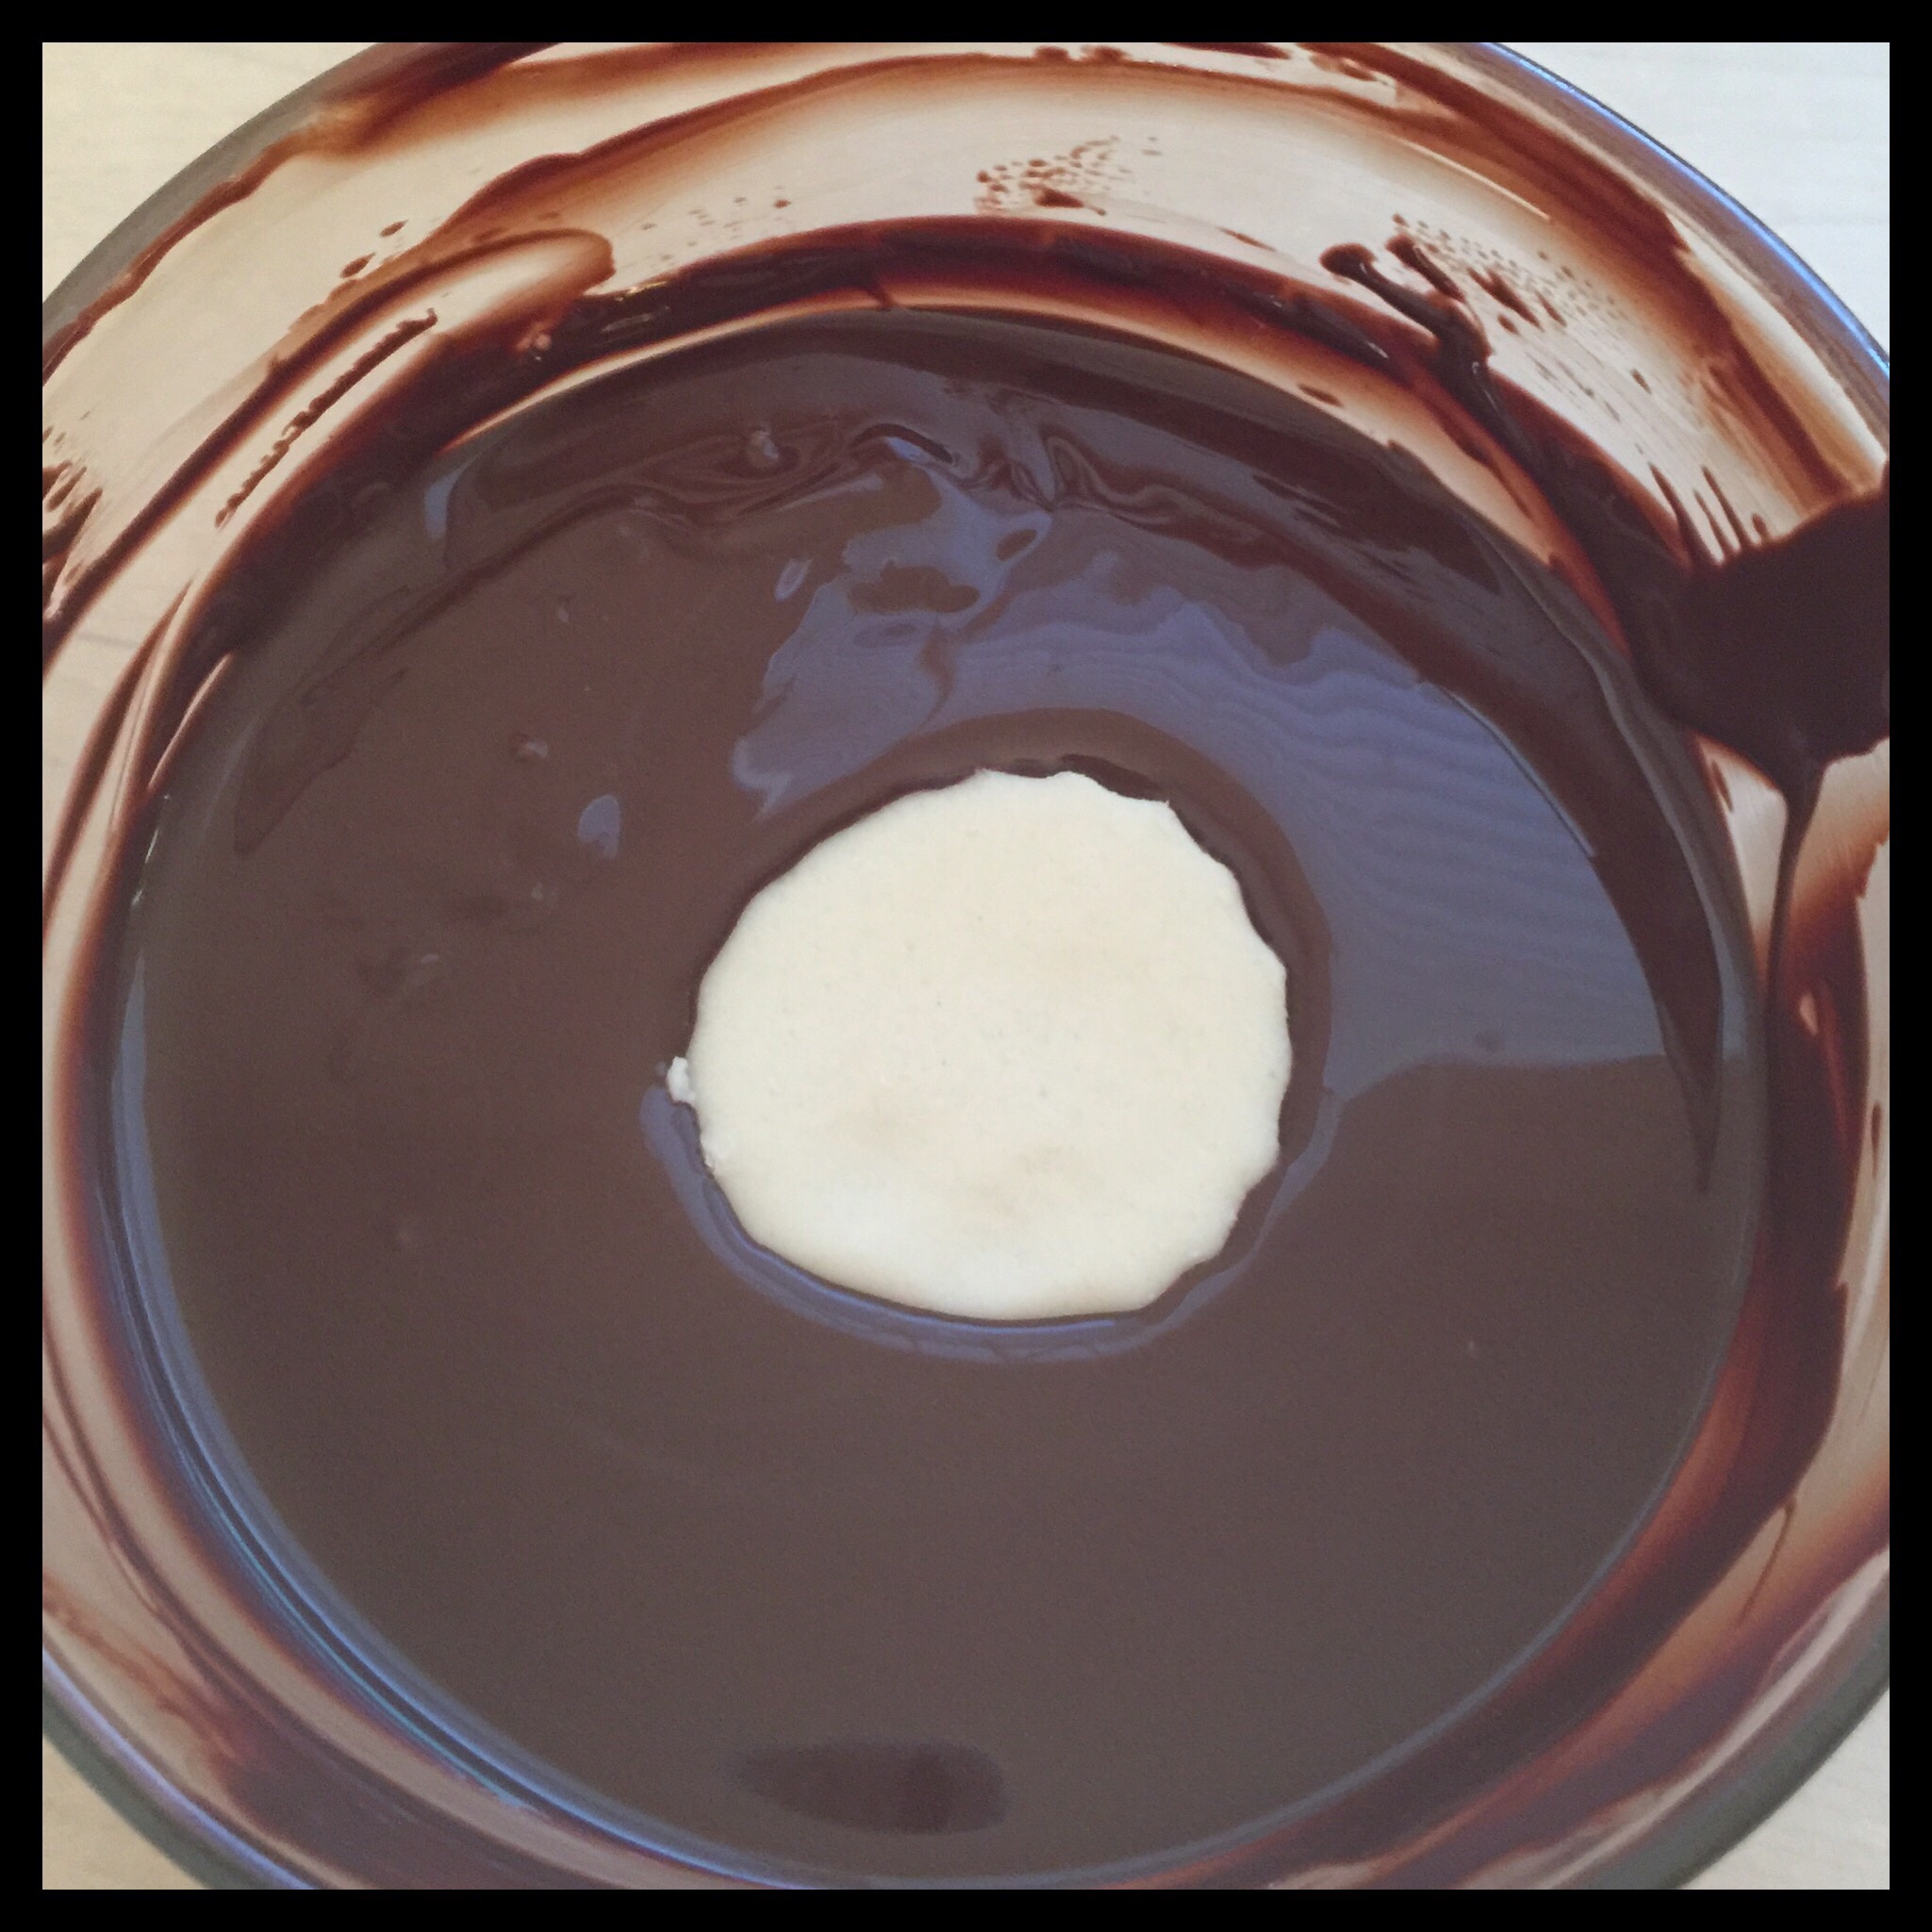
Use a fork to flip the shape over, making sure it is completely covered in the chocolate. Lift it out of the chocolate, scrape the bottom of the fork on the edge of the bowl to remove excess chocolate, then carefully place the dipped candy on a sheet of waxed paper to harden.

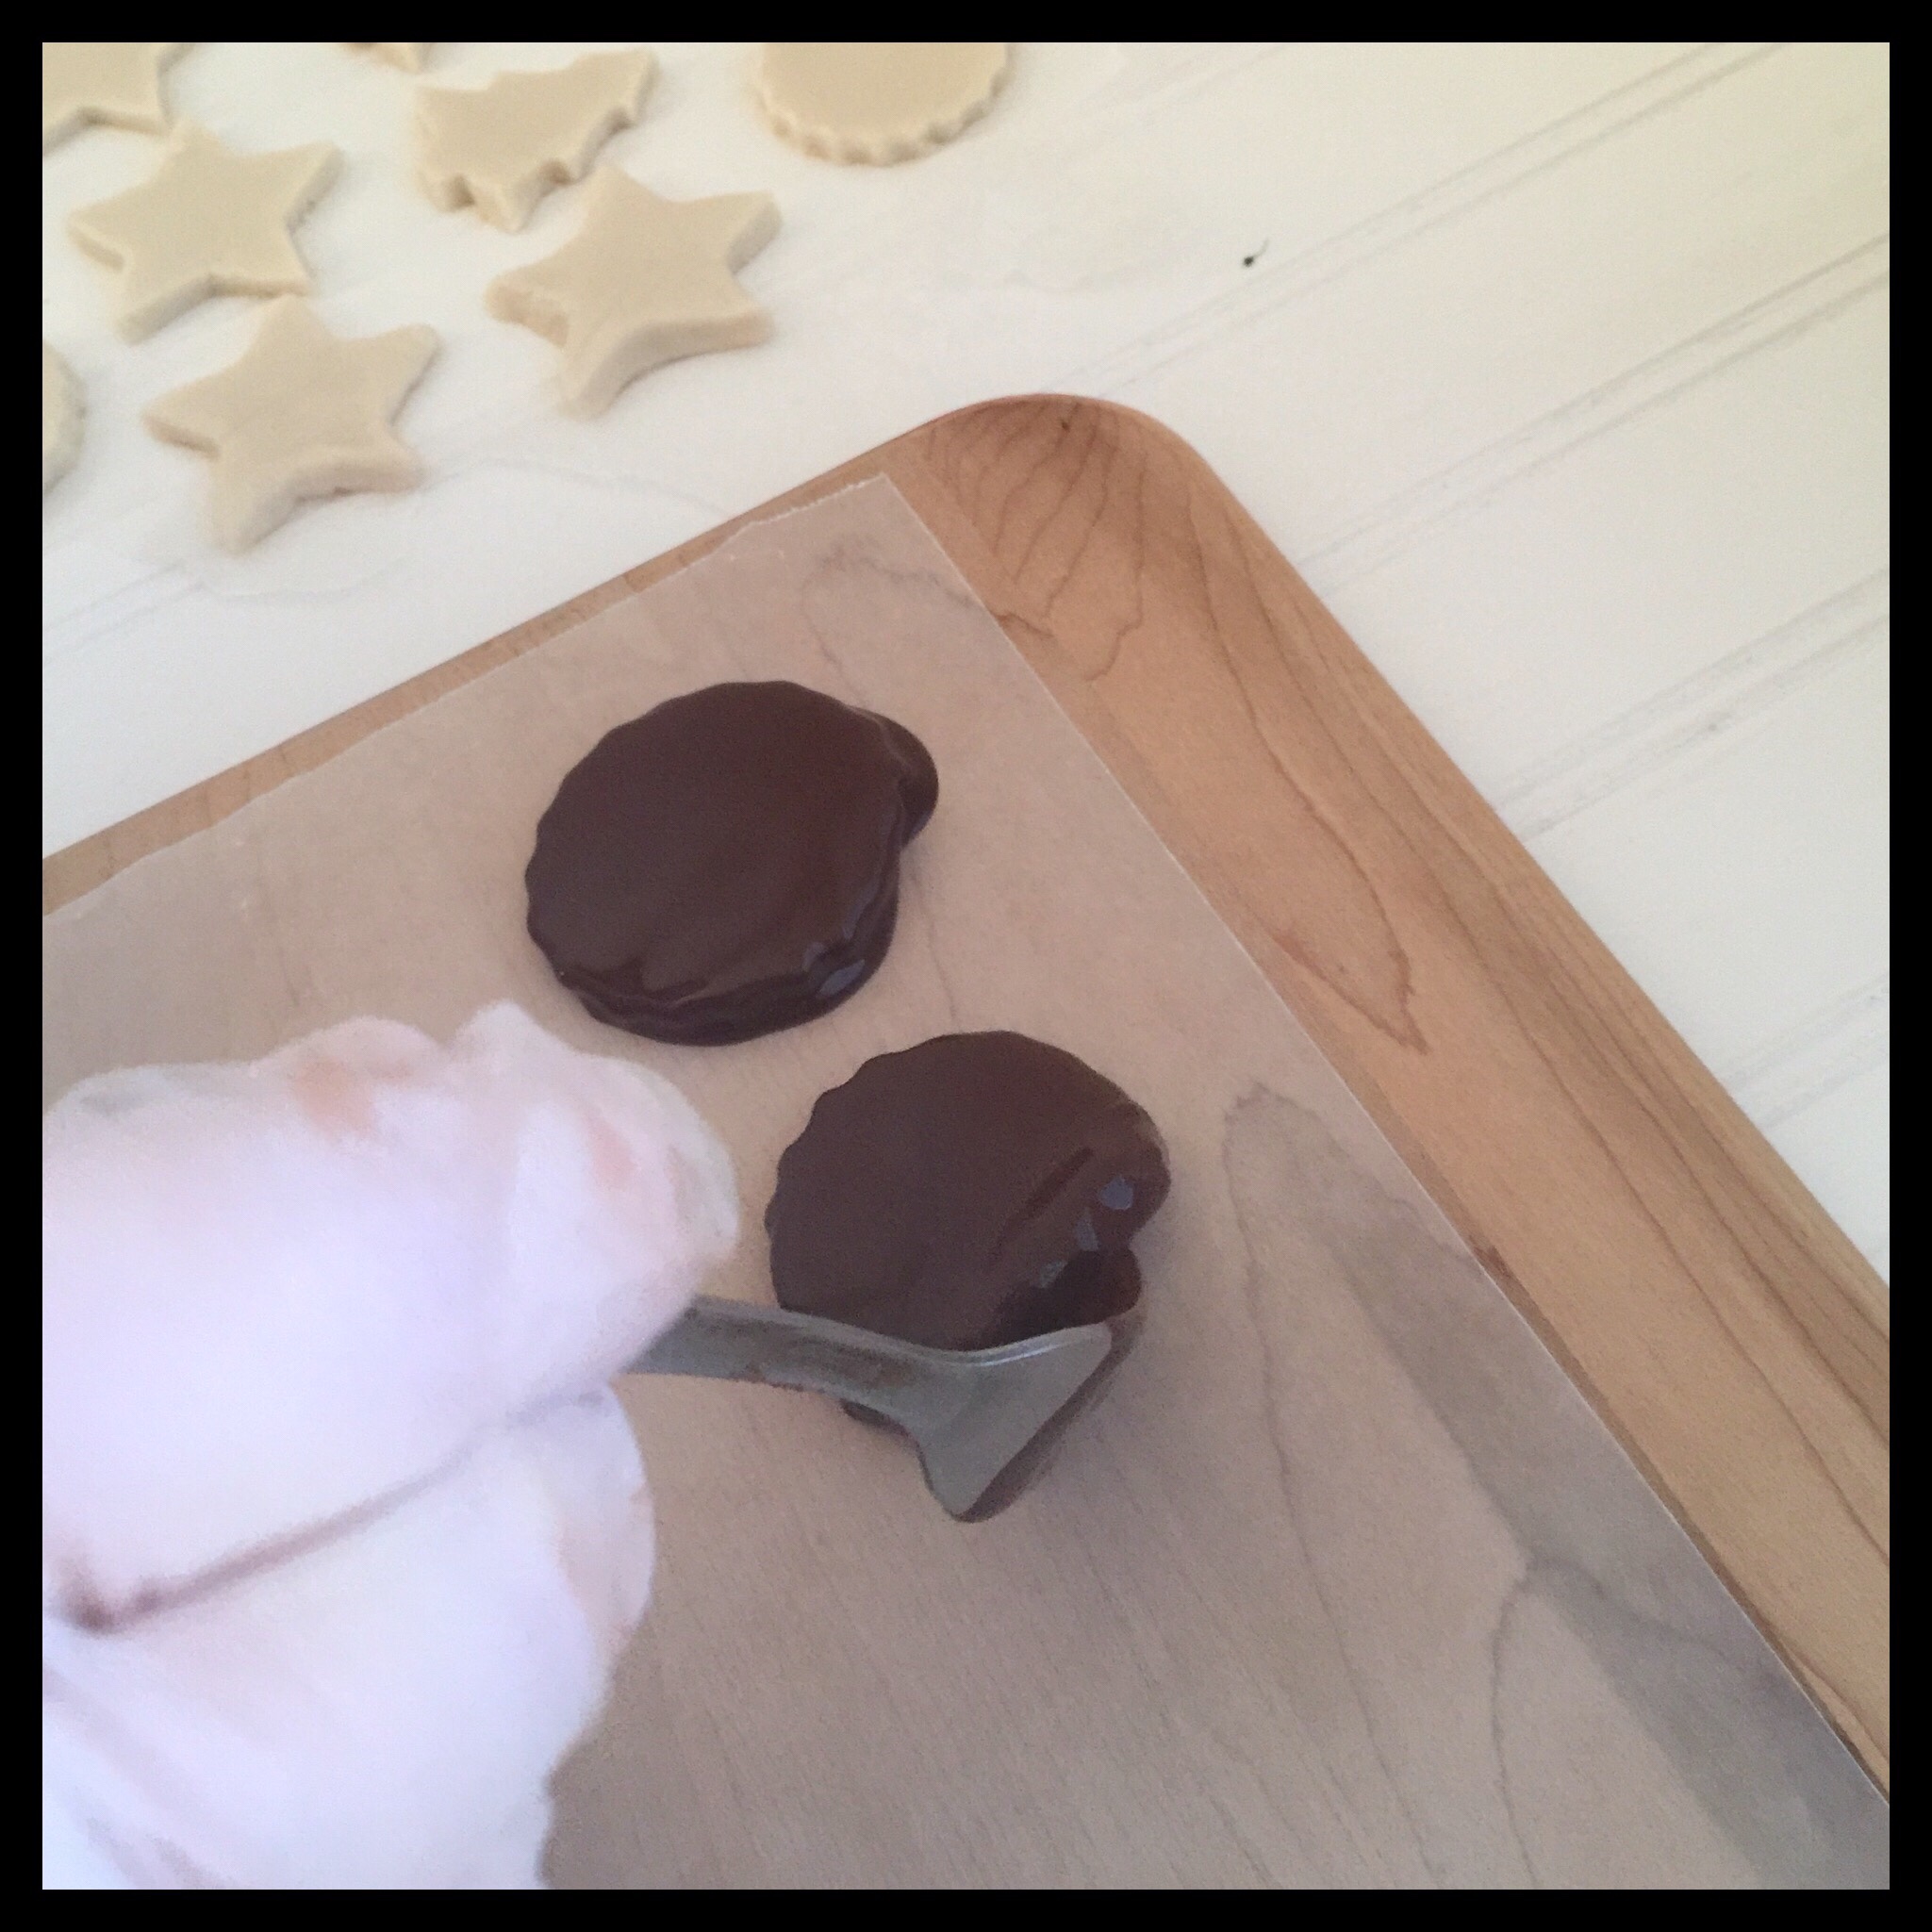
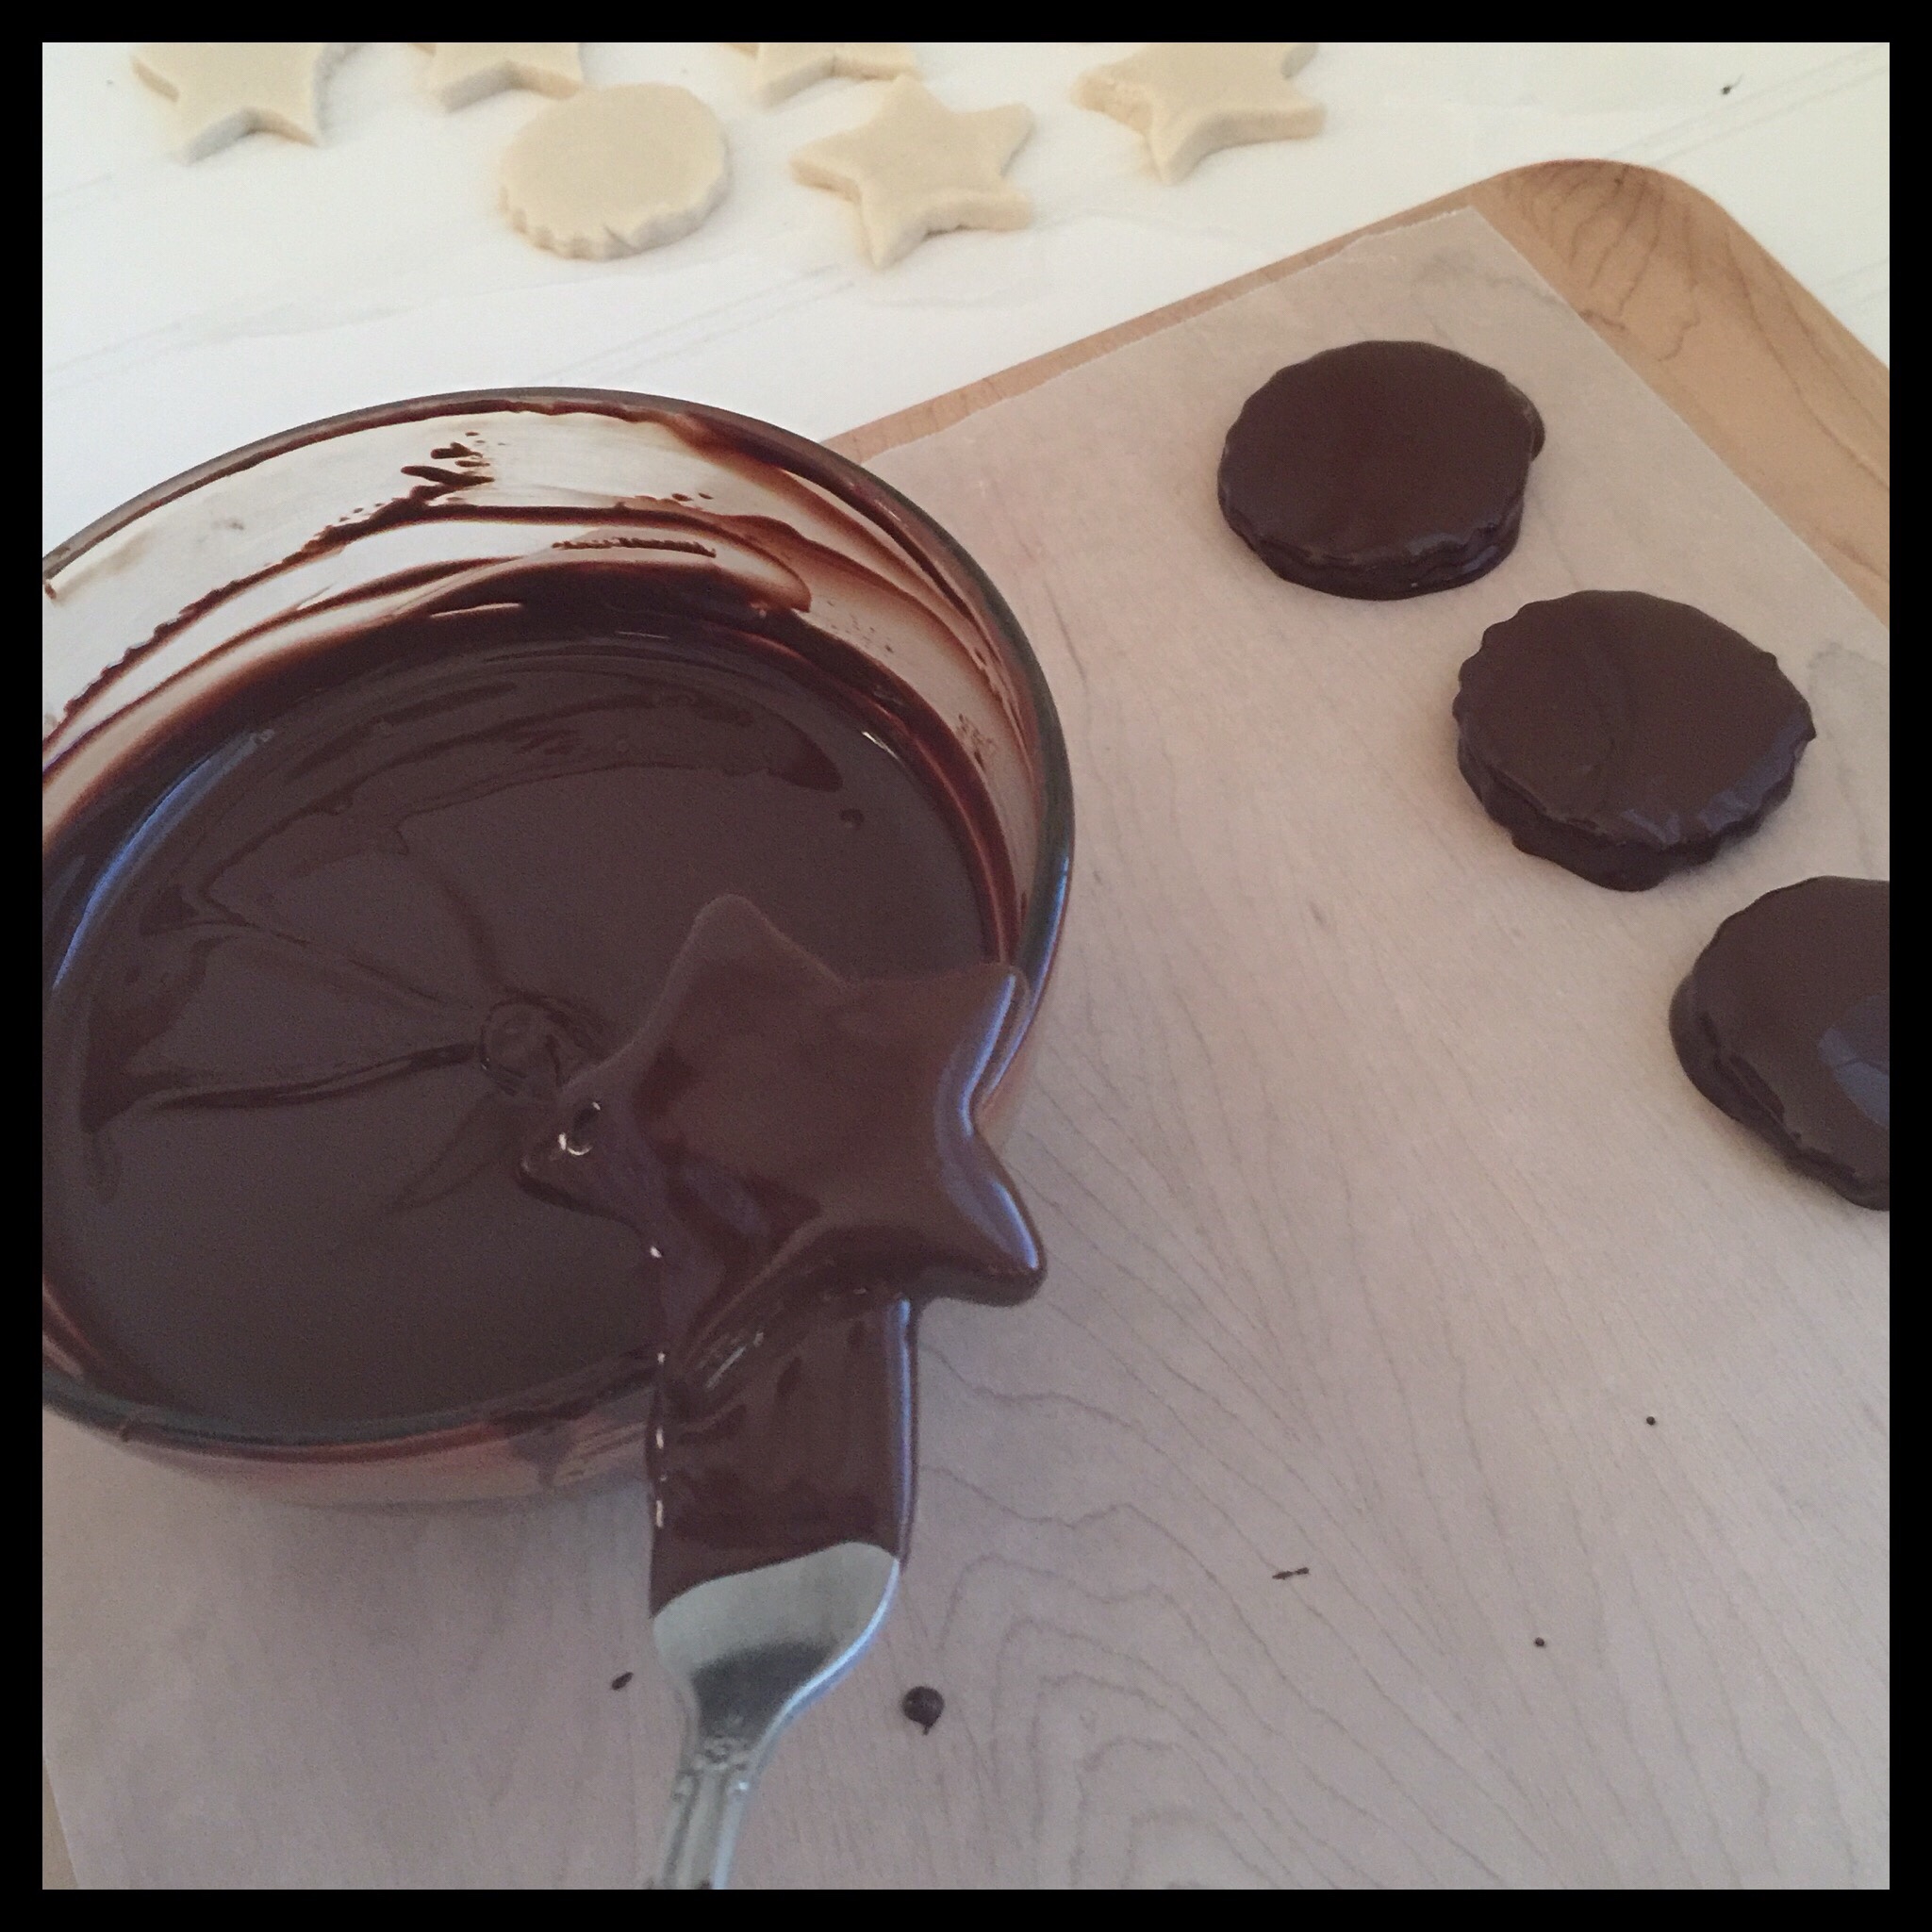

I still had some balls left when my chocolate level got too low to keep dipping, so I just rolled them around in the remaining chocolate. They weren’t pretty enough for a photo, but still tasted great!
You can serve the candies as soon as the chocolate hardens, but wait a day if you can for the flavor and texture of the filling to mature. They will be good for a couple of weeks, but ours never last that long!

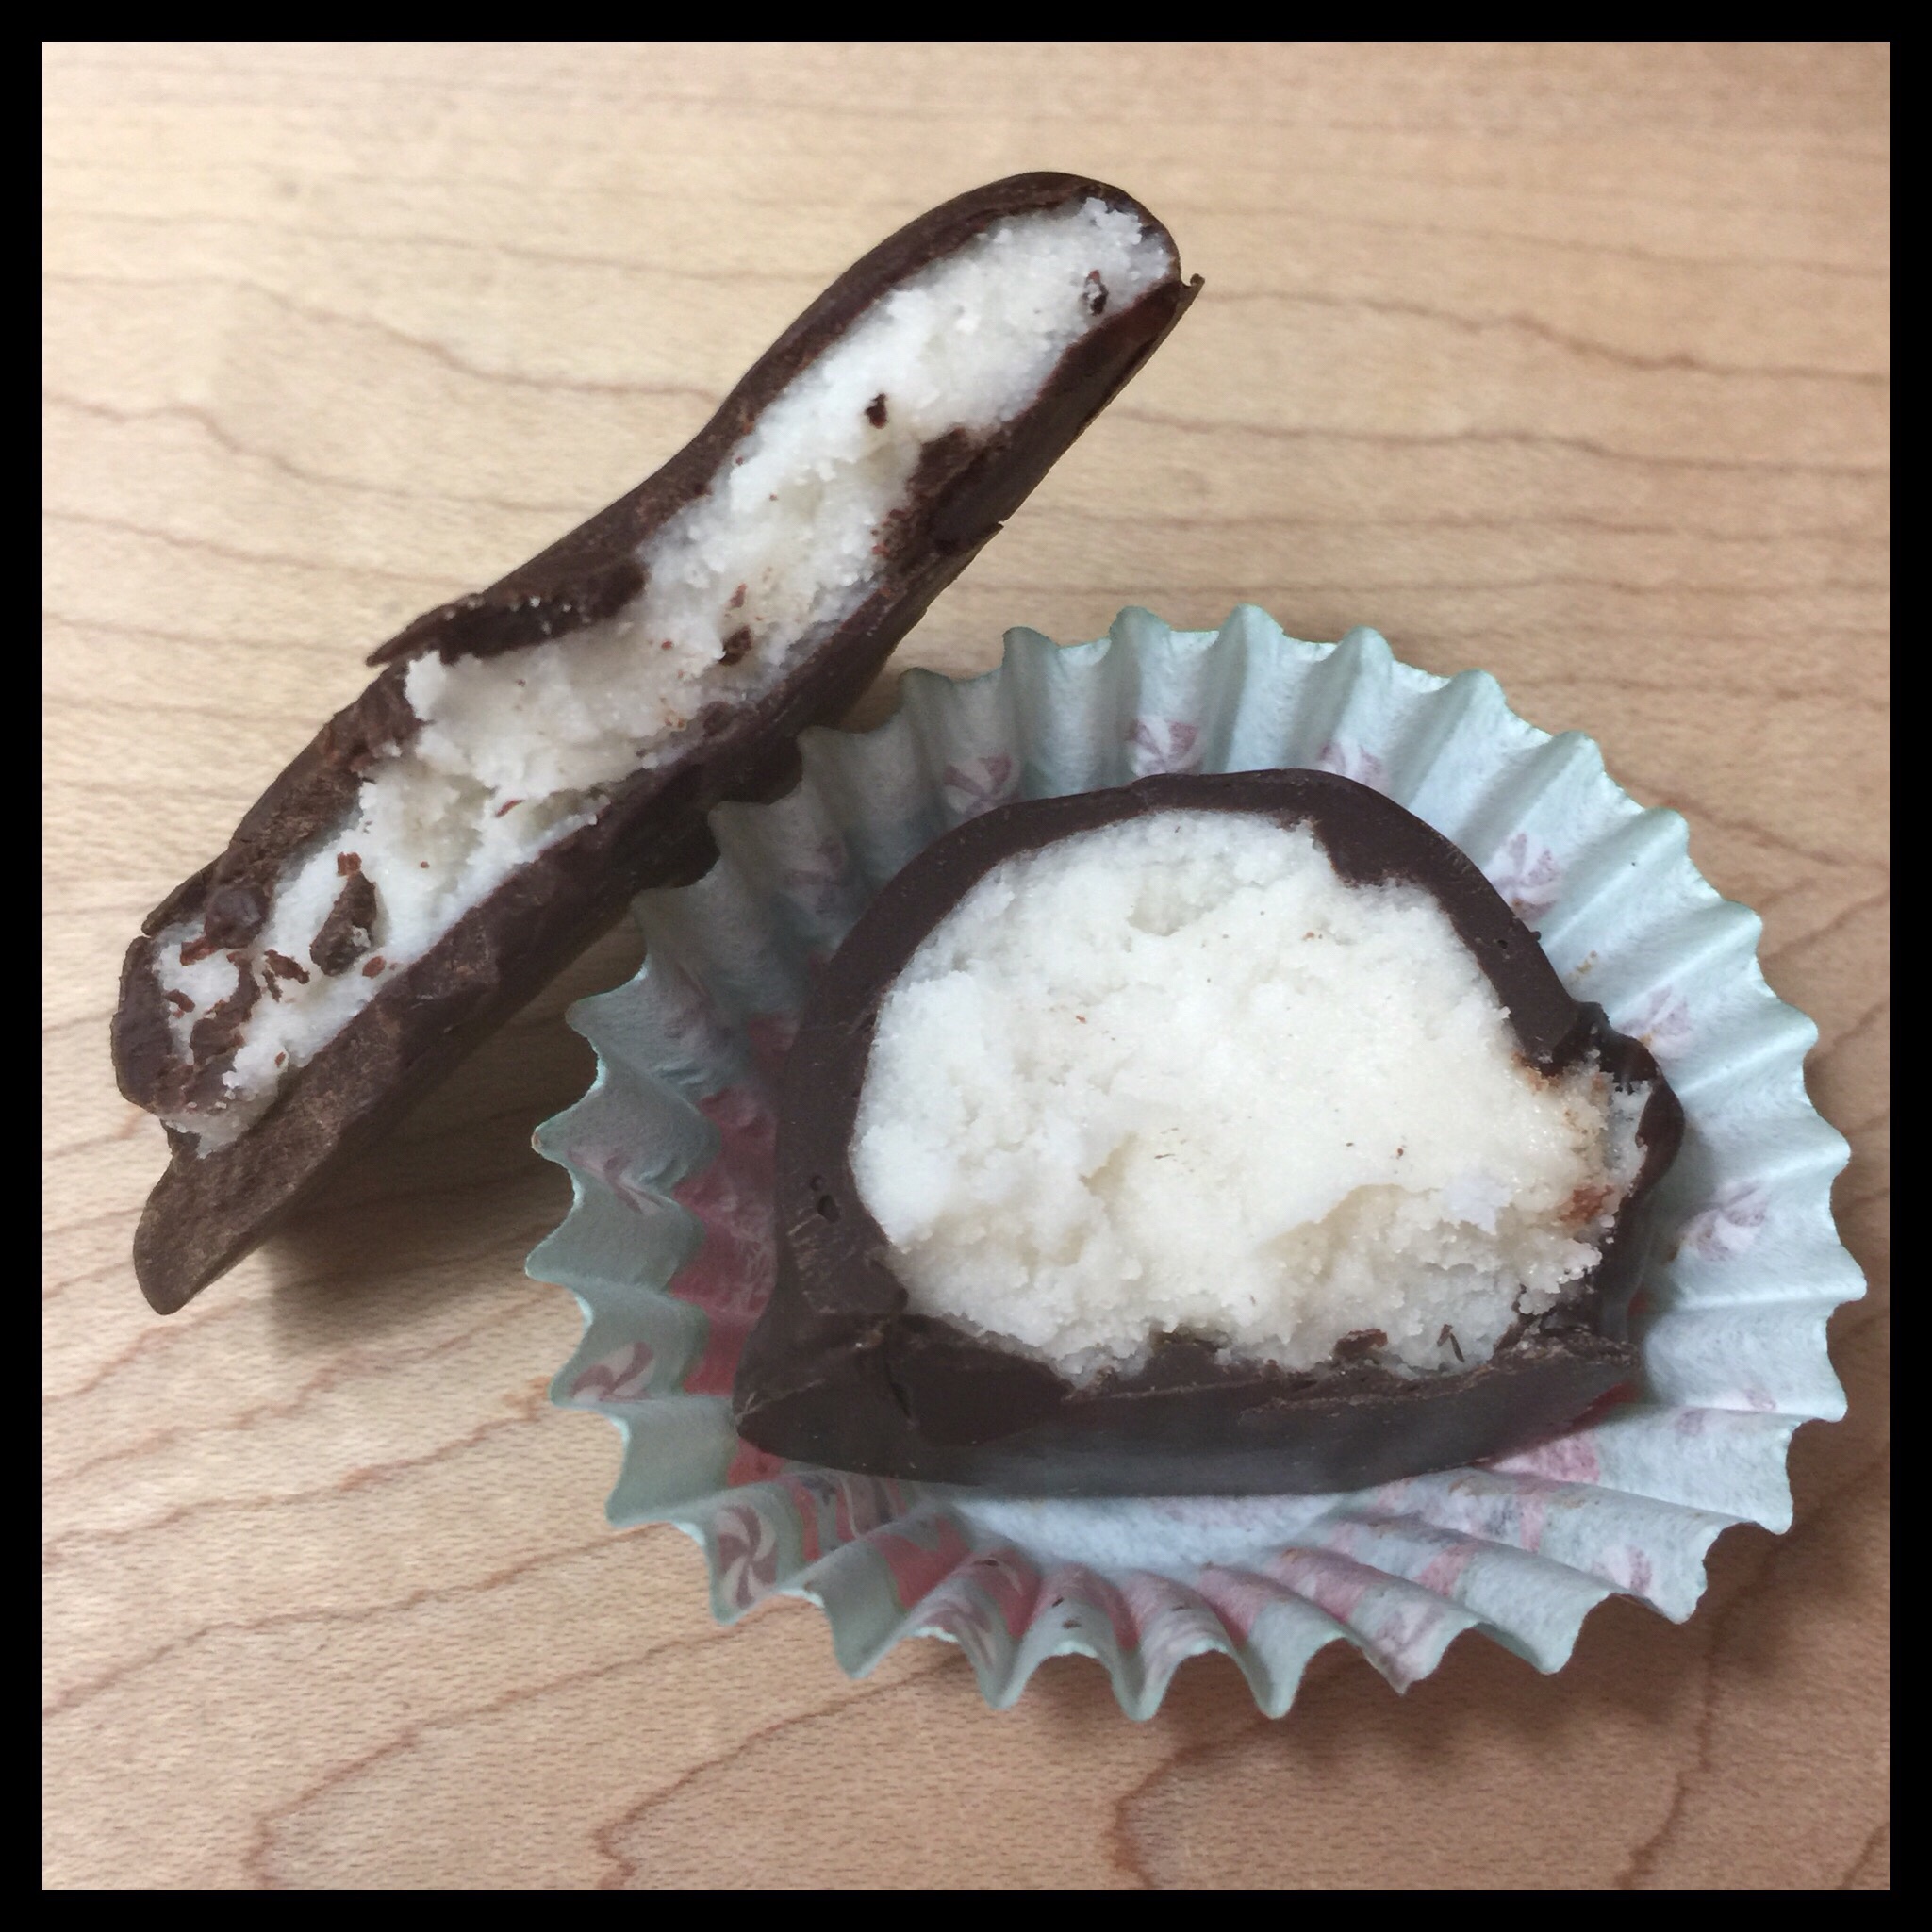
I like to put the truffles in festive mini cupcake liners:

Here is what they look like on the inside:
Enjoy!

Vegan Peppermint Patties or Truffles
These delicious chocolate covered peppermint candies taste even better than the non-vegan ones you can buy!
Ingredients
Peppermint Filling
- 420 to 560 g (3 to 4 c) Homemade Vegan Powdered Sugar (*see note)
- 1.2 g (3/16 tsp) Salt
- 45 g (3 TBS) Light Coconut Milk
- 6.3 g (1 1/4 tsp) Peppermint Extract
- 2.5 g (1/2 tsp) Vanilla Extract
- 40 g (3 TBS + 1 tsp) Shortening
Chocolate for Dipping
- 10 oz Dark Vegan Chocolate Chips or Chunks
- 2 oz Vegan Mini Chocolate Chips (or you can chop up bigger chips)
- 12 g (1 TBS) Shortening
Instructions
-
Add the salt to 420 g of the powdered sugar and mix them together. (420 g equals 3 cups of homemade or 3 1/2 cups of store-bought.)
-
Add the two extracts to the light coconut milk, then pour the mixture into the bowl with the powdered sugar. Add the 40 g of shortening and start mixing the peppermint filling together.
-
The shortening will not fully incorporate until you start kneading the filling. First, though, you need to get the filling thick enough to knead. I had to add another 140 g (1 cup) of my homemade powdered sugar. You may or may not need to add more, depending on the sugar you use and the humidity in your house. Once your filling is stiff enough, knead the filling for several minutes until it is smooth, pliable, and no longer sticking to the bowl or your hand.
-
For patties: Divide the filling in half. Pat half of the filling into a circle on a square of waxed paper. Top with another square of waxed paper, then roll out the filling until it is about 1/4″ thick. Transfer the rolled-out filling (still on the bottom piece of waxed paper) to a cookie sheet. Chill in the freezer for about five minutes. Use small cookie cutters (about 1 1/2″ tall) to cut out shapes. Peel off the scraps, and roll them out again (or use them to make truffles.) Repeat with the other half of the filling. Chill the shapes (still on the waxed paper) in the fridge for 30 minutes. You can chill them longer if you need to, but then you will need to cover the shapes with plastic wrap to keep them from drying out.
-
For truffles, scoop or pinch small balls of filling. You want them to be about one inch in diameter. Roll each ball in your hands to shape it, then place it on a sheet of waxed paper. Chill the balls (still on the waxed paper) in the fridge for 30 minutes. You can chill them longer if you need to, but then you will need to cover the shapes with plastic wrap to keep them from drying out.
-
When you are ready to coat your candies, temper your chocolate, and get half of your peppermint shapes out of the fridge. Place one shape or ball upside down onto the tempered chocolate. Use a fork to flip the shape over, making sure it is completely covered in the chocolate. Lift it out of the chocolate, scrape the bottom of the fork on the edge of the bowl to remove excess chocolate, then carefully place the dipped candy on a sheet of waxed paper to harden. Get the rest of your shapes out of the fridge and dip them as well. (I still had some balls left when my chocolate level got too low to keep dipping, so I just rolled them around in the remaining chocolate. They weren’t pretty, but still tasted great!)
You can serve the candies as soon as the chocolate hardens, but wait a day if you can for the flavor and texture of the filling to mature. They will be good for a couple of weeks, but ours never last that long!
Recipe Notes
- I used my homemade vegan powdered sugar, but you can use store-bought if you prefer. Homemade is much less expensive, and there is no difference in the texture after the candies have been sitting for a day. (The peppermint mixture will be very slightly gritty at first, but then the tiny bits of sugar will dissolve.) You will need between 420 and 560 g of powdered sugar. This is 3 to 4 cups of homemade, and 3 1/2 to 4 2/3 cups of store-bought.
- You will also need 12 oz of good quality vegan chocolate chips, and I like to use quite a dark chocolate to cover the mint centers. Ten of the twelve ounces can be any size chip and two ounce need to be mini chip size. My Kroger sells the chips shown in my blog photo, and many stores will have a similar option. Enjoy Life and Equal Exchange also make vegan dark chocolate chips that are available at Whole Foods and Vitacost. If you use one of these options, you will also need another 2 to 3 oz of chocolate to get to the needed 12 oz. Enjoy Life and Vitacost brand make vegan mini chocolate chips, or you can chop up larger ones. You can also use a 12 oz bag of Trader Joe’s semi-sweet chocolate chips, and chop up 2 oz to use for tempering. They are my favorite vegan chocolate chips for most purposes, but are not quite dark enough for these candies in my opinion. (They are the best price, though, at only $1.99 for 12 oz.) I have detailed directions for how to temper chocolate successfully in this post.
