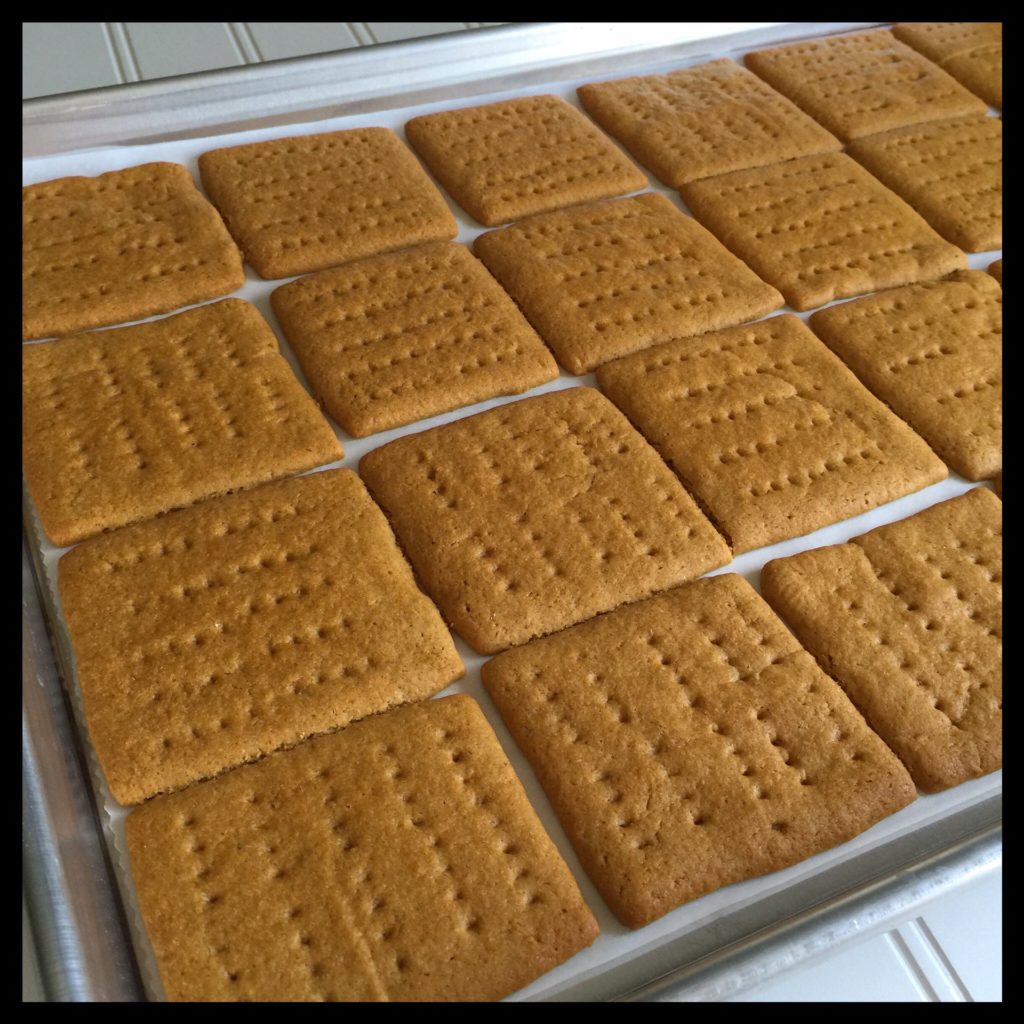
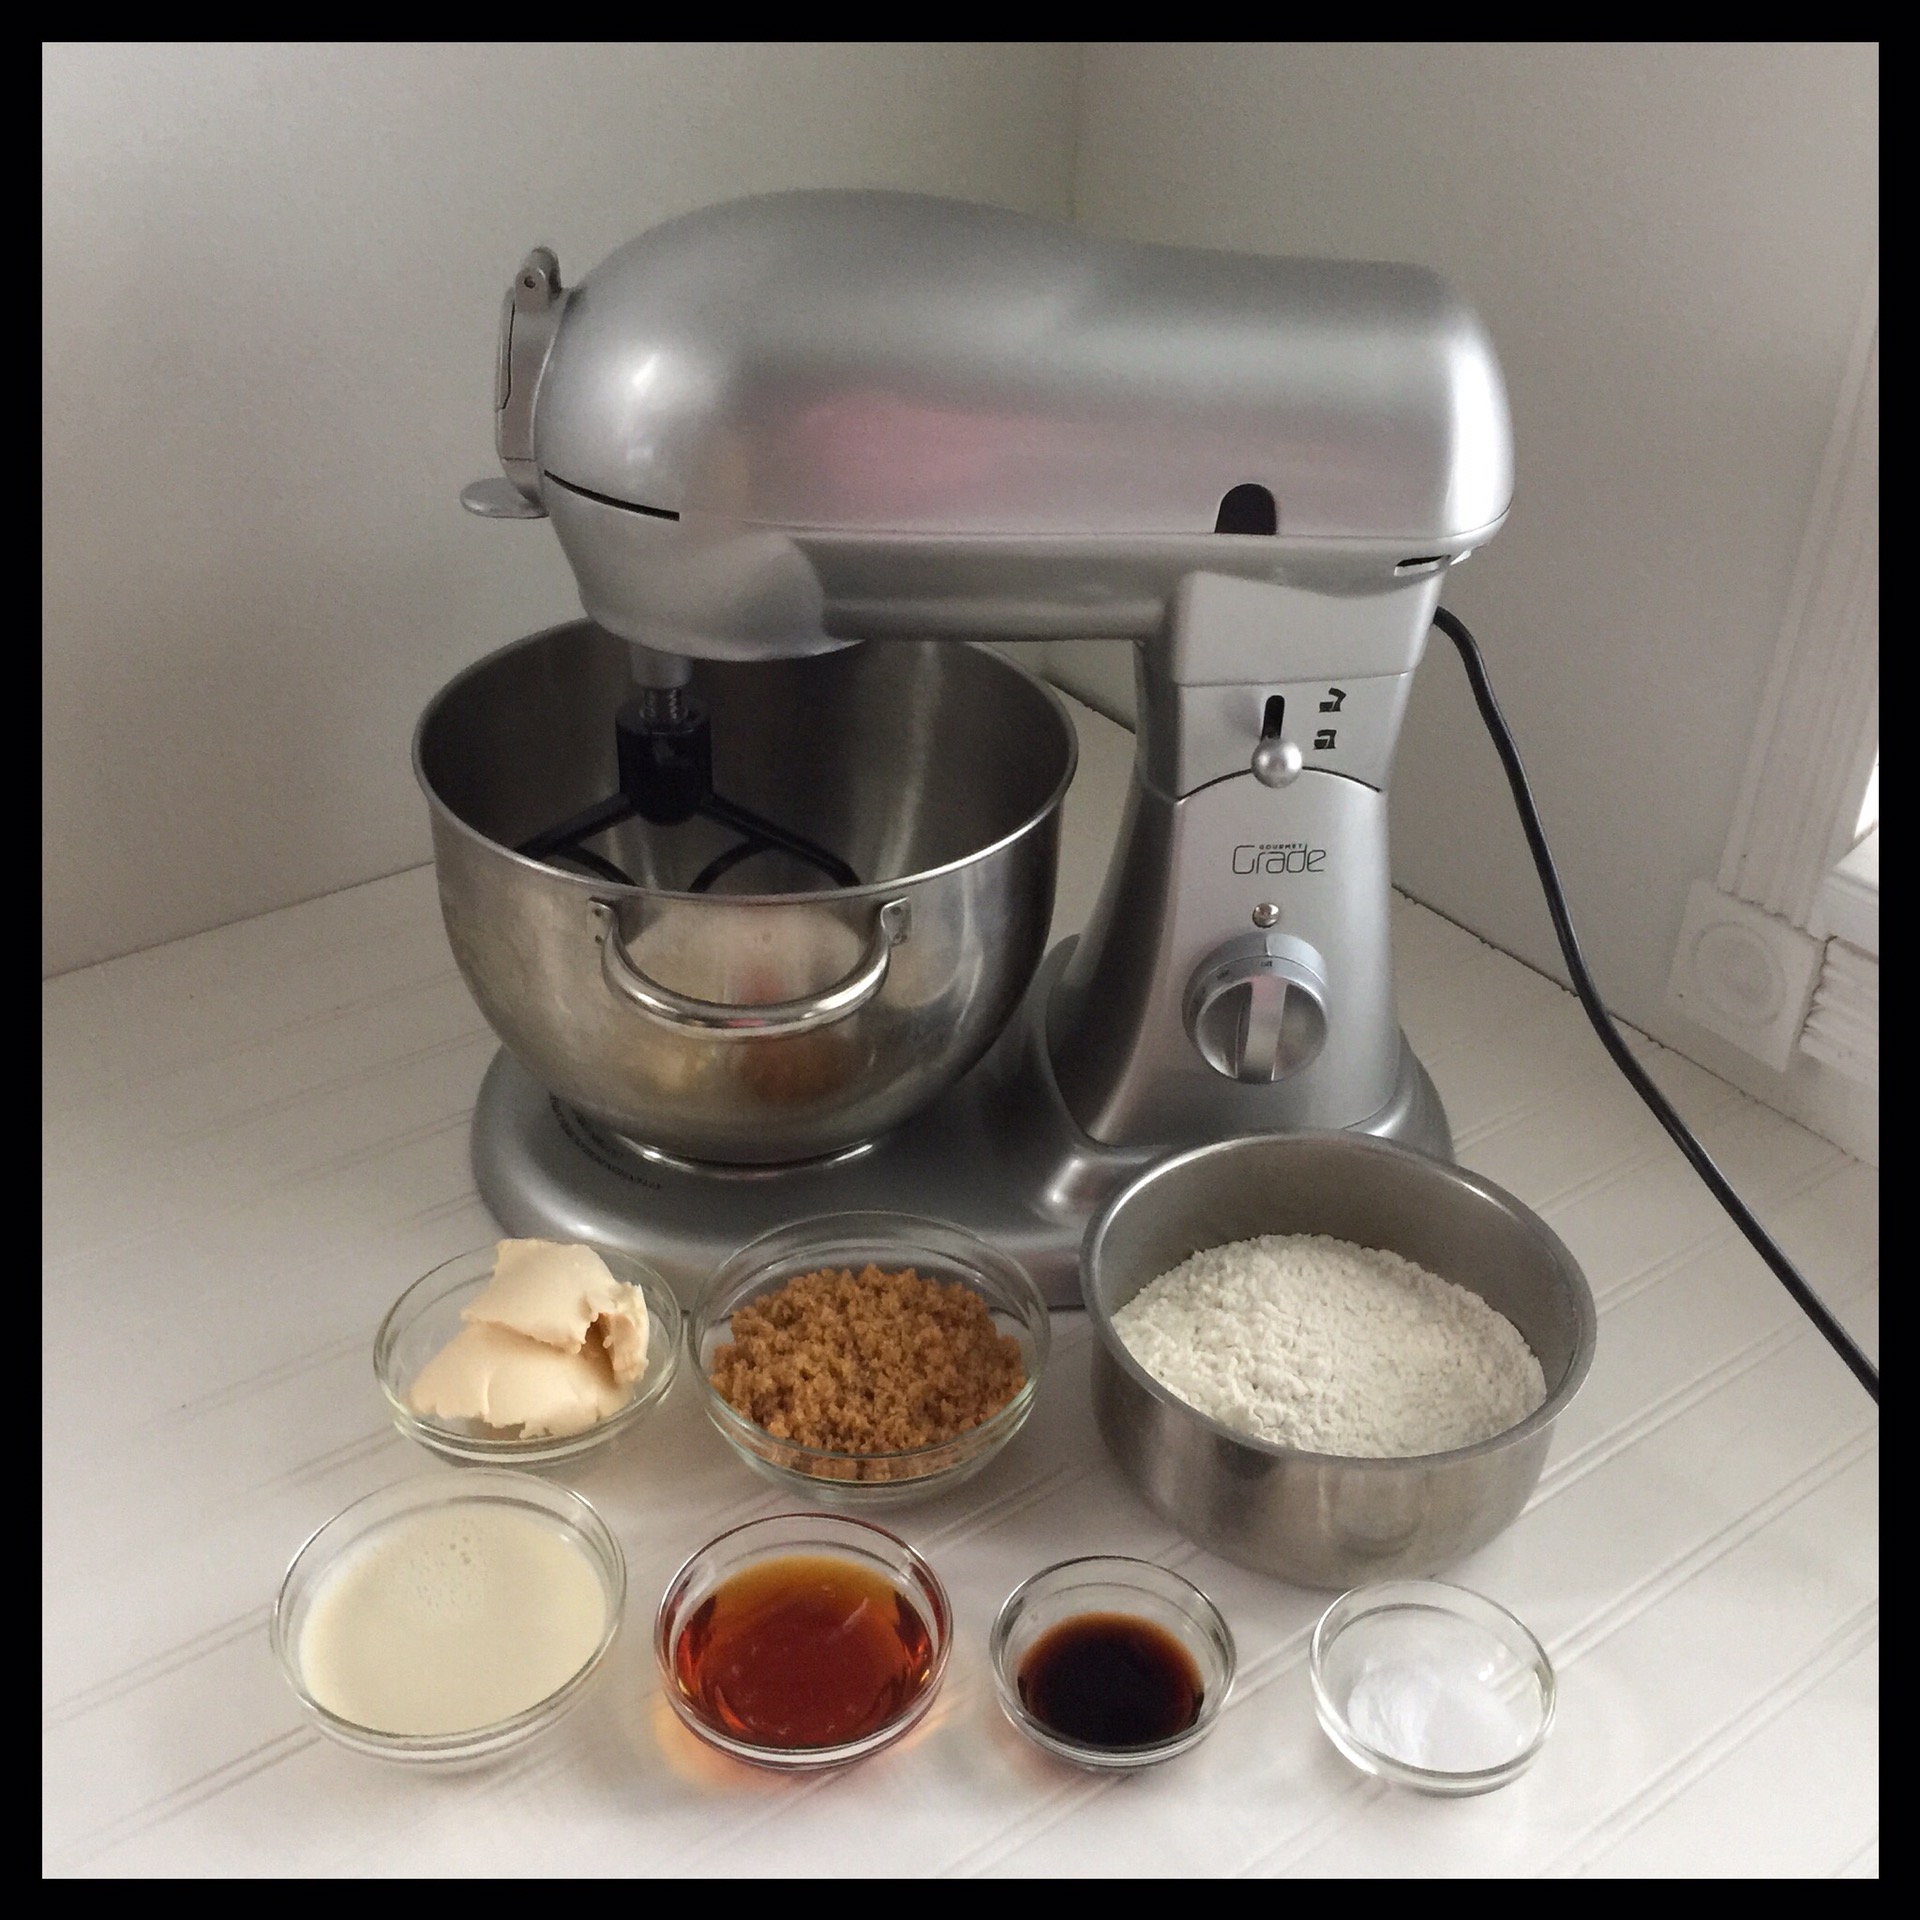
These graham crackers are light and crispy with a lovely honey vanilla flavor! The dough is very easy to make and it comes together in minutes. The only slightly challenging step is rolling the dough out to the right thickness, so there are lots of photos to show you exactly how to do it. Here are the ingredients you will need:
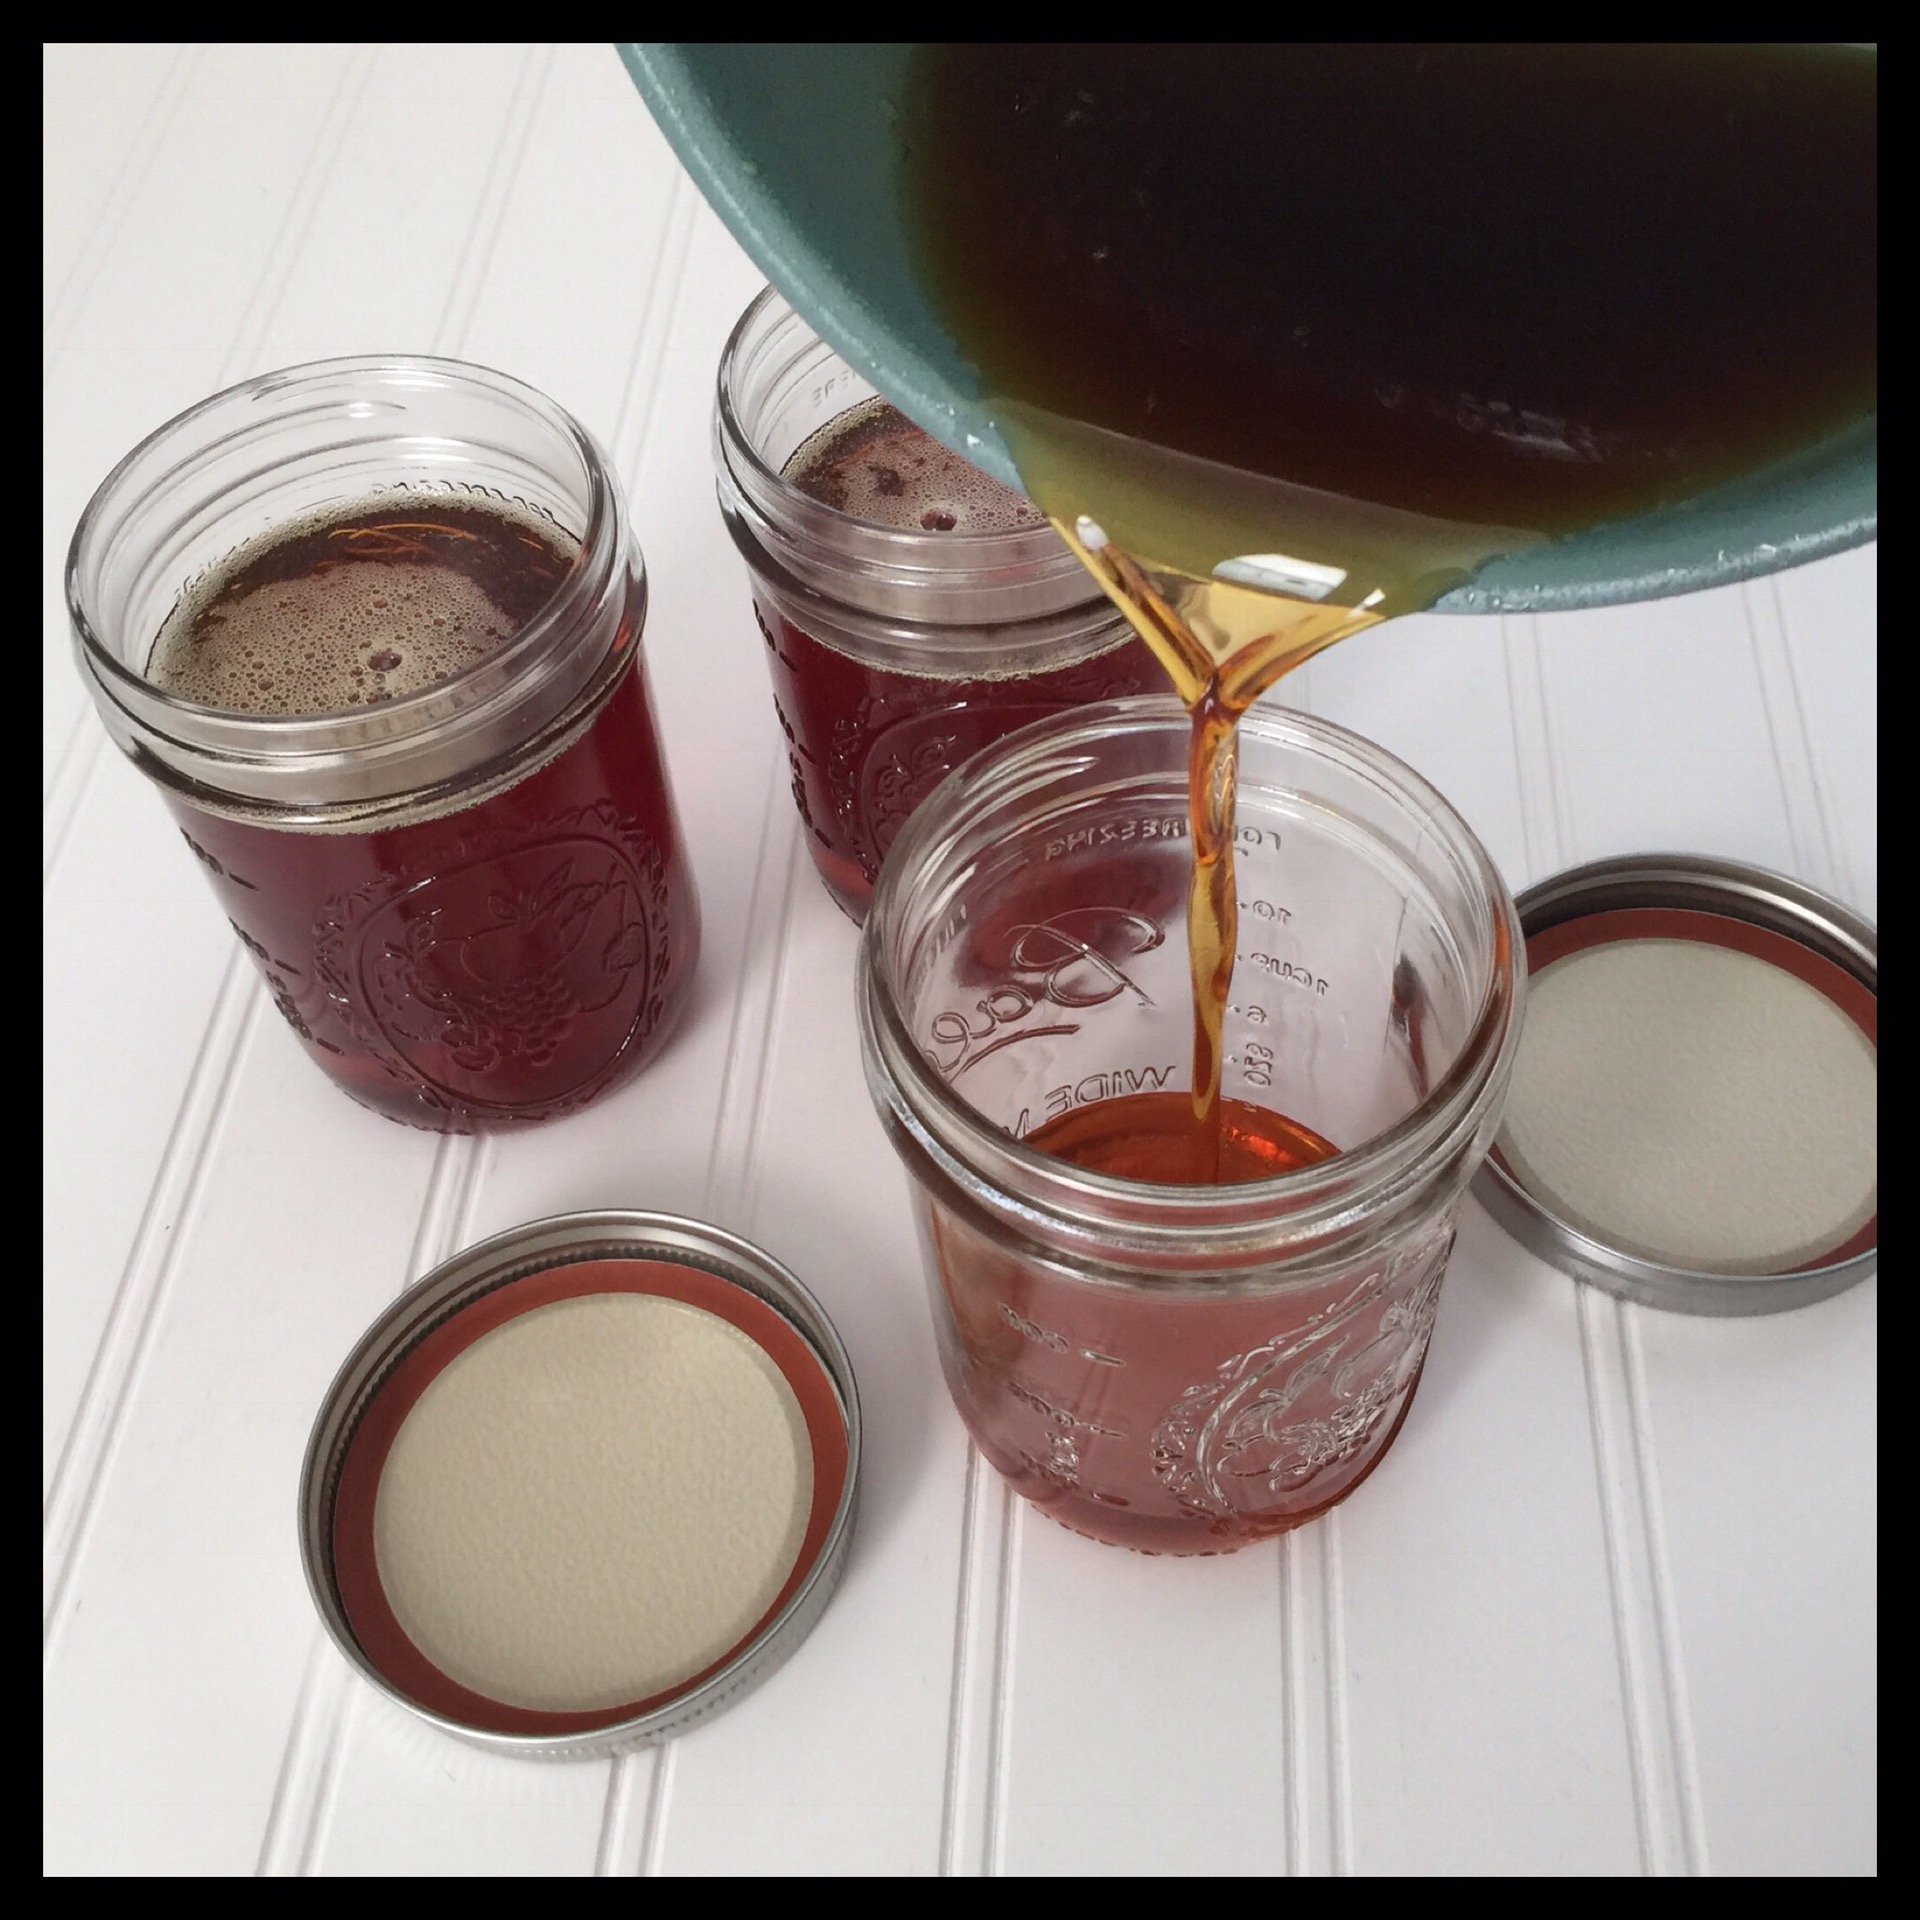
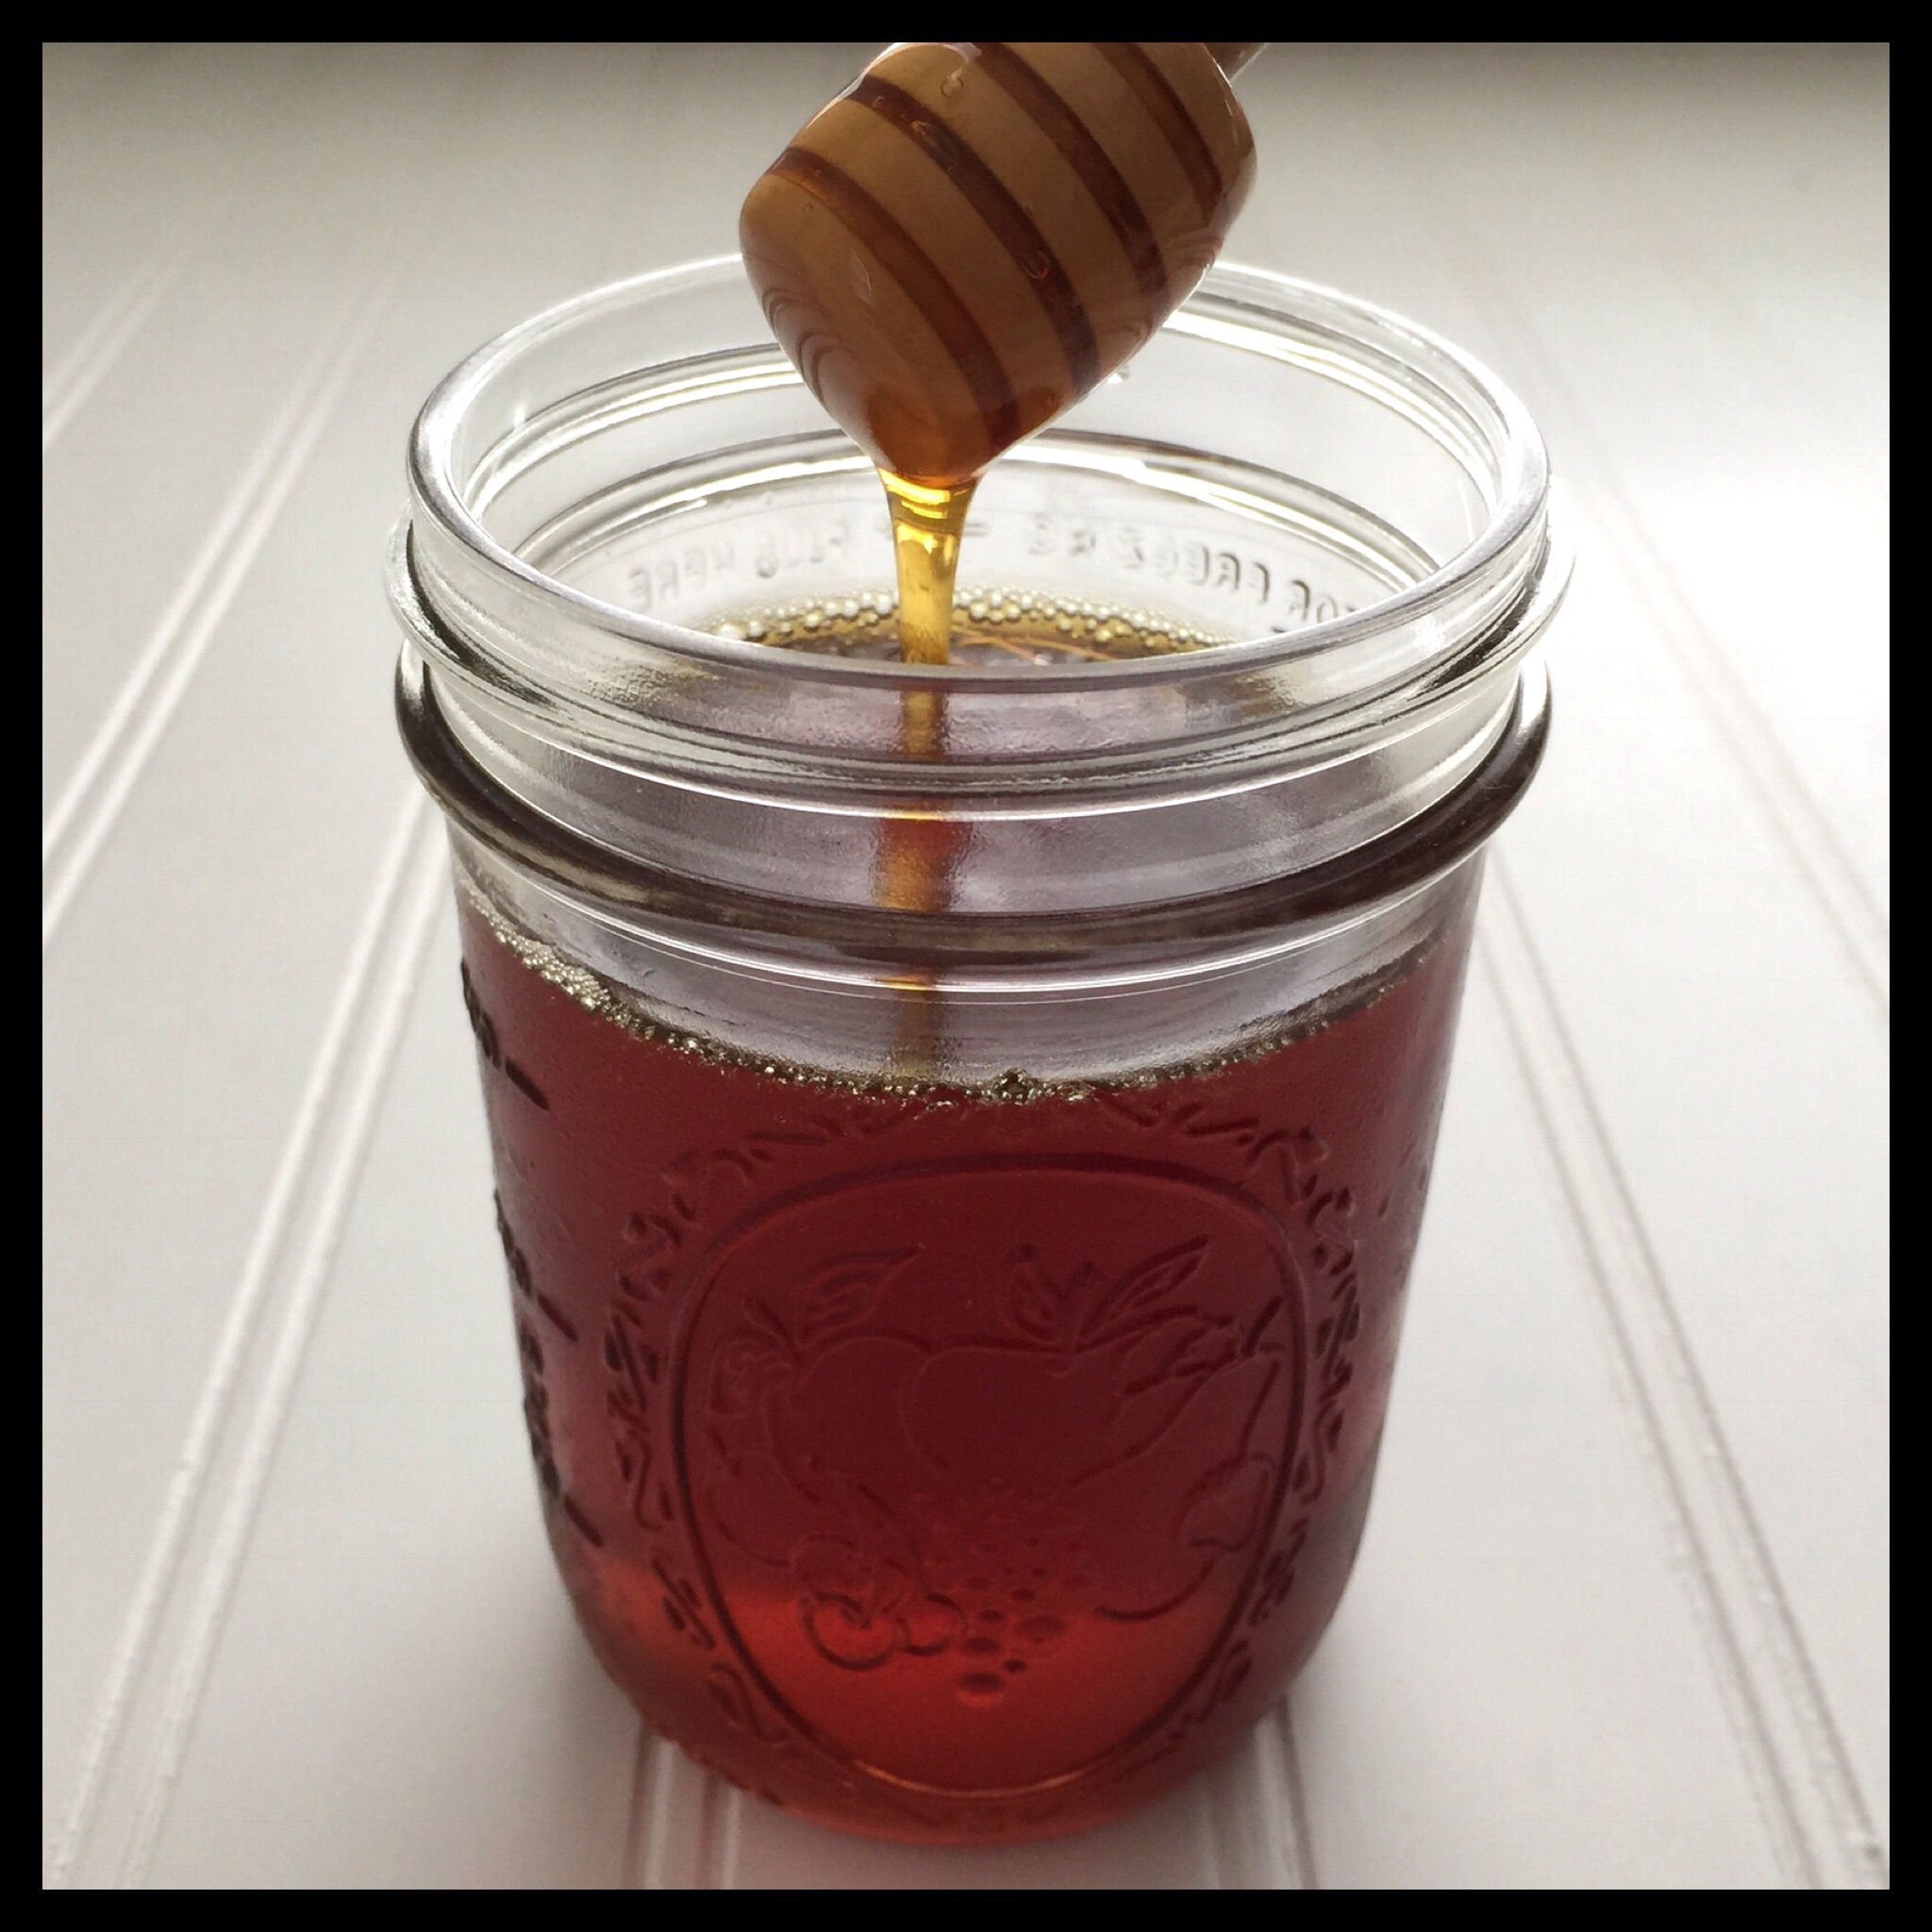
The honey flavor comes from homemade vegan honee. It is so easy and inexpensive to make! (You can substitute agave or maple syrup, but either one will change the flavor of the graham crackers.)
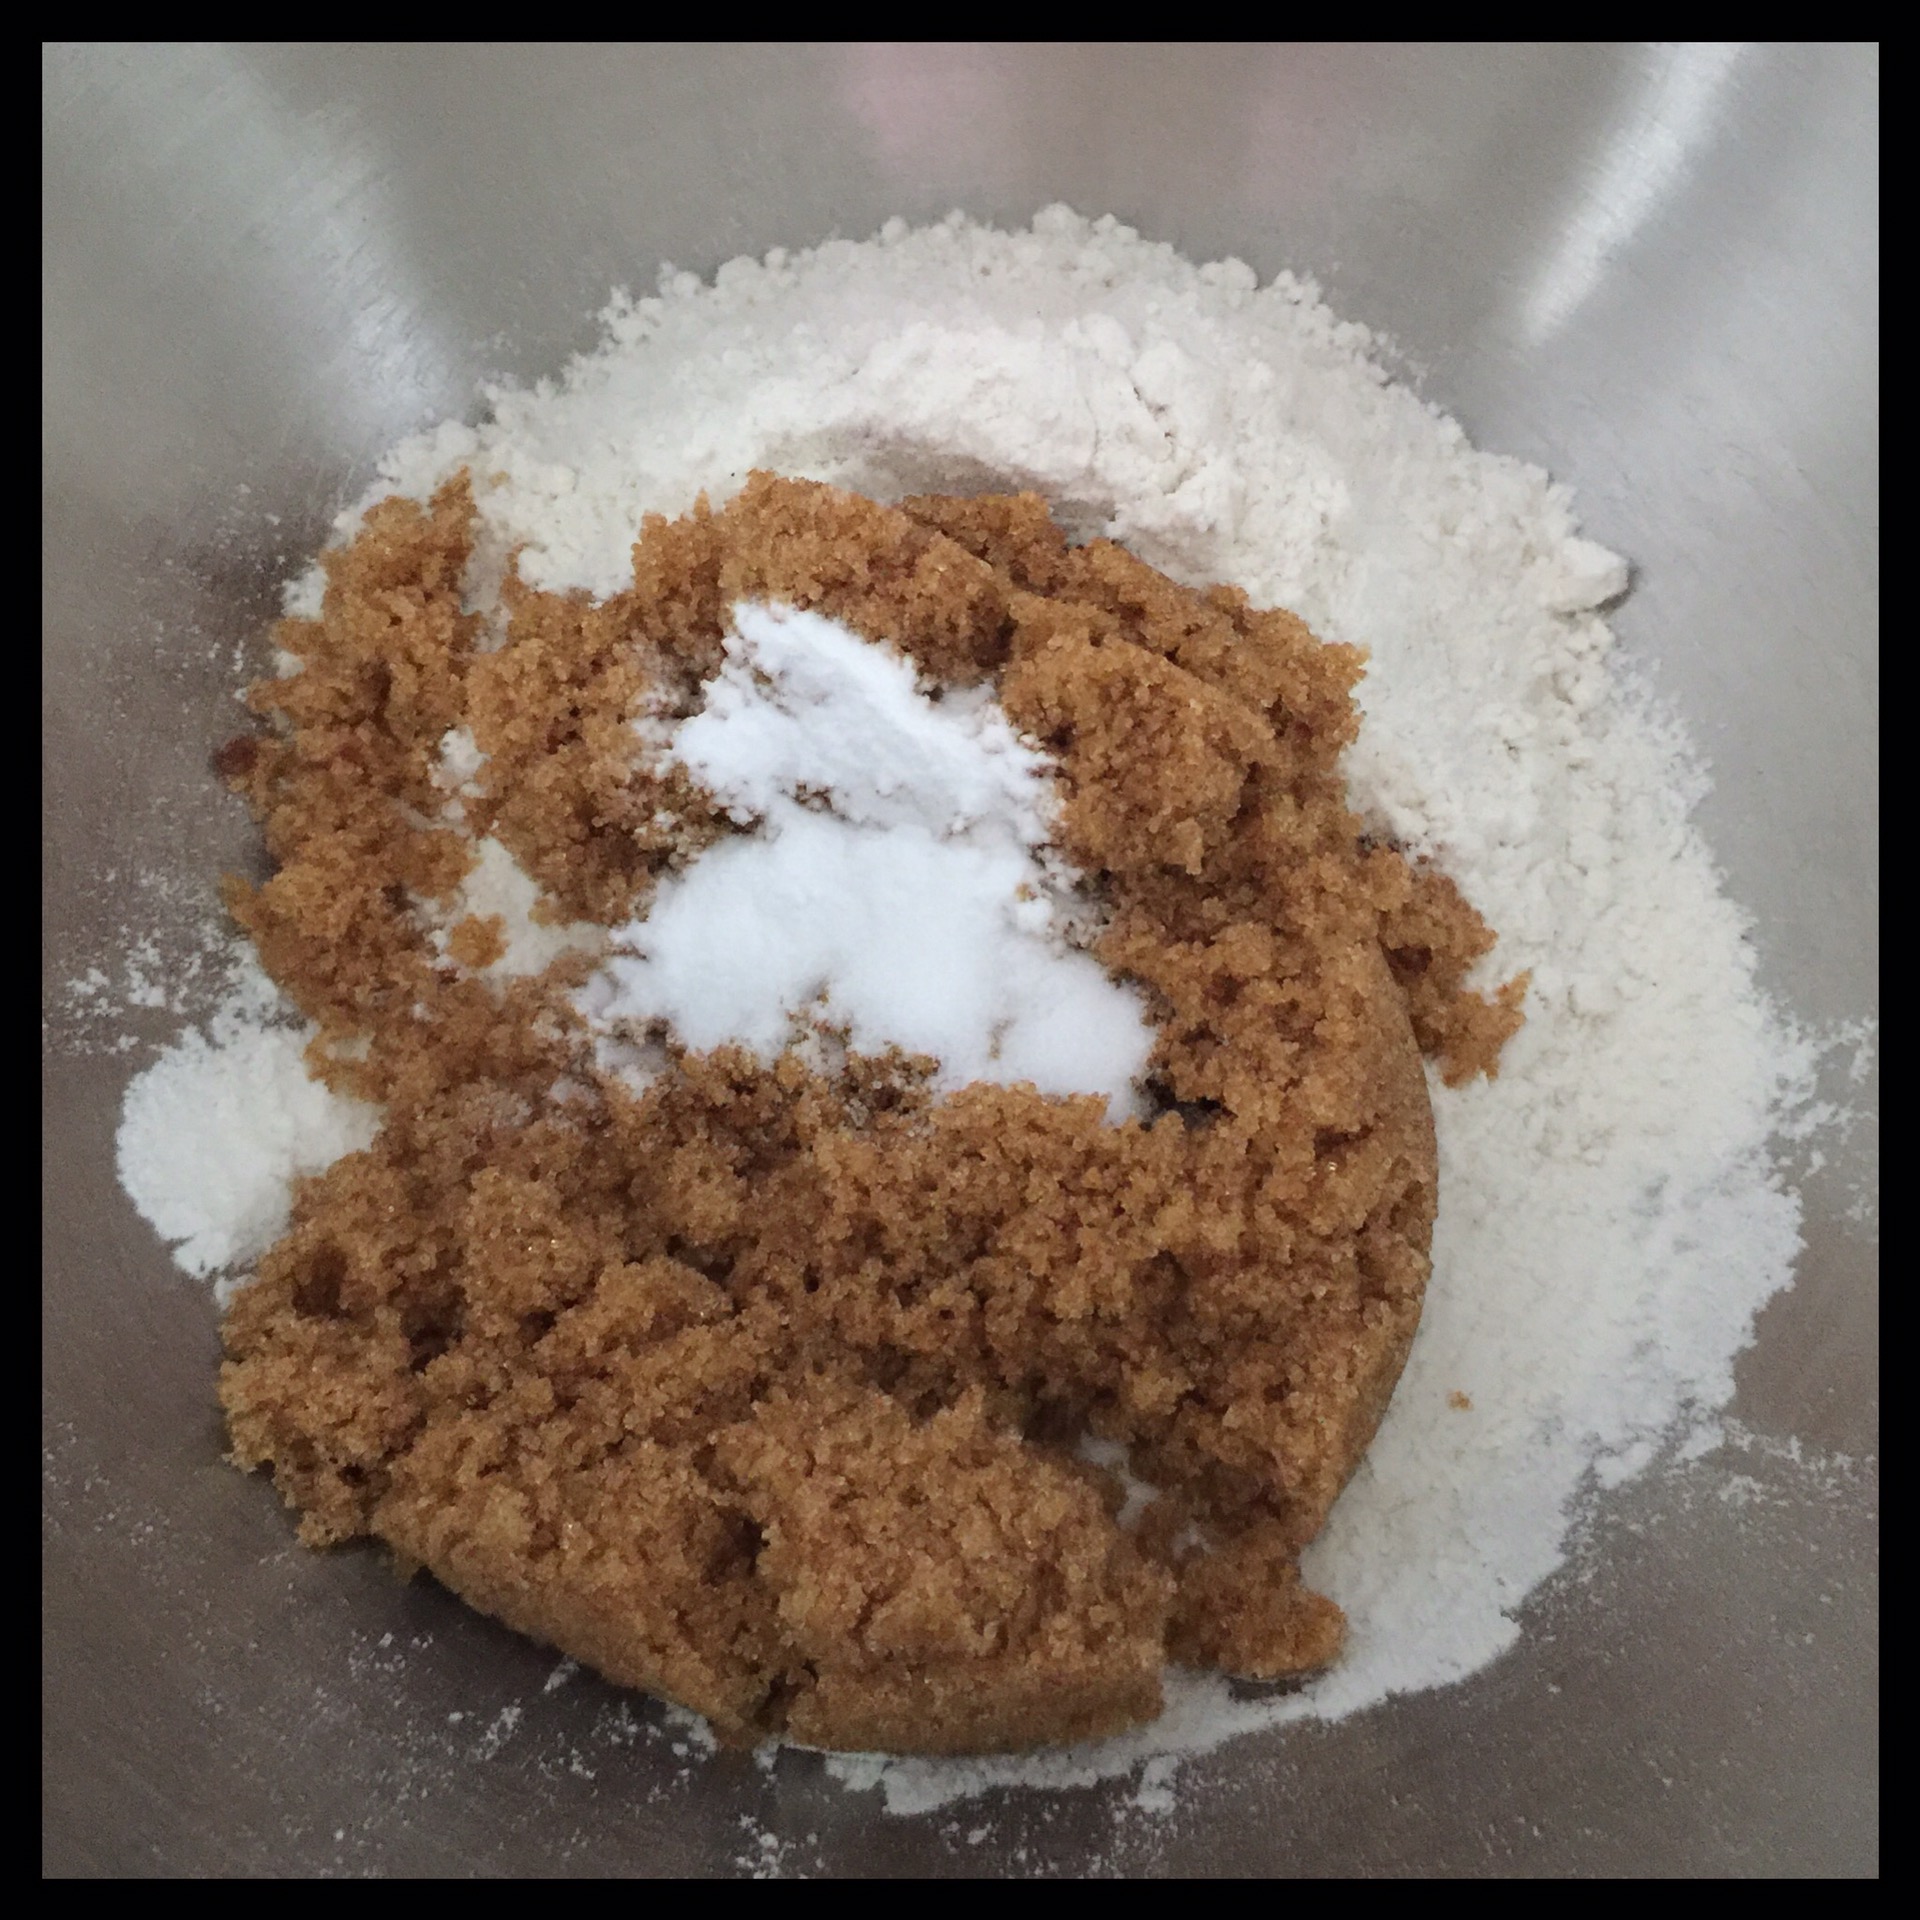
Add the flour, vegan dark brown sugar, baking soda, and salt in the mixing bowl of a stand mixer. (I have not made this recipe without a stand mixer, but I think you could whisk the dry ingredients and then mix in the wet ingredients by hand with a very sturdy spatula.)
I definitely prefer to use one of my own gluten free flour blends, but they require my egg replacement which was not on the market yet when I wrote this post. The Plant Based Egg makes xanthan and guar gums unnecessary and gives a superior result. It will be available to purchase online very soon at www.freelyvegan.com! (Until then, you can order it by emailing theplantbasedegg@gmail.com.)
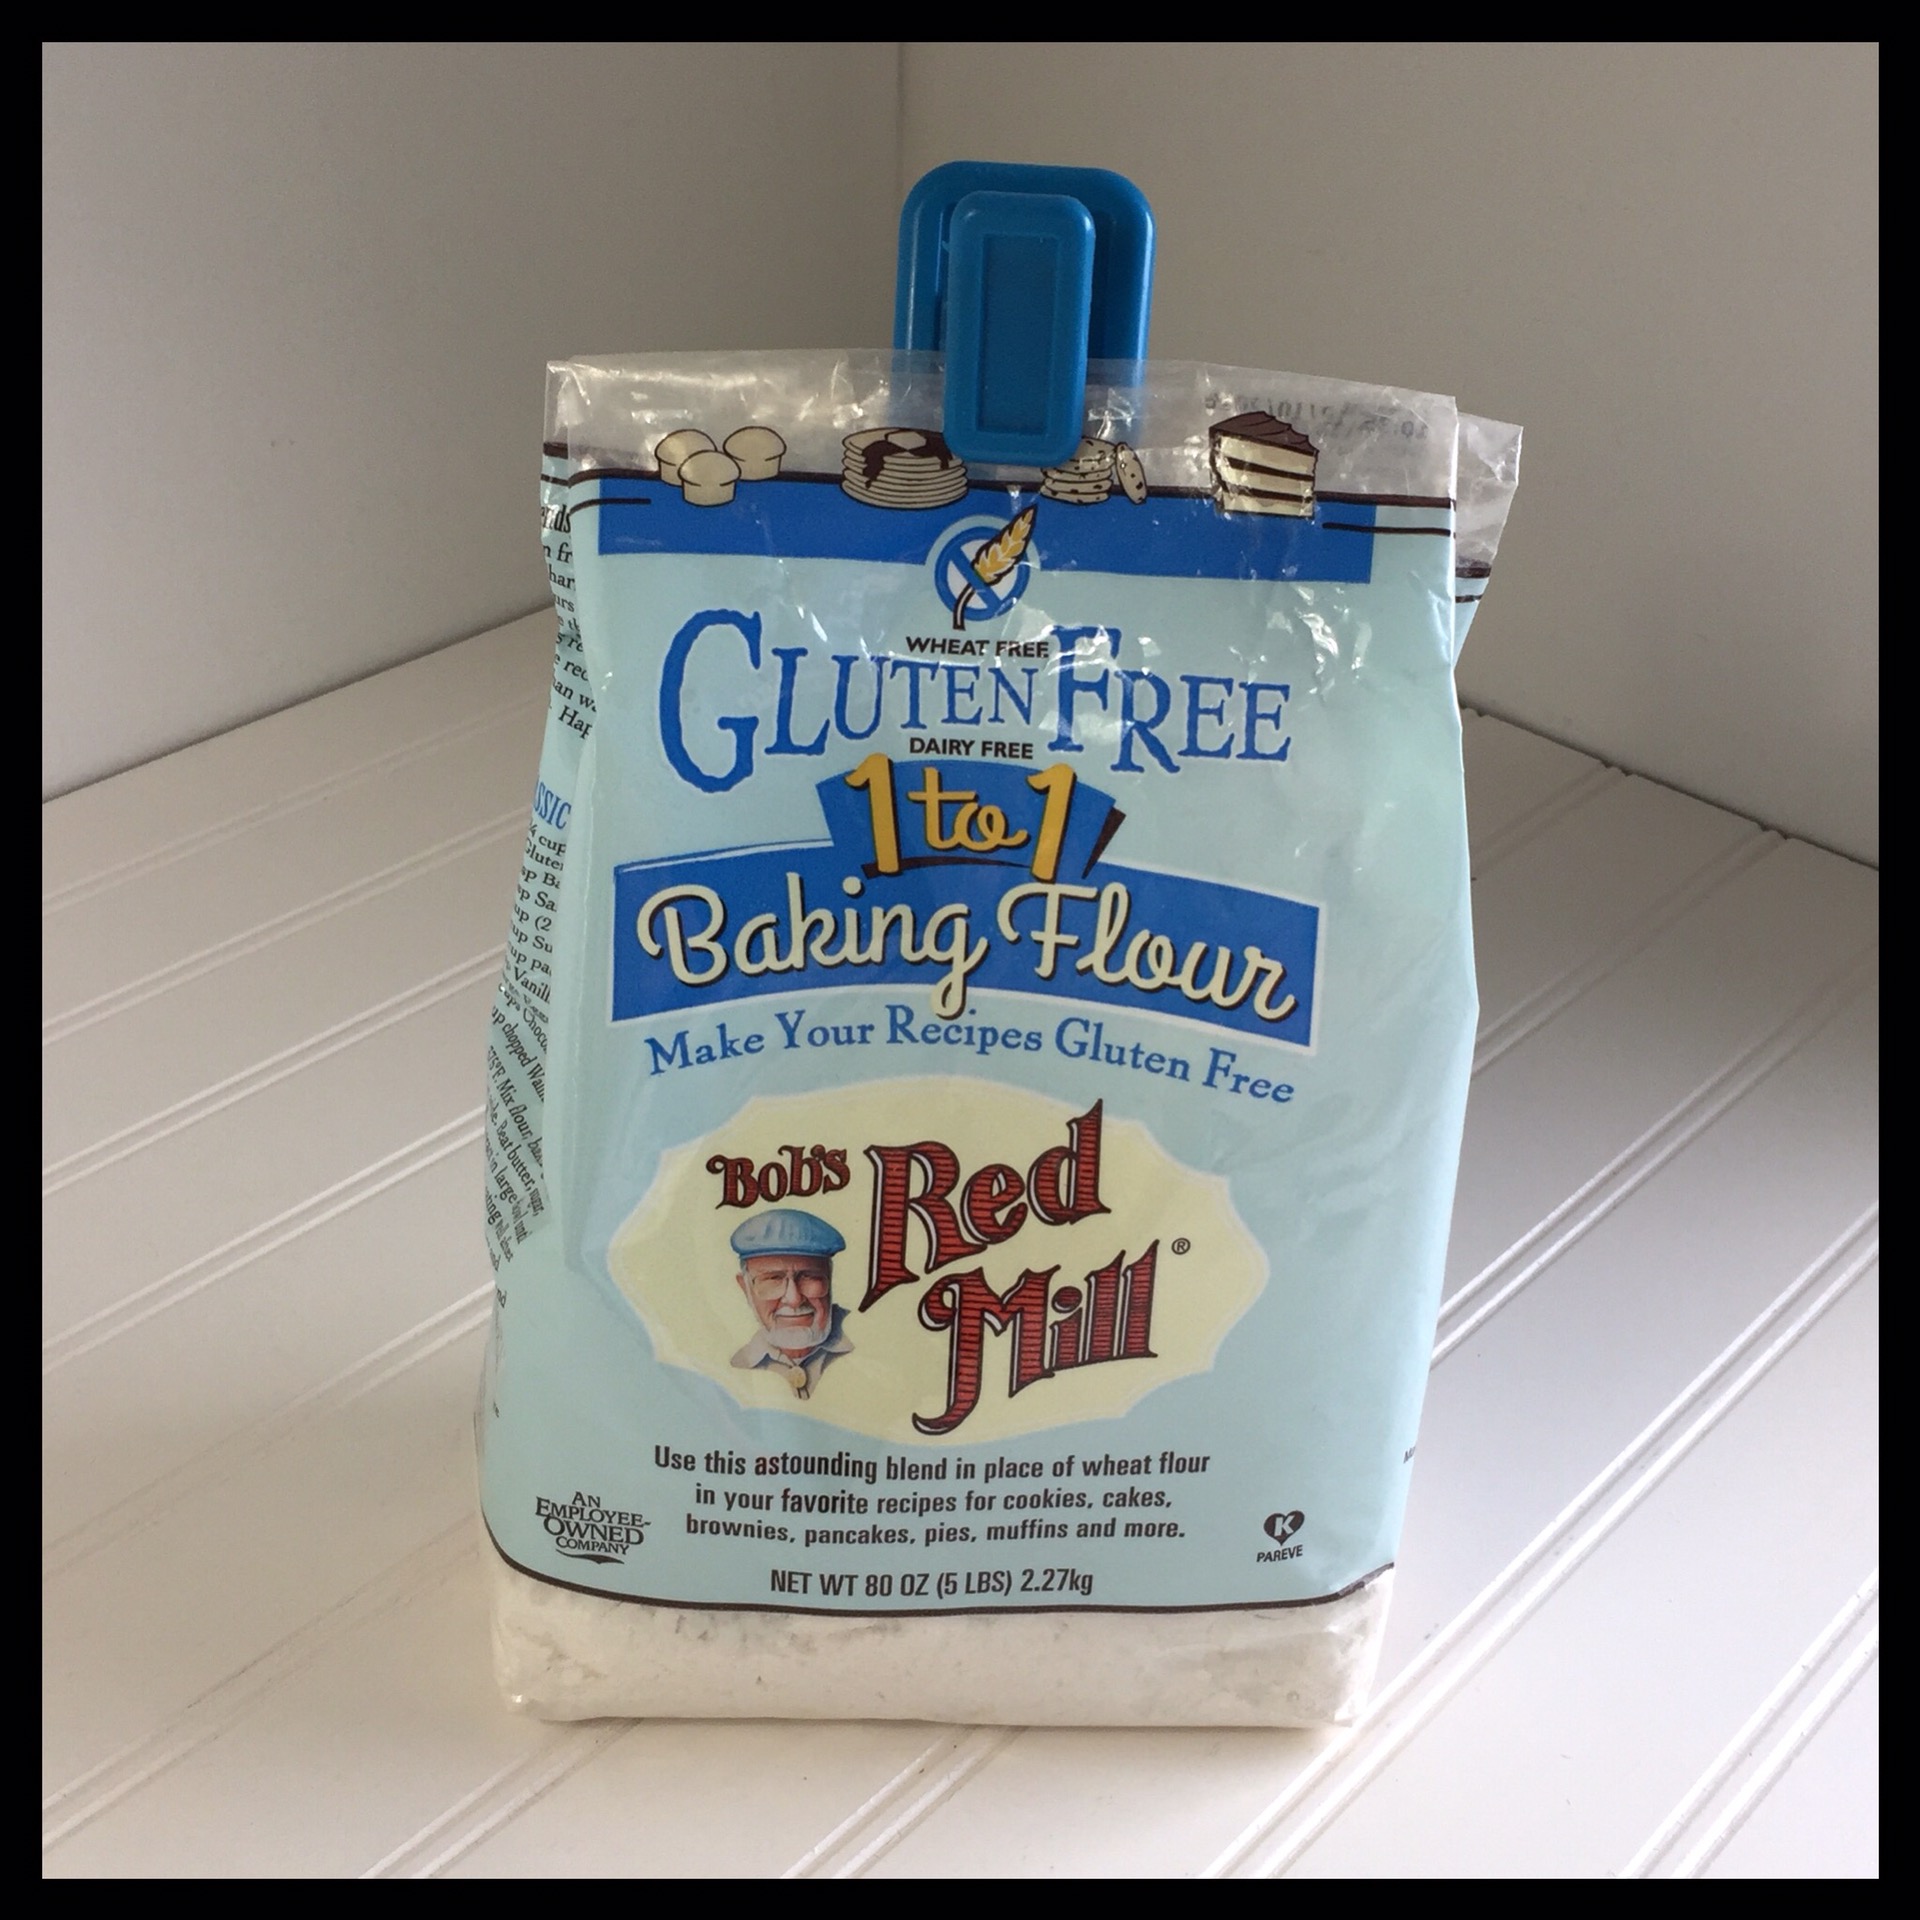
In the meantime, I used this 1:1 flour from Bob’s Red Mill. The dough was stickier than it is with my flour, but otherwise it worked well in this recipe and I was happy with the result:
You should be able to use any gluten free flour blend that has xanthan gum already added if you can’t find this one. I highly recommend weighing the flour, however, because different flour blends have different densities, and measuring flour is inaccurate anyway. If you do measure, spoon the flour into your measuring cup, then level it with a straight edge. My recipe should also work with wheat flour, but I have not tried it because I have celiac. If you make these graham crackers with wheat flour, please comment or email me and let me know how it works!
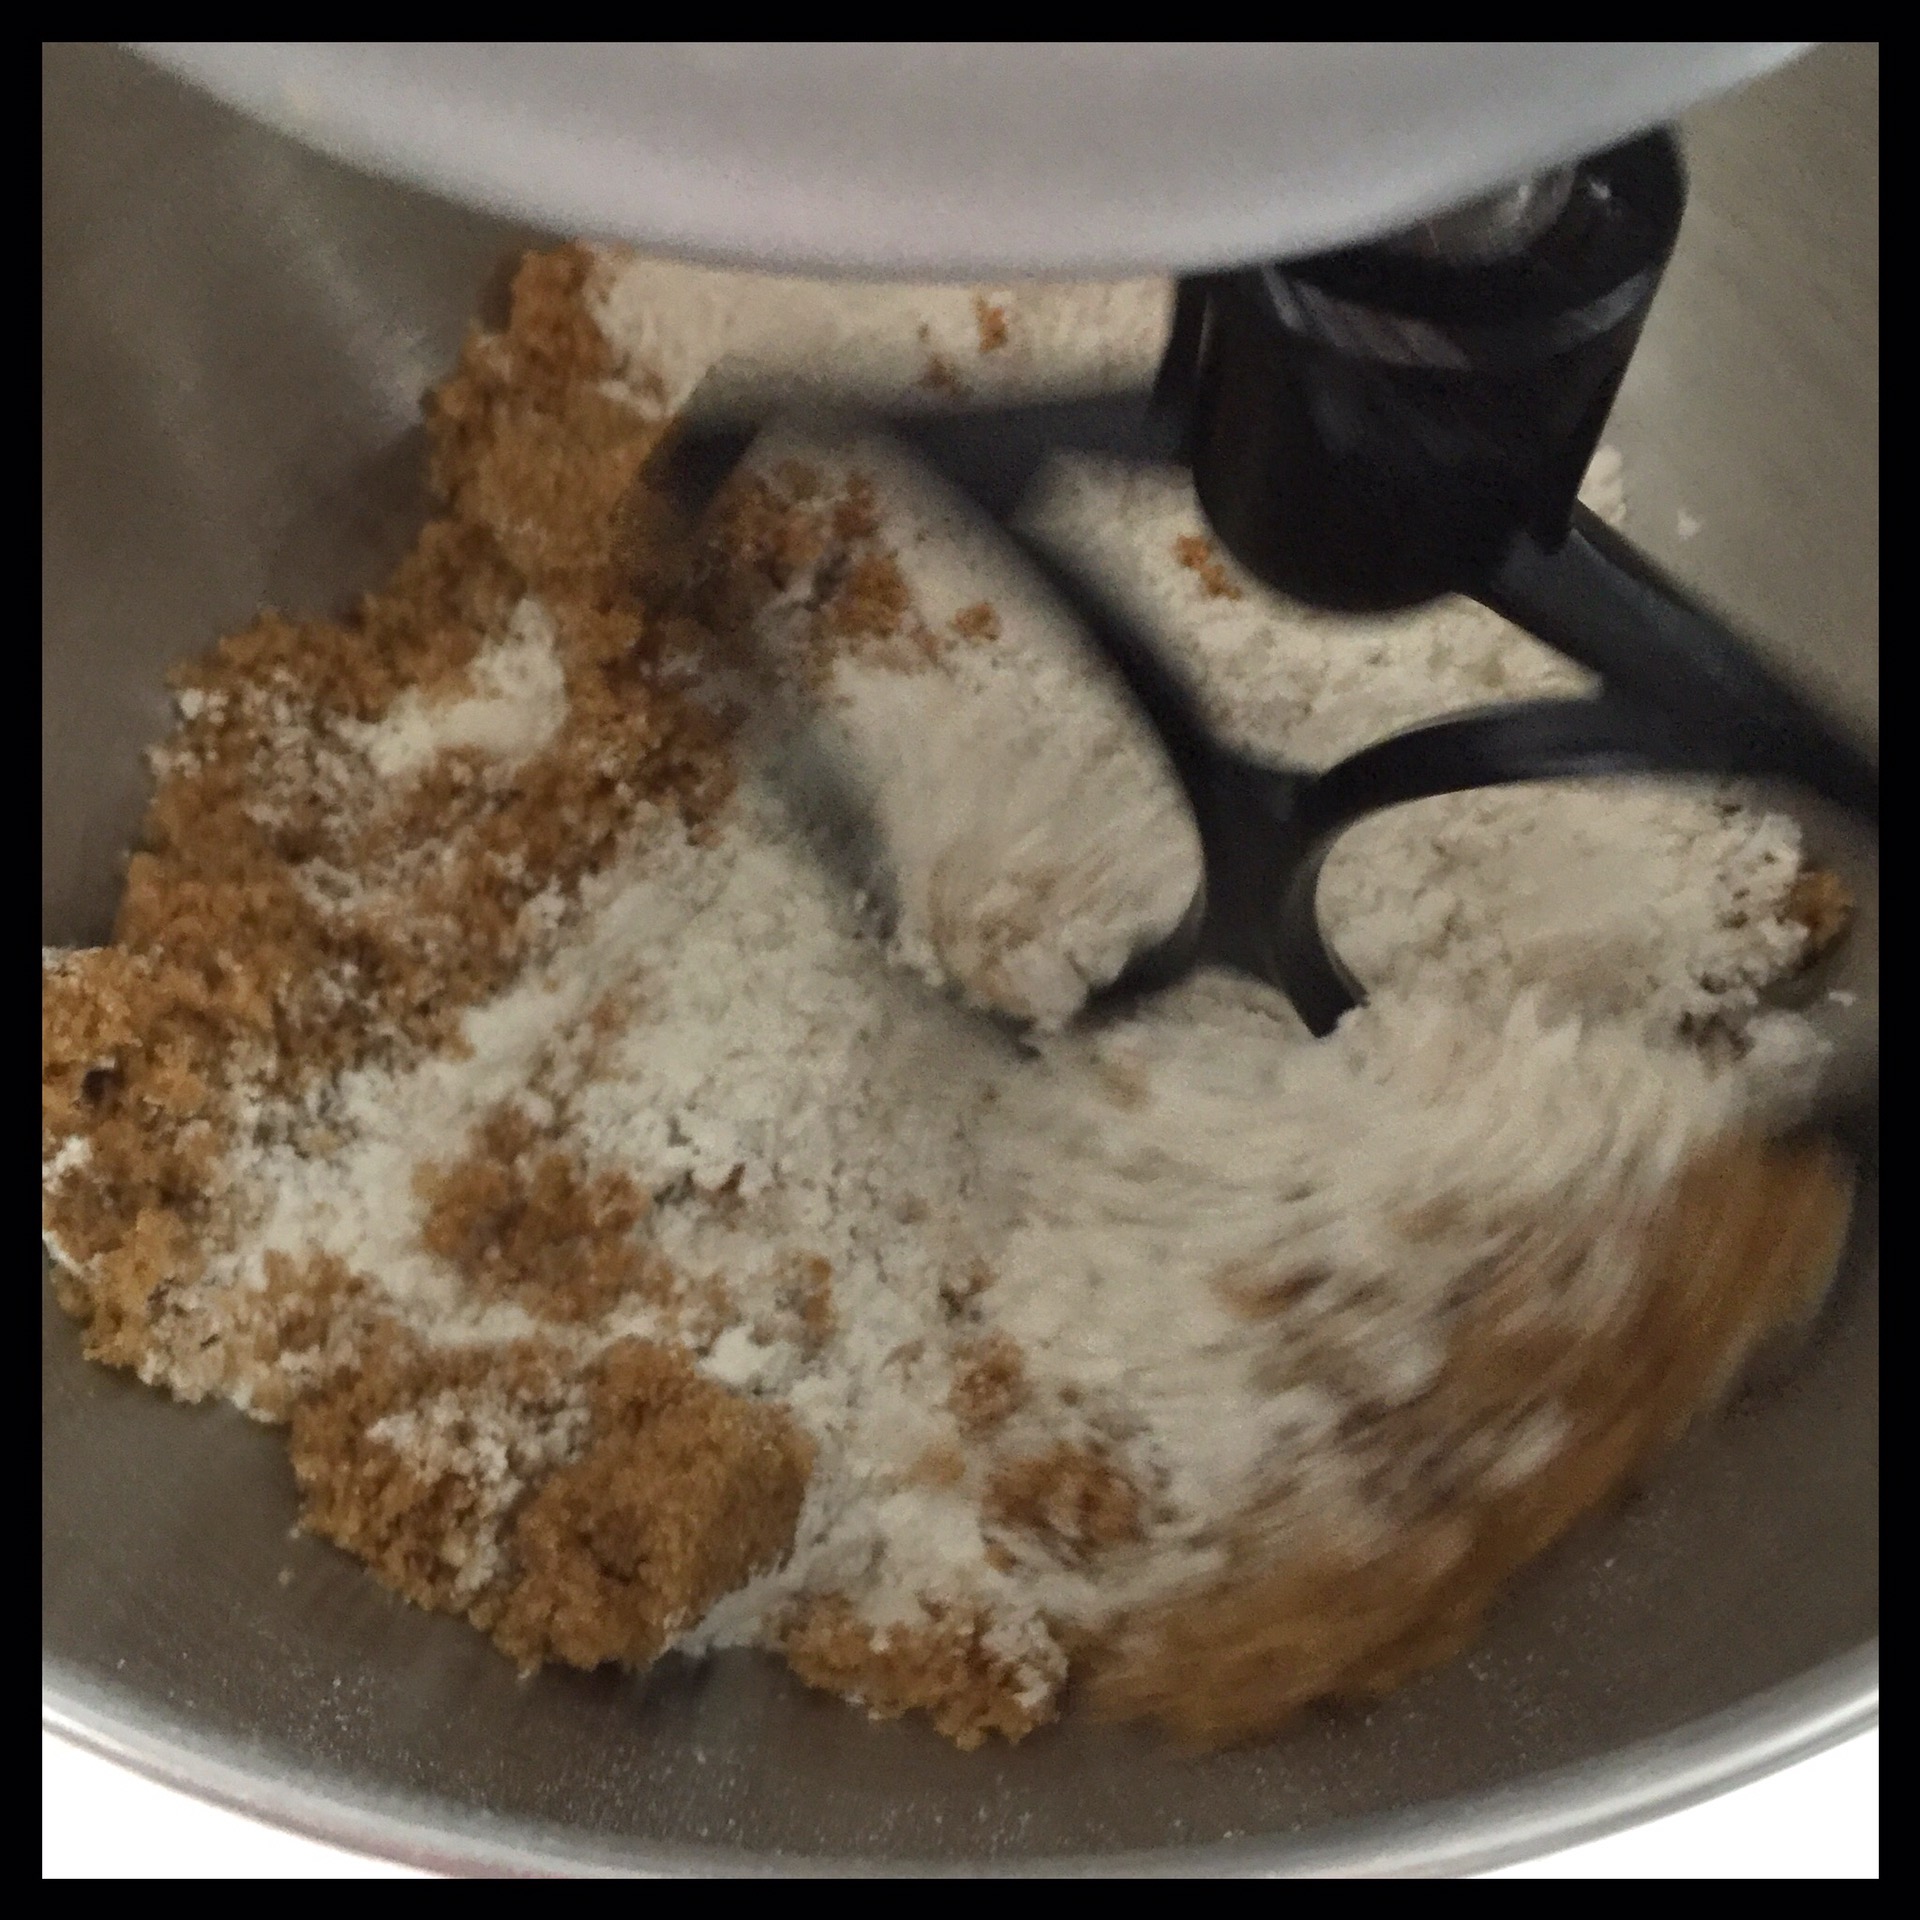
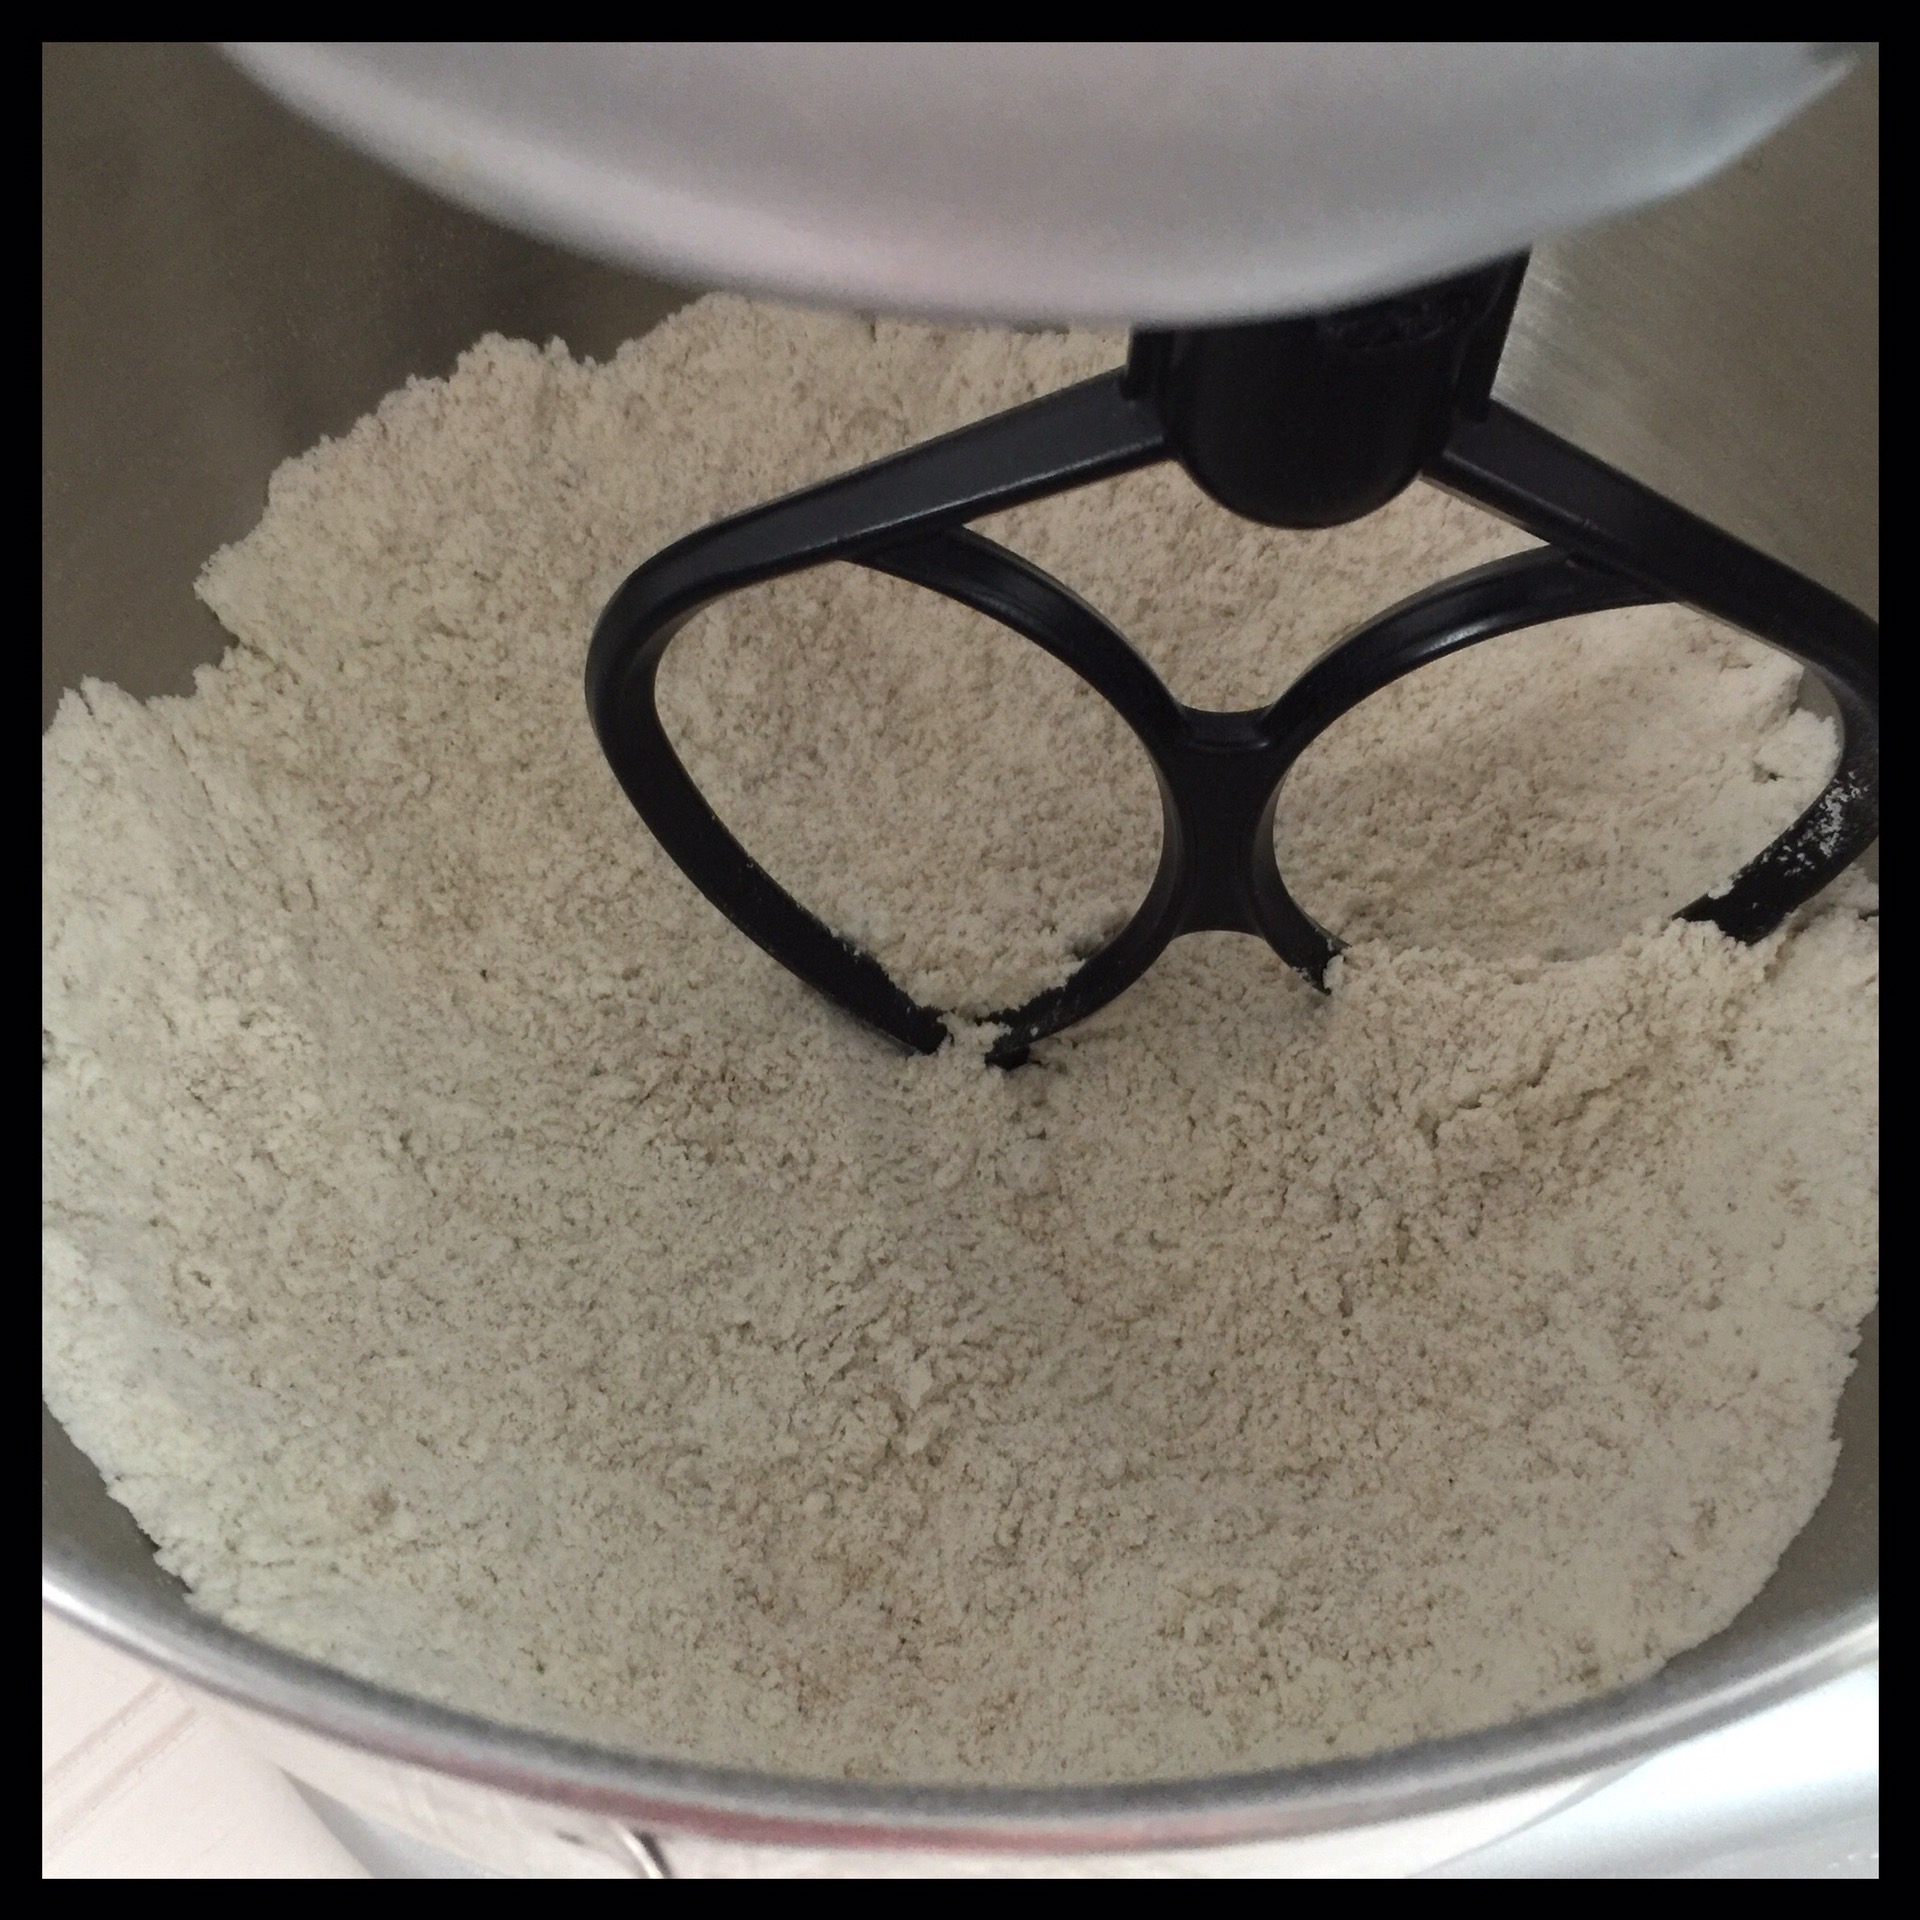
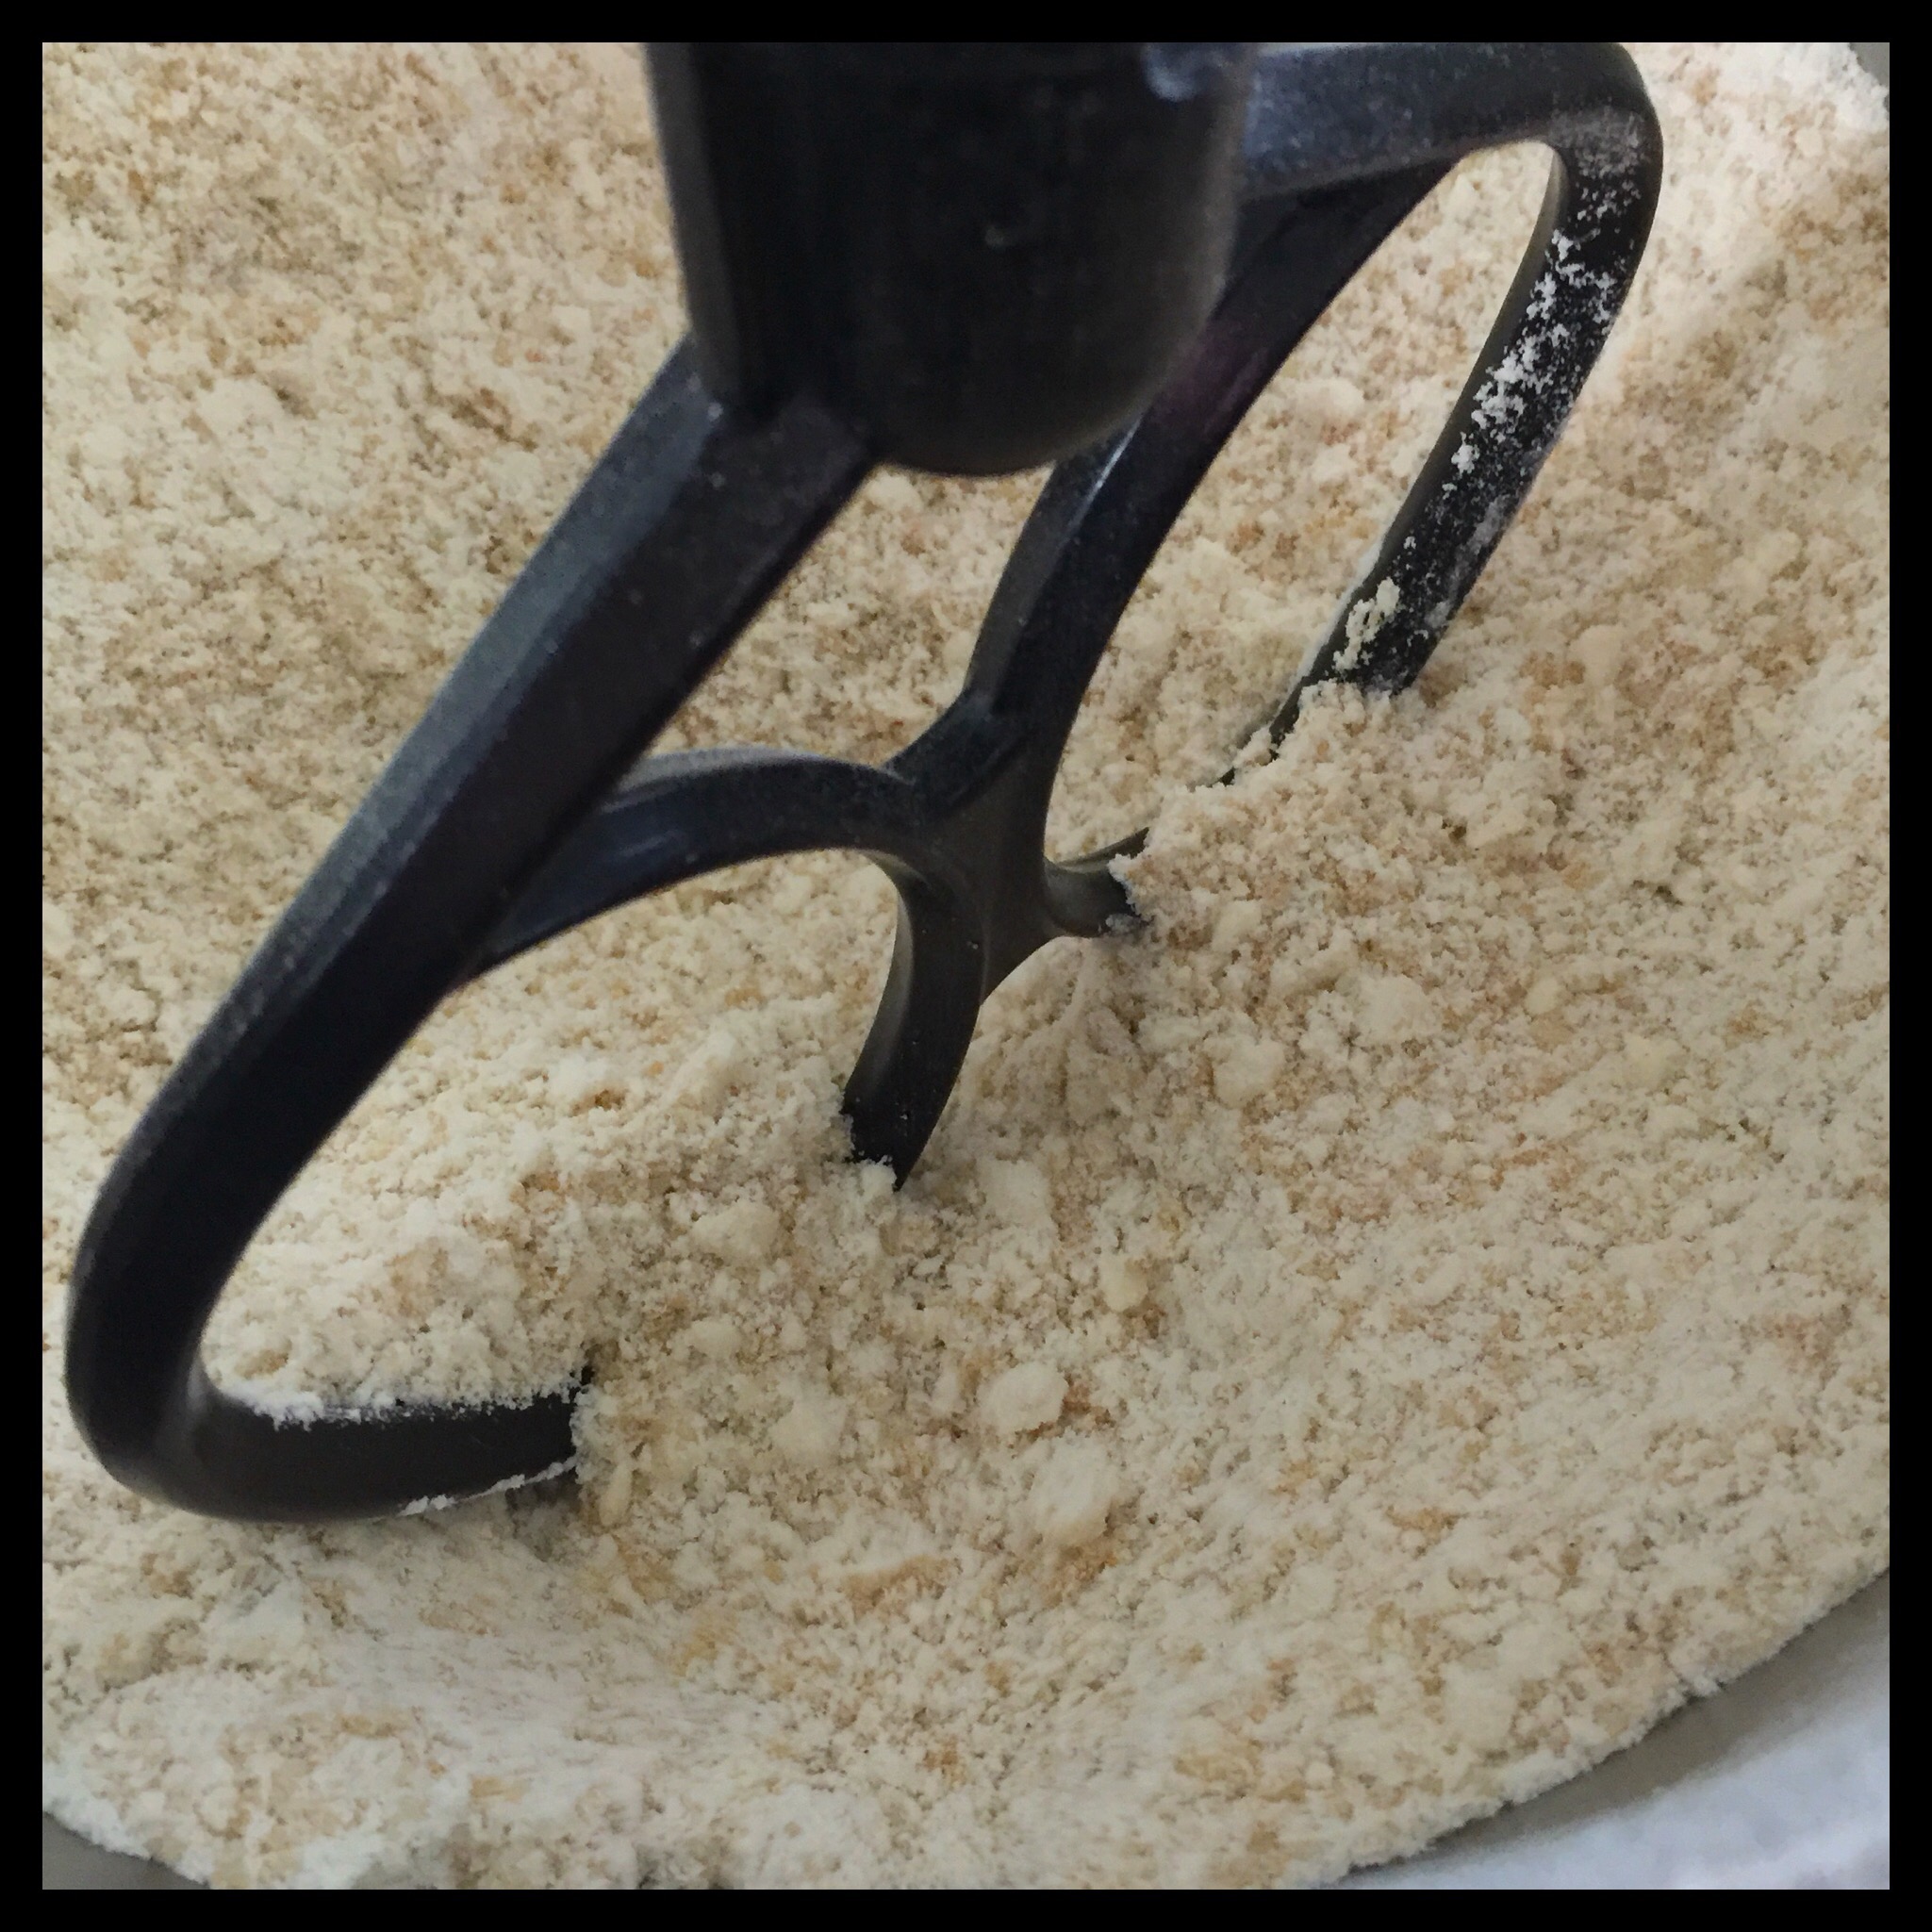
Mix on low speed until well combined:
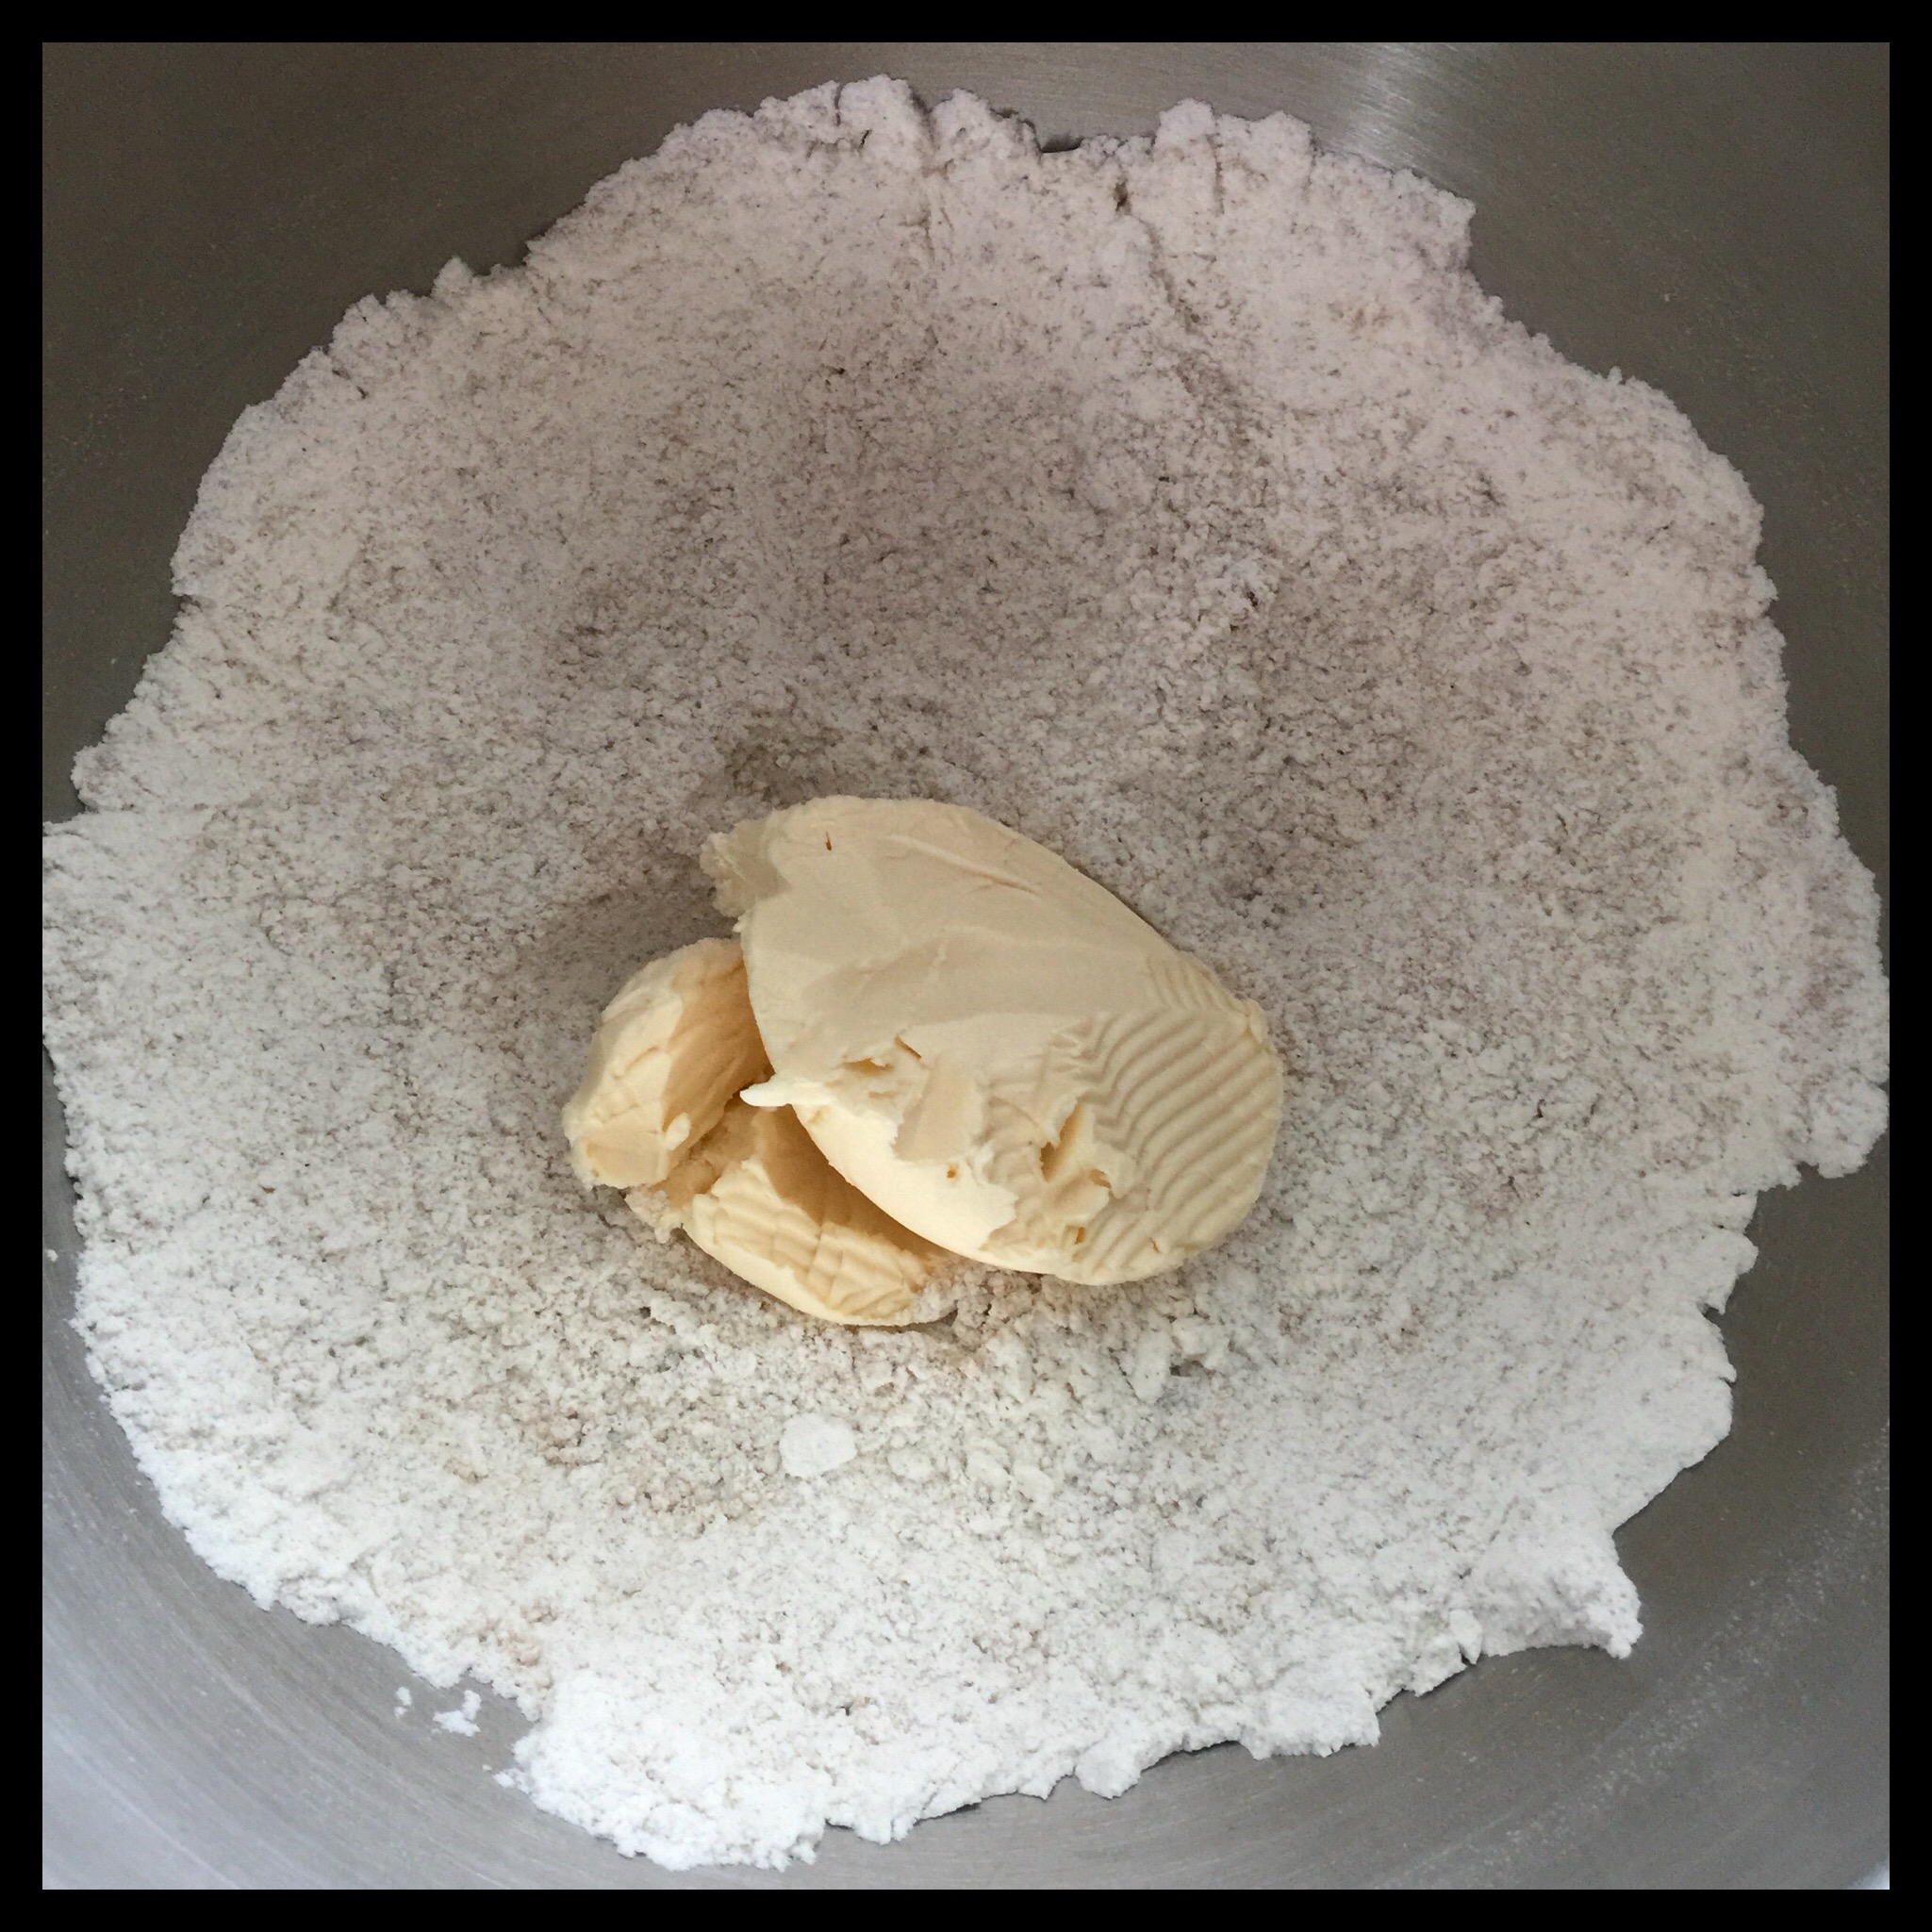
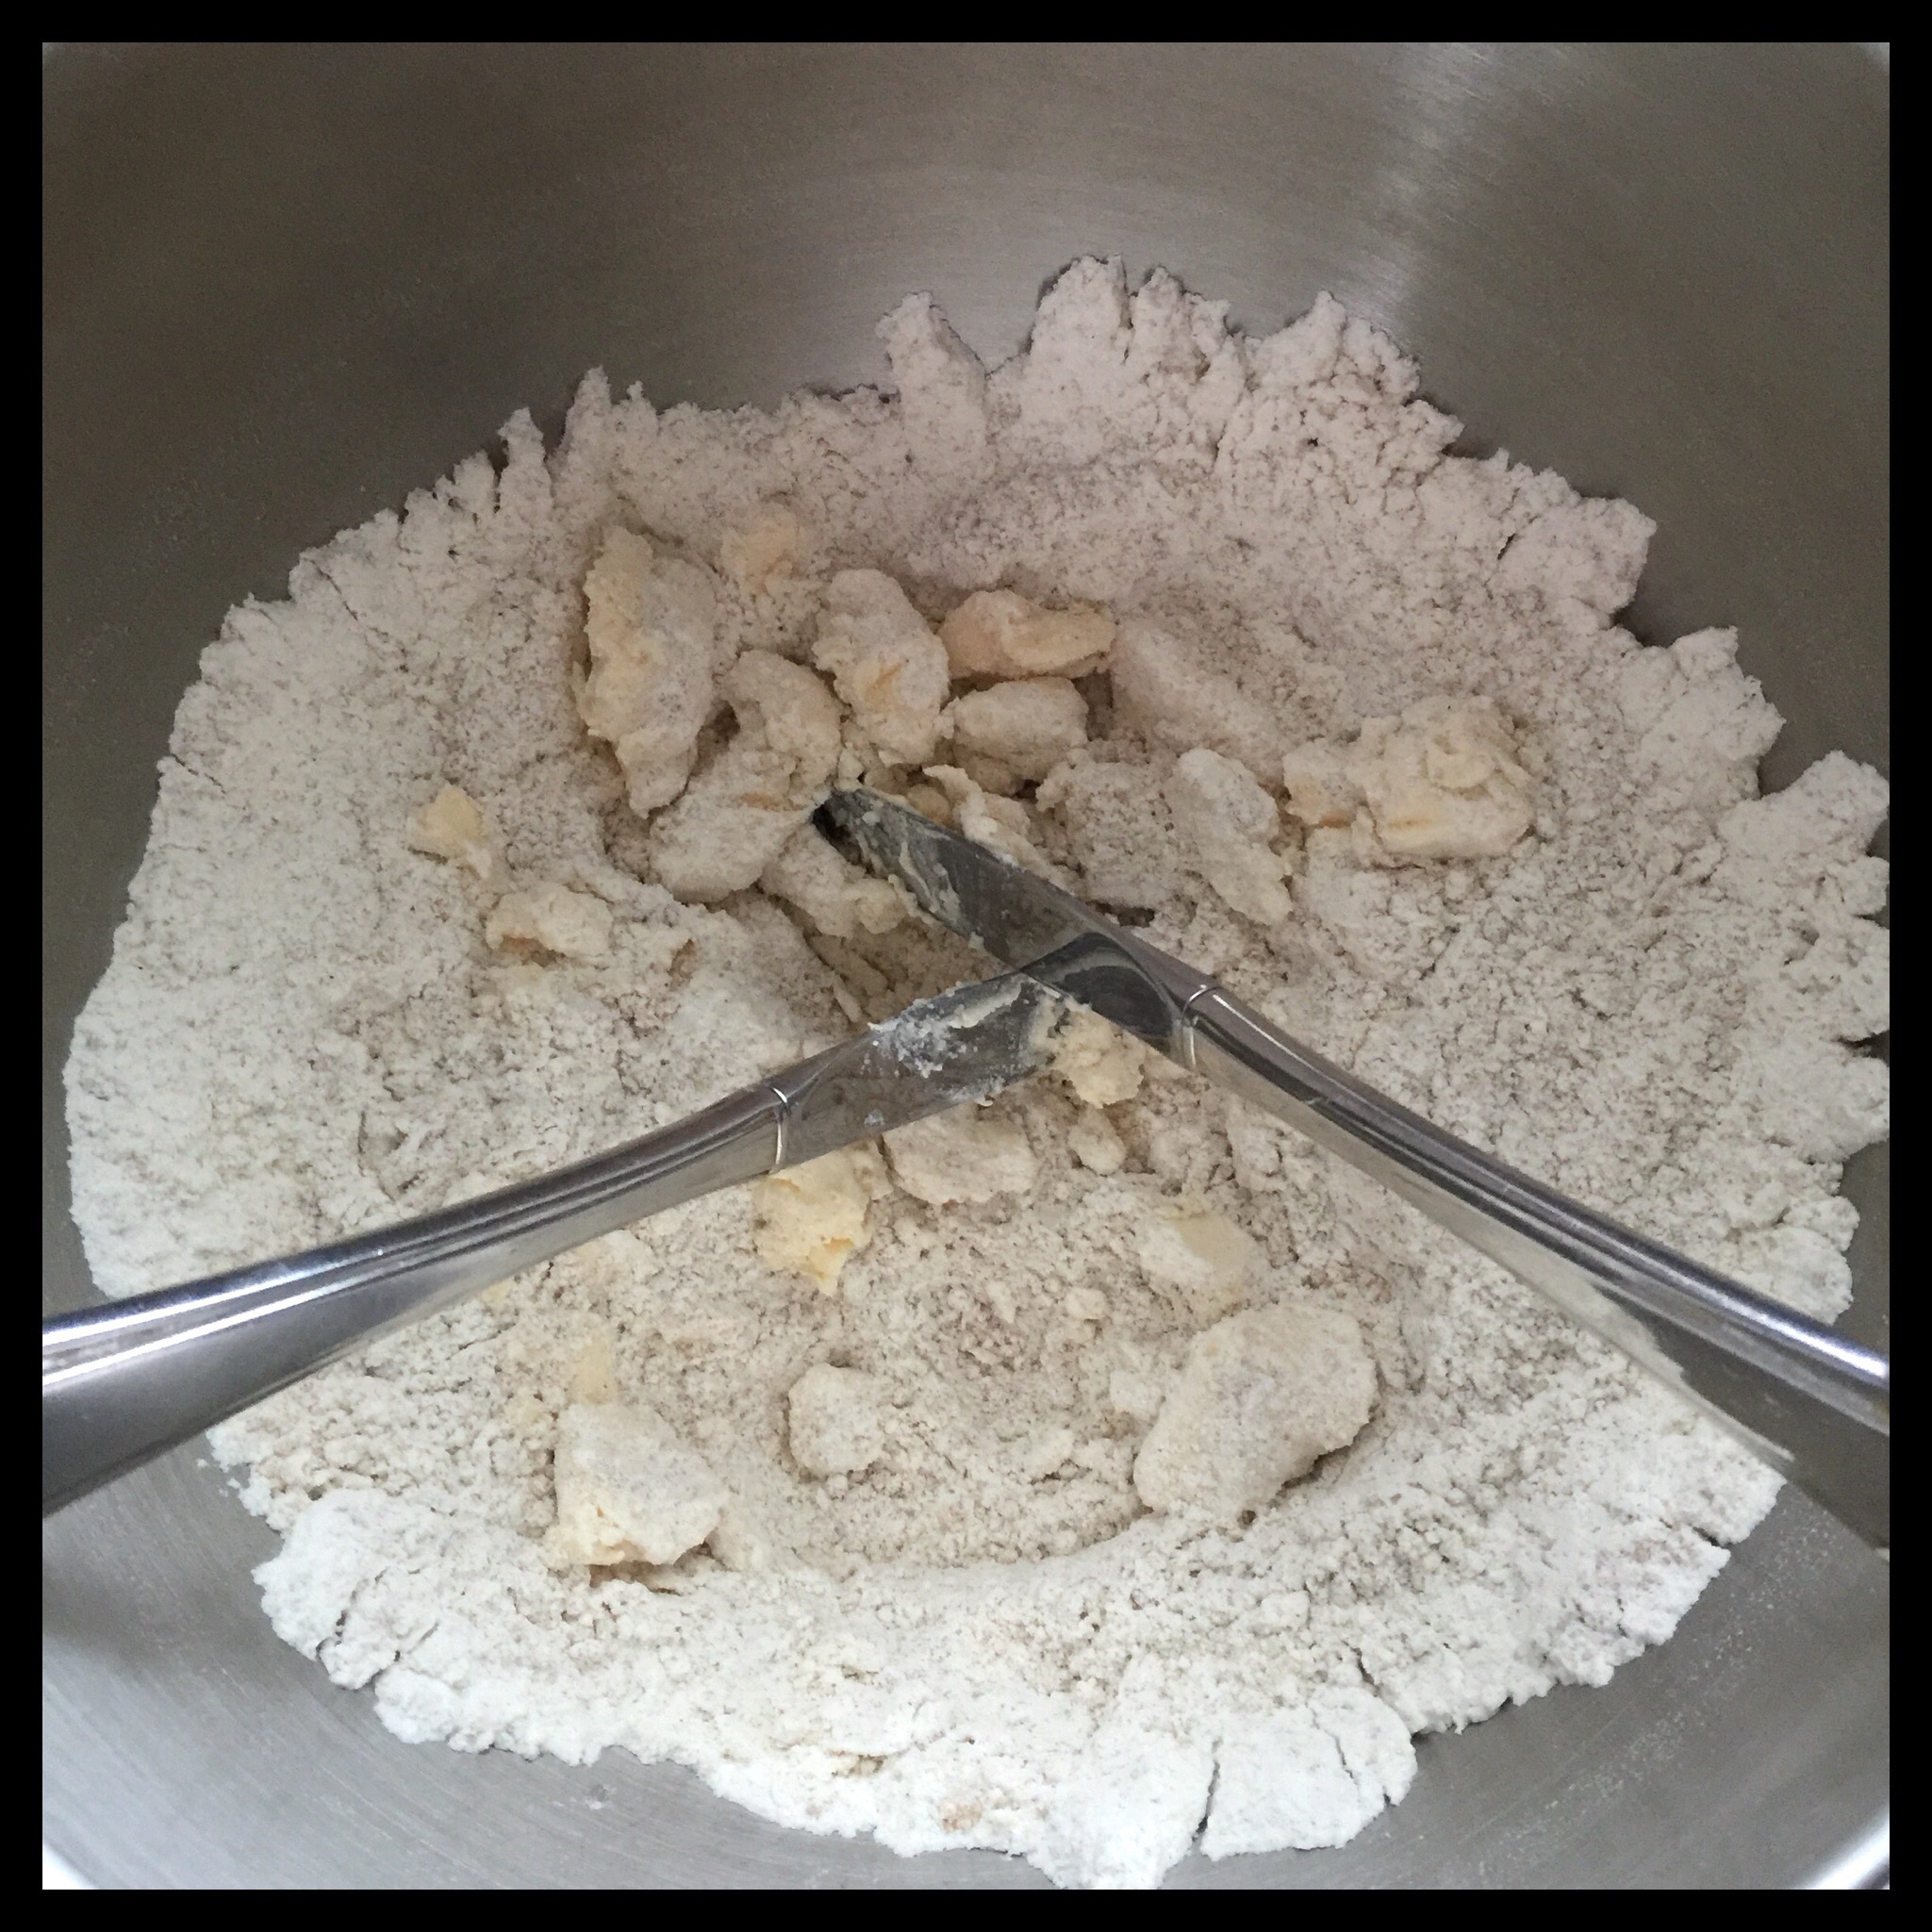
Add the vegan butter (I use Earth Balance), then use two knives to cut the butter into 1/2″ pieces:
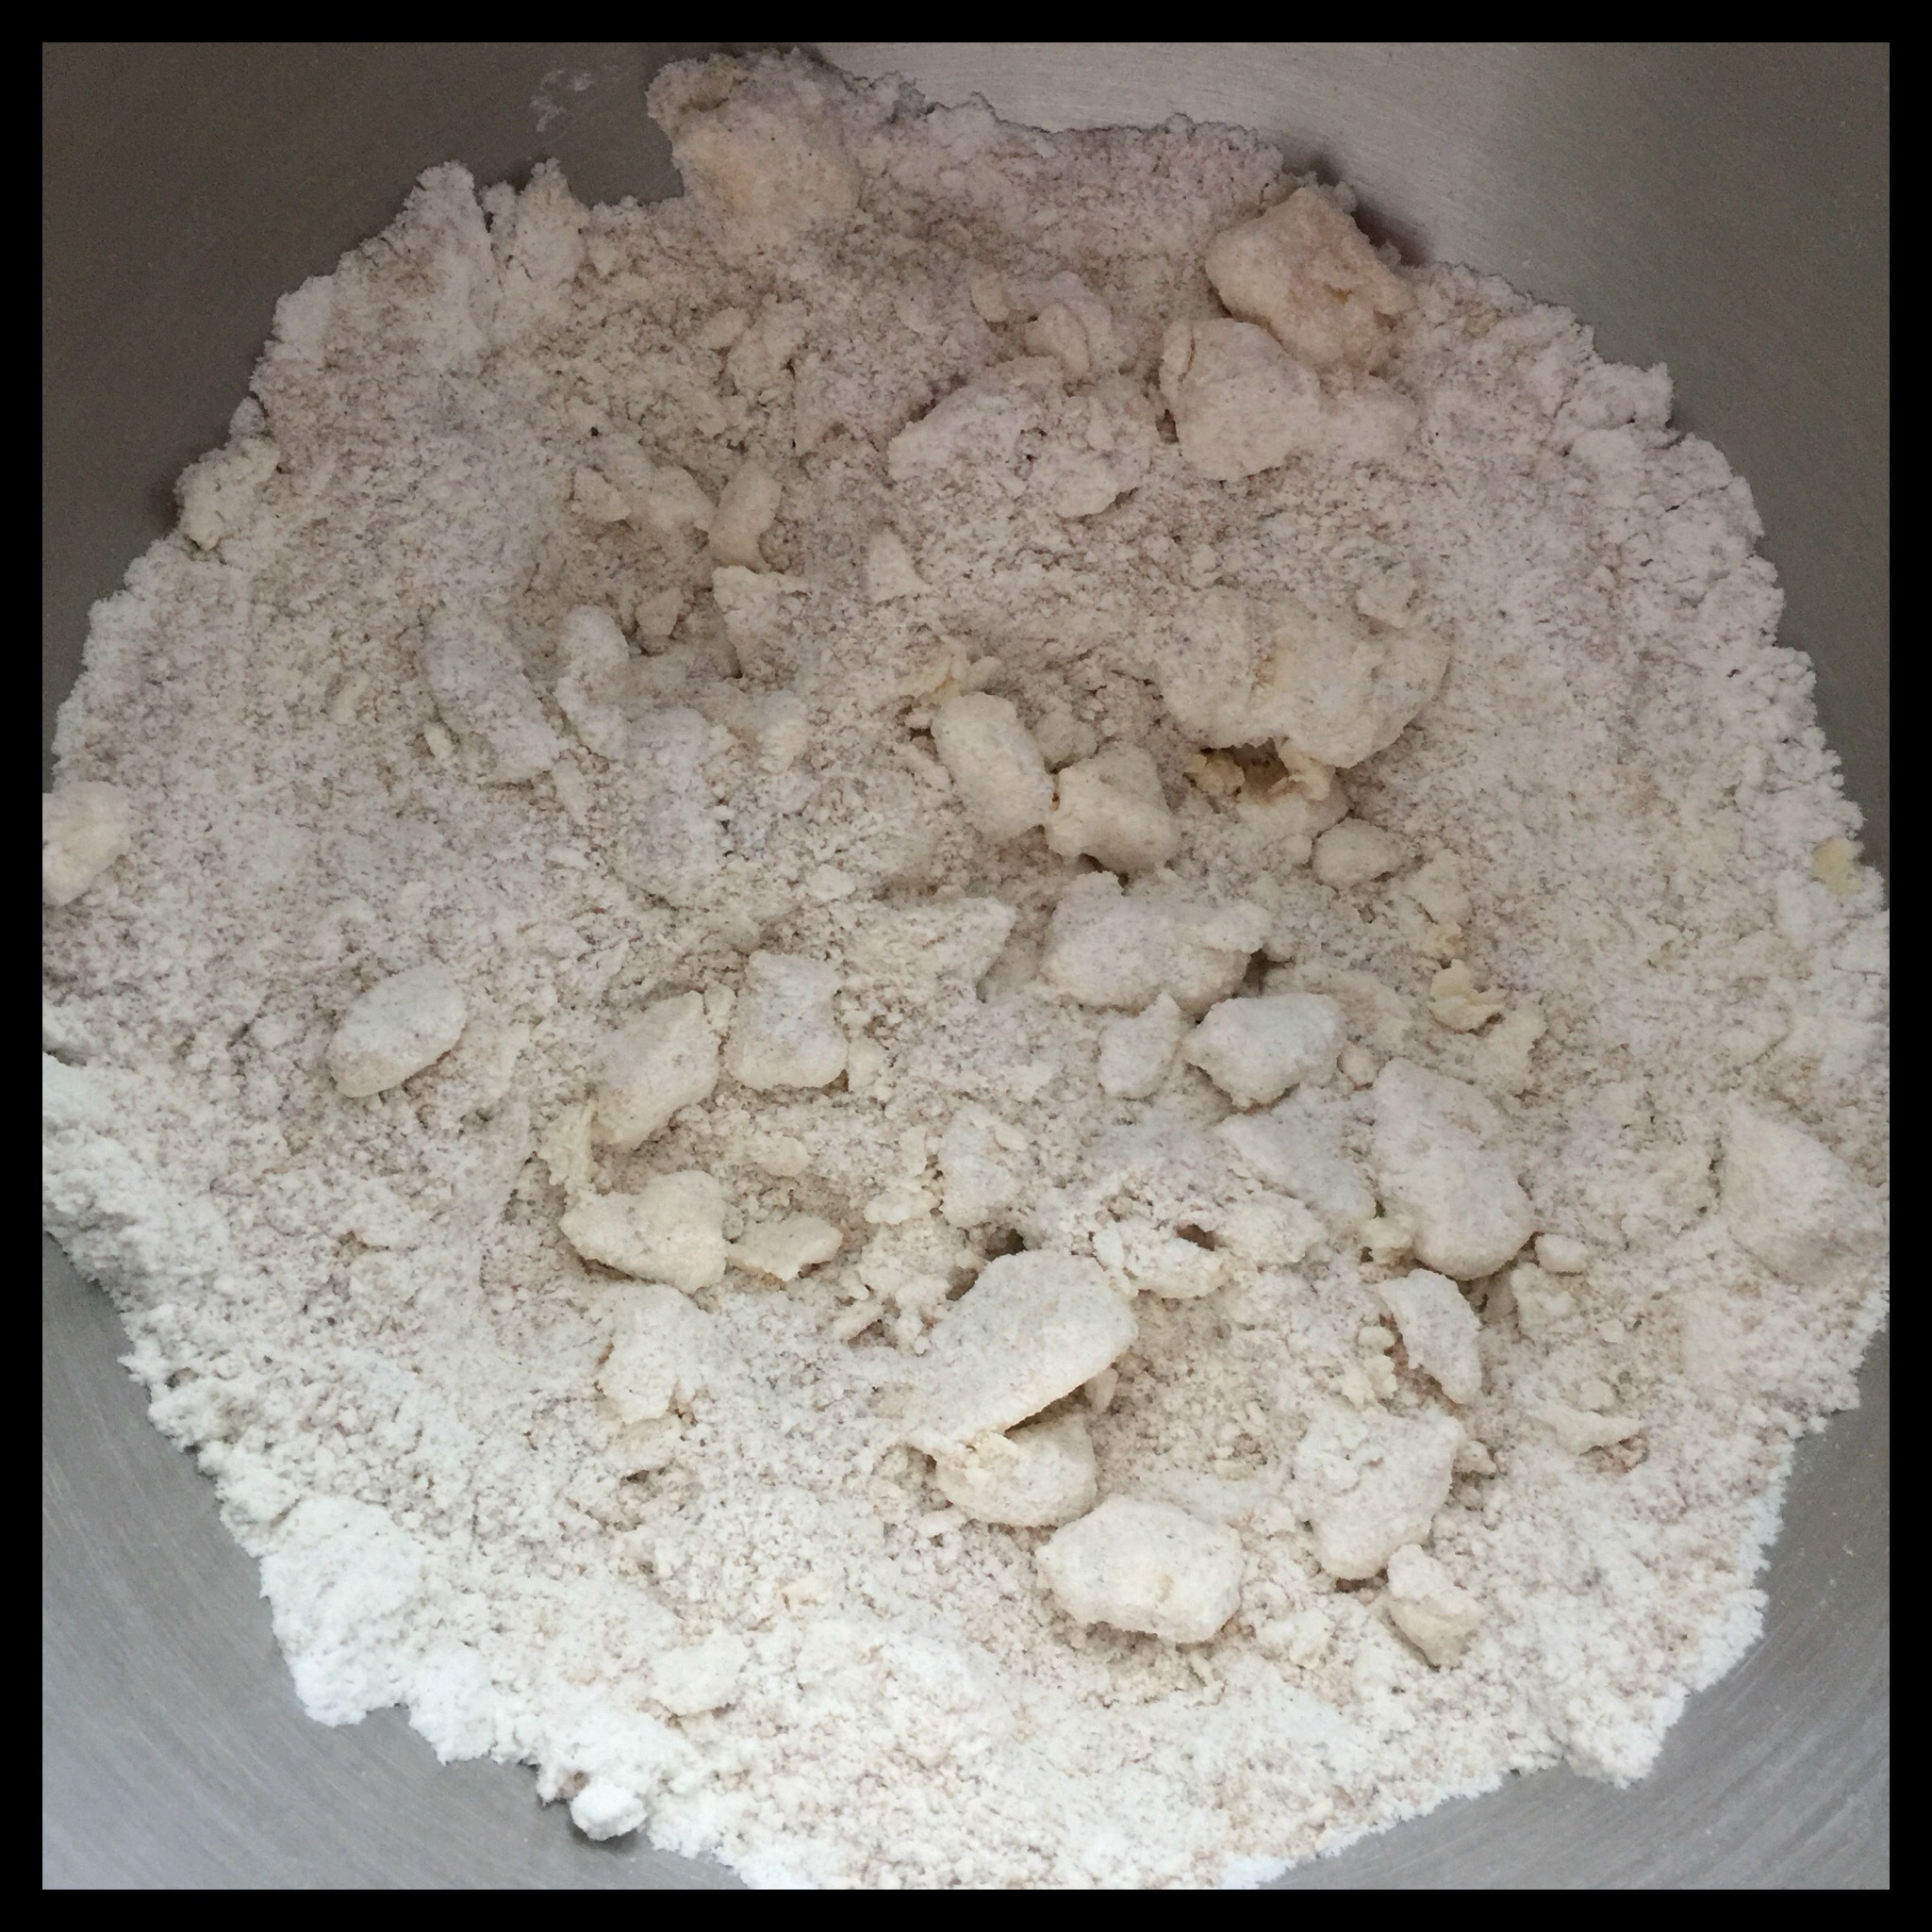
Toss to coat the butter pieces with the flour mixture:
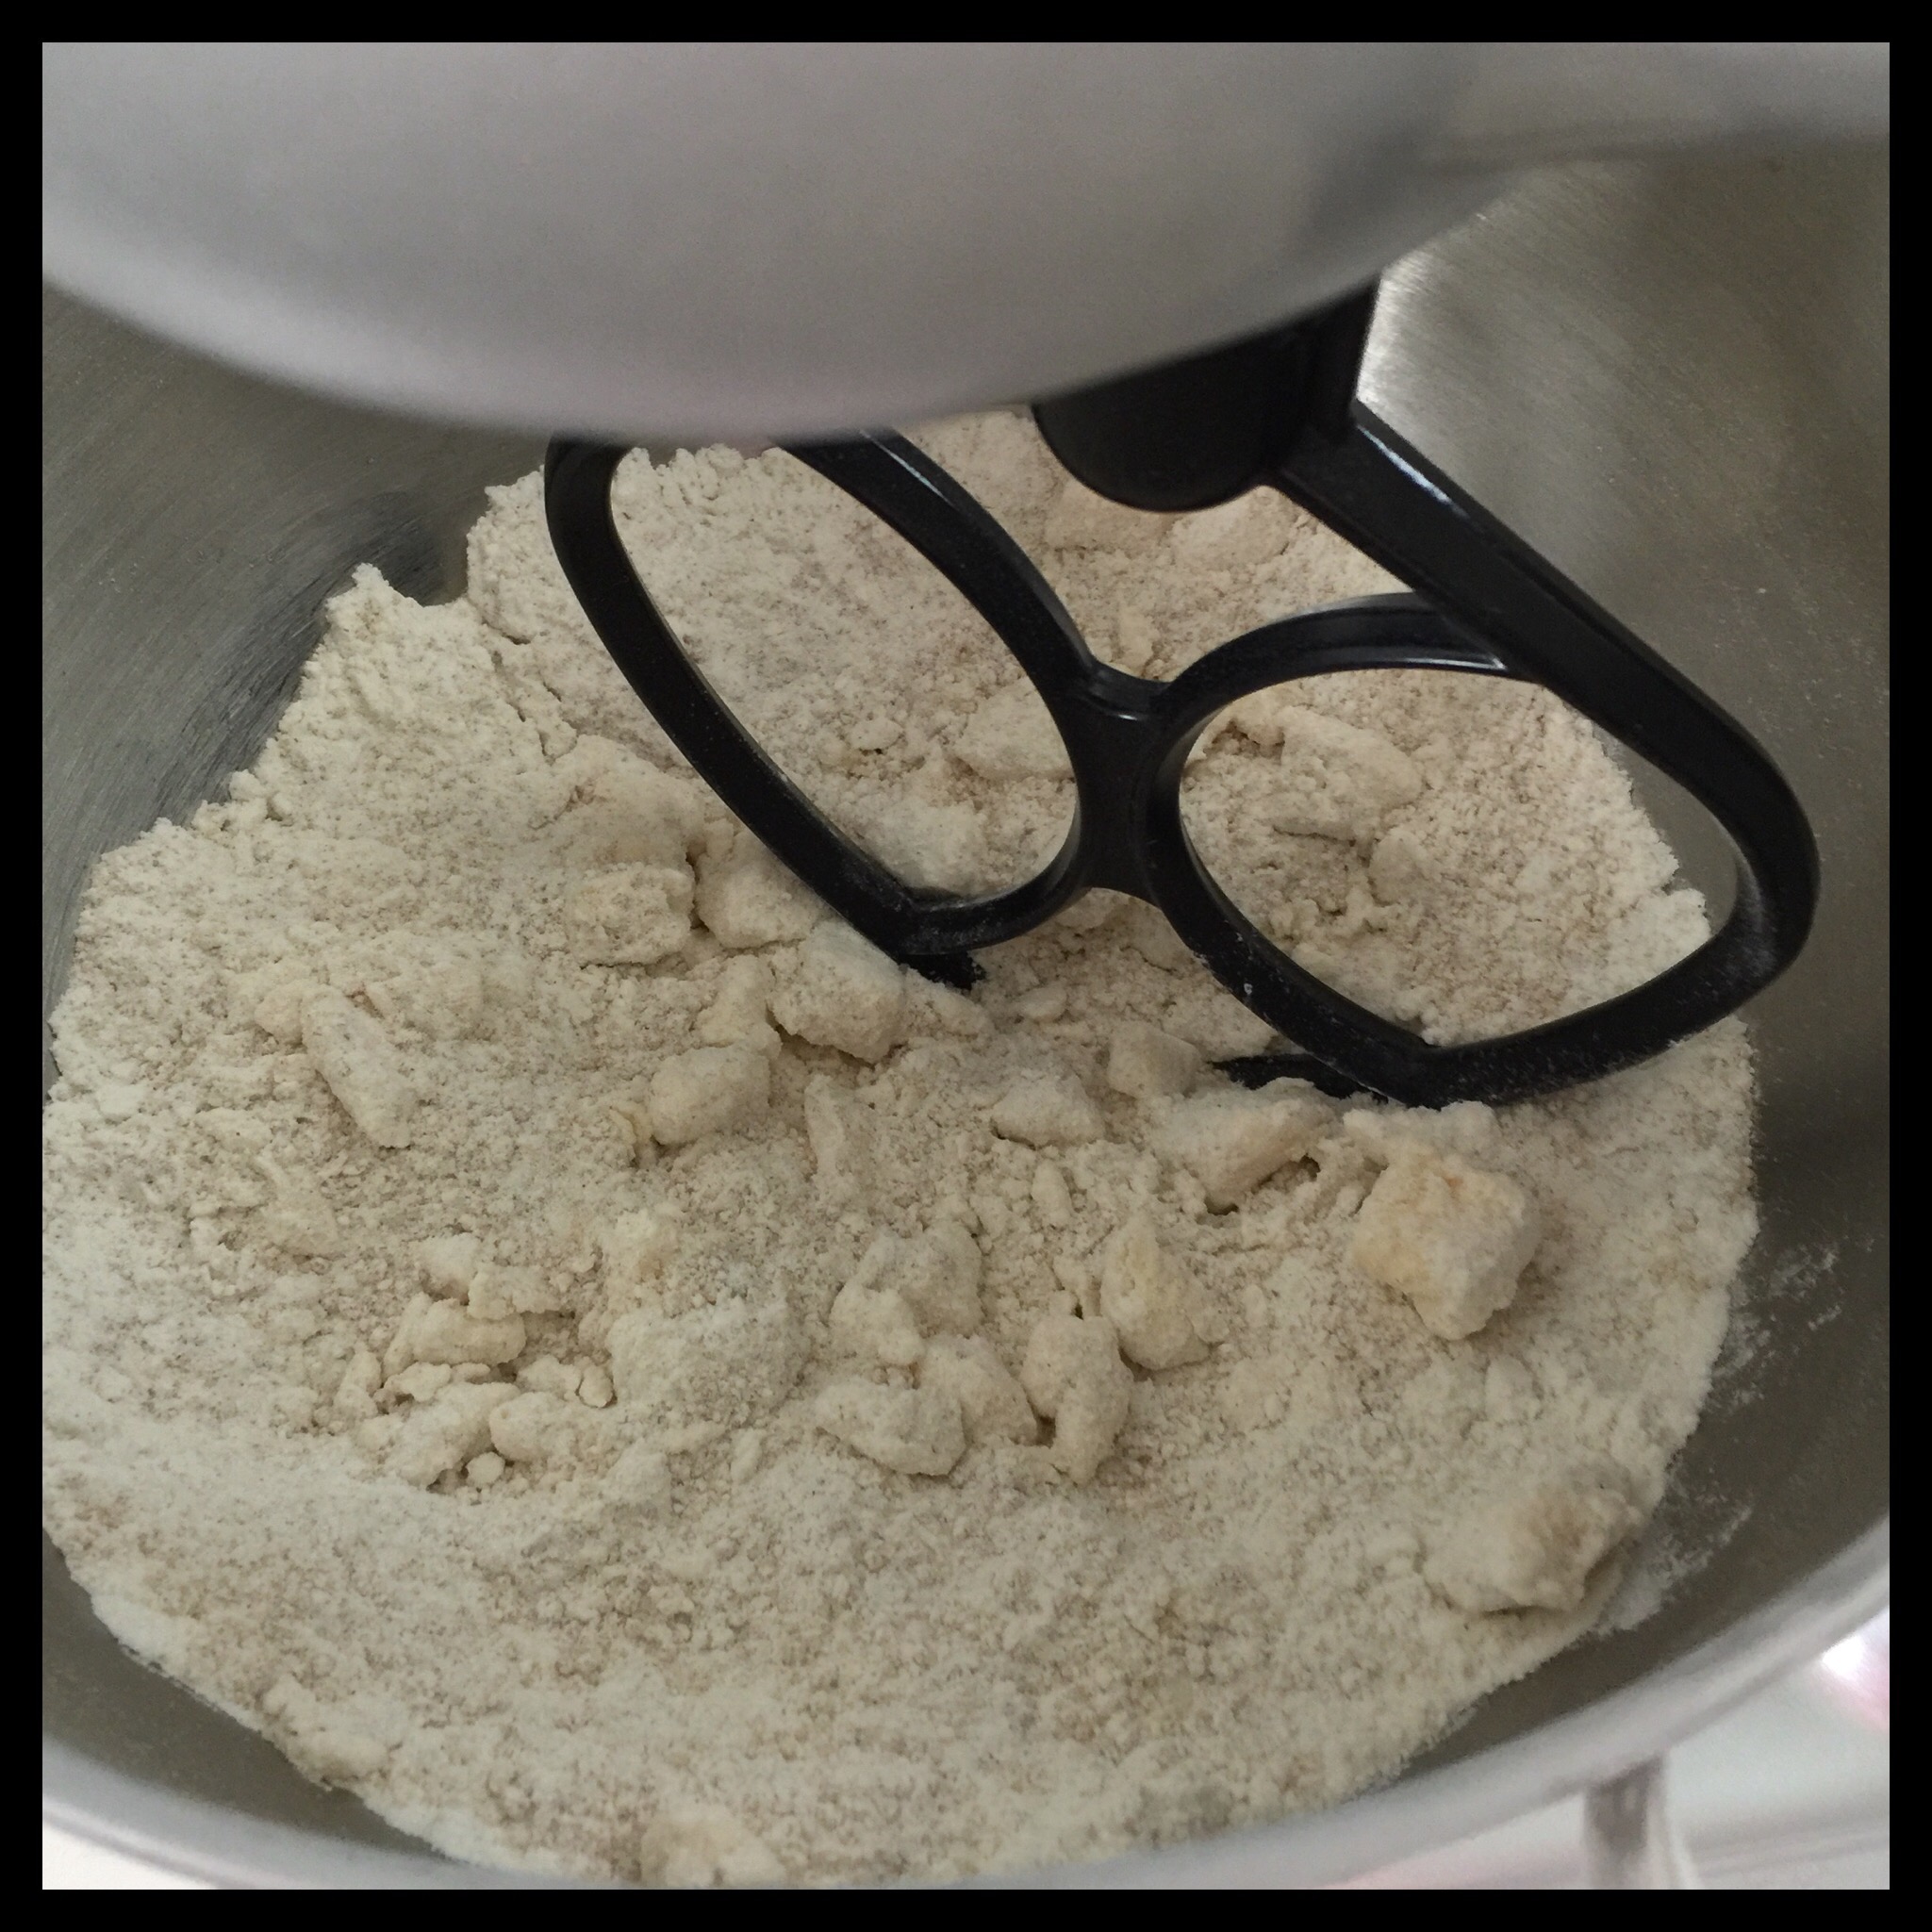
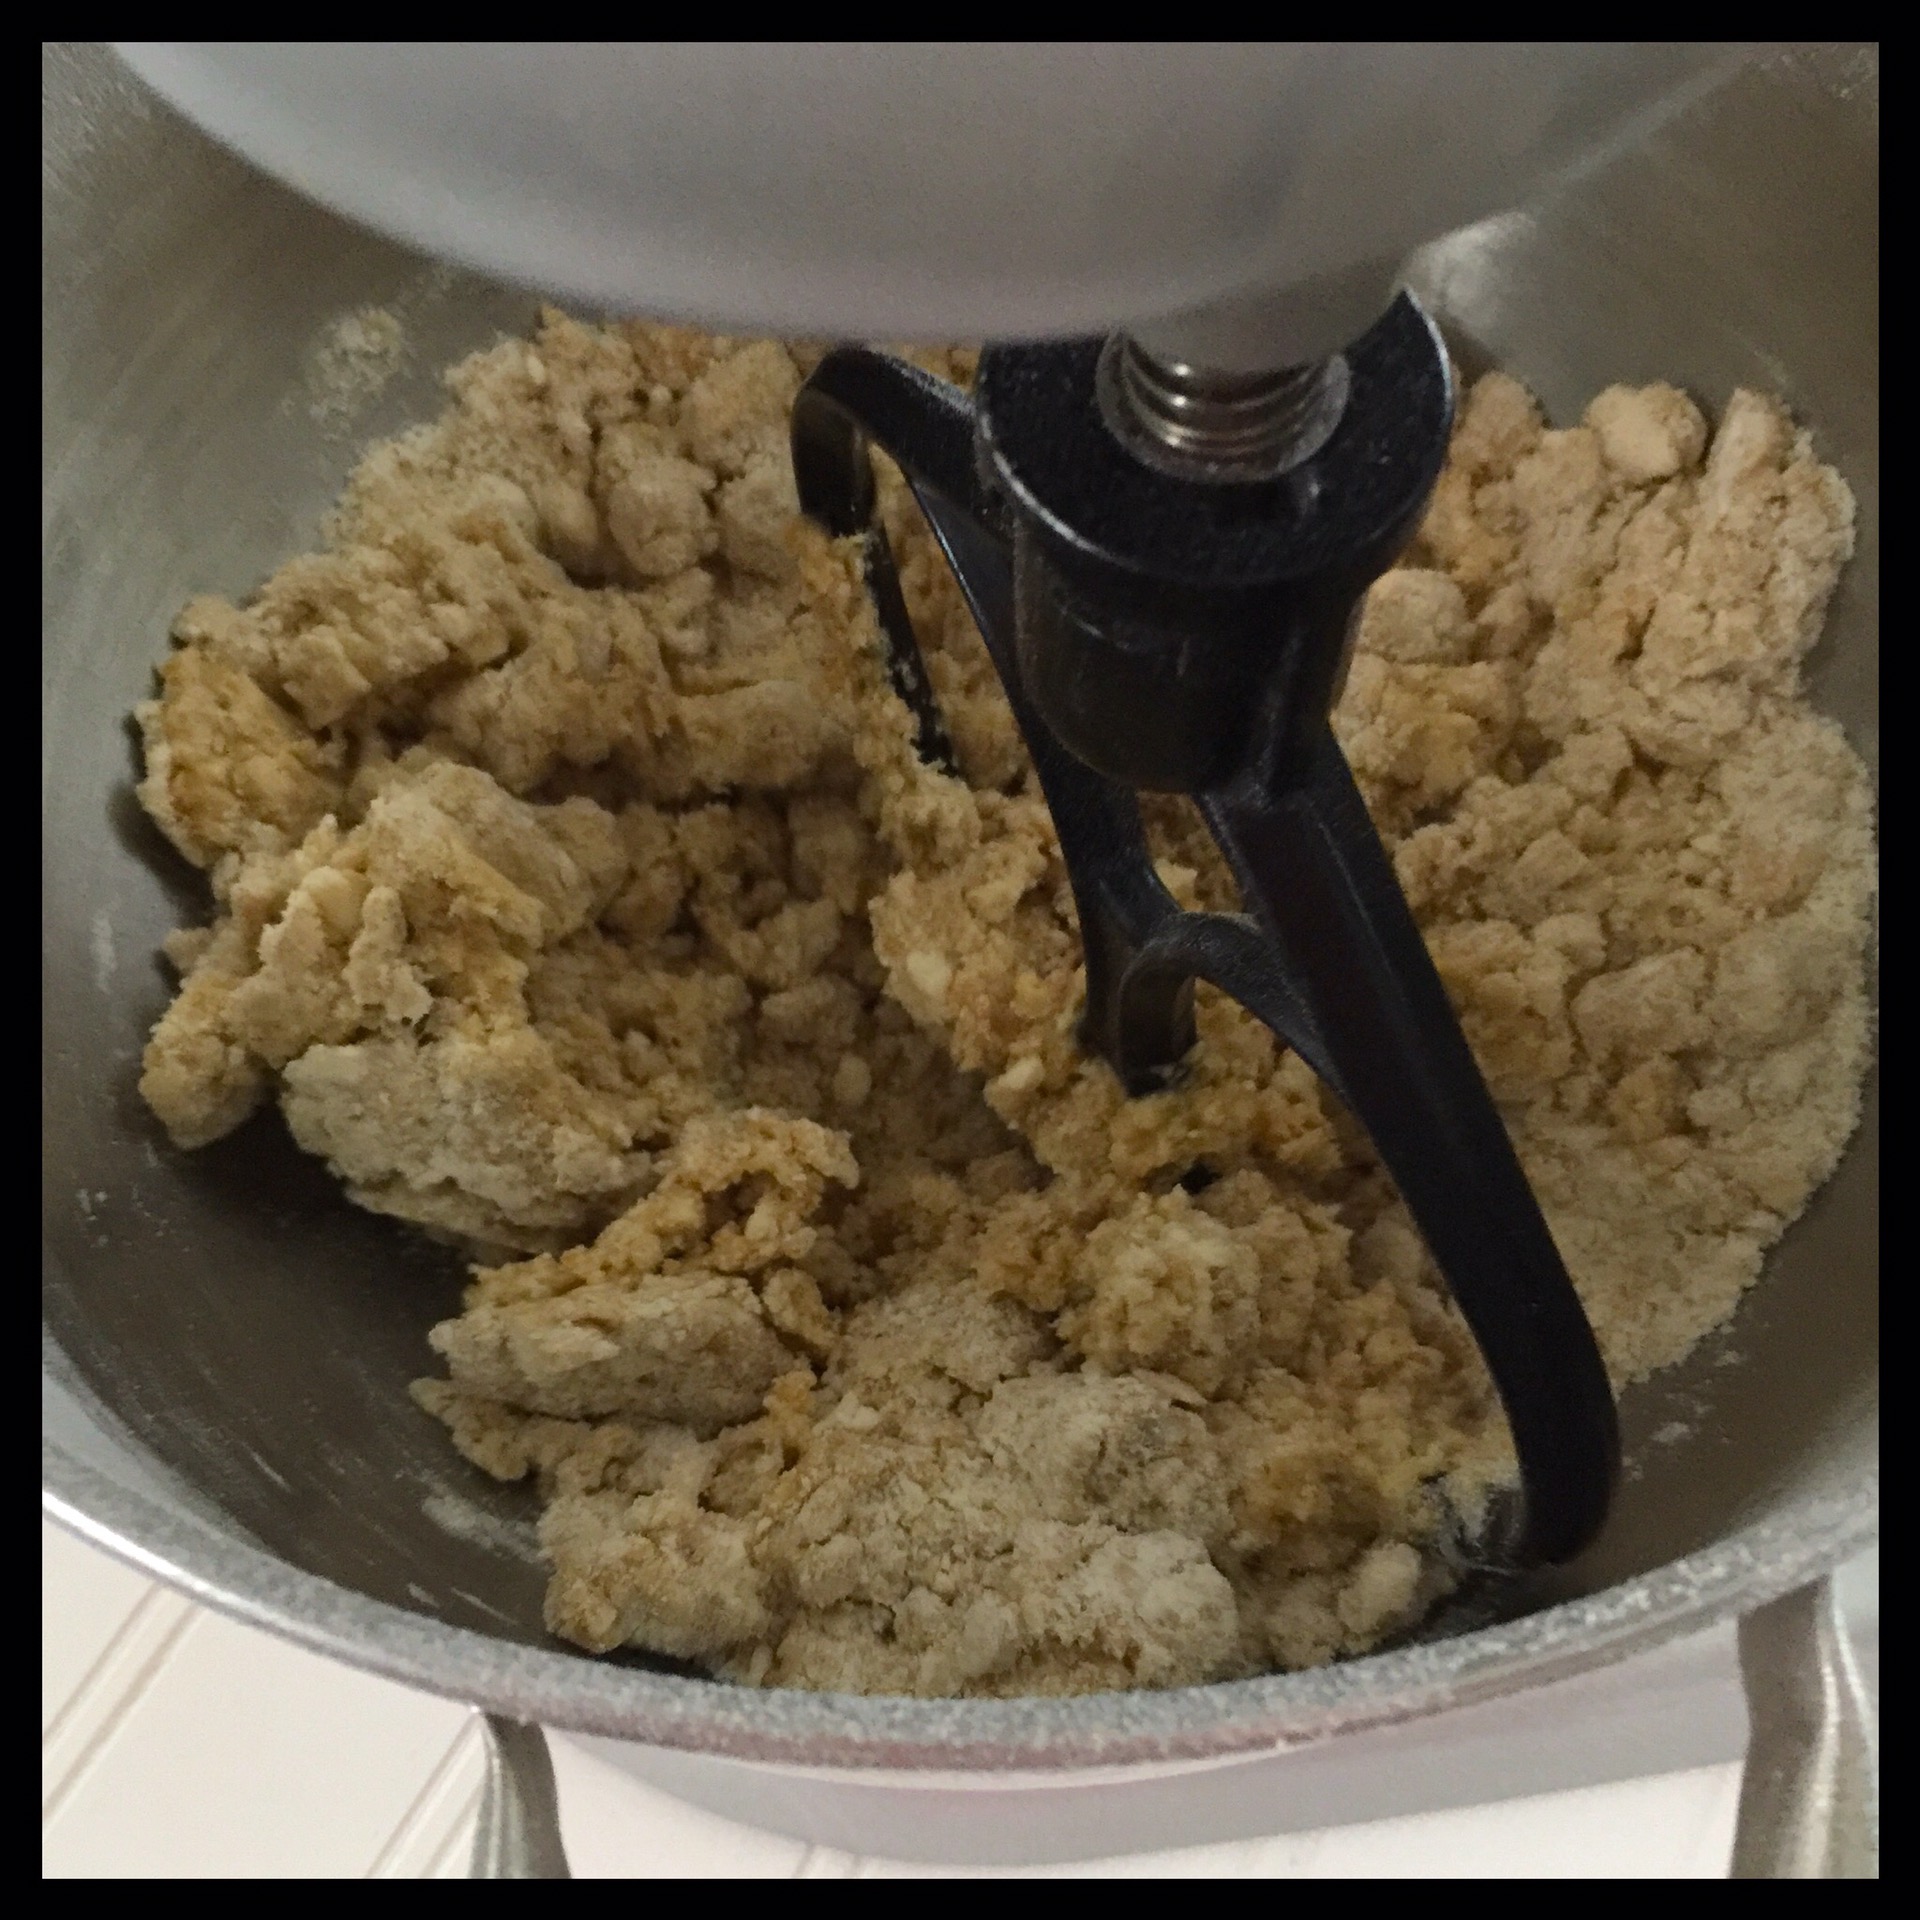
Put the bowl in the freezer for 20 minutes to get the butter very cold, then start mixing on low speed. Increase the speed to medium, and continue mixing until all of the butter is in small bits:
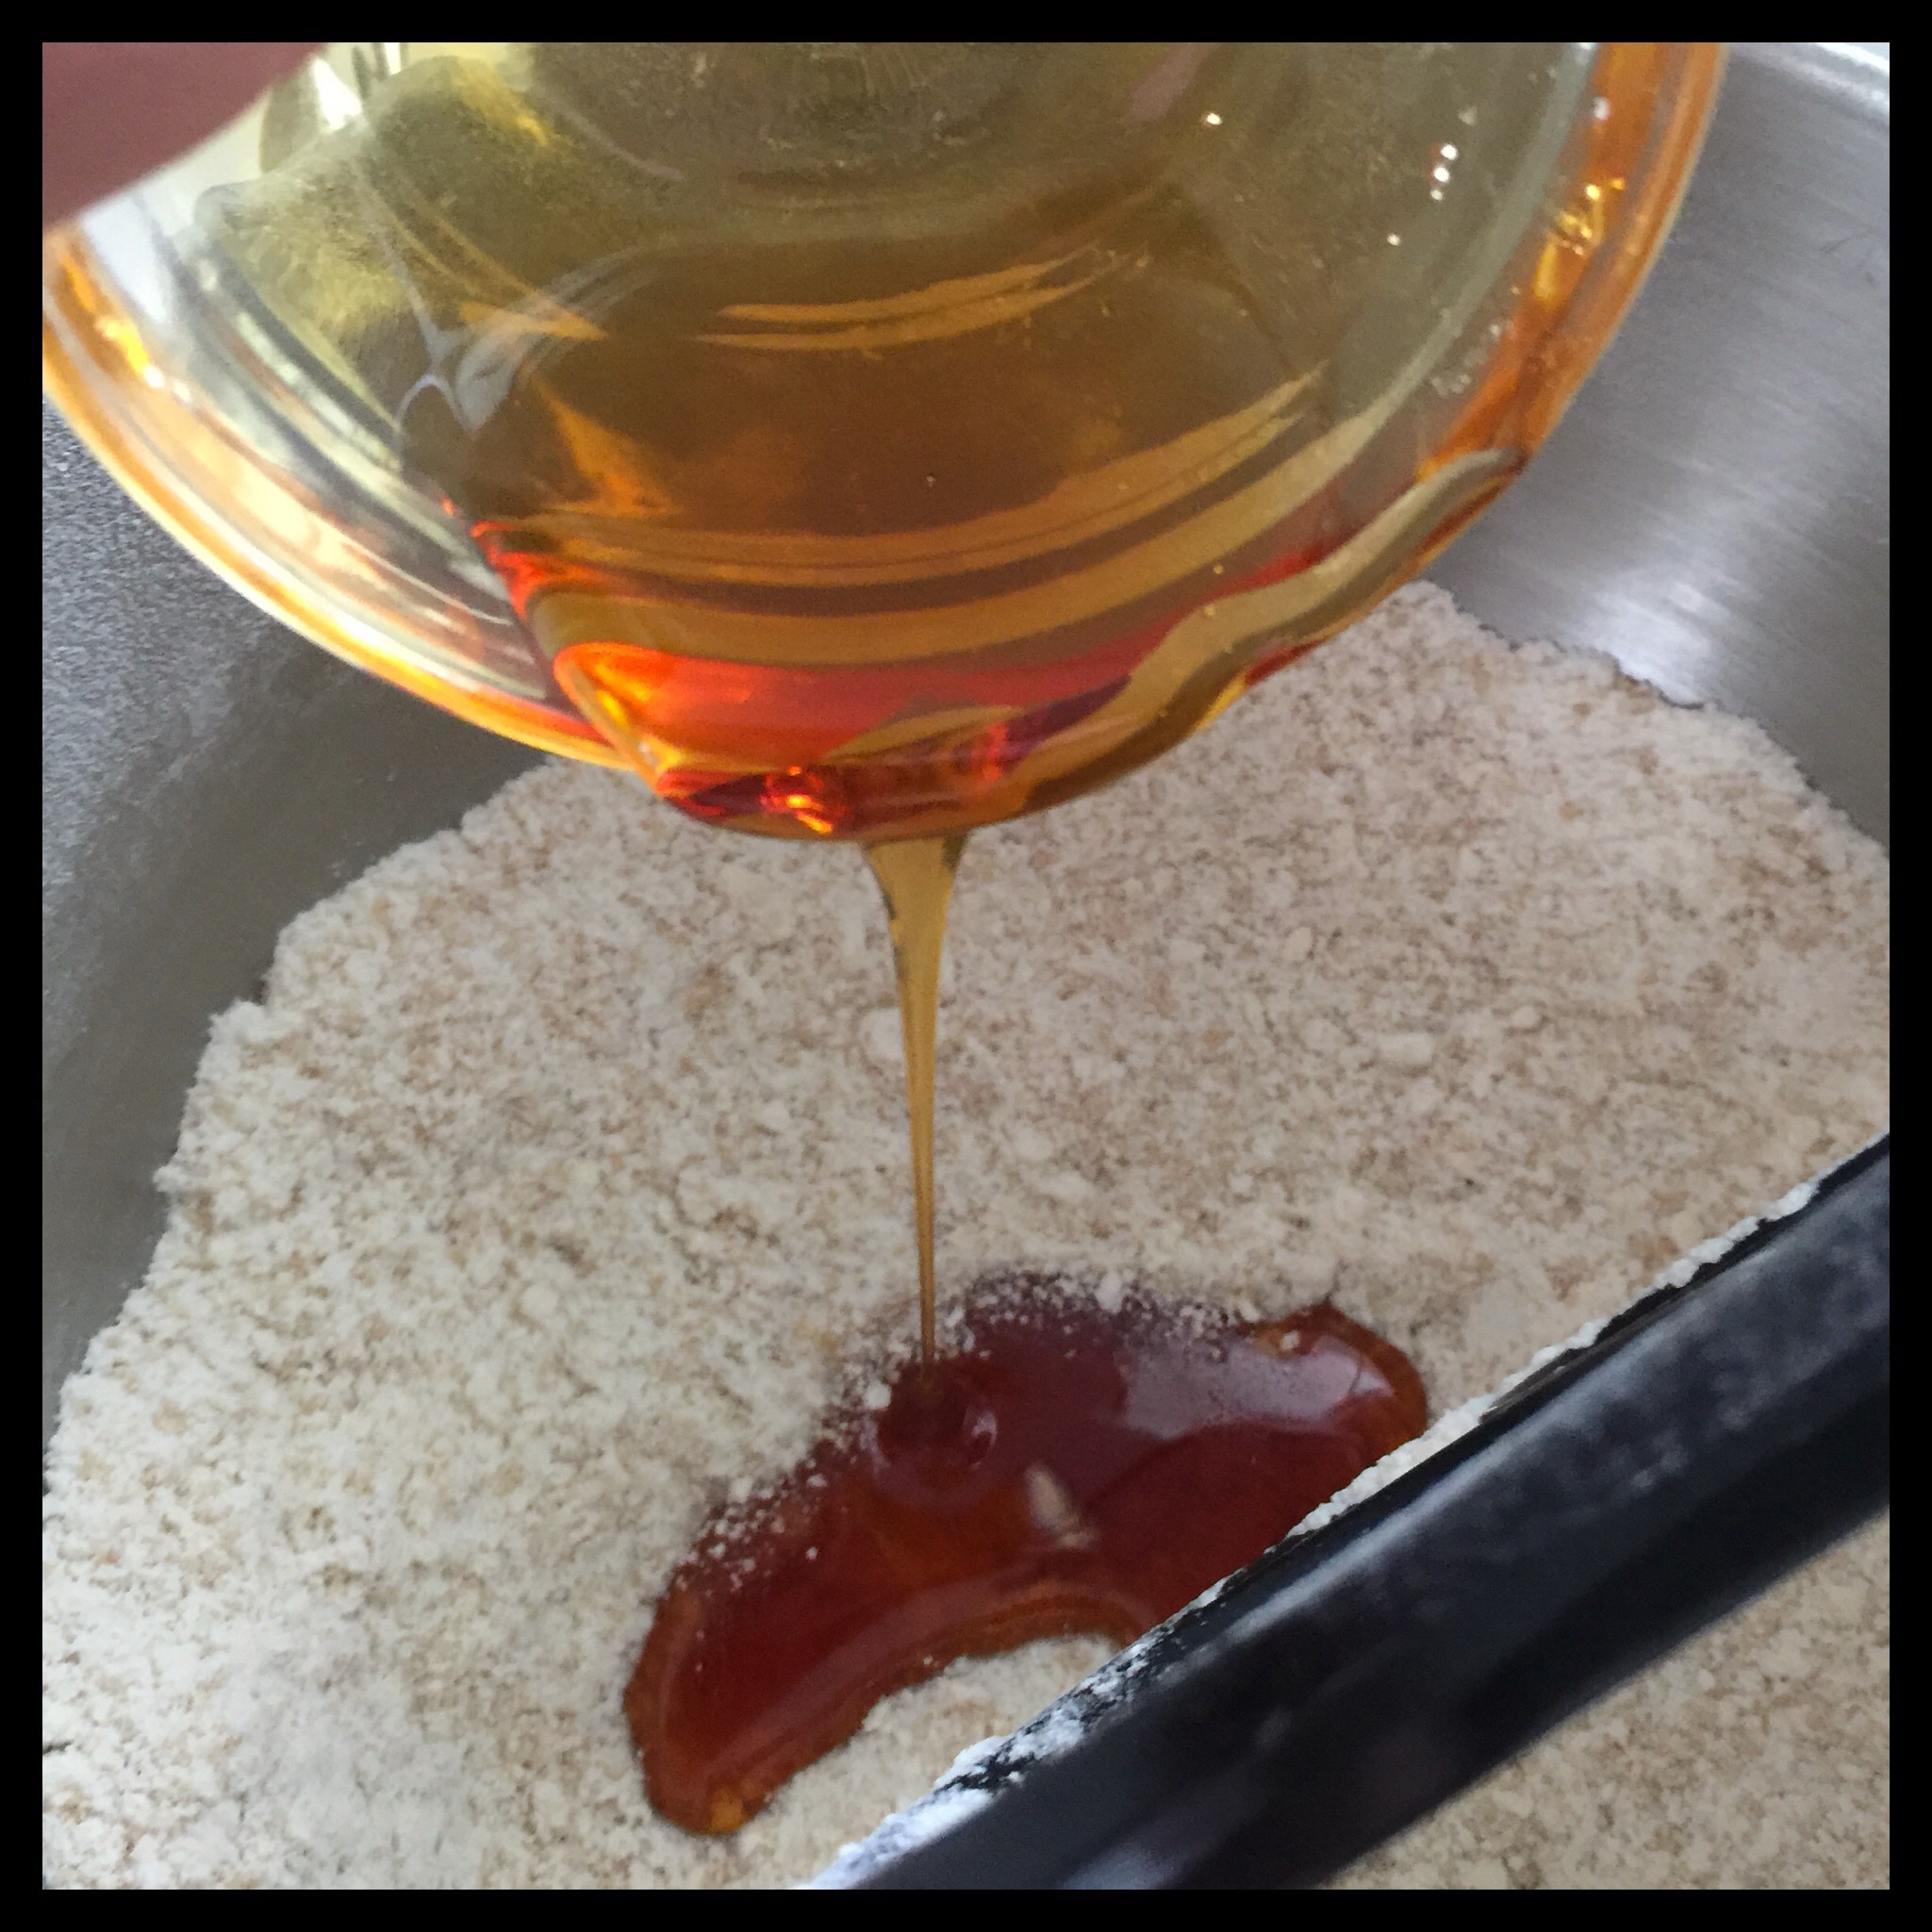
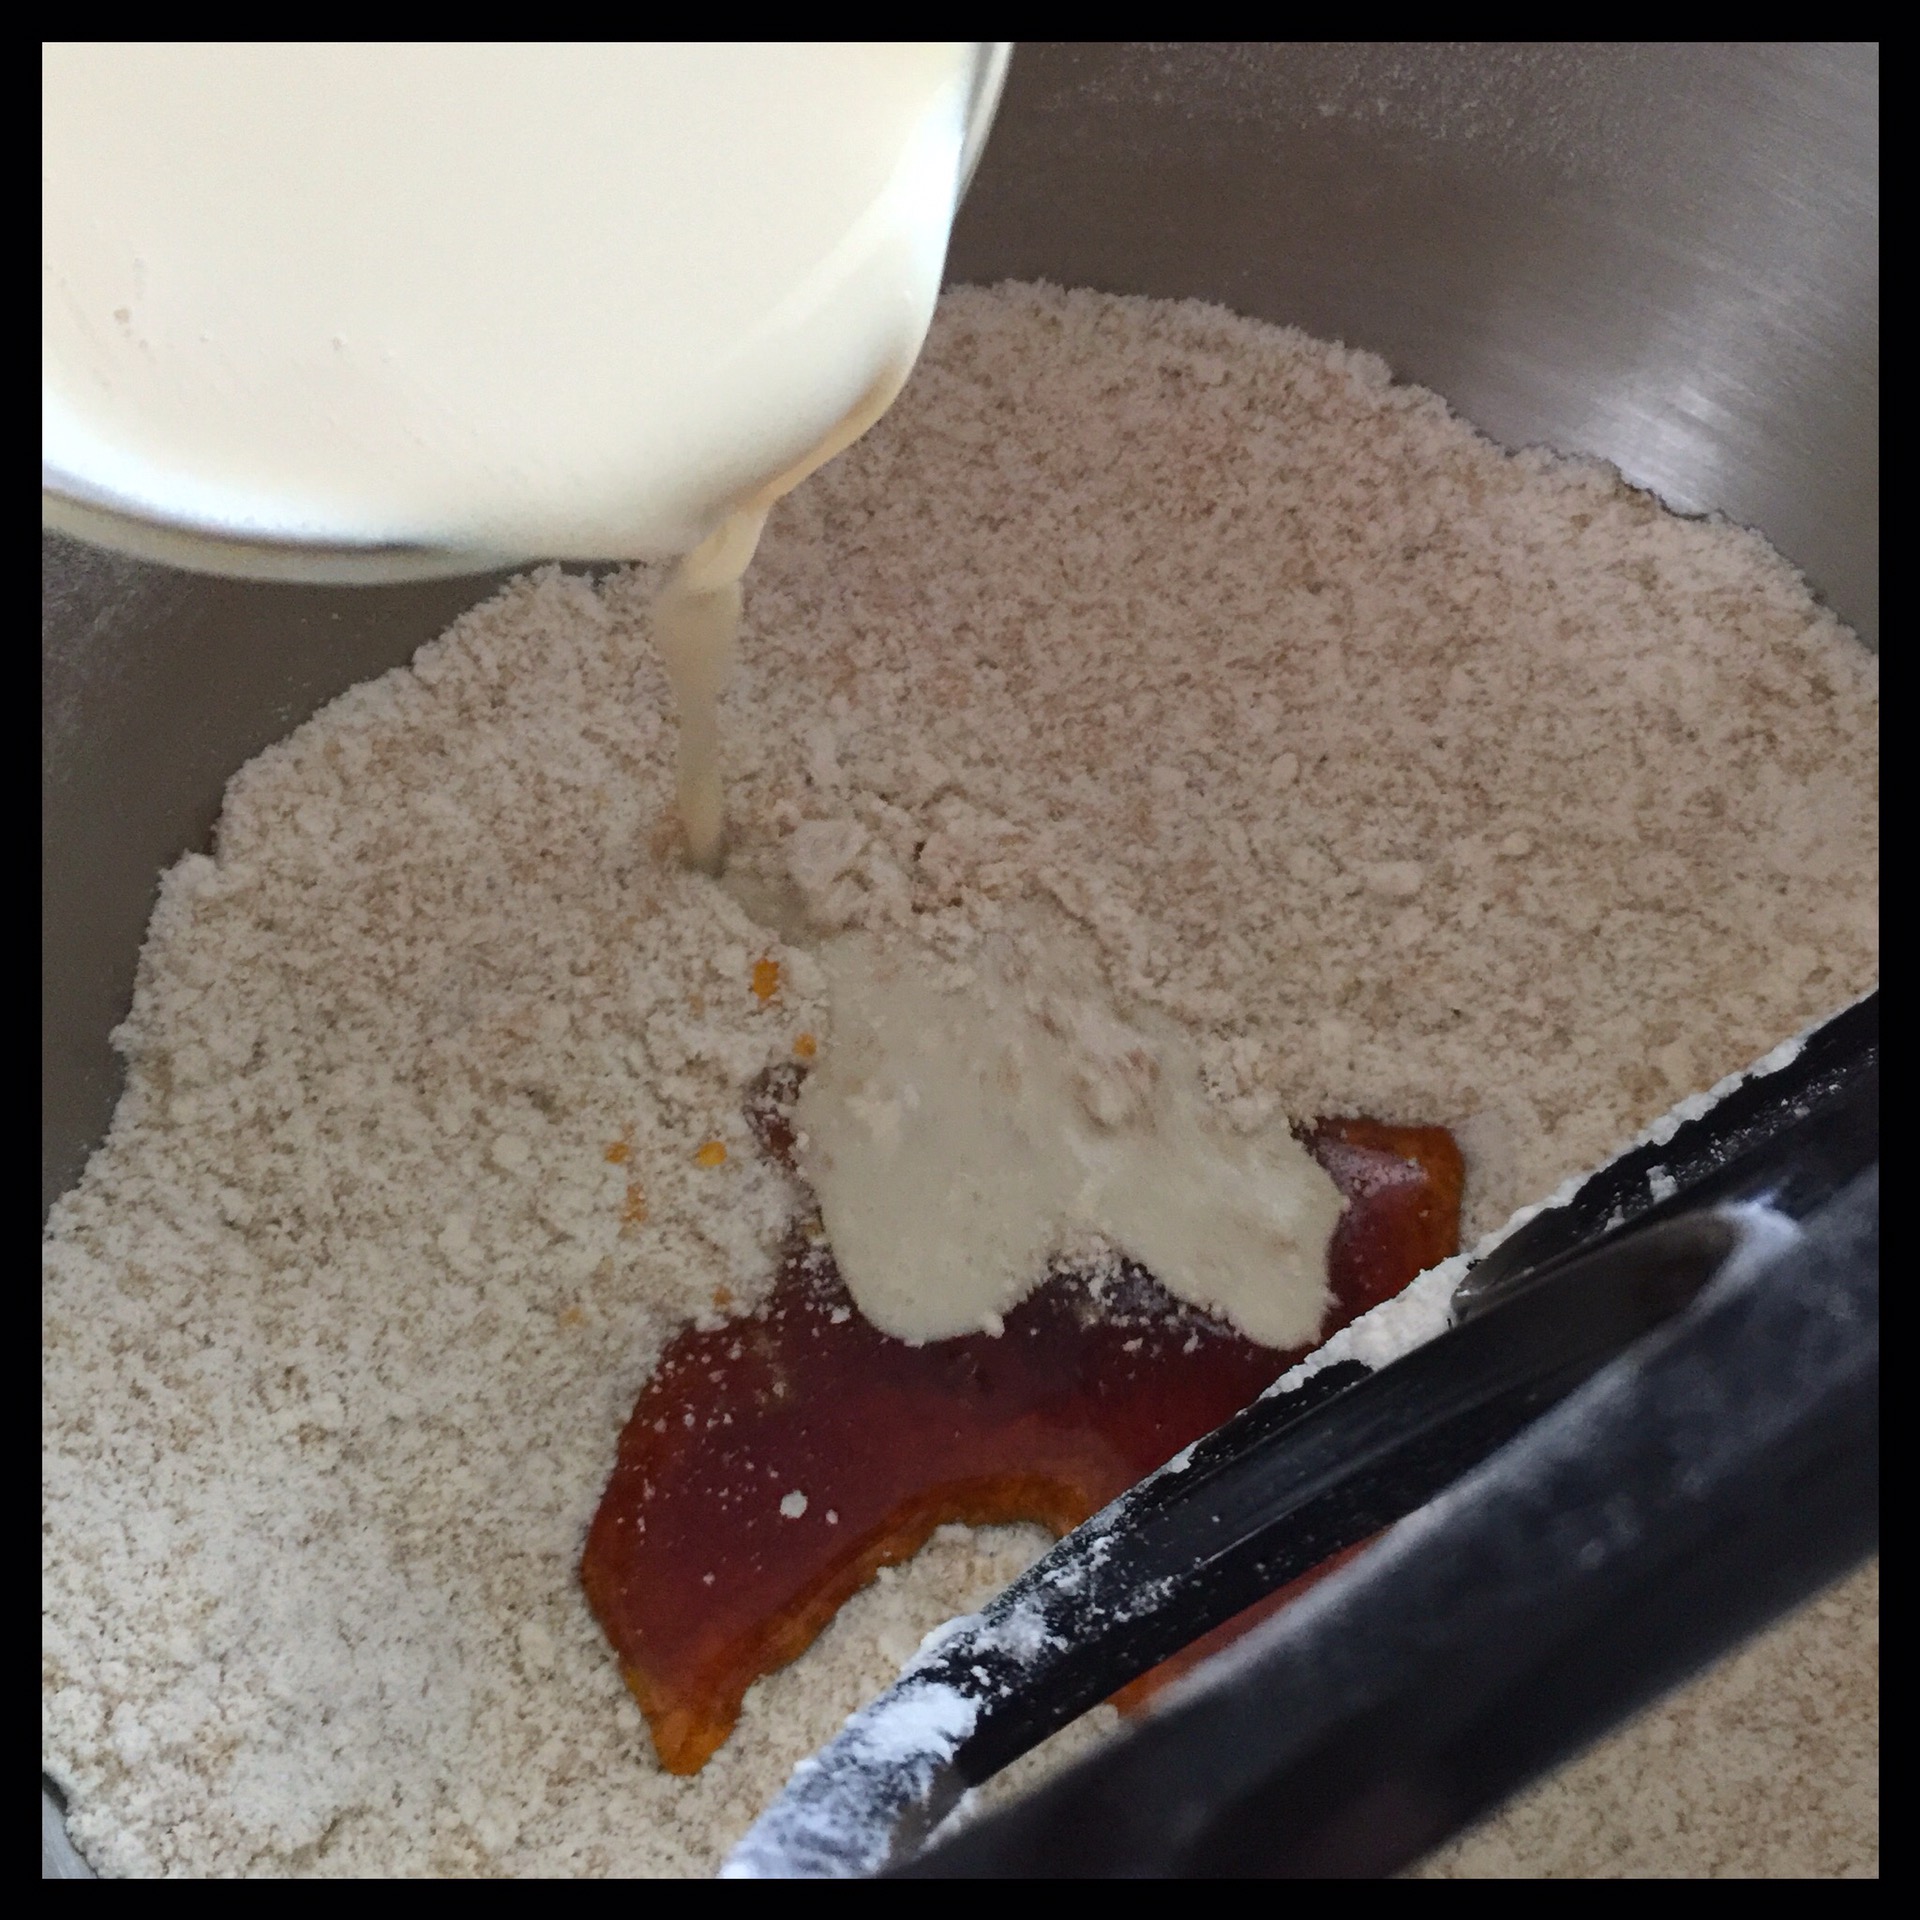
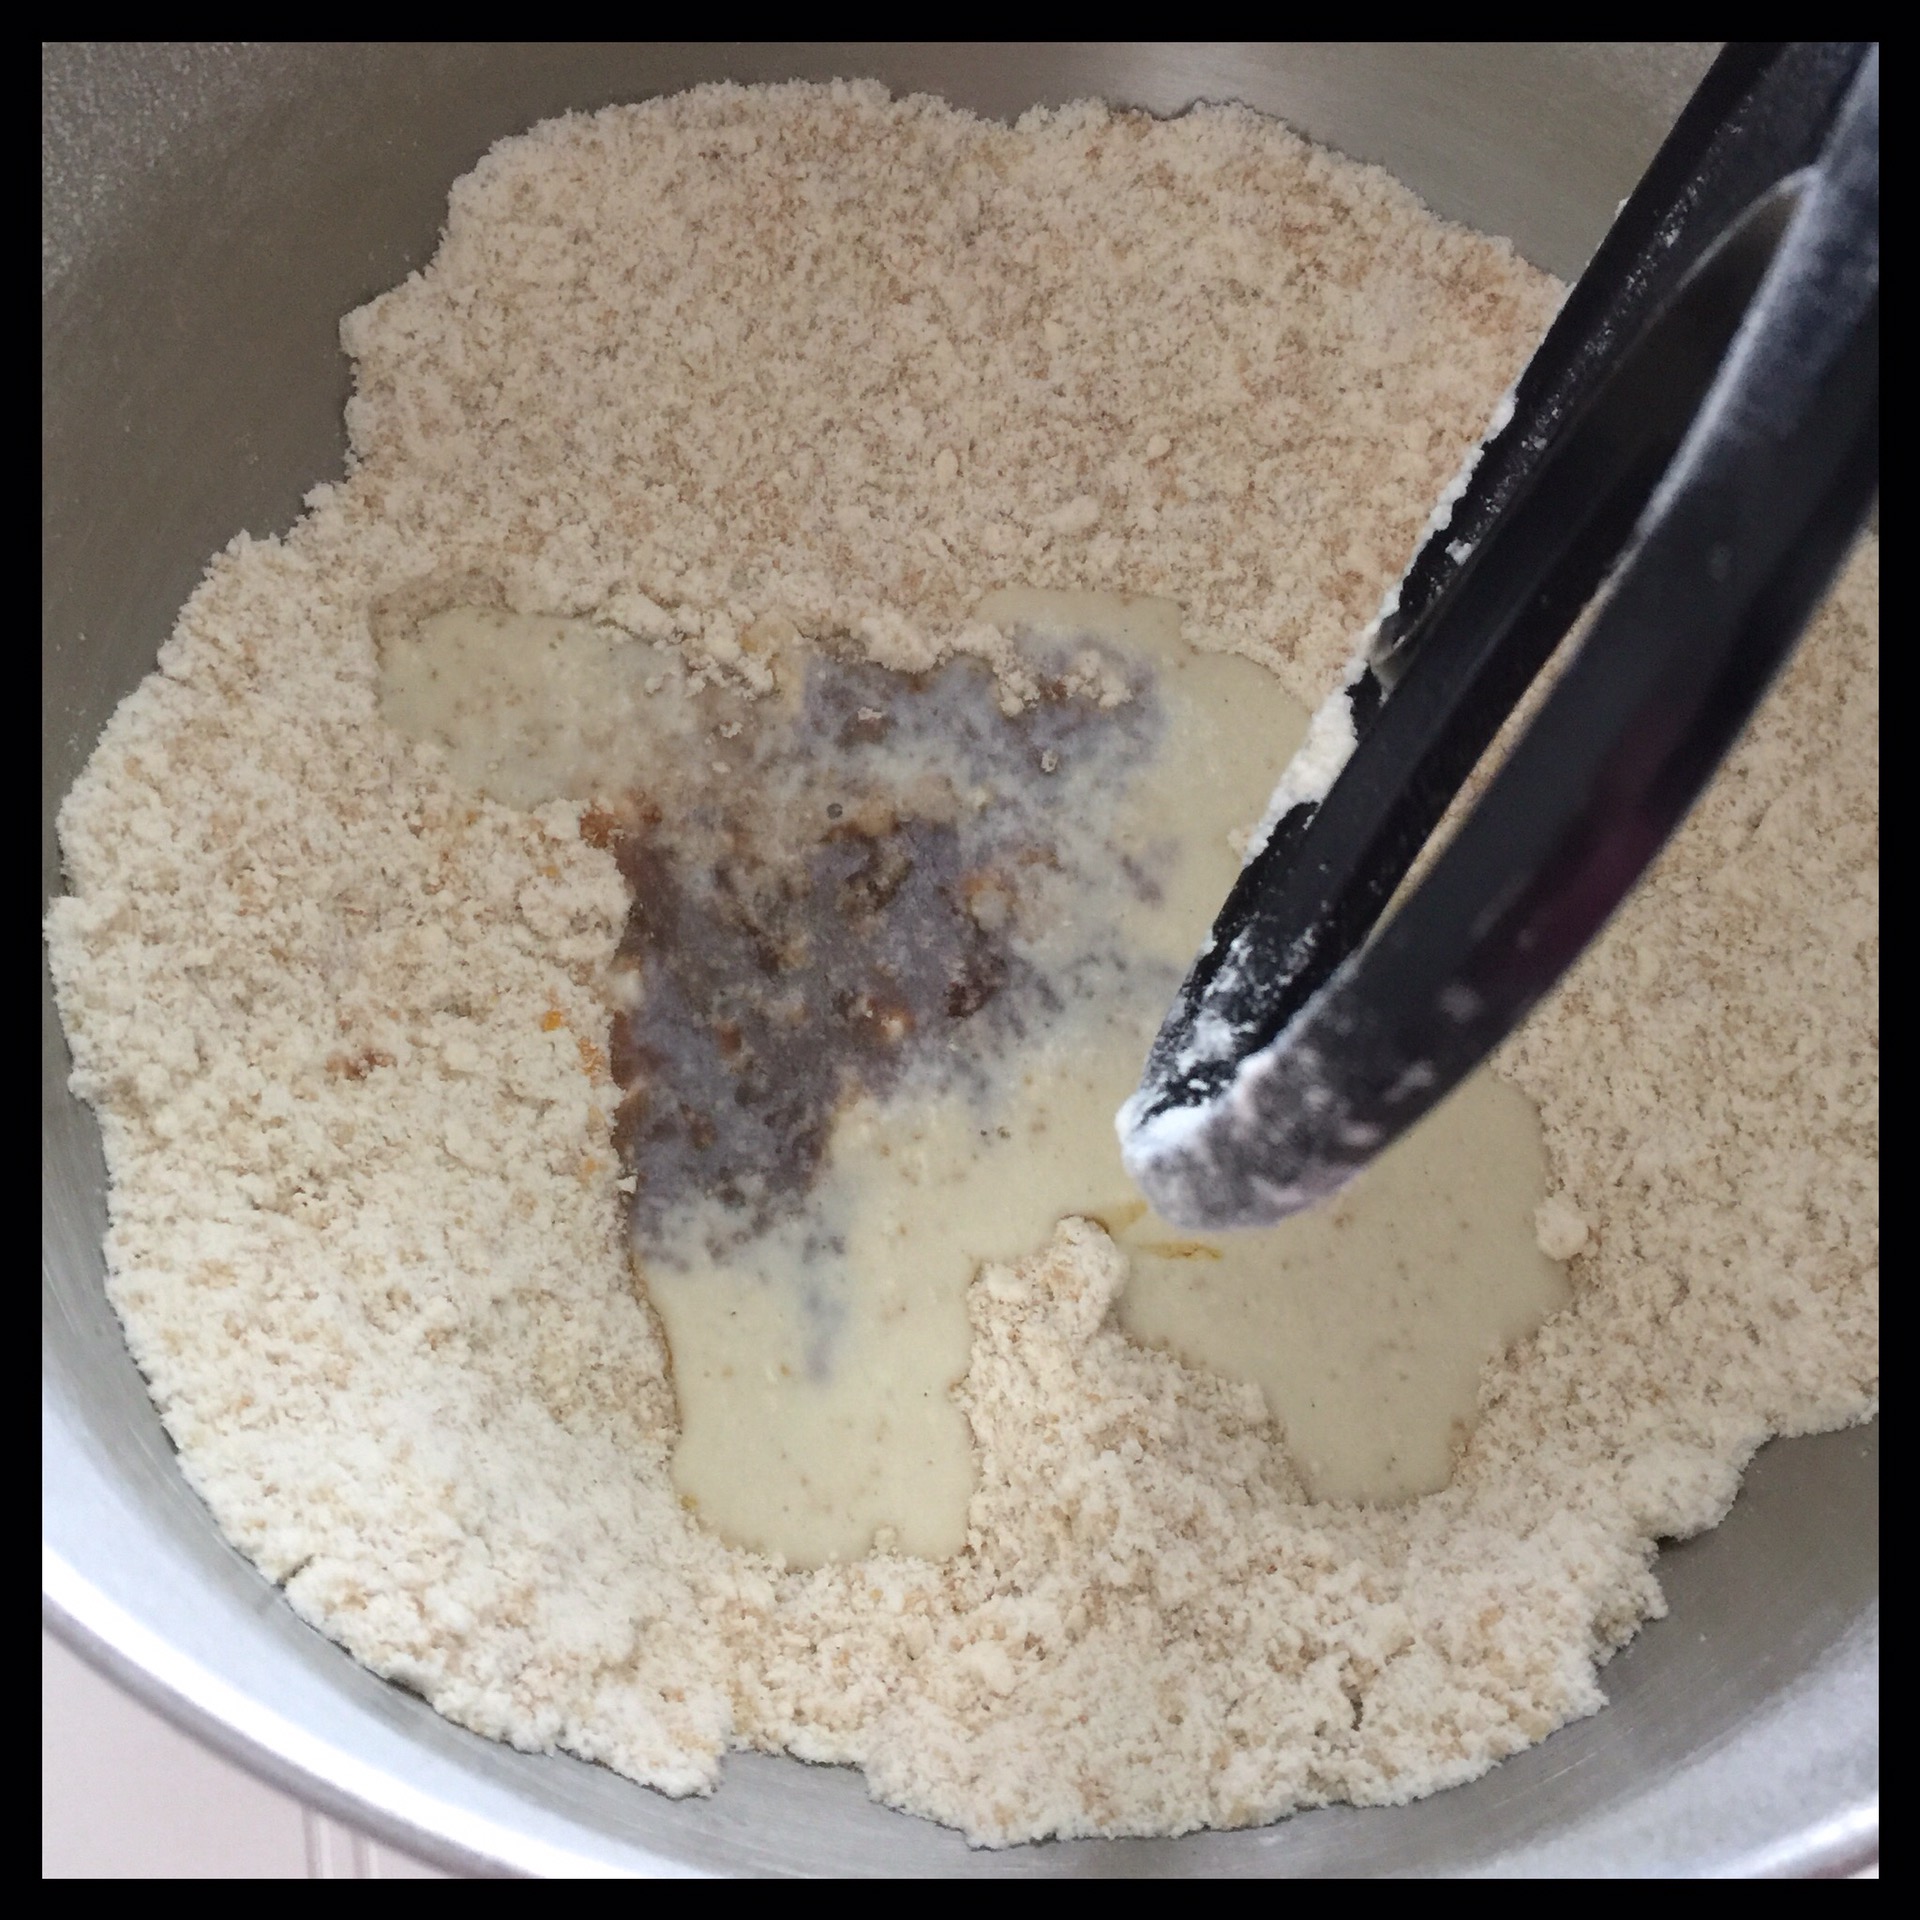
Add the honee, soy milk, and vanilla:
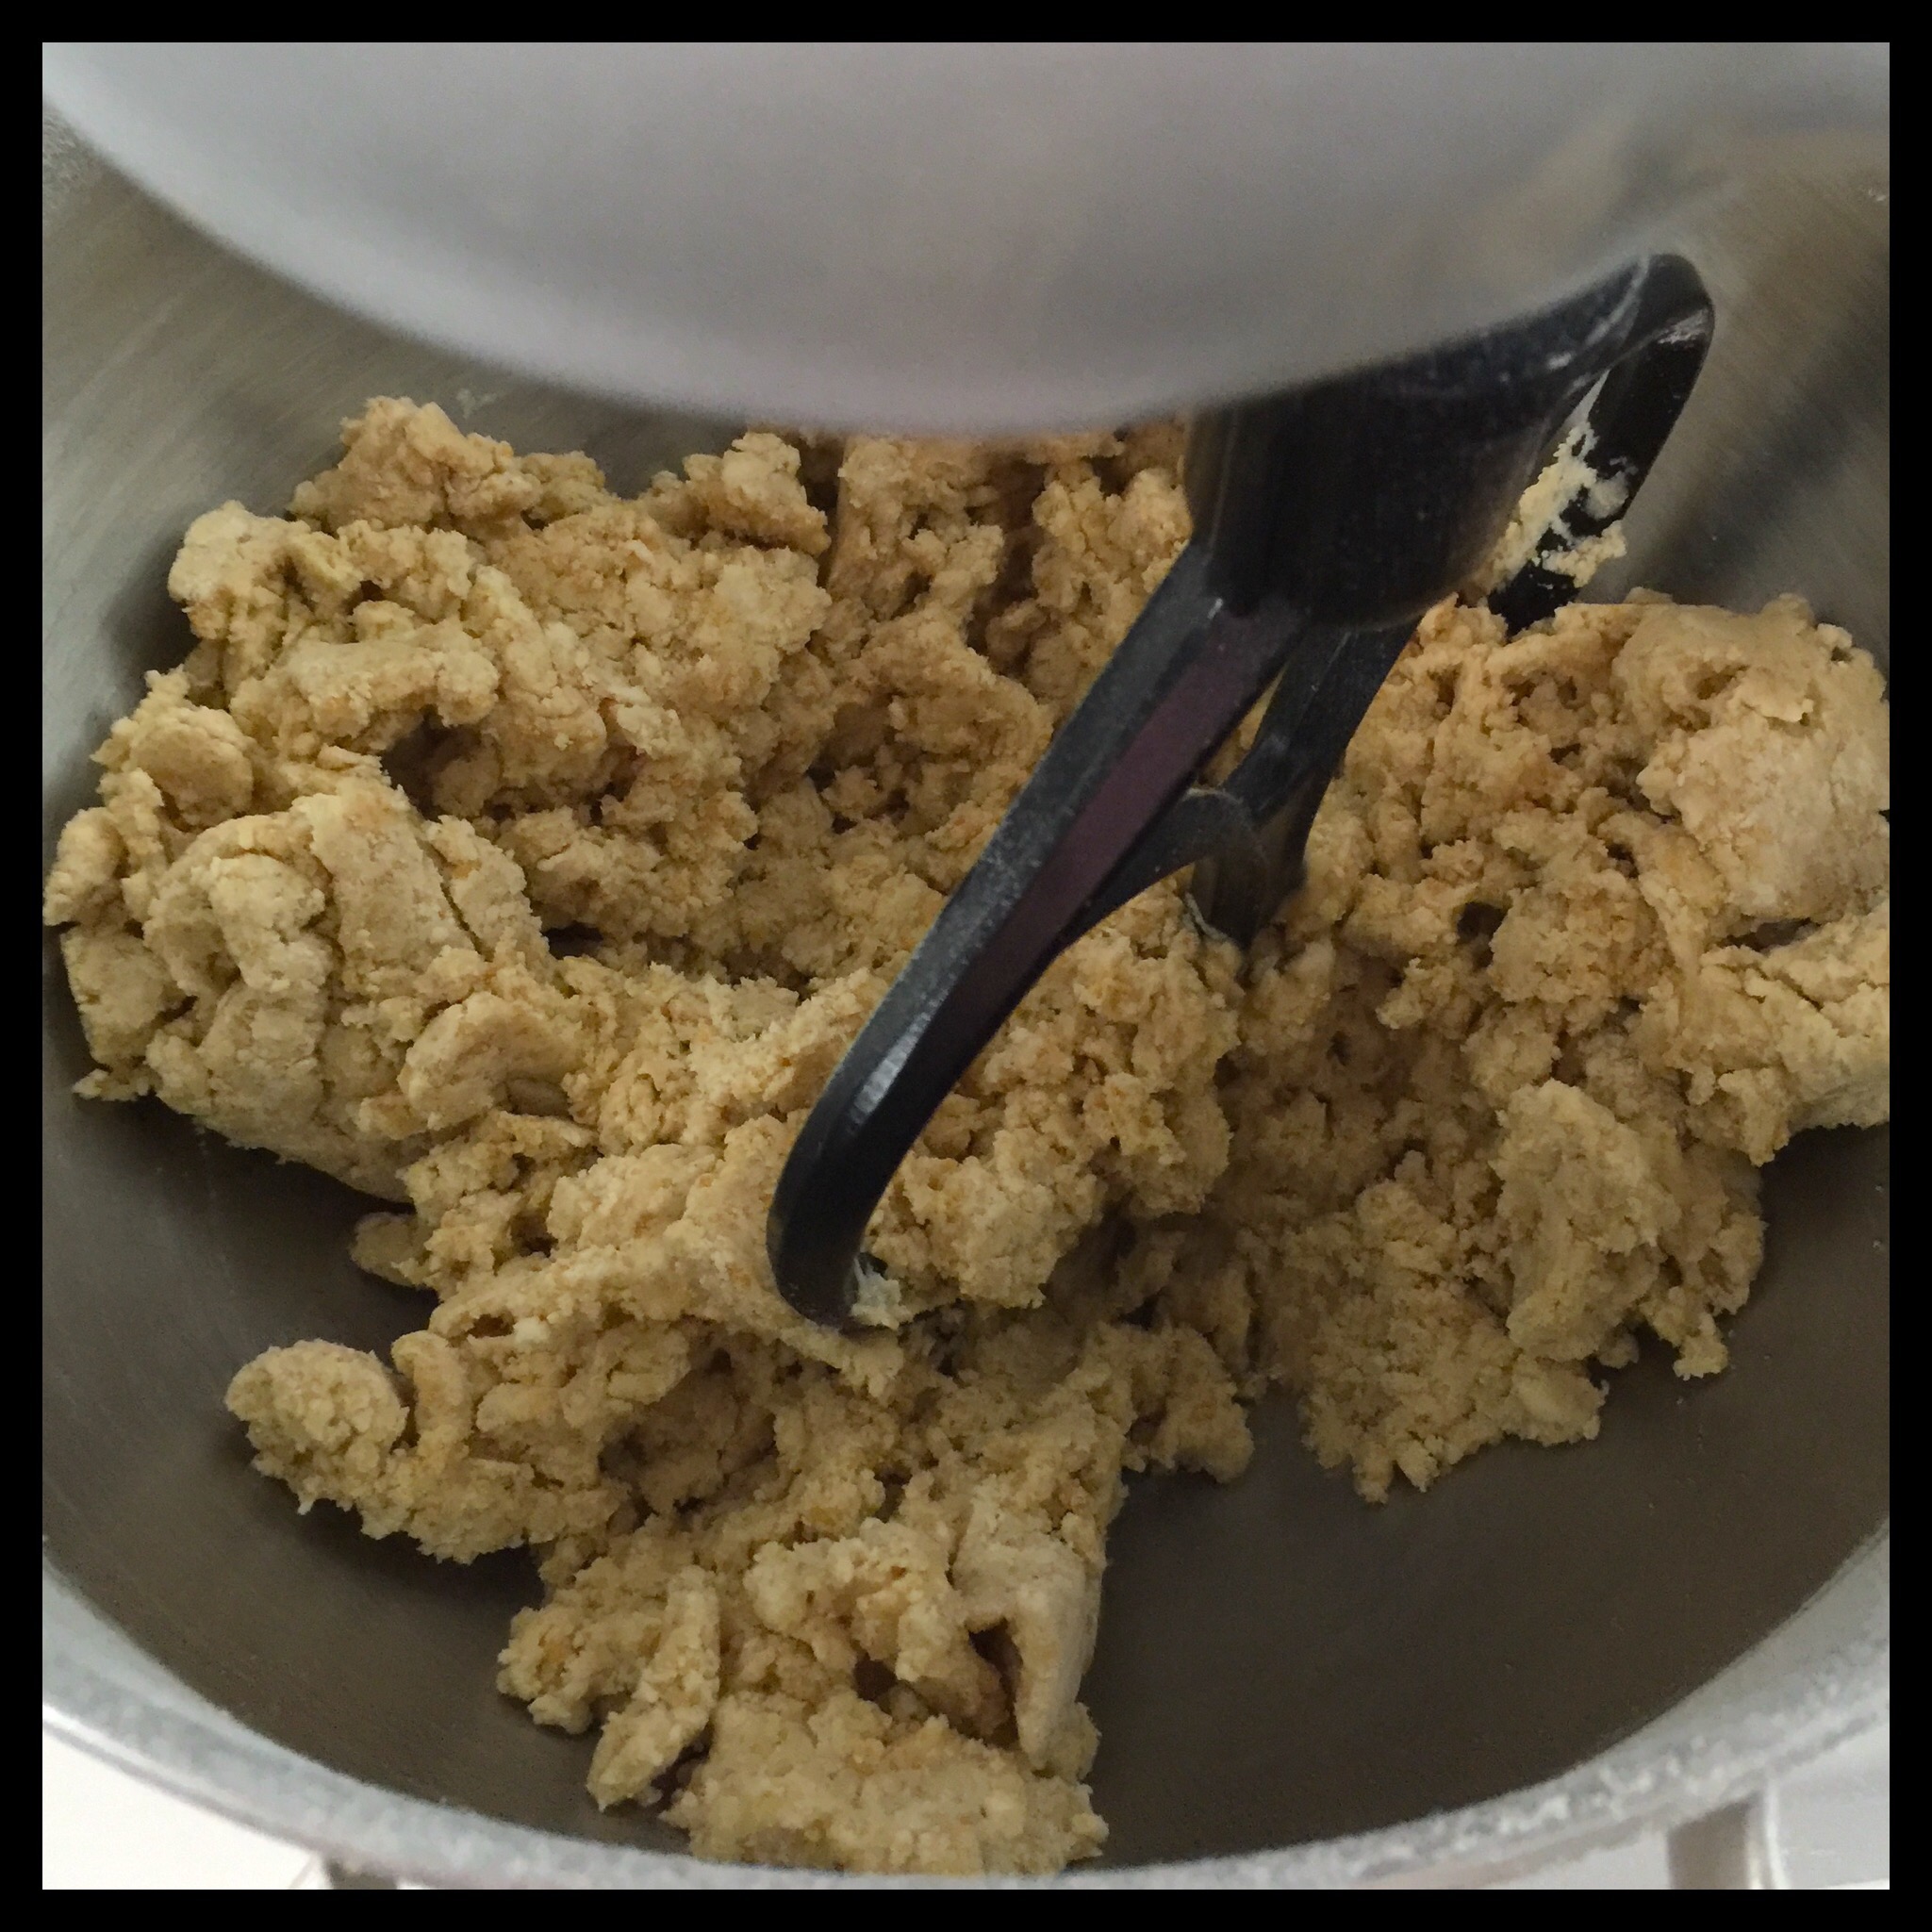
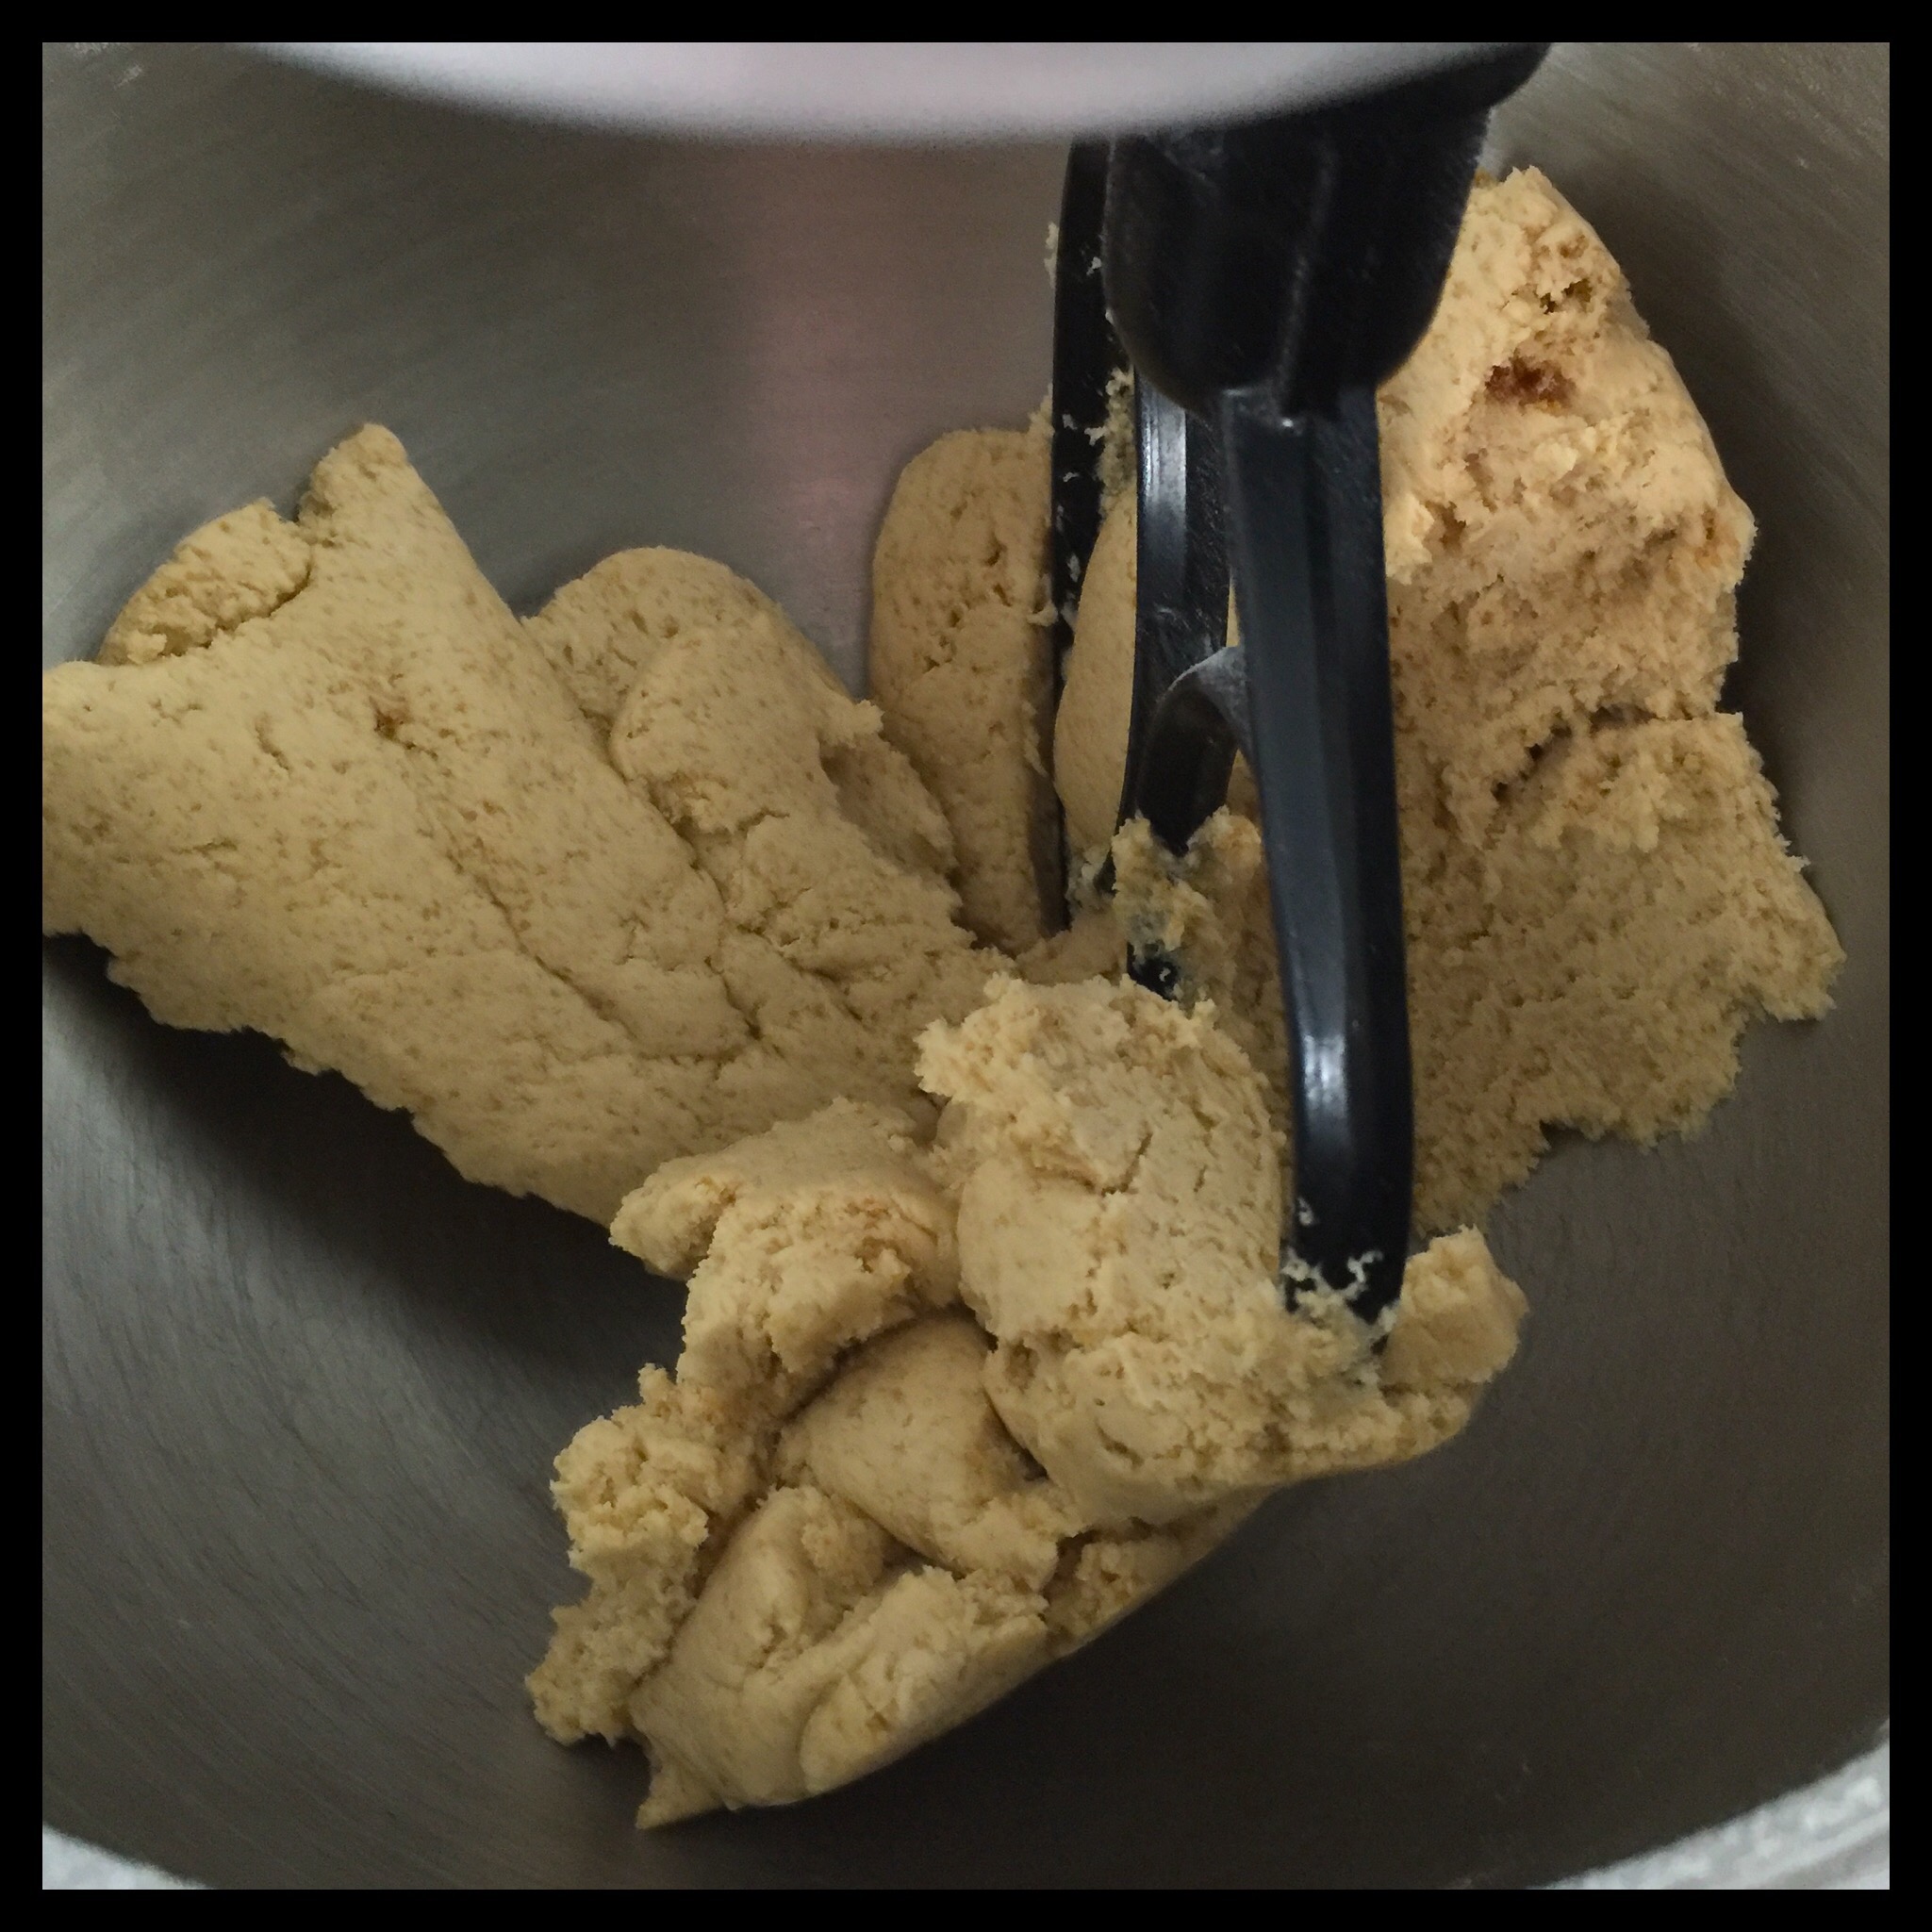
Start mixing on low speed, then increase to high speed, and mix until the dough comes together:
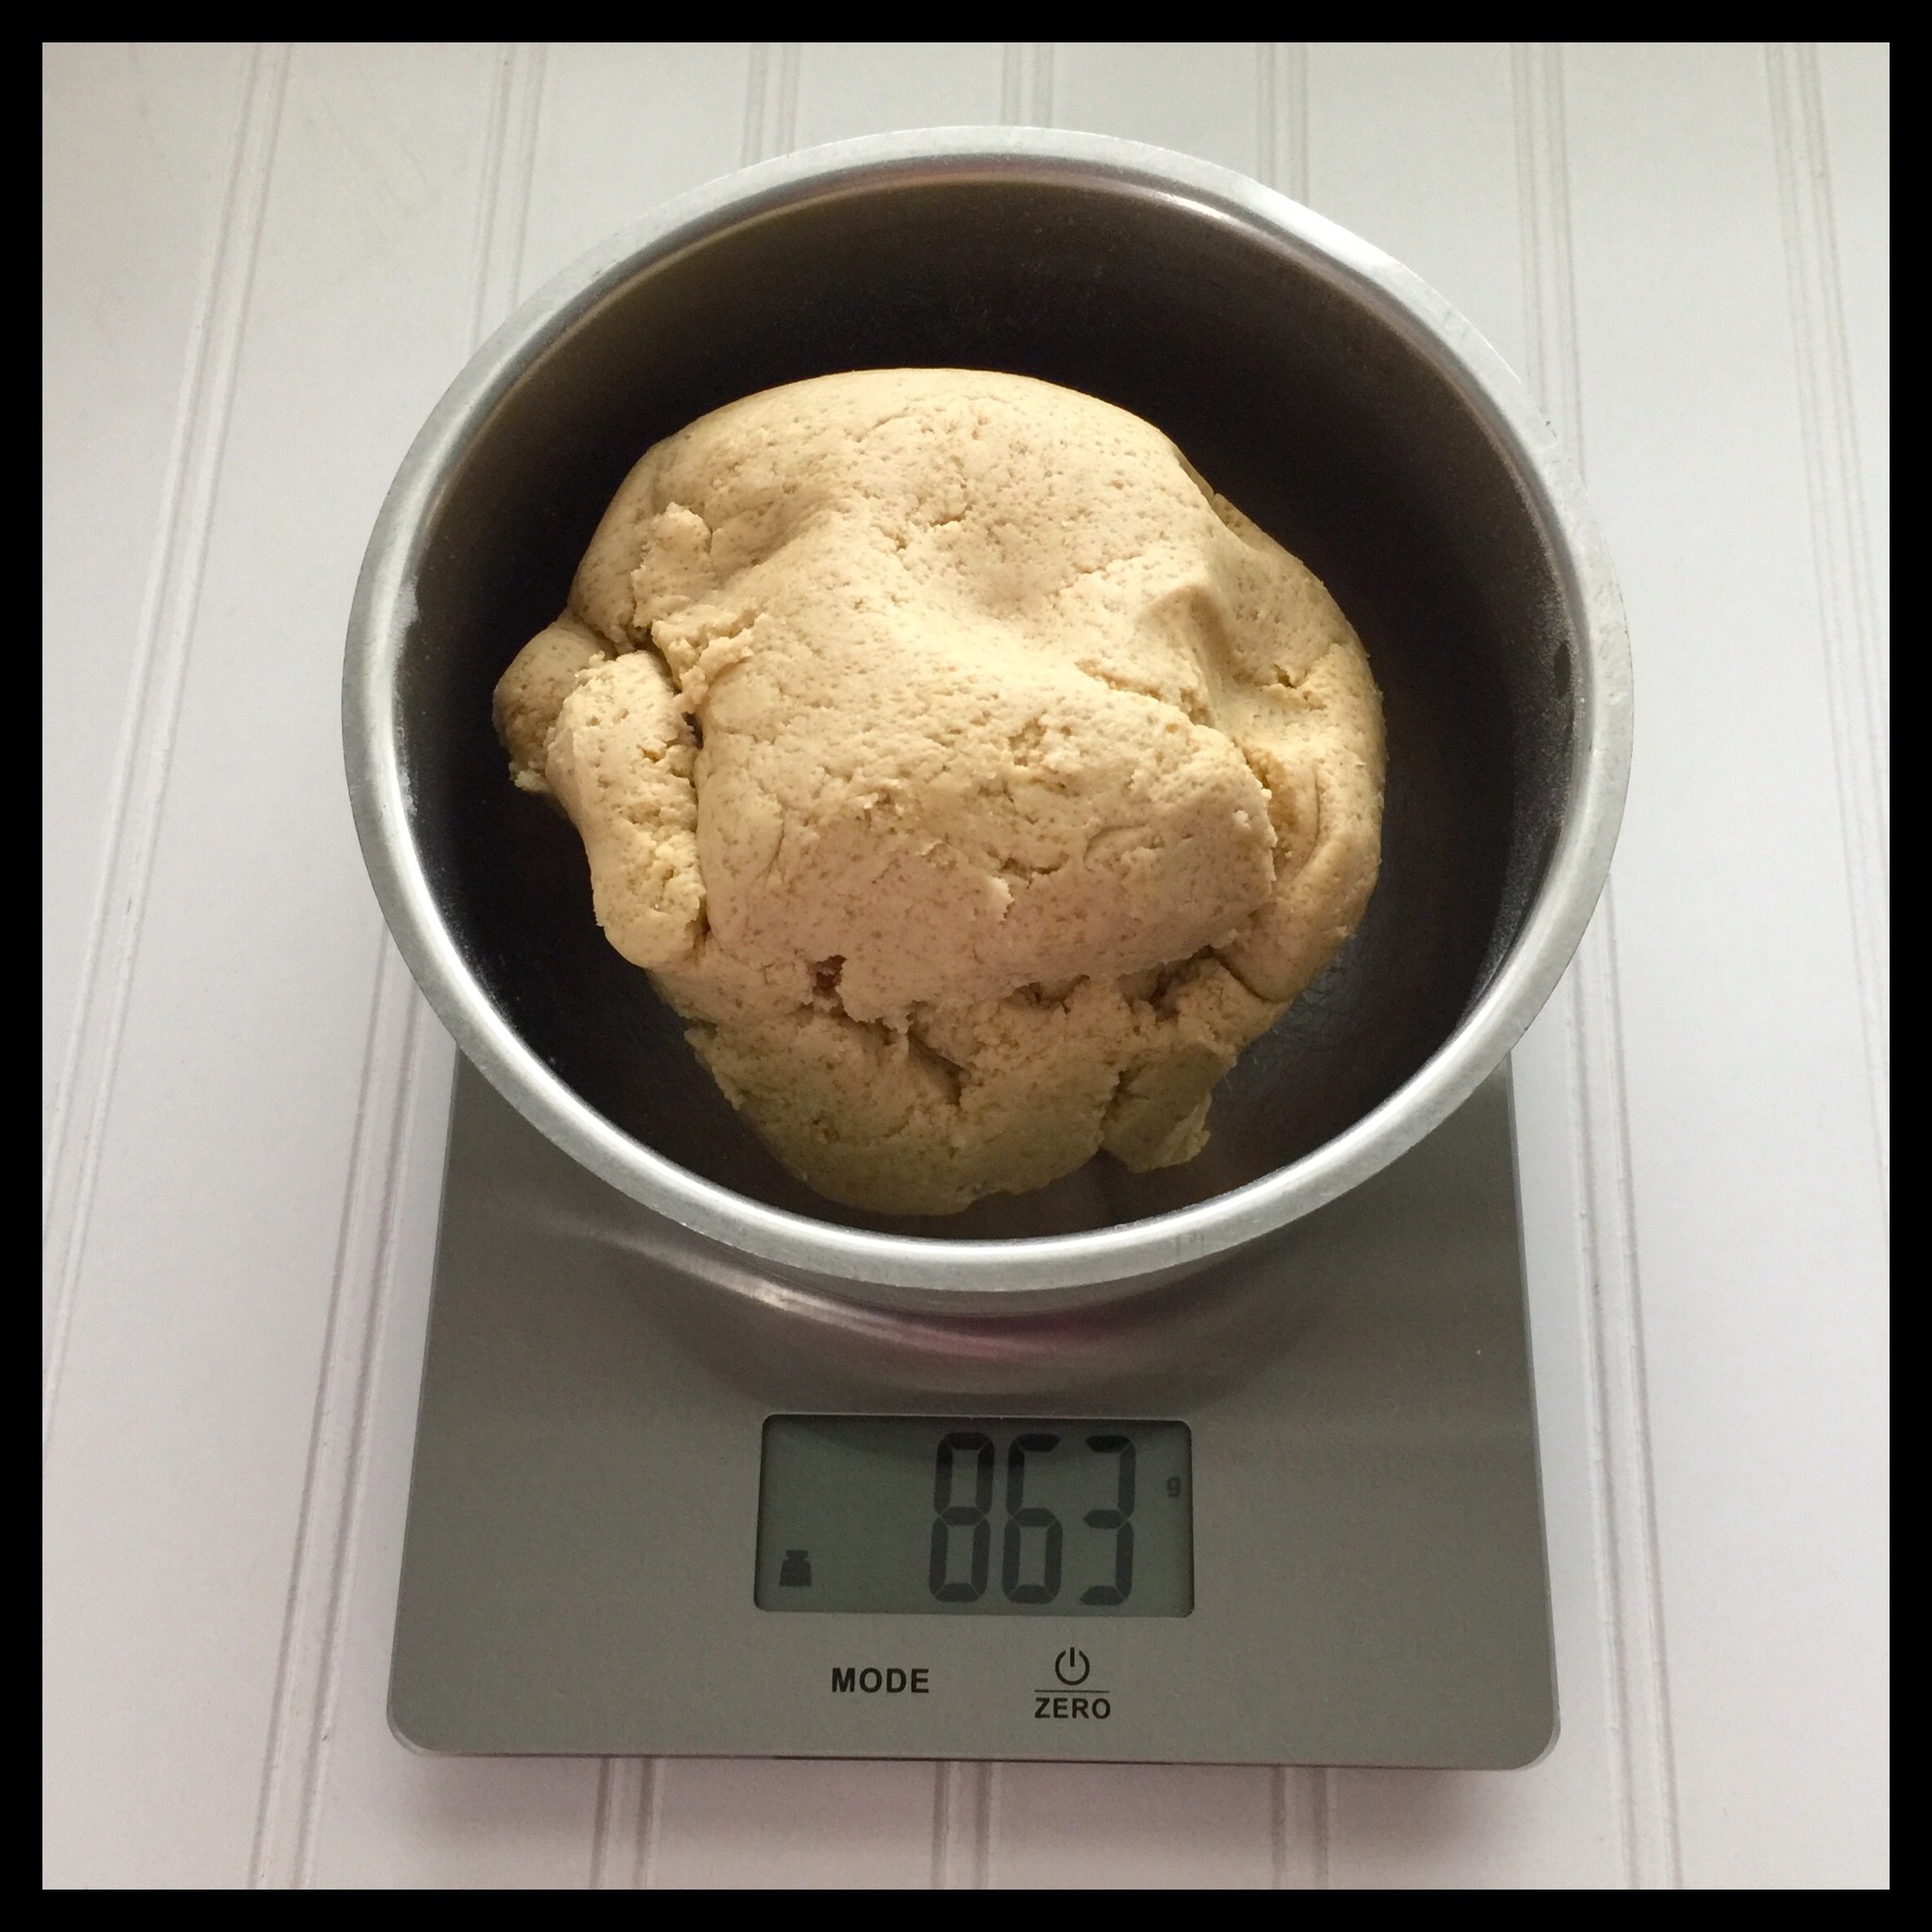
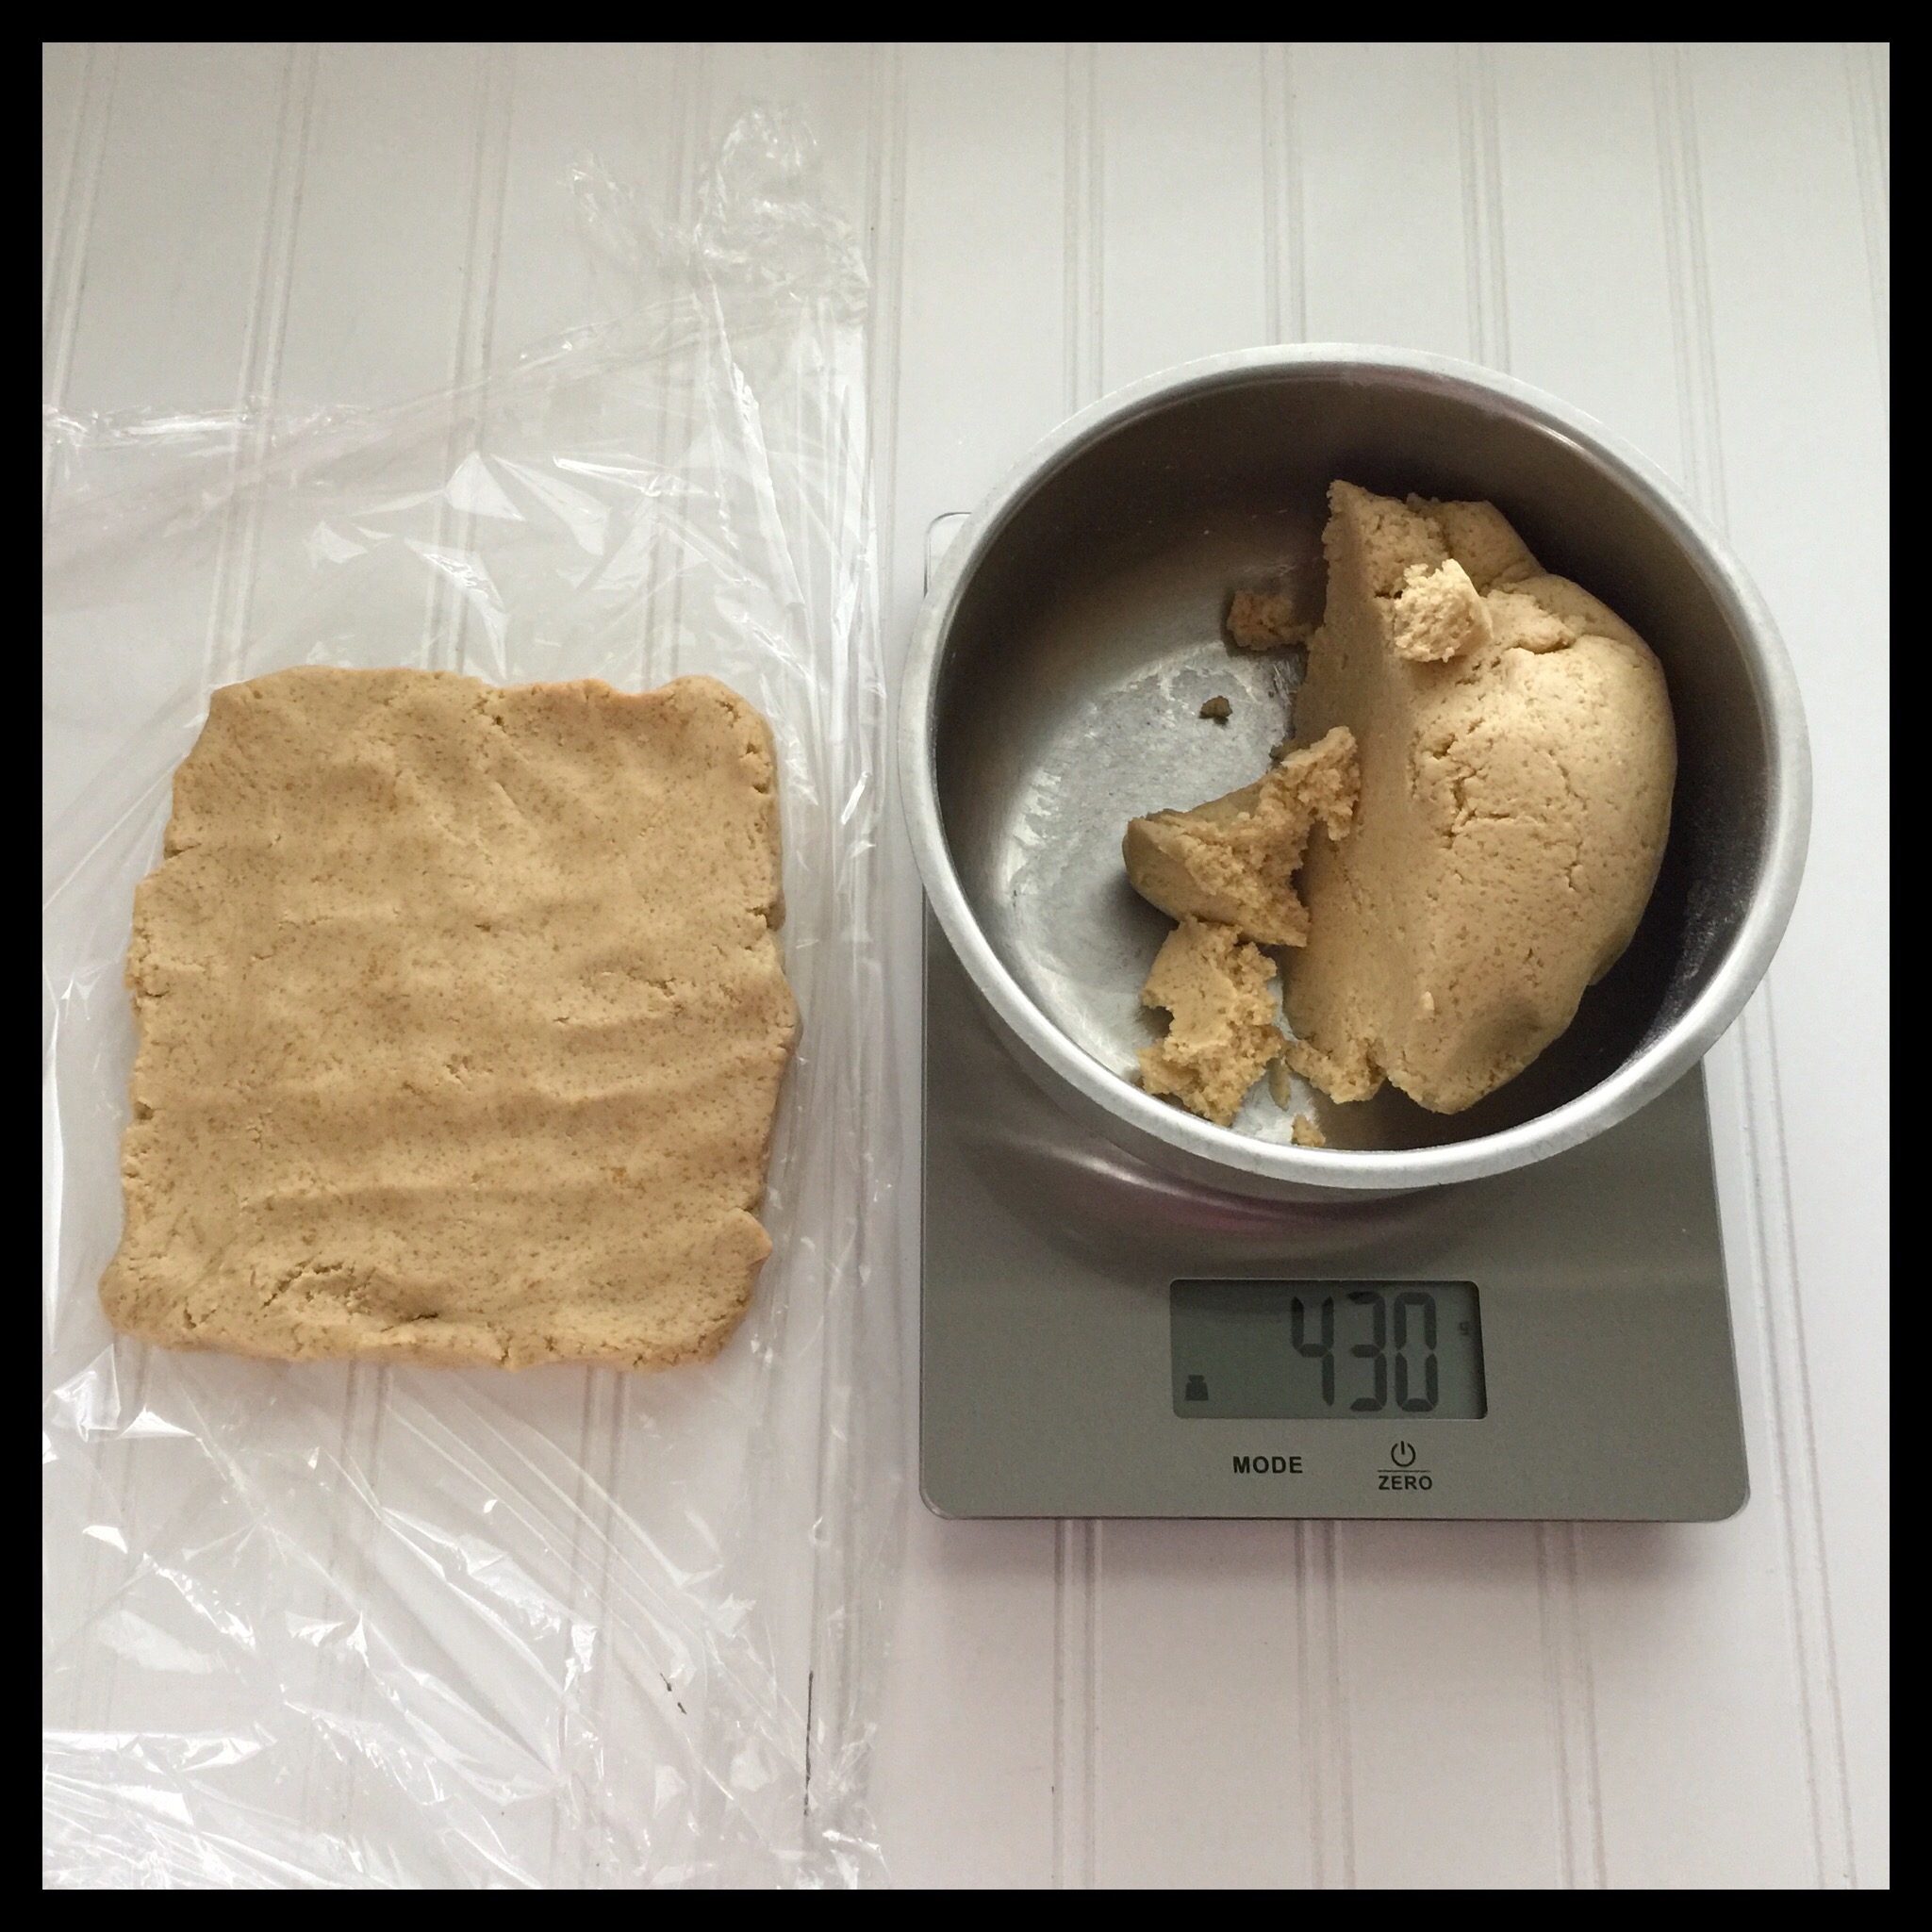
Divide the dough into two equal pieces. This is very easy to do with a scale!
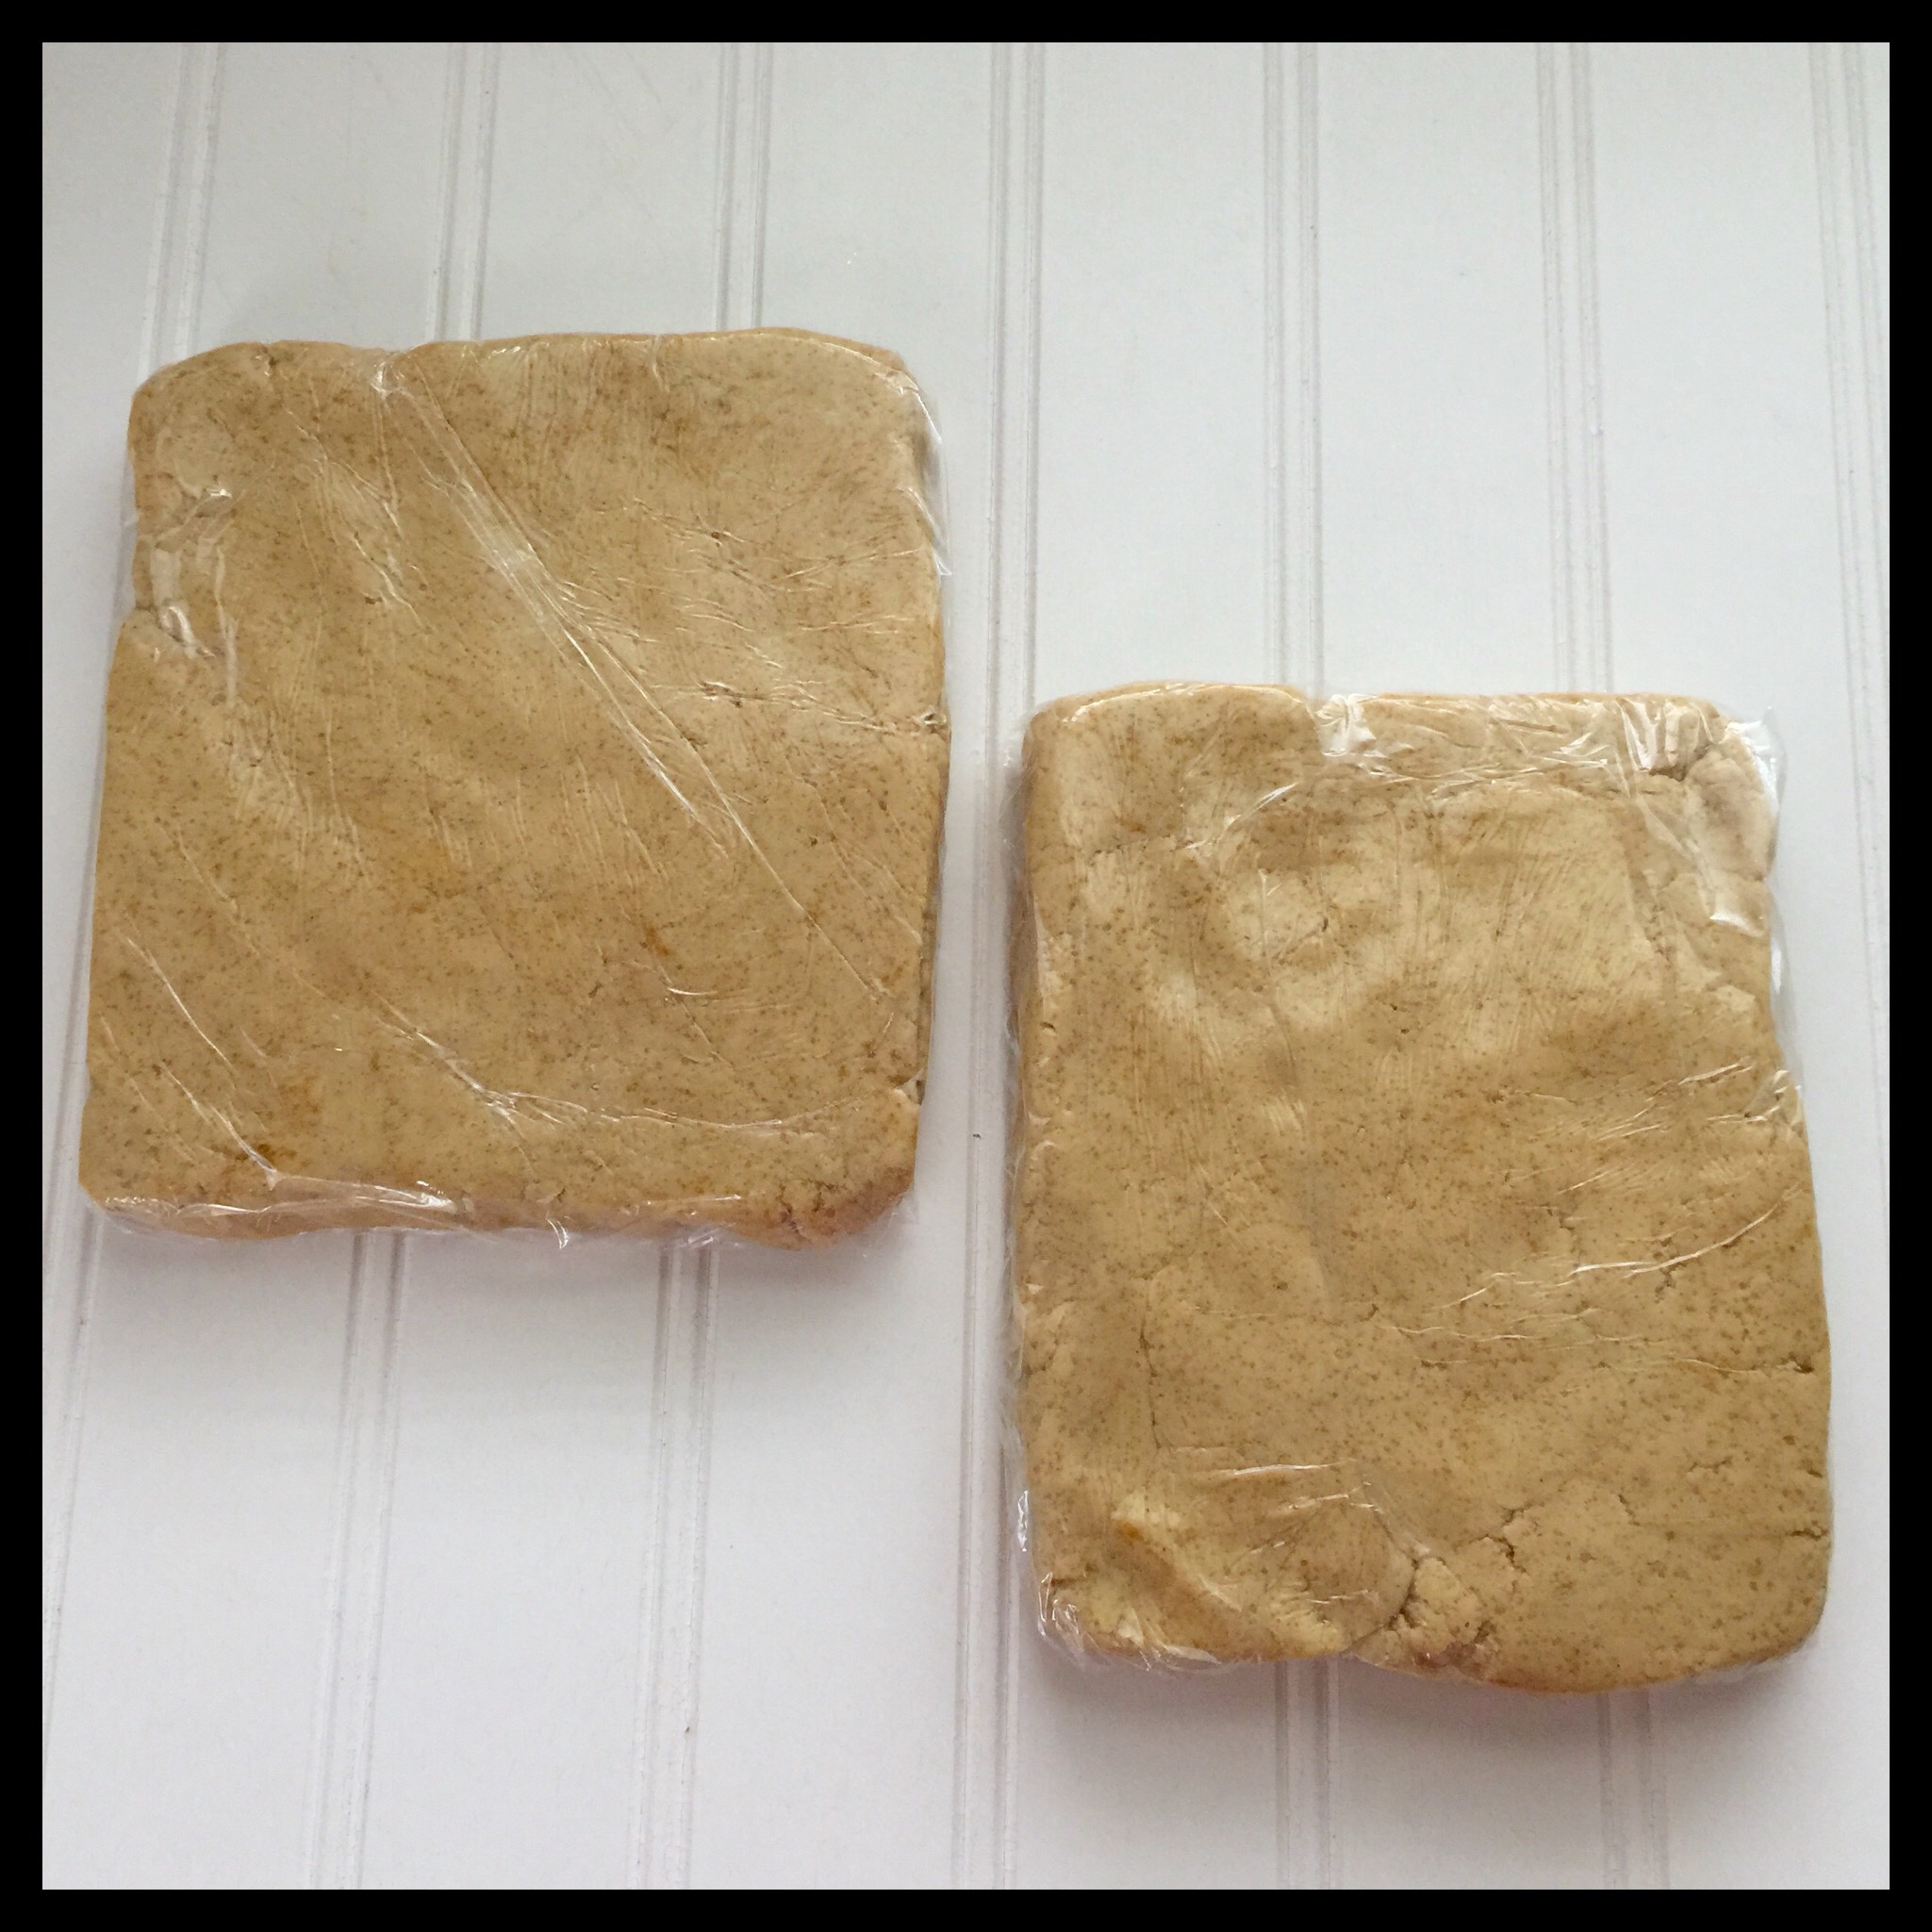
Shape the dough into two rectangles, wrap them tightly in plastic wrap, and chill them for at least two hours (and up to two days):
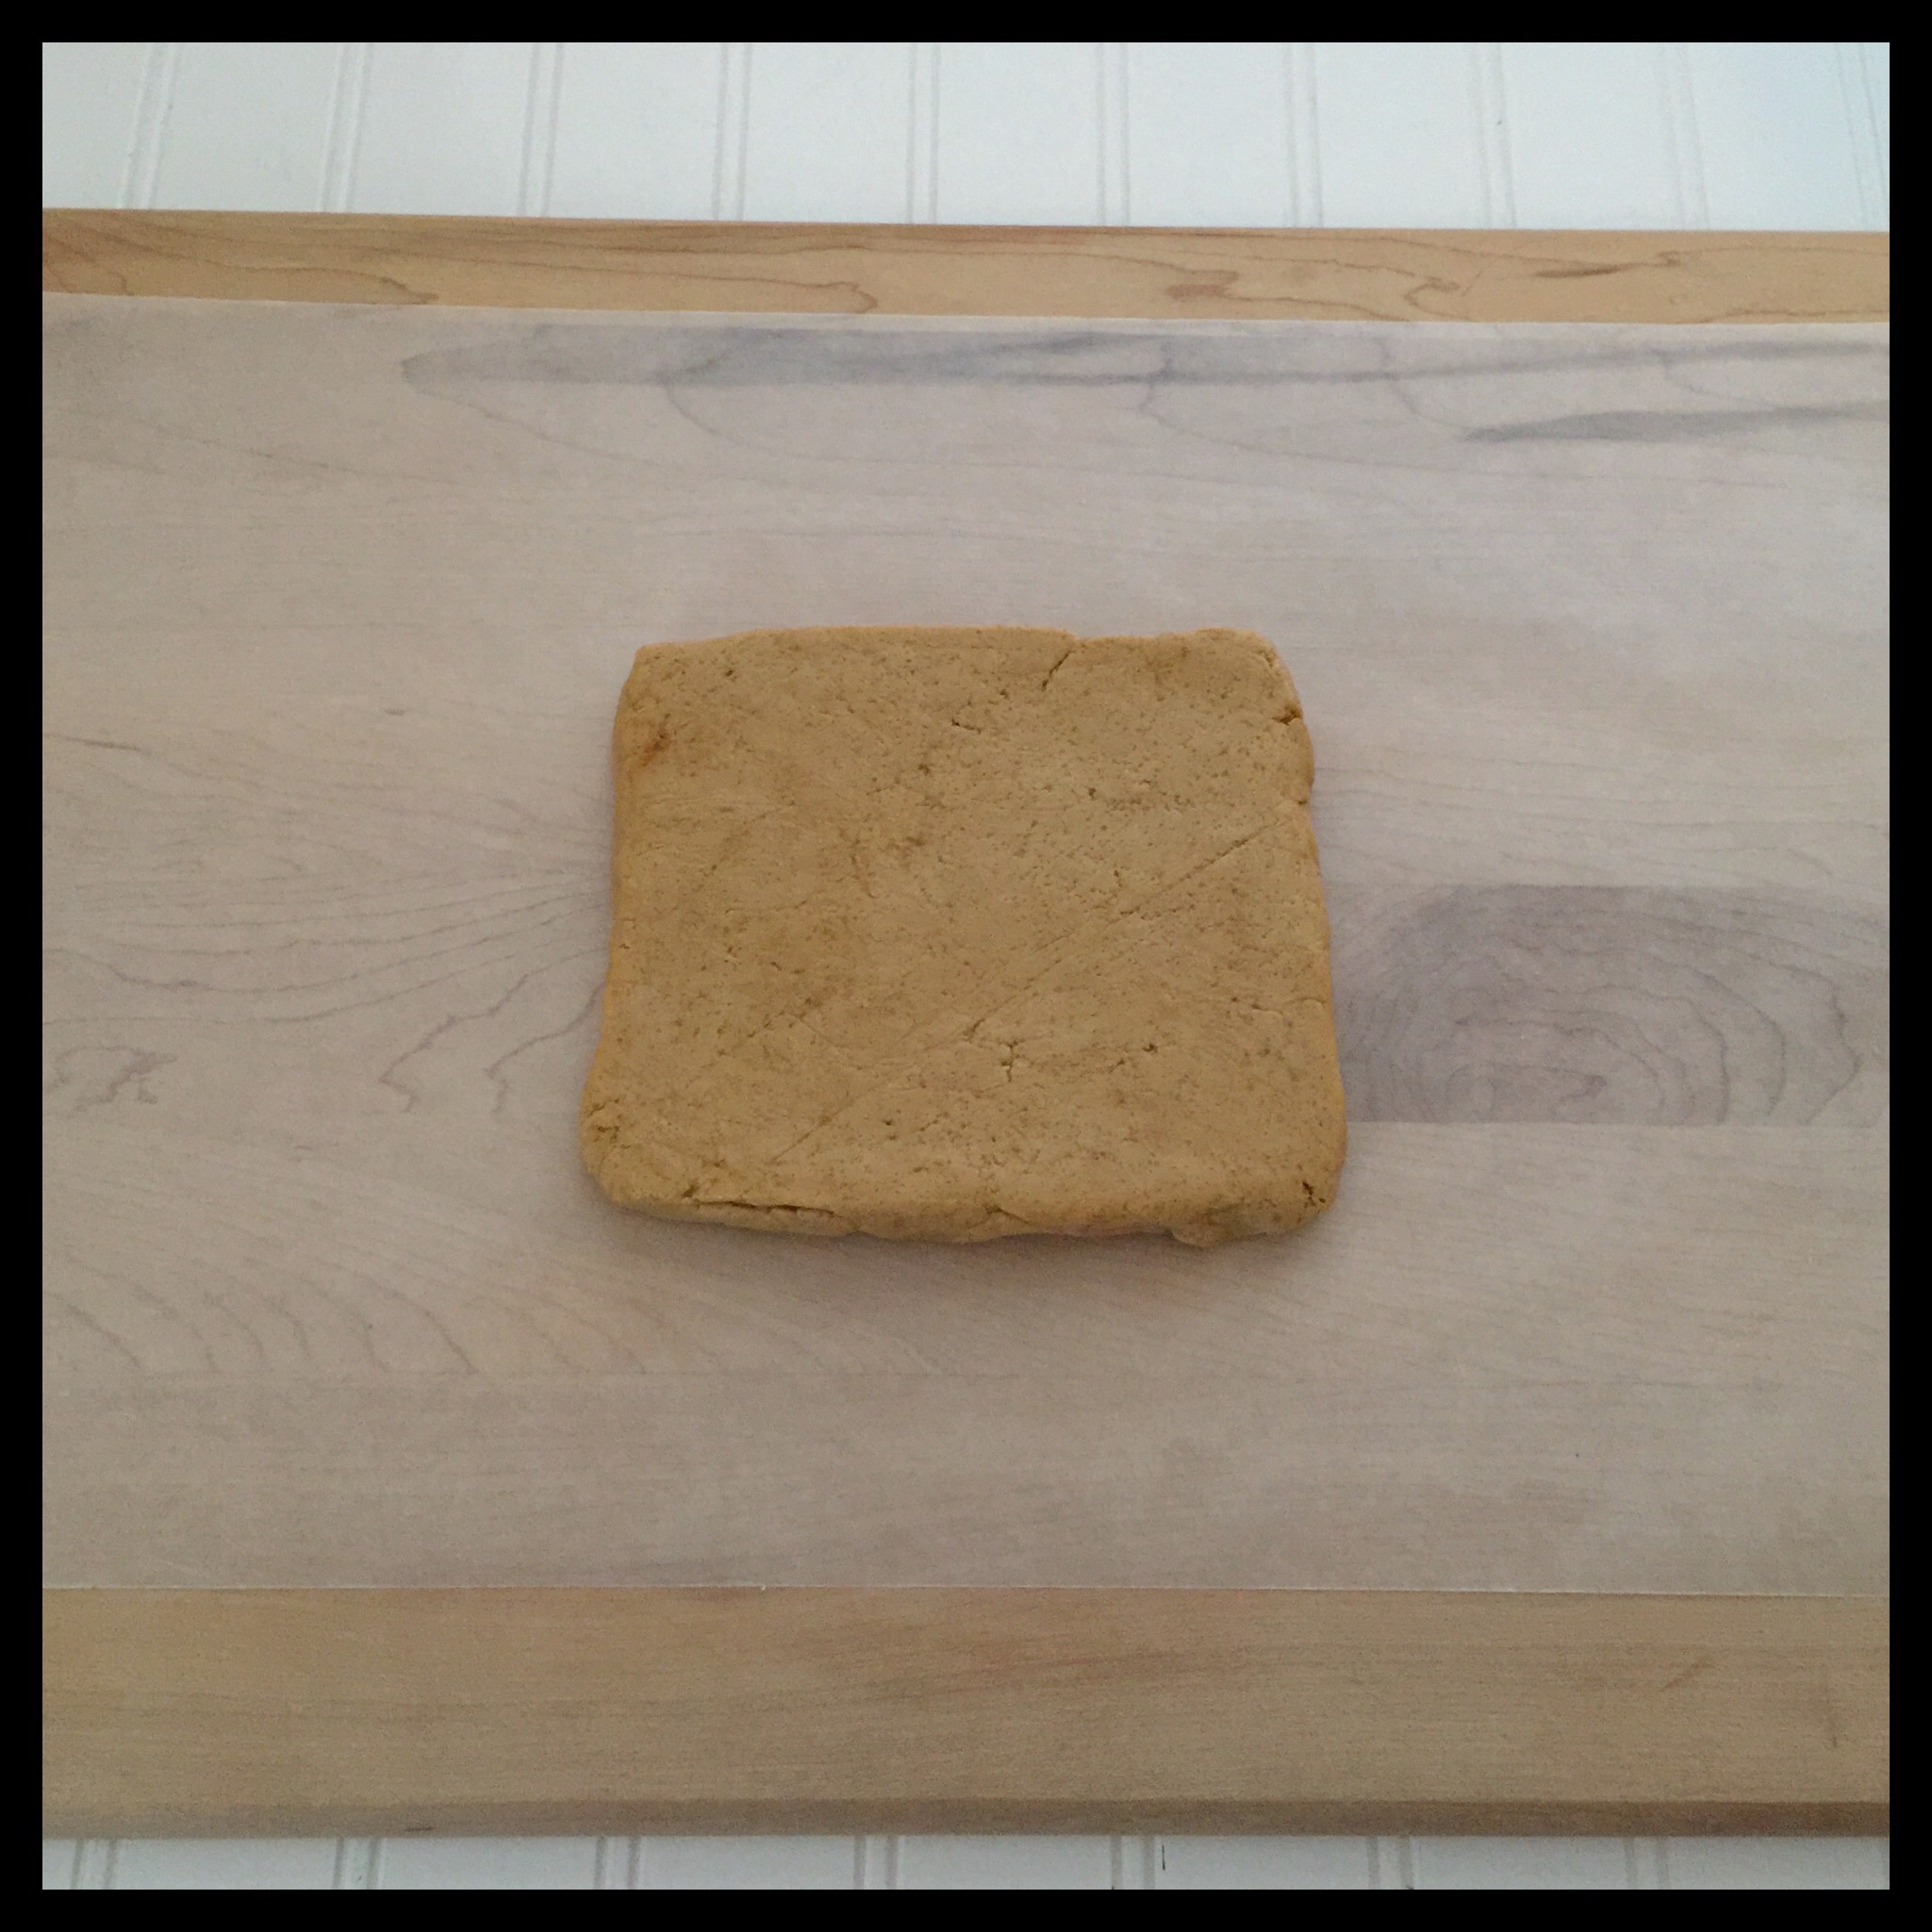
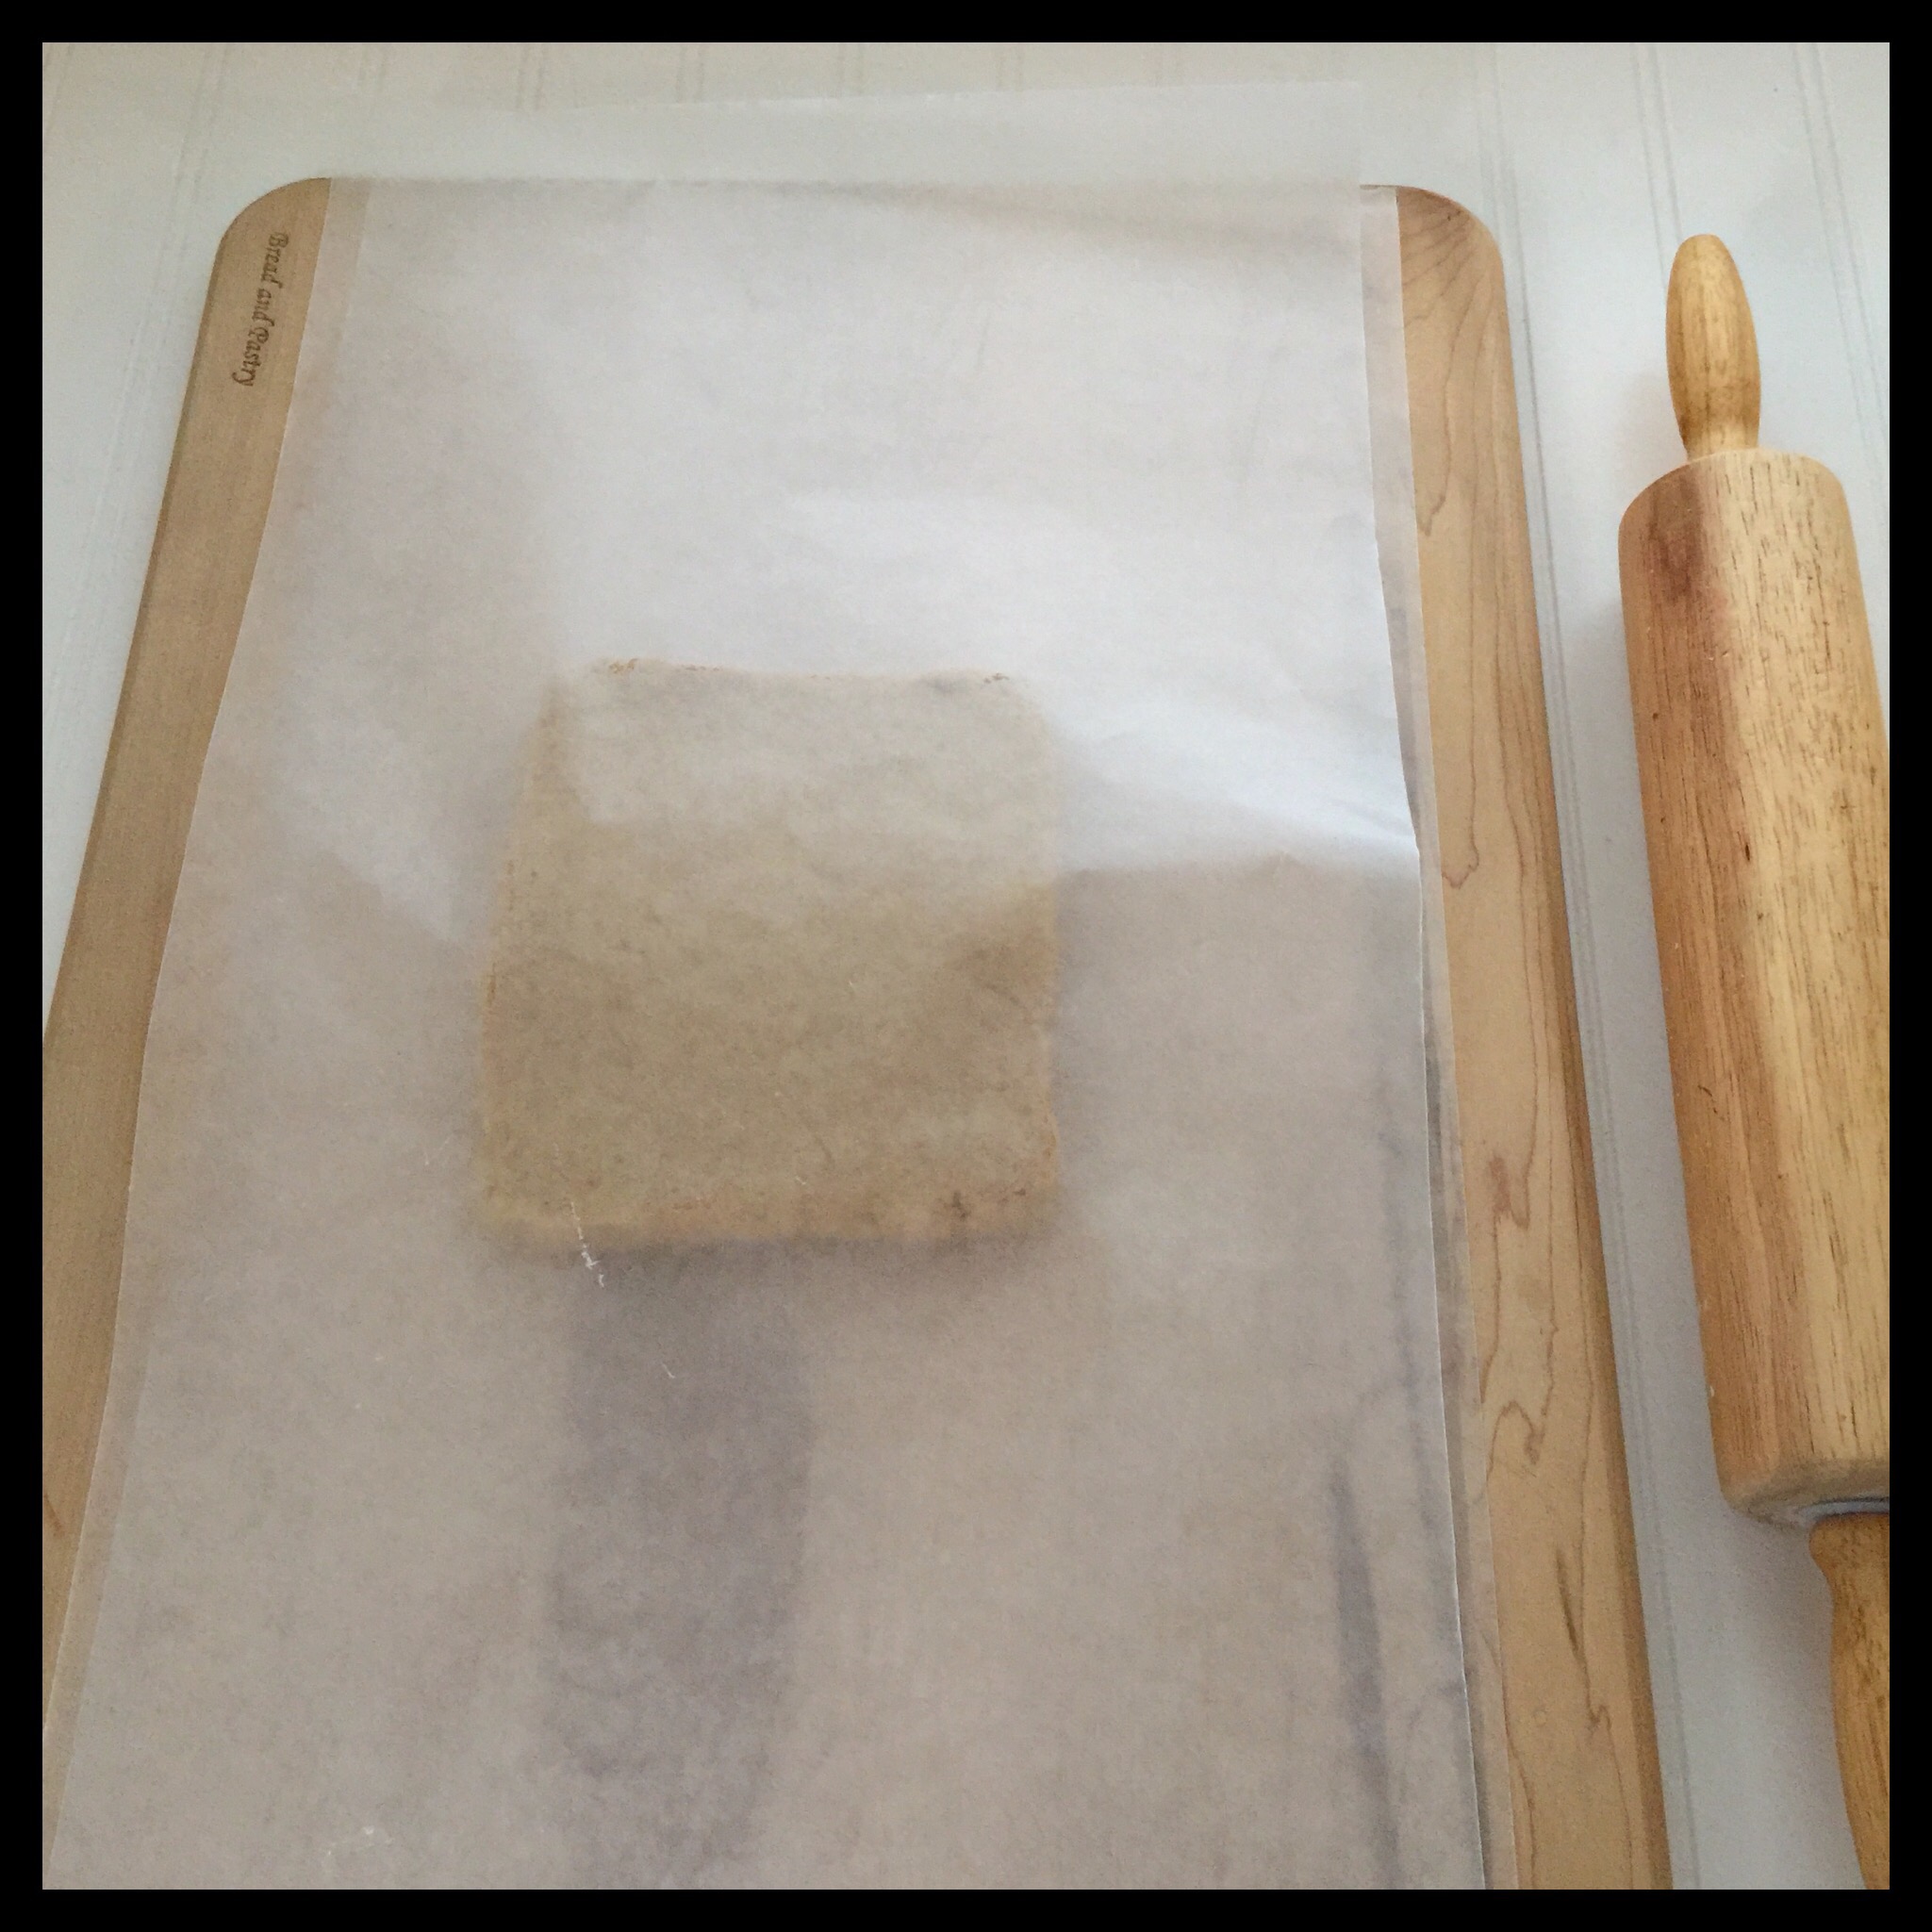
Once the dough has chilled, unwrap one piece and place it on a 20” long piece of waxed paper. Cover it with another piece of waxed paper:
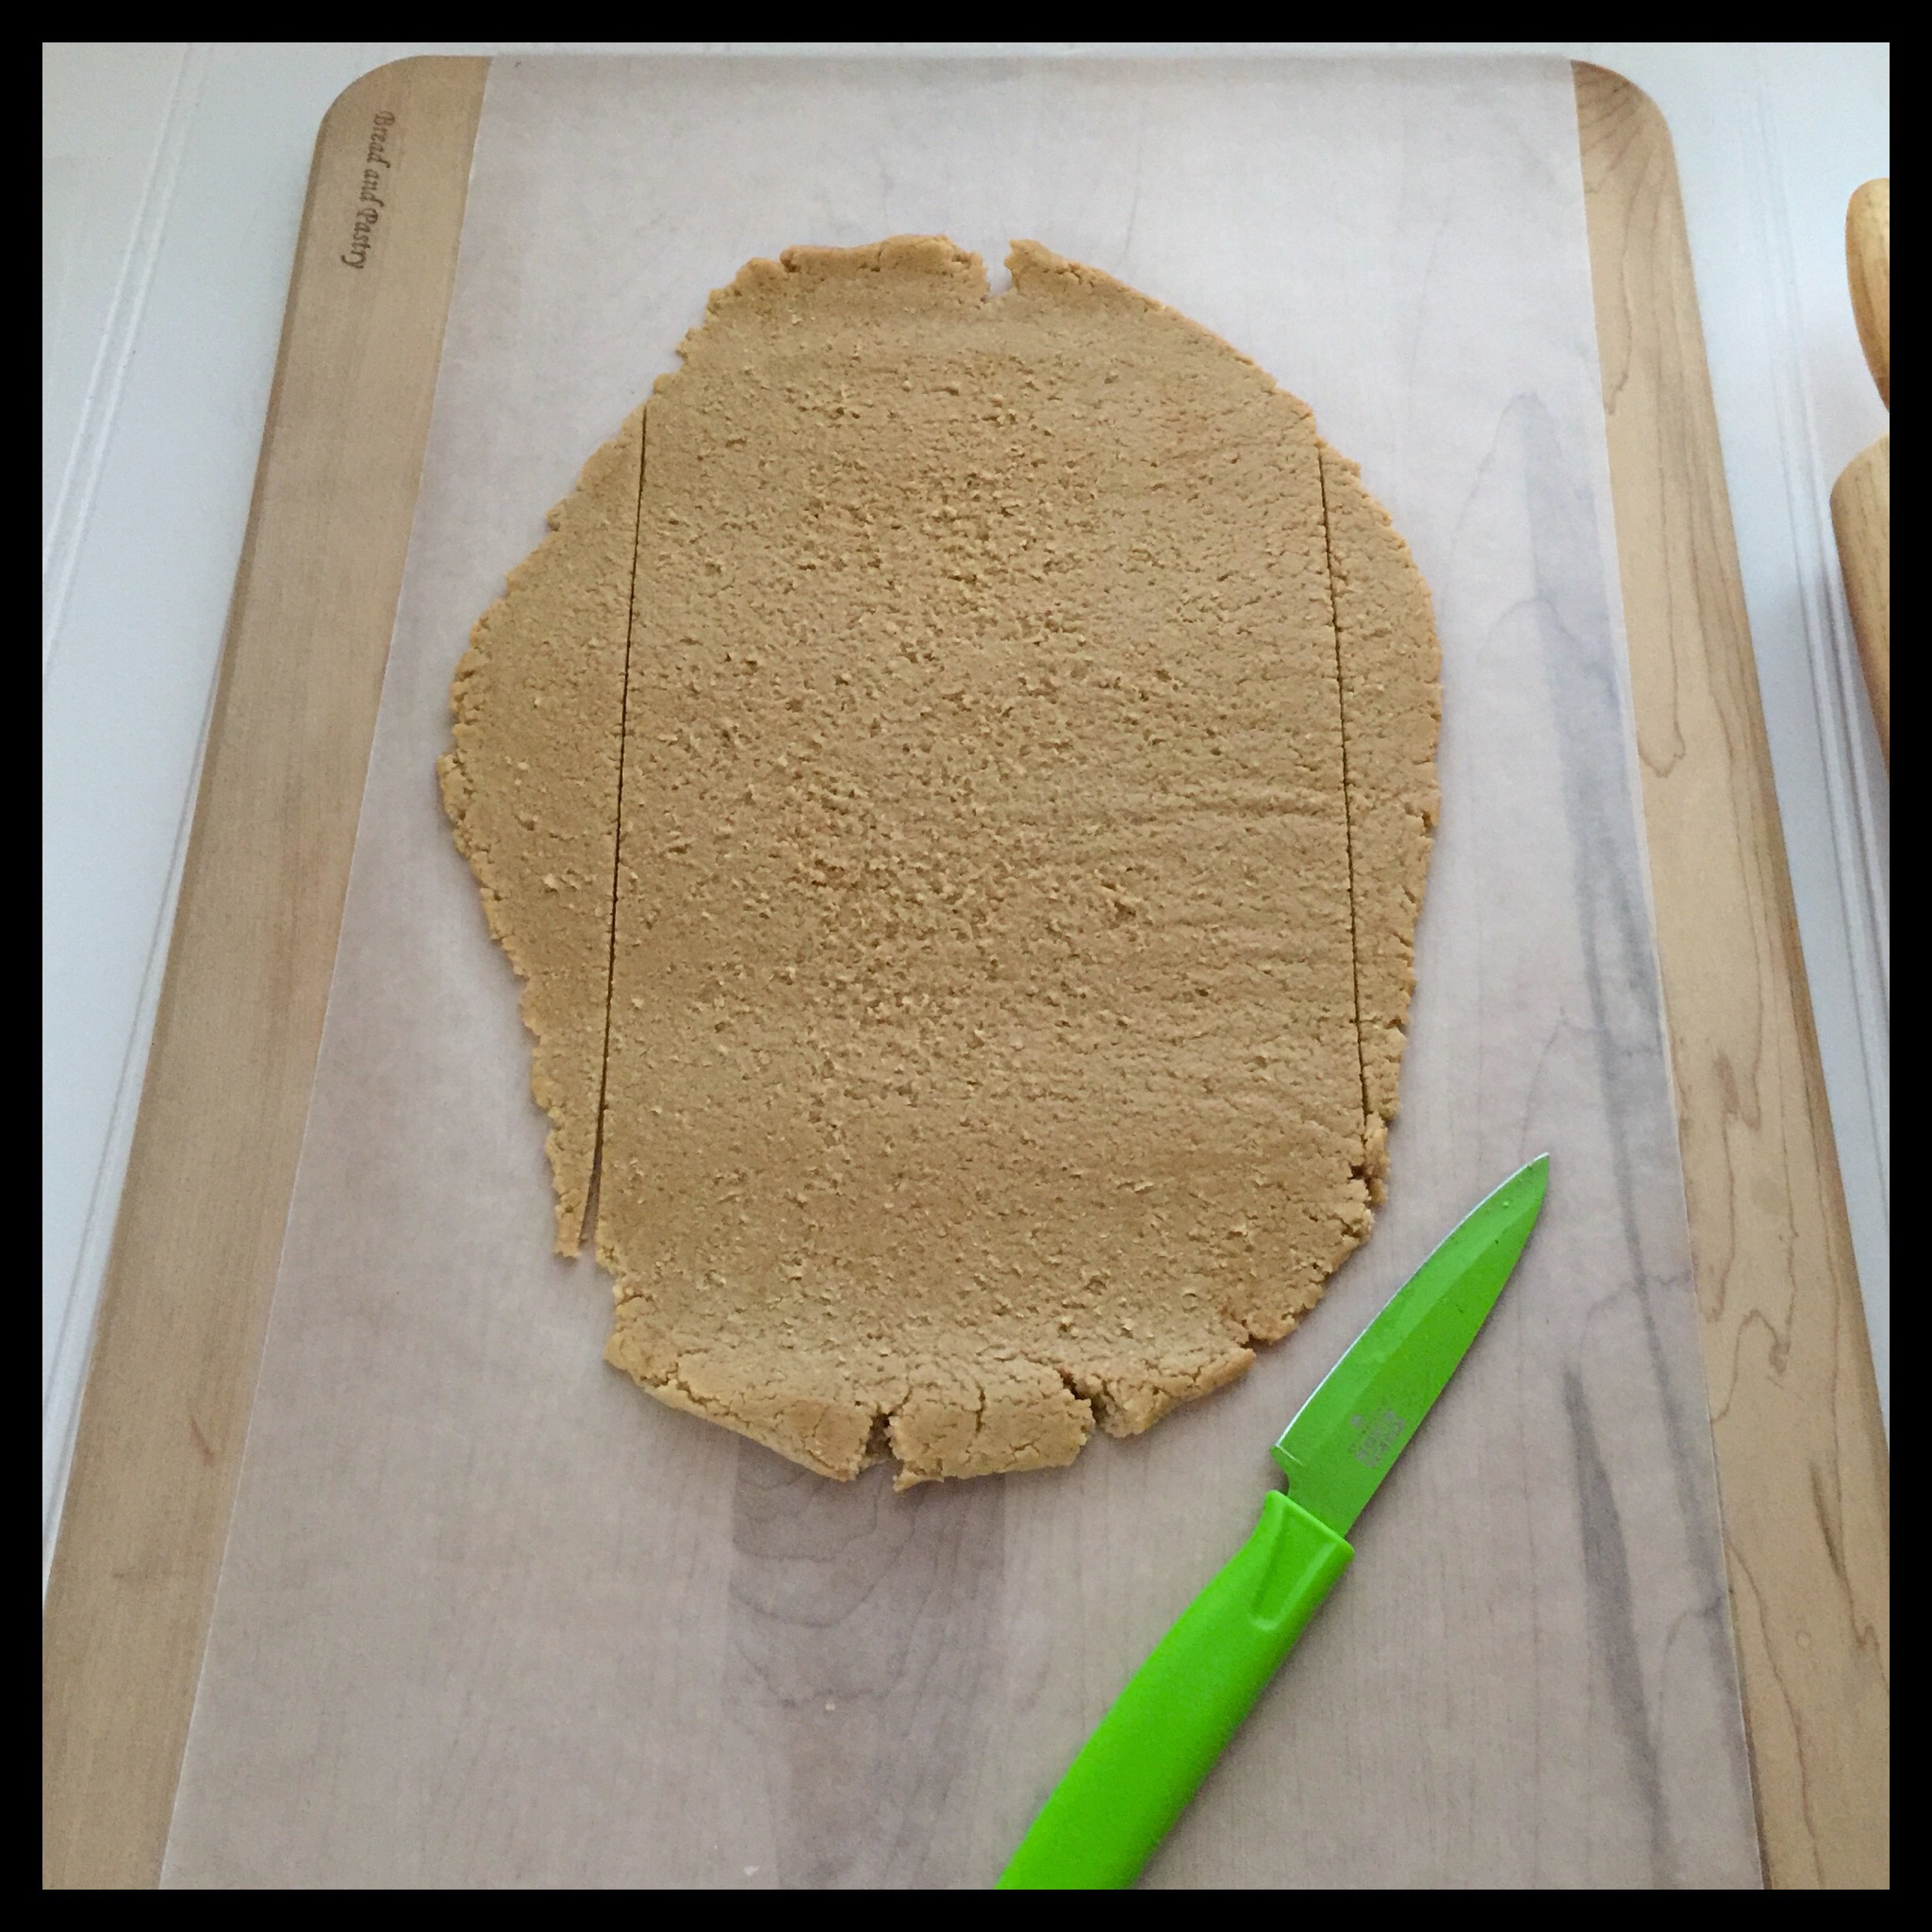
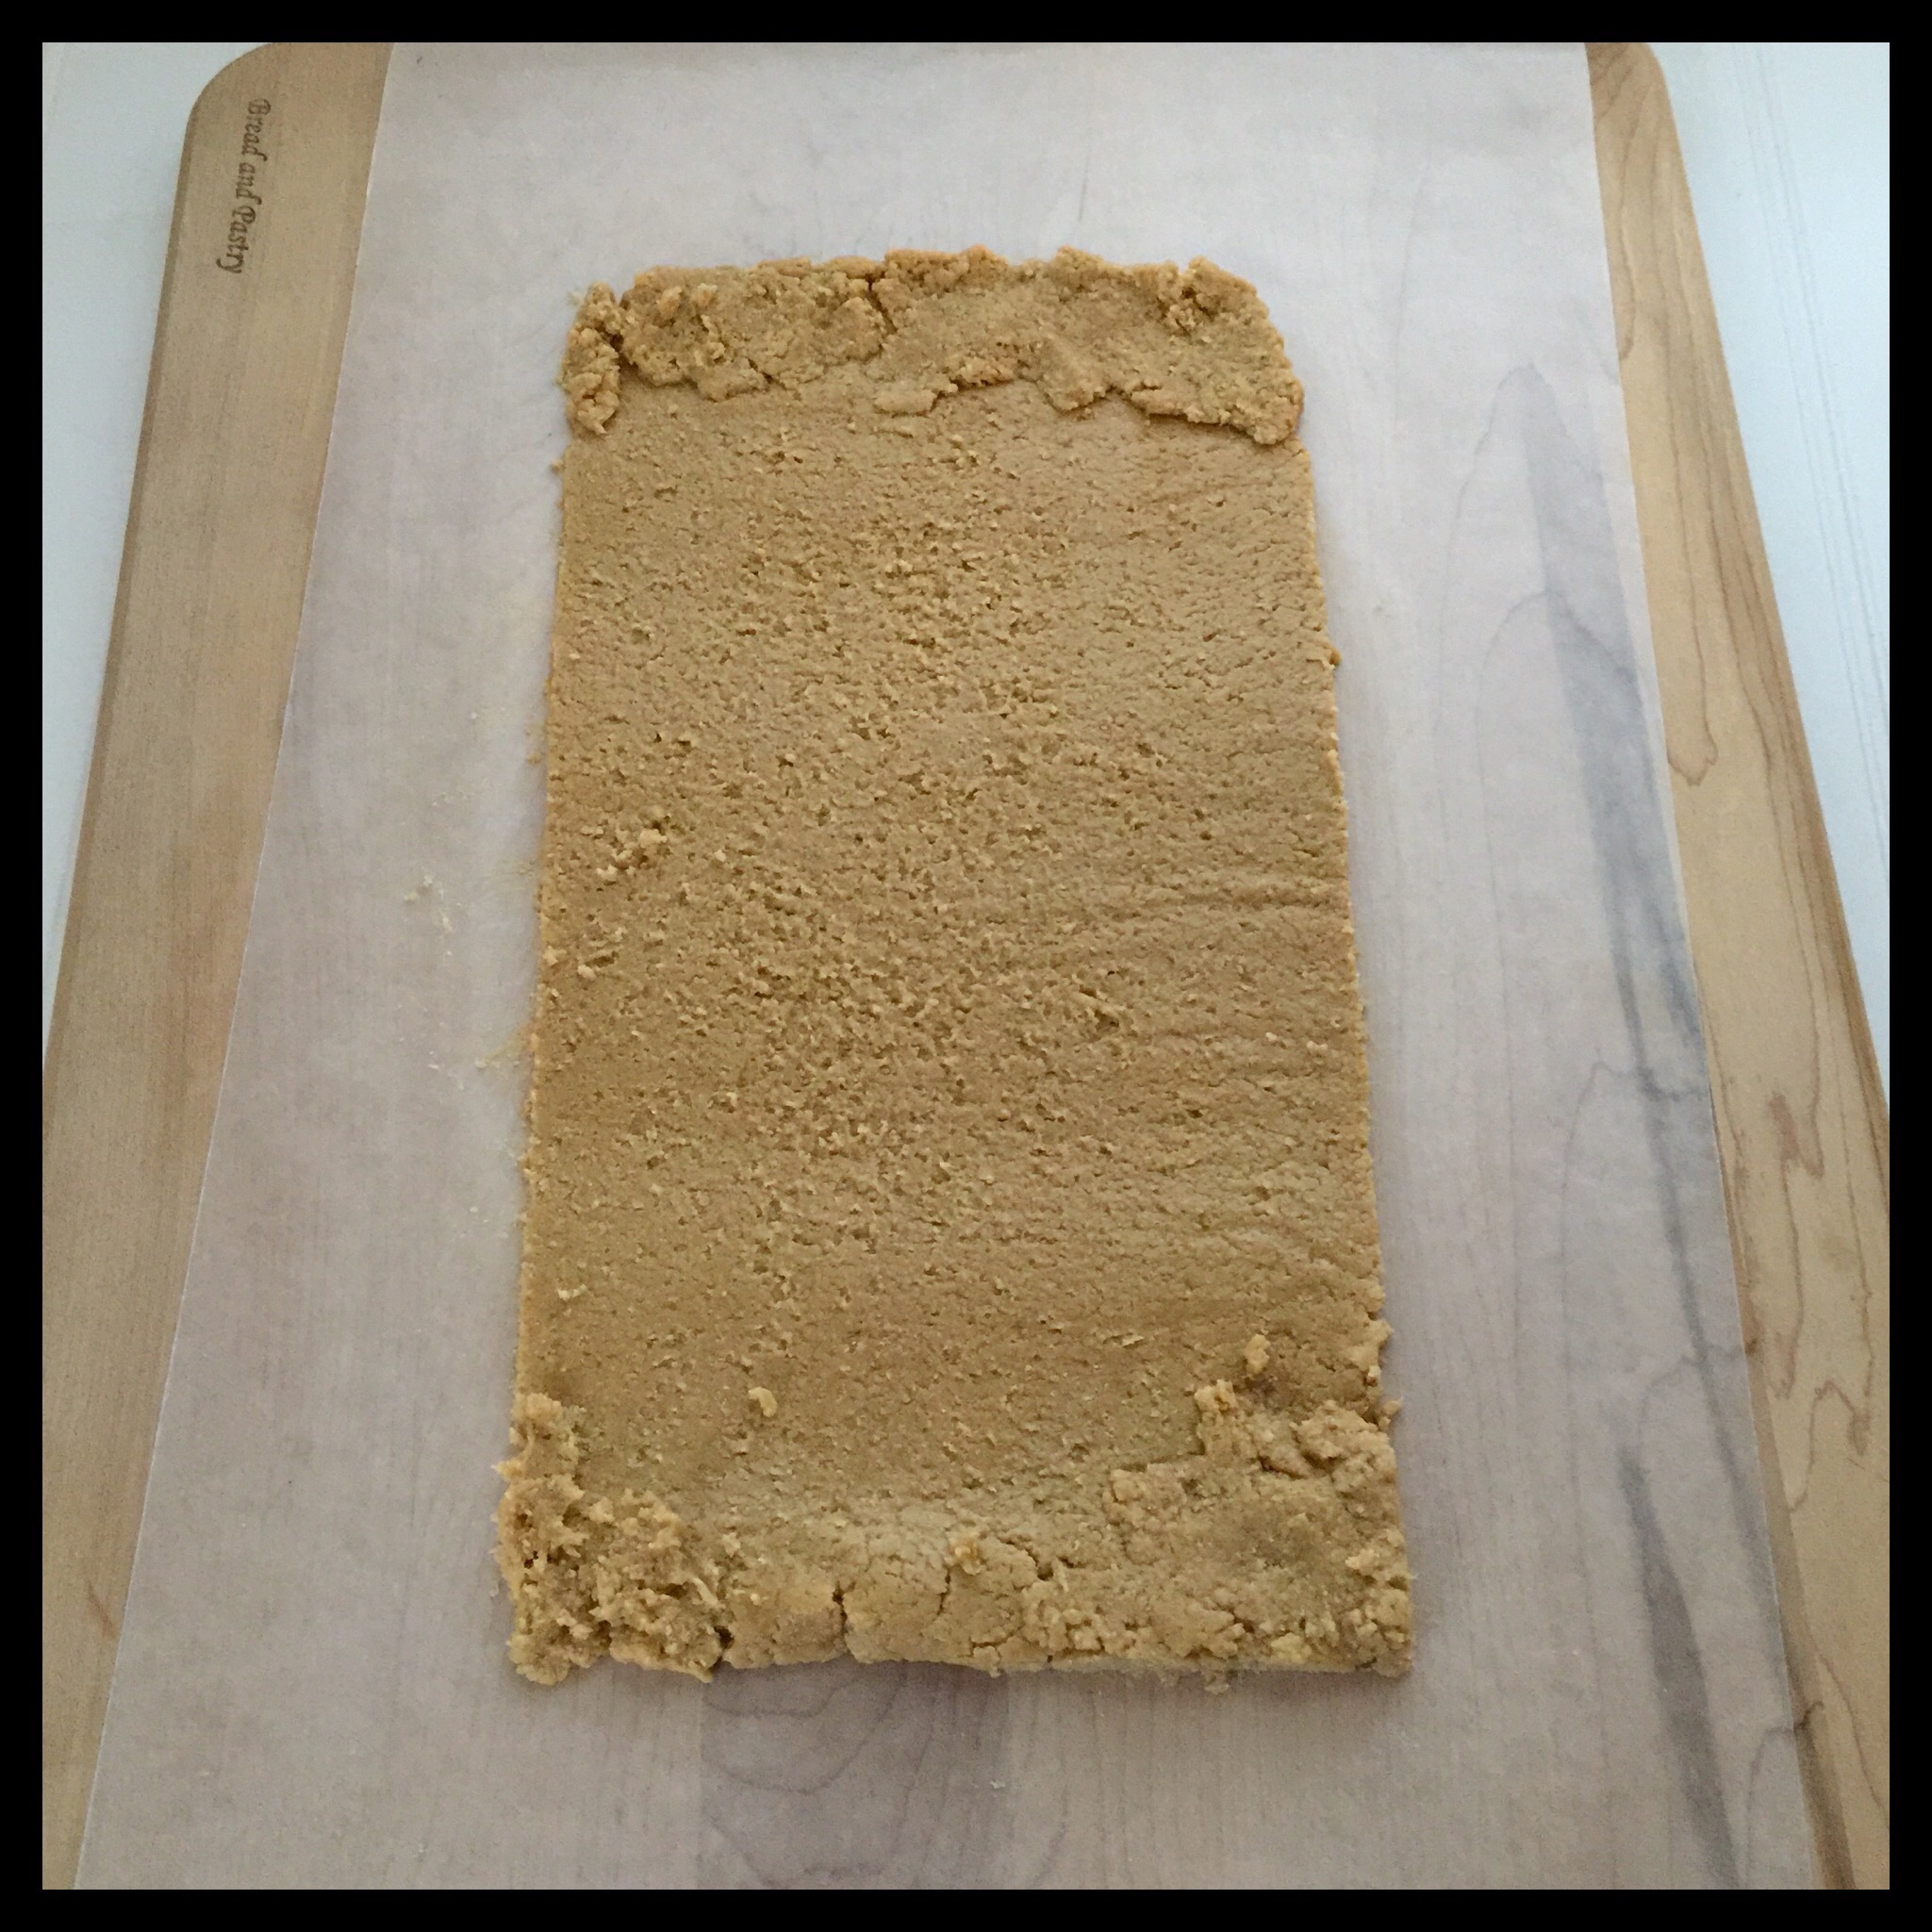
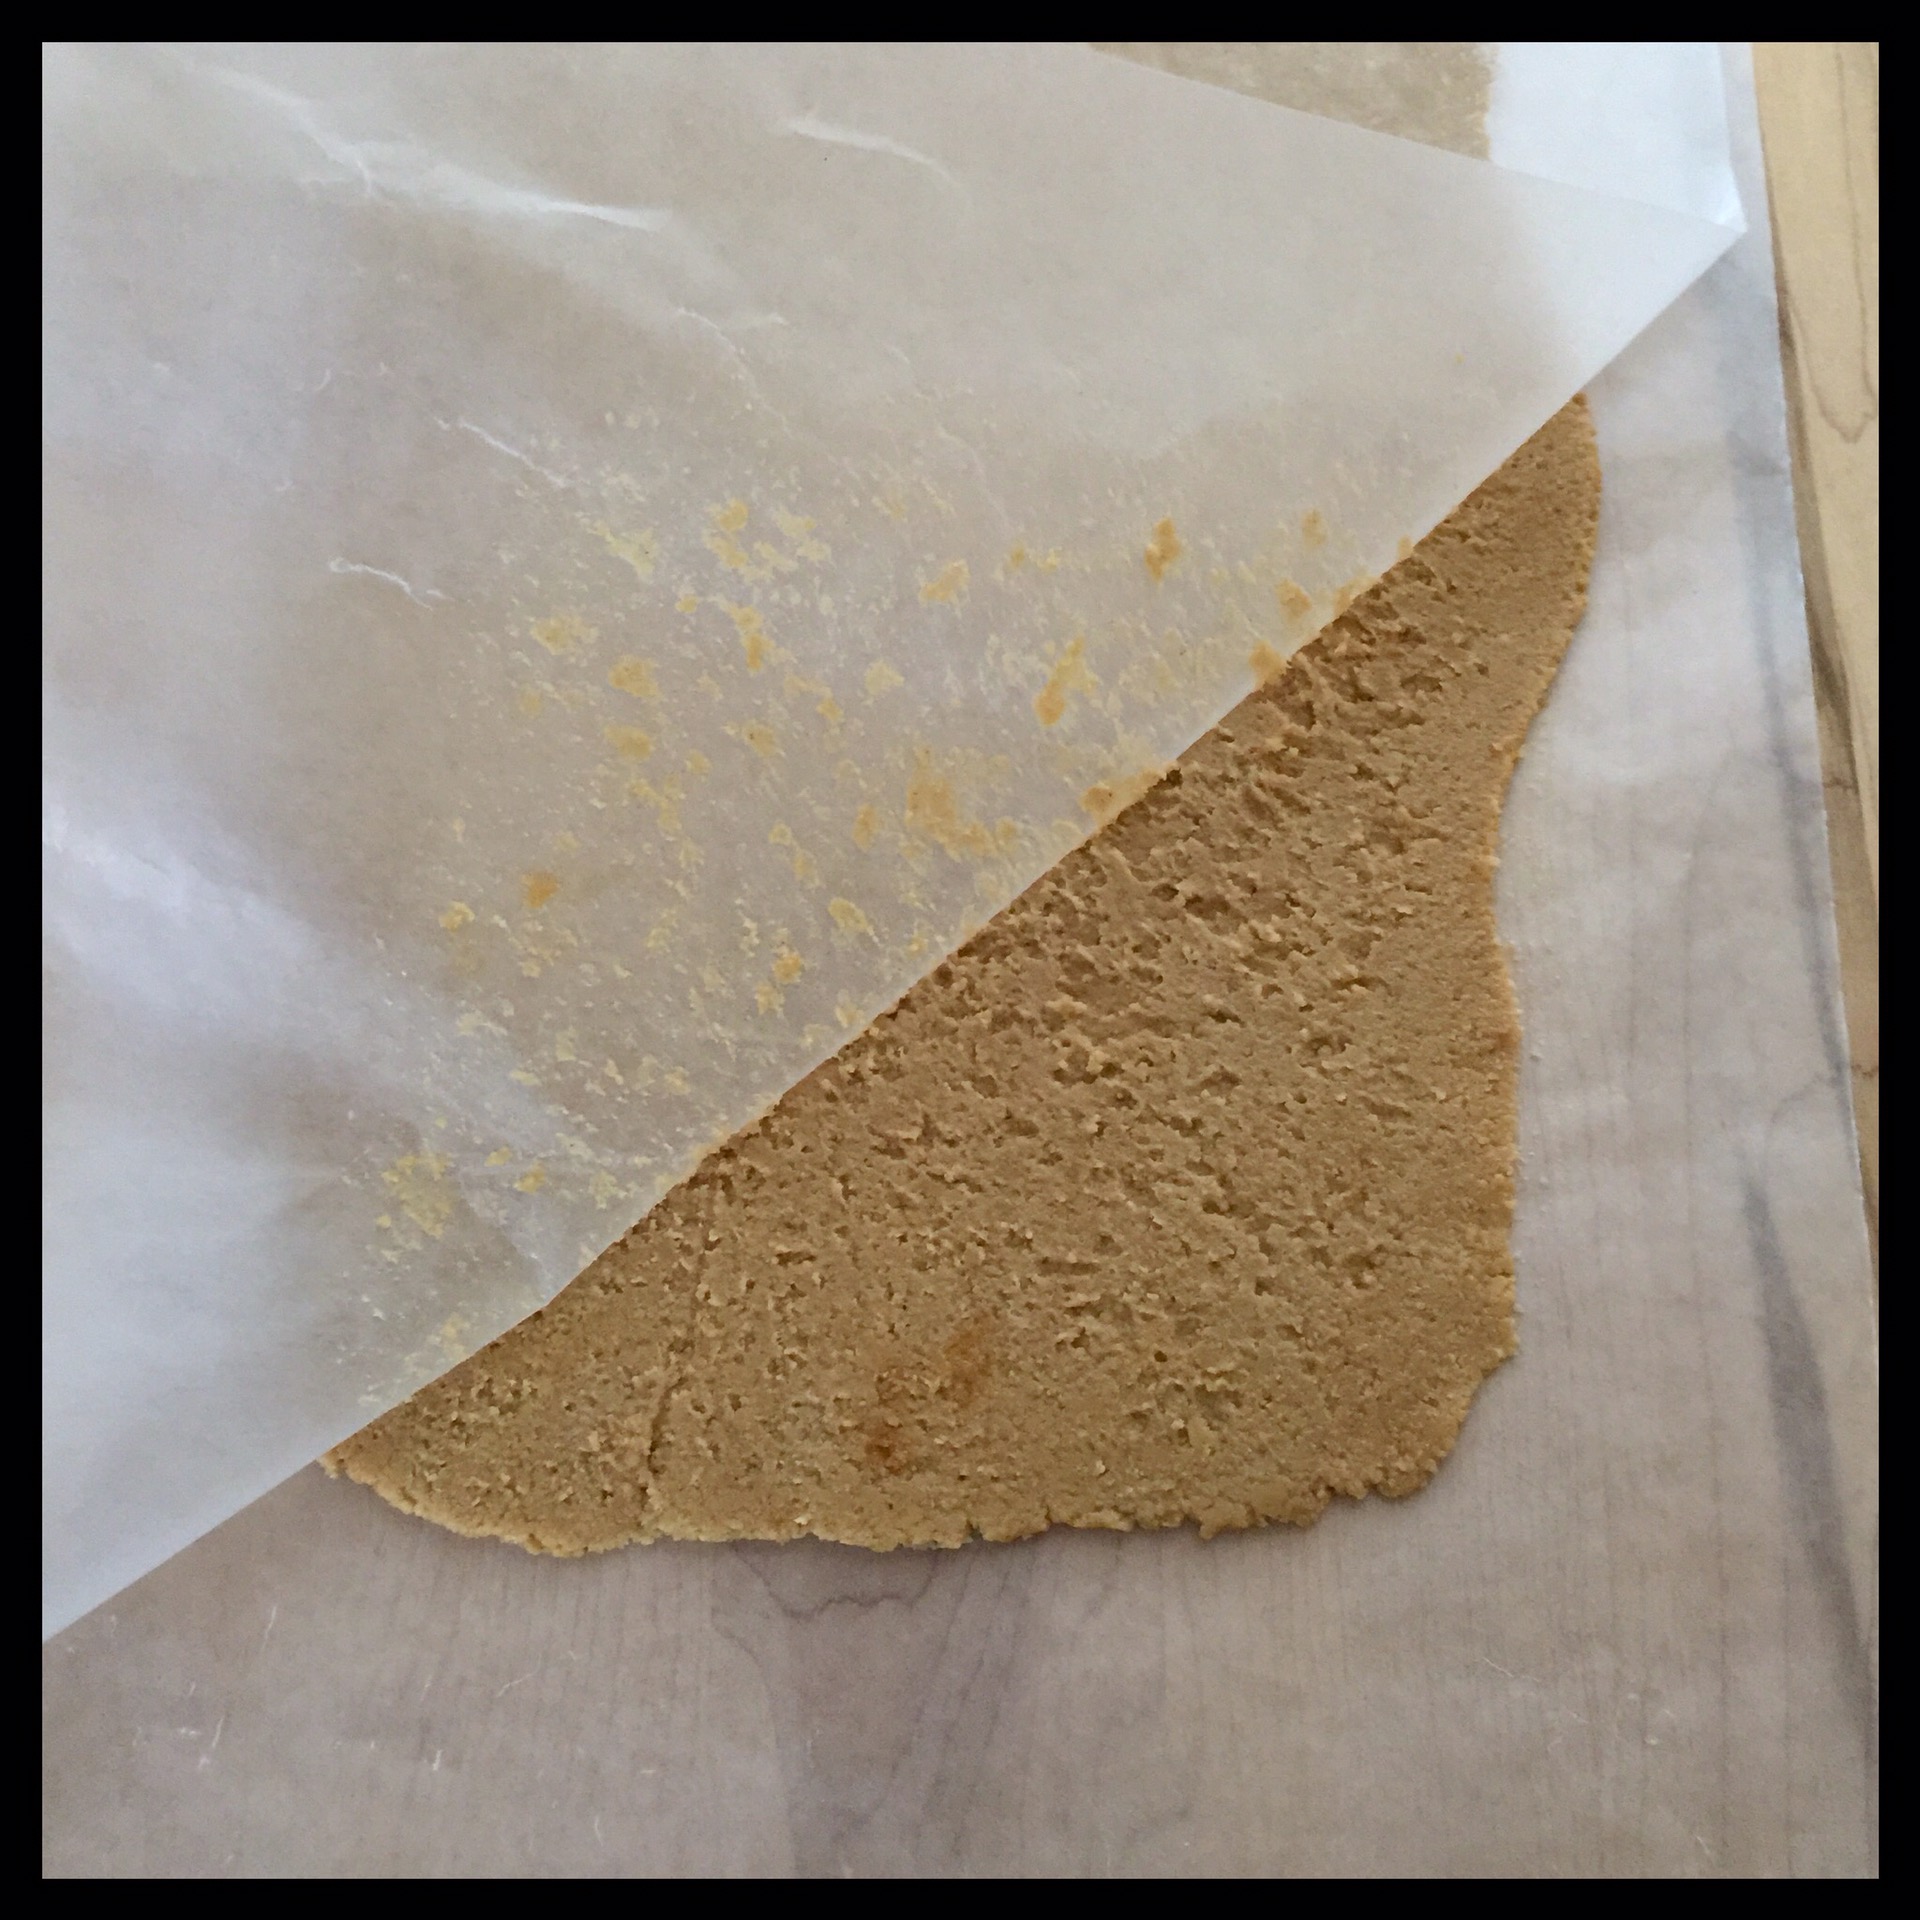
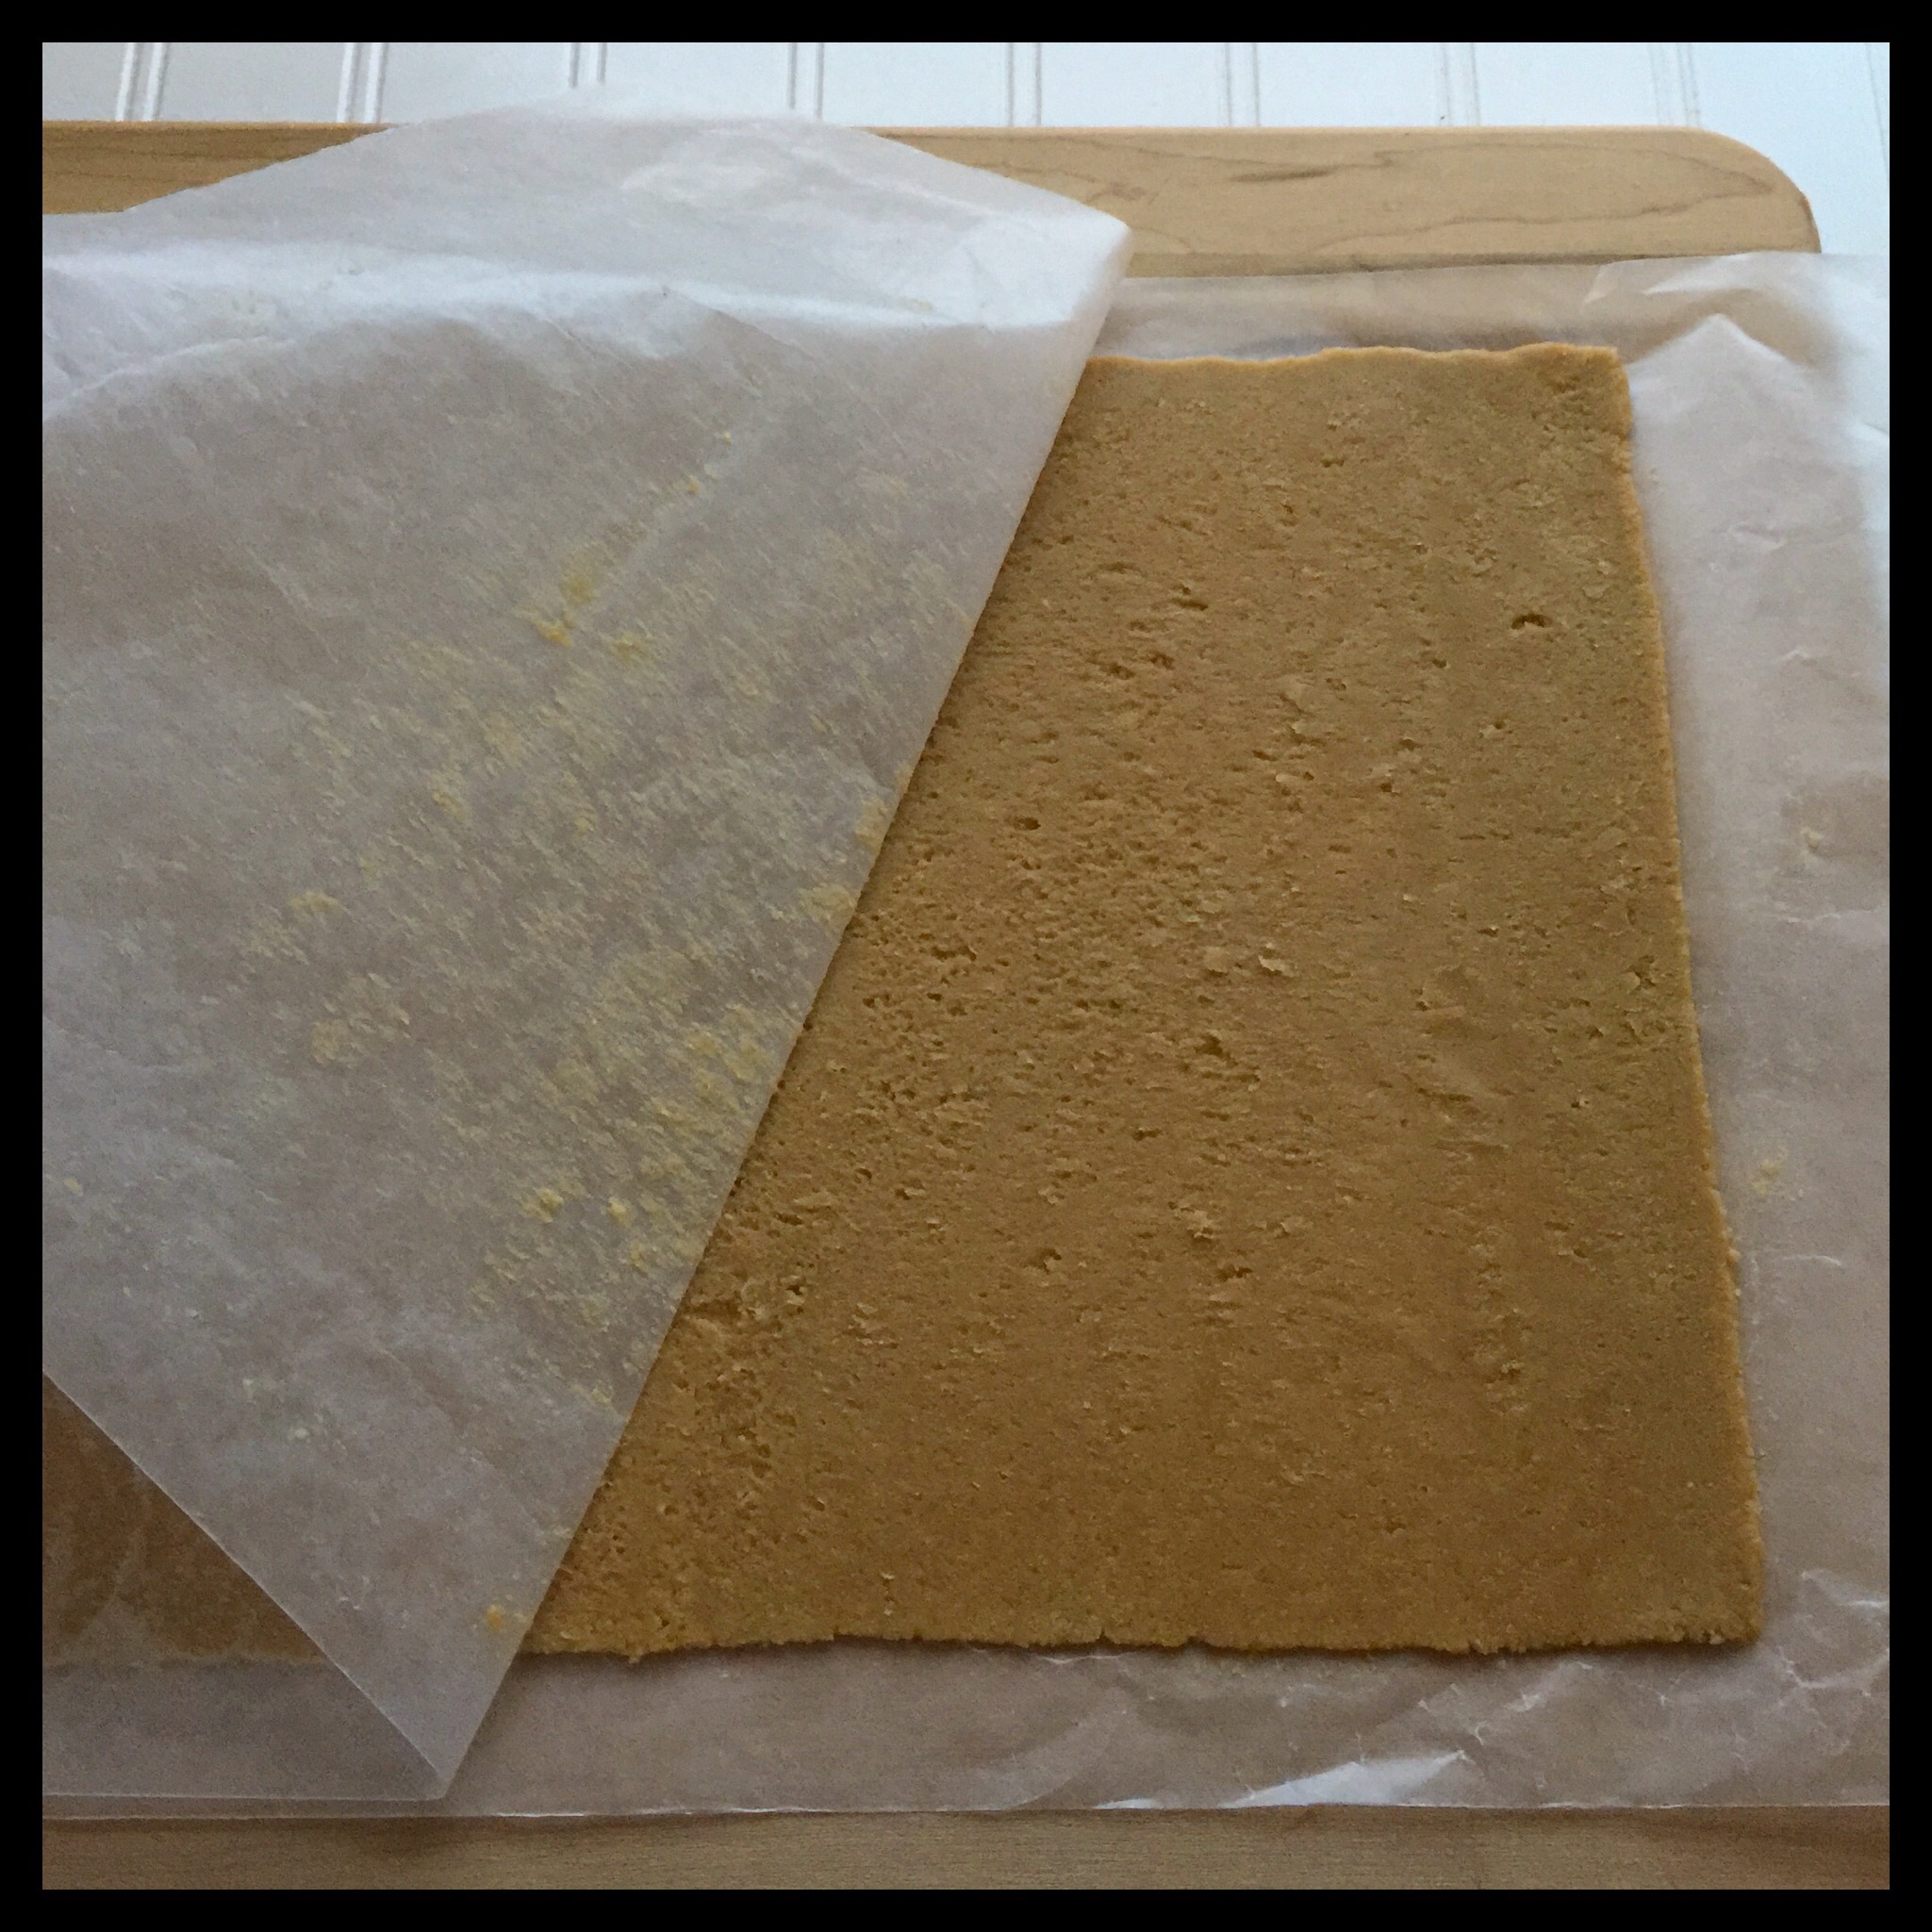
Start rolling out the dough, then gently peel off the top layer of waxed paper. Cut the edges of the dough and rearrange the cut off pieces to get your dough back into a proper rectangle:
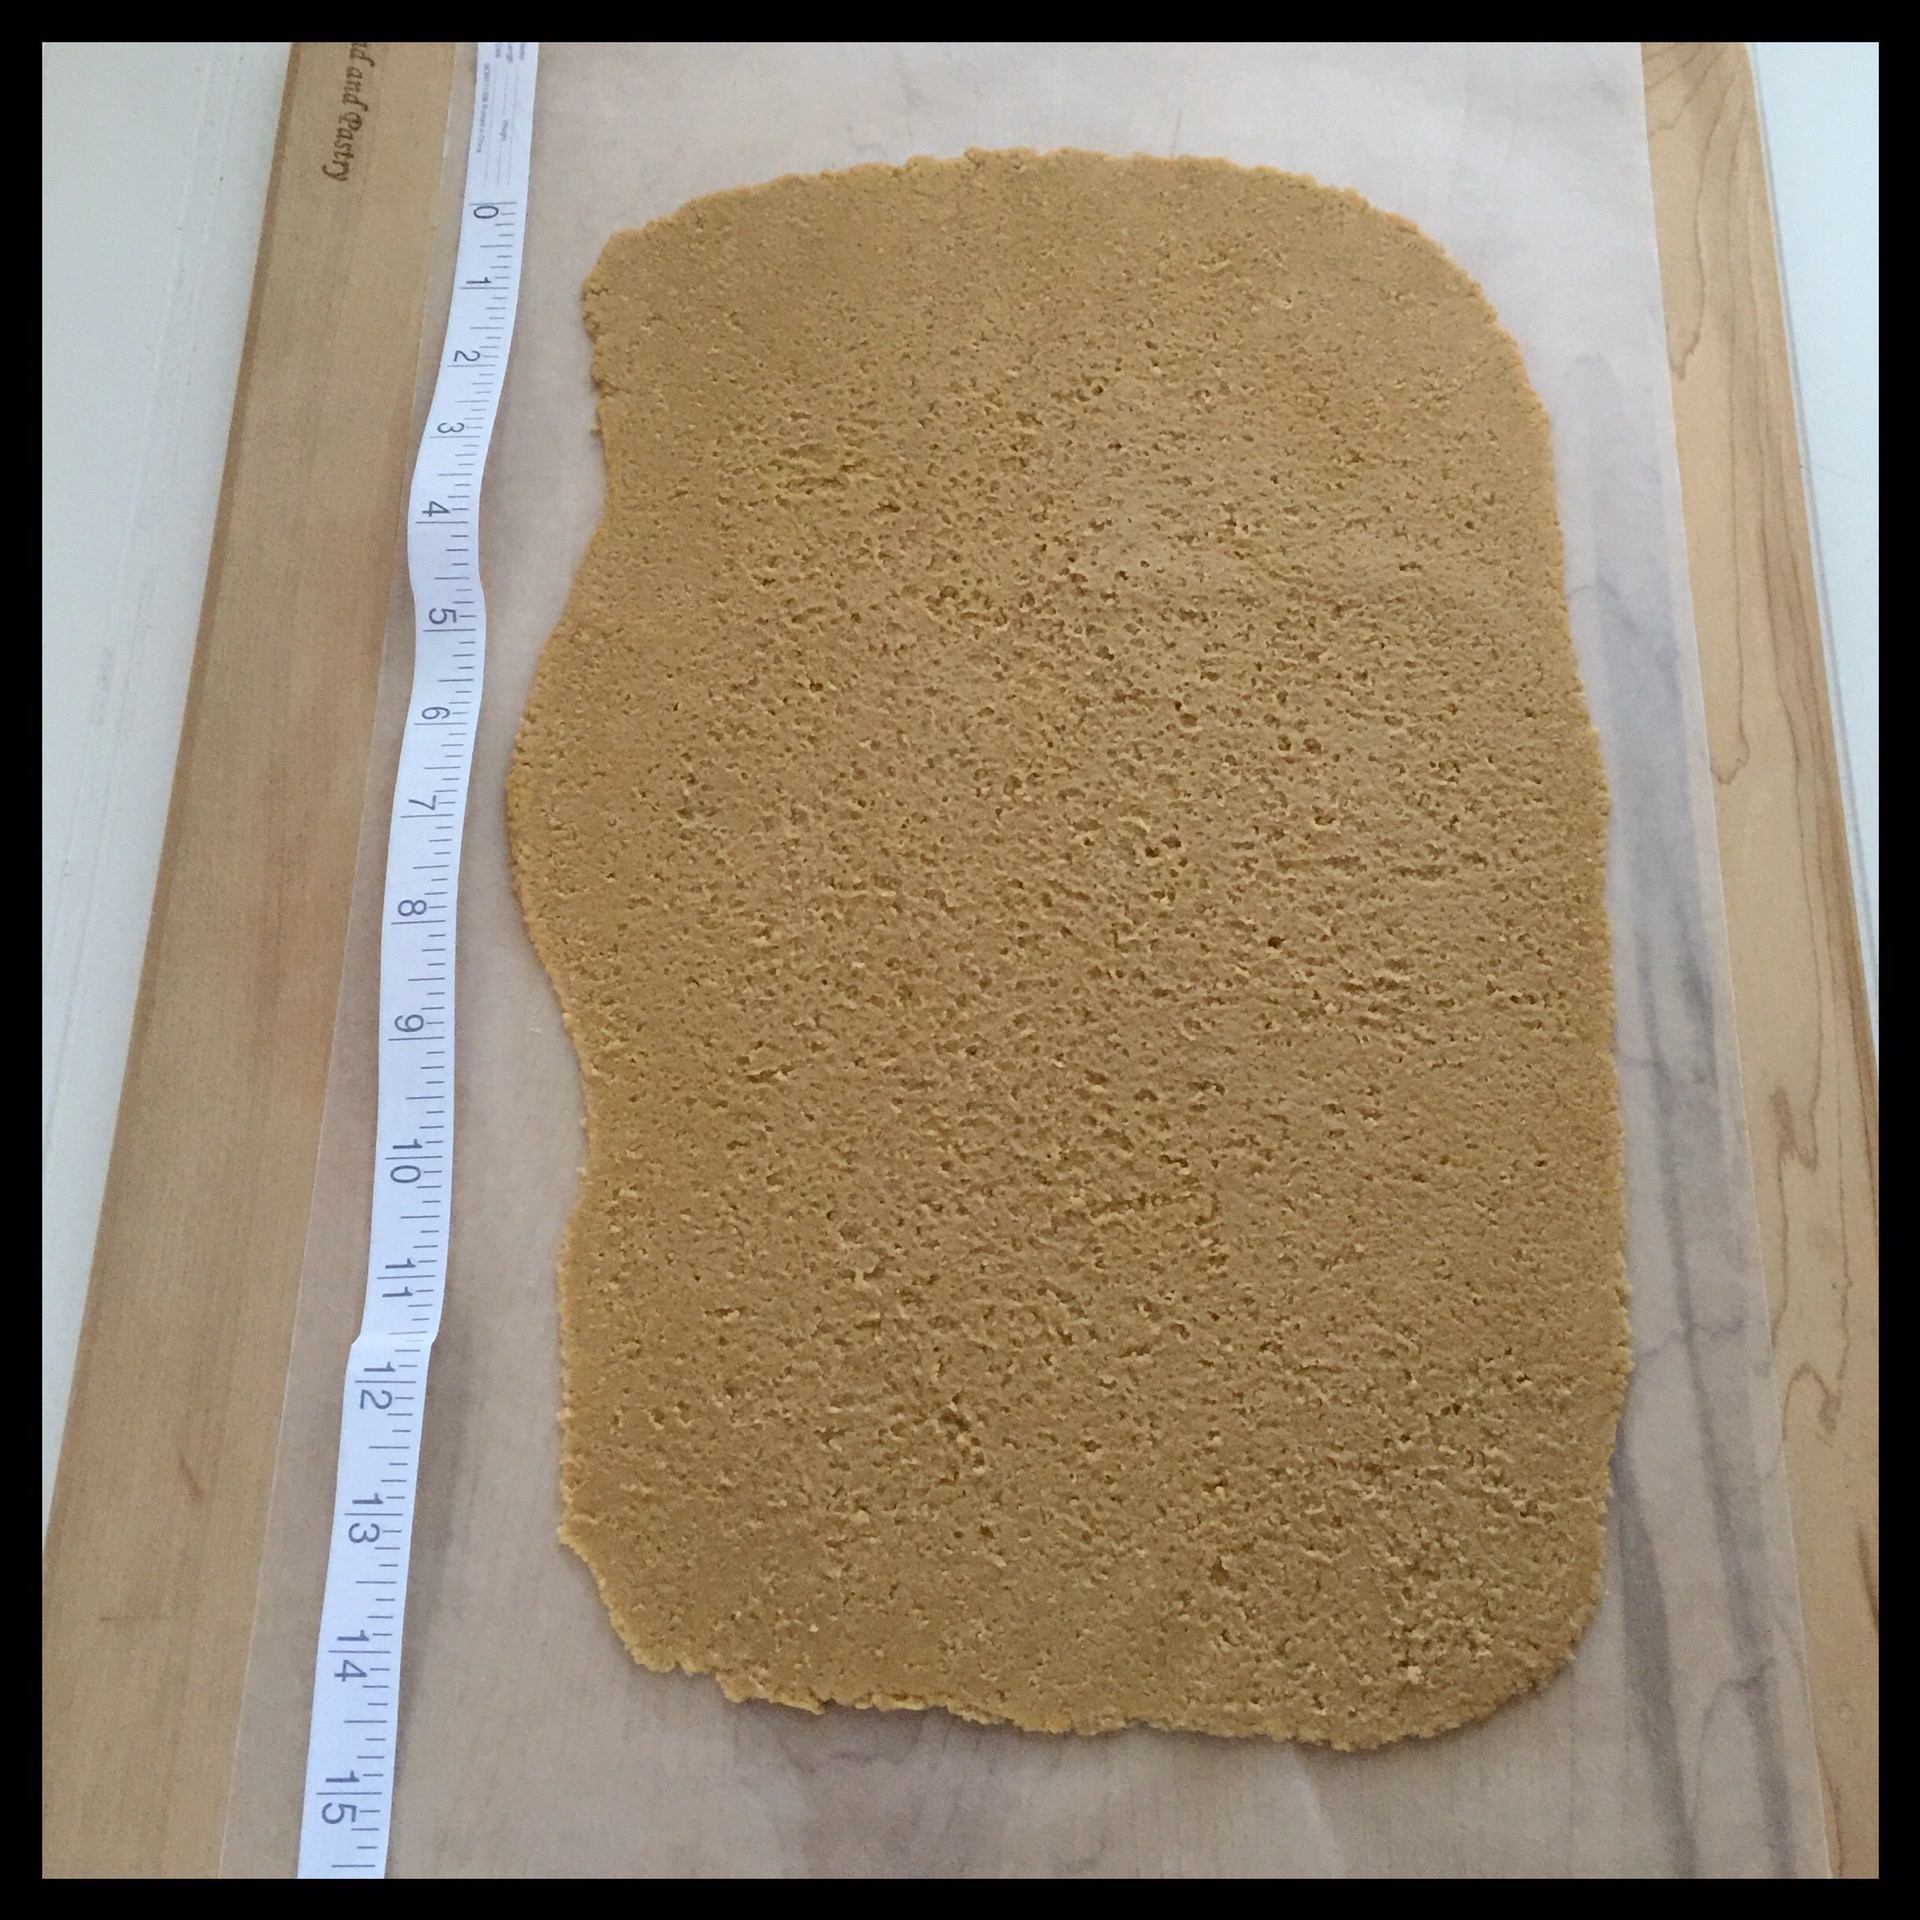
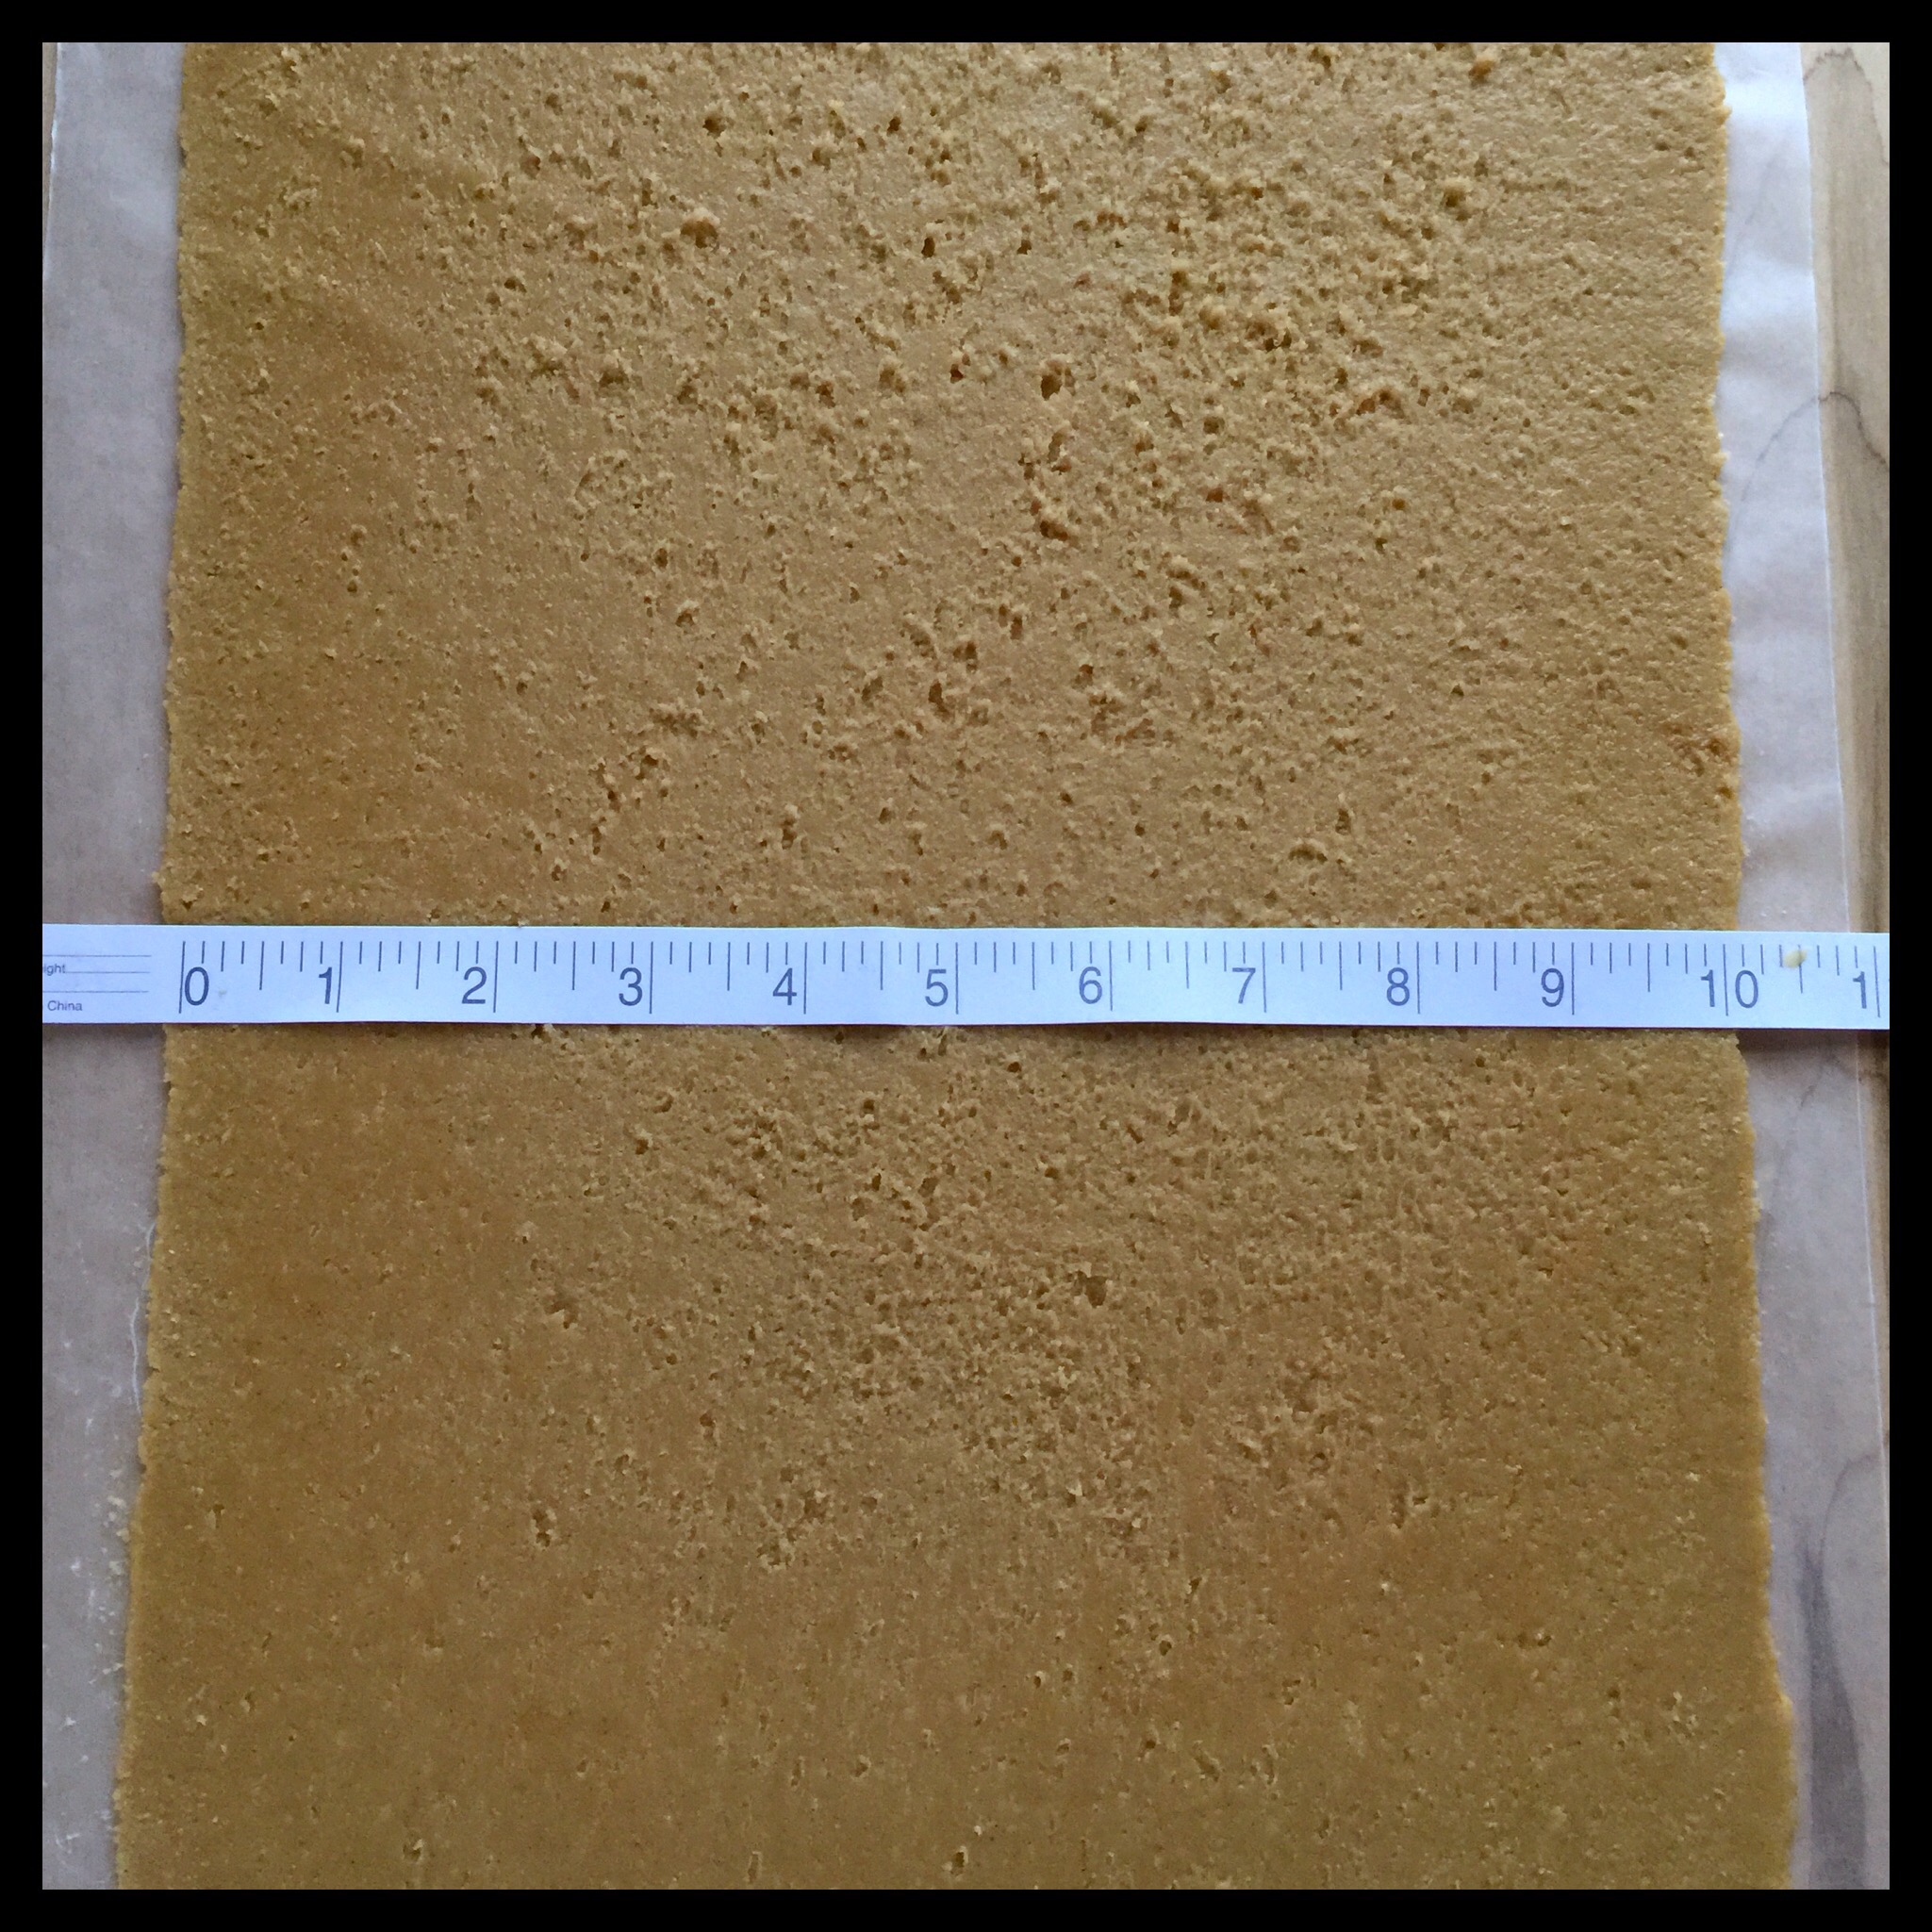
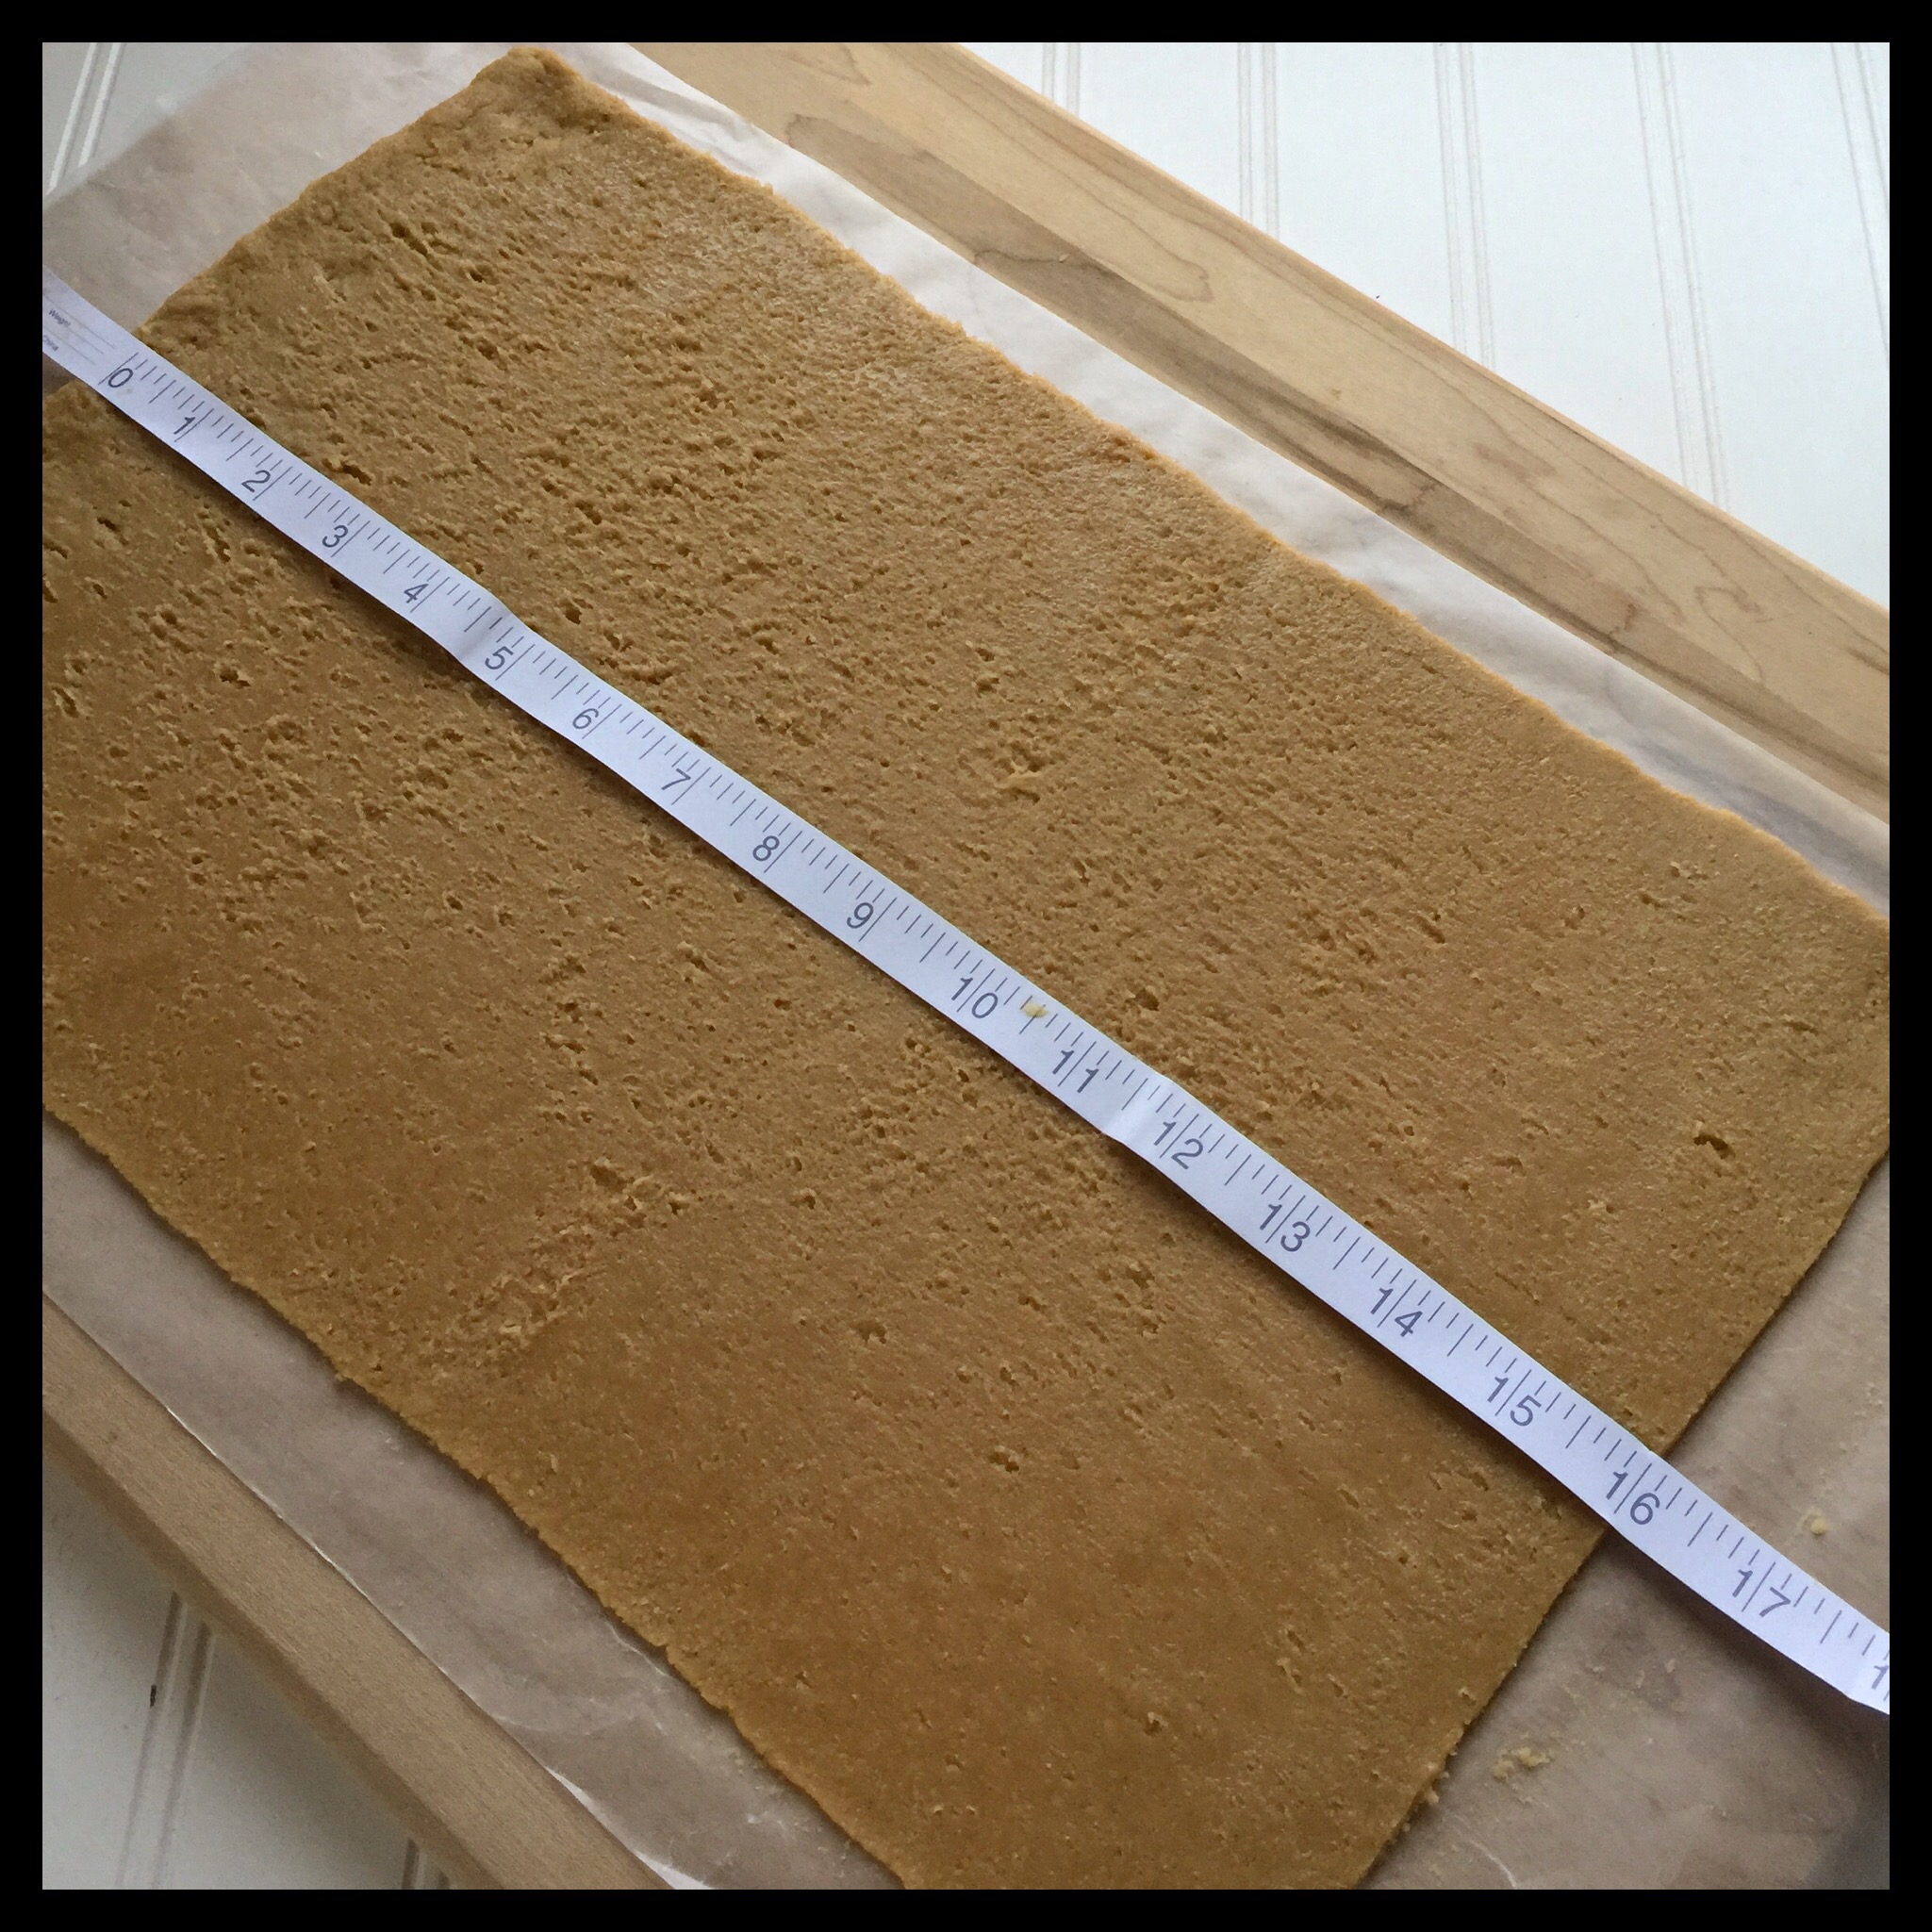
Roll the dough out a bit more, and measure it to see how close you are getting. You want to get to a perfect 10” x 16” rectangle.
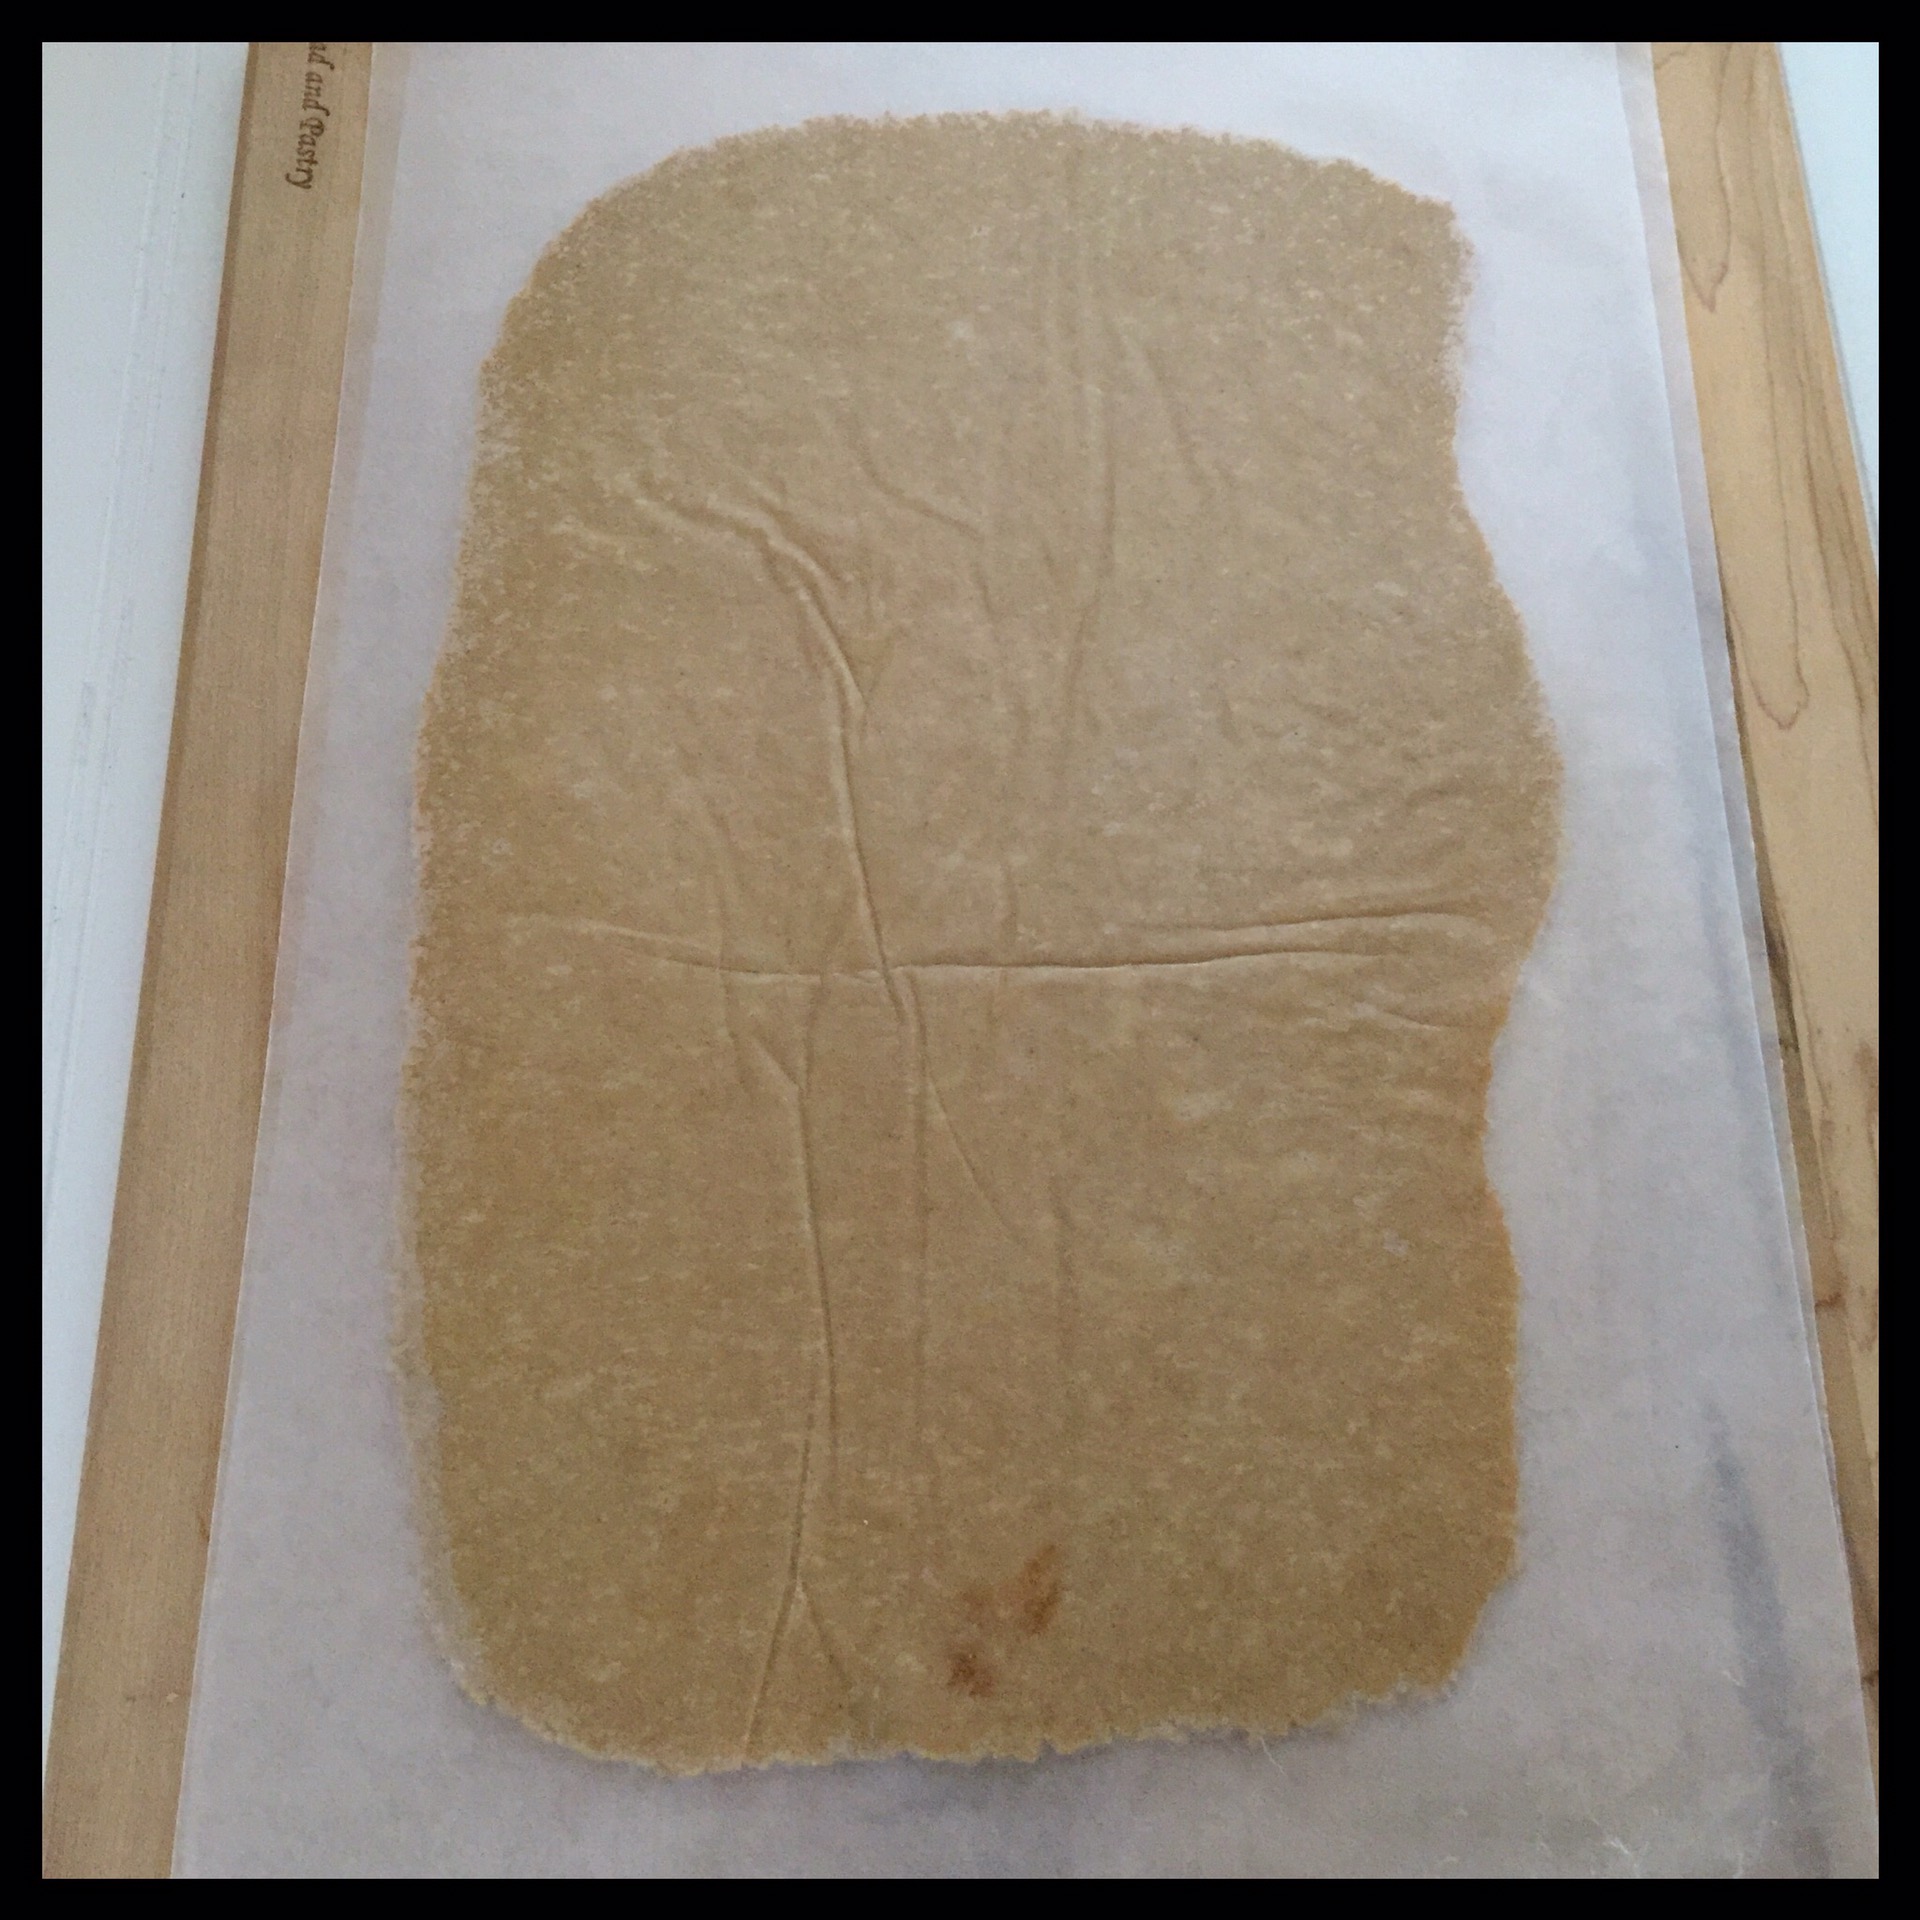
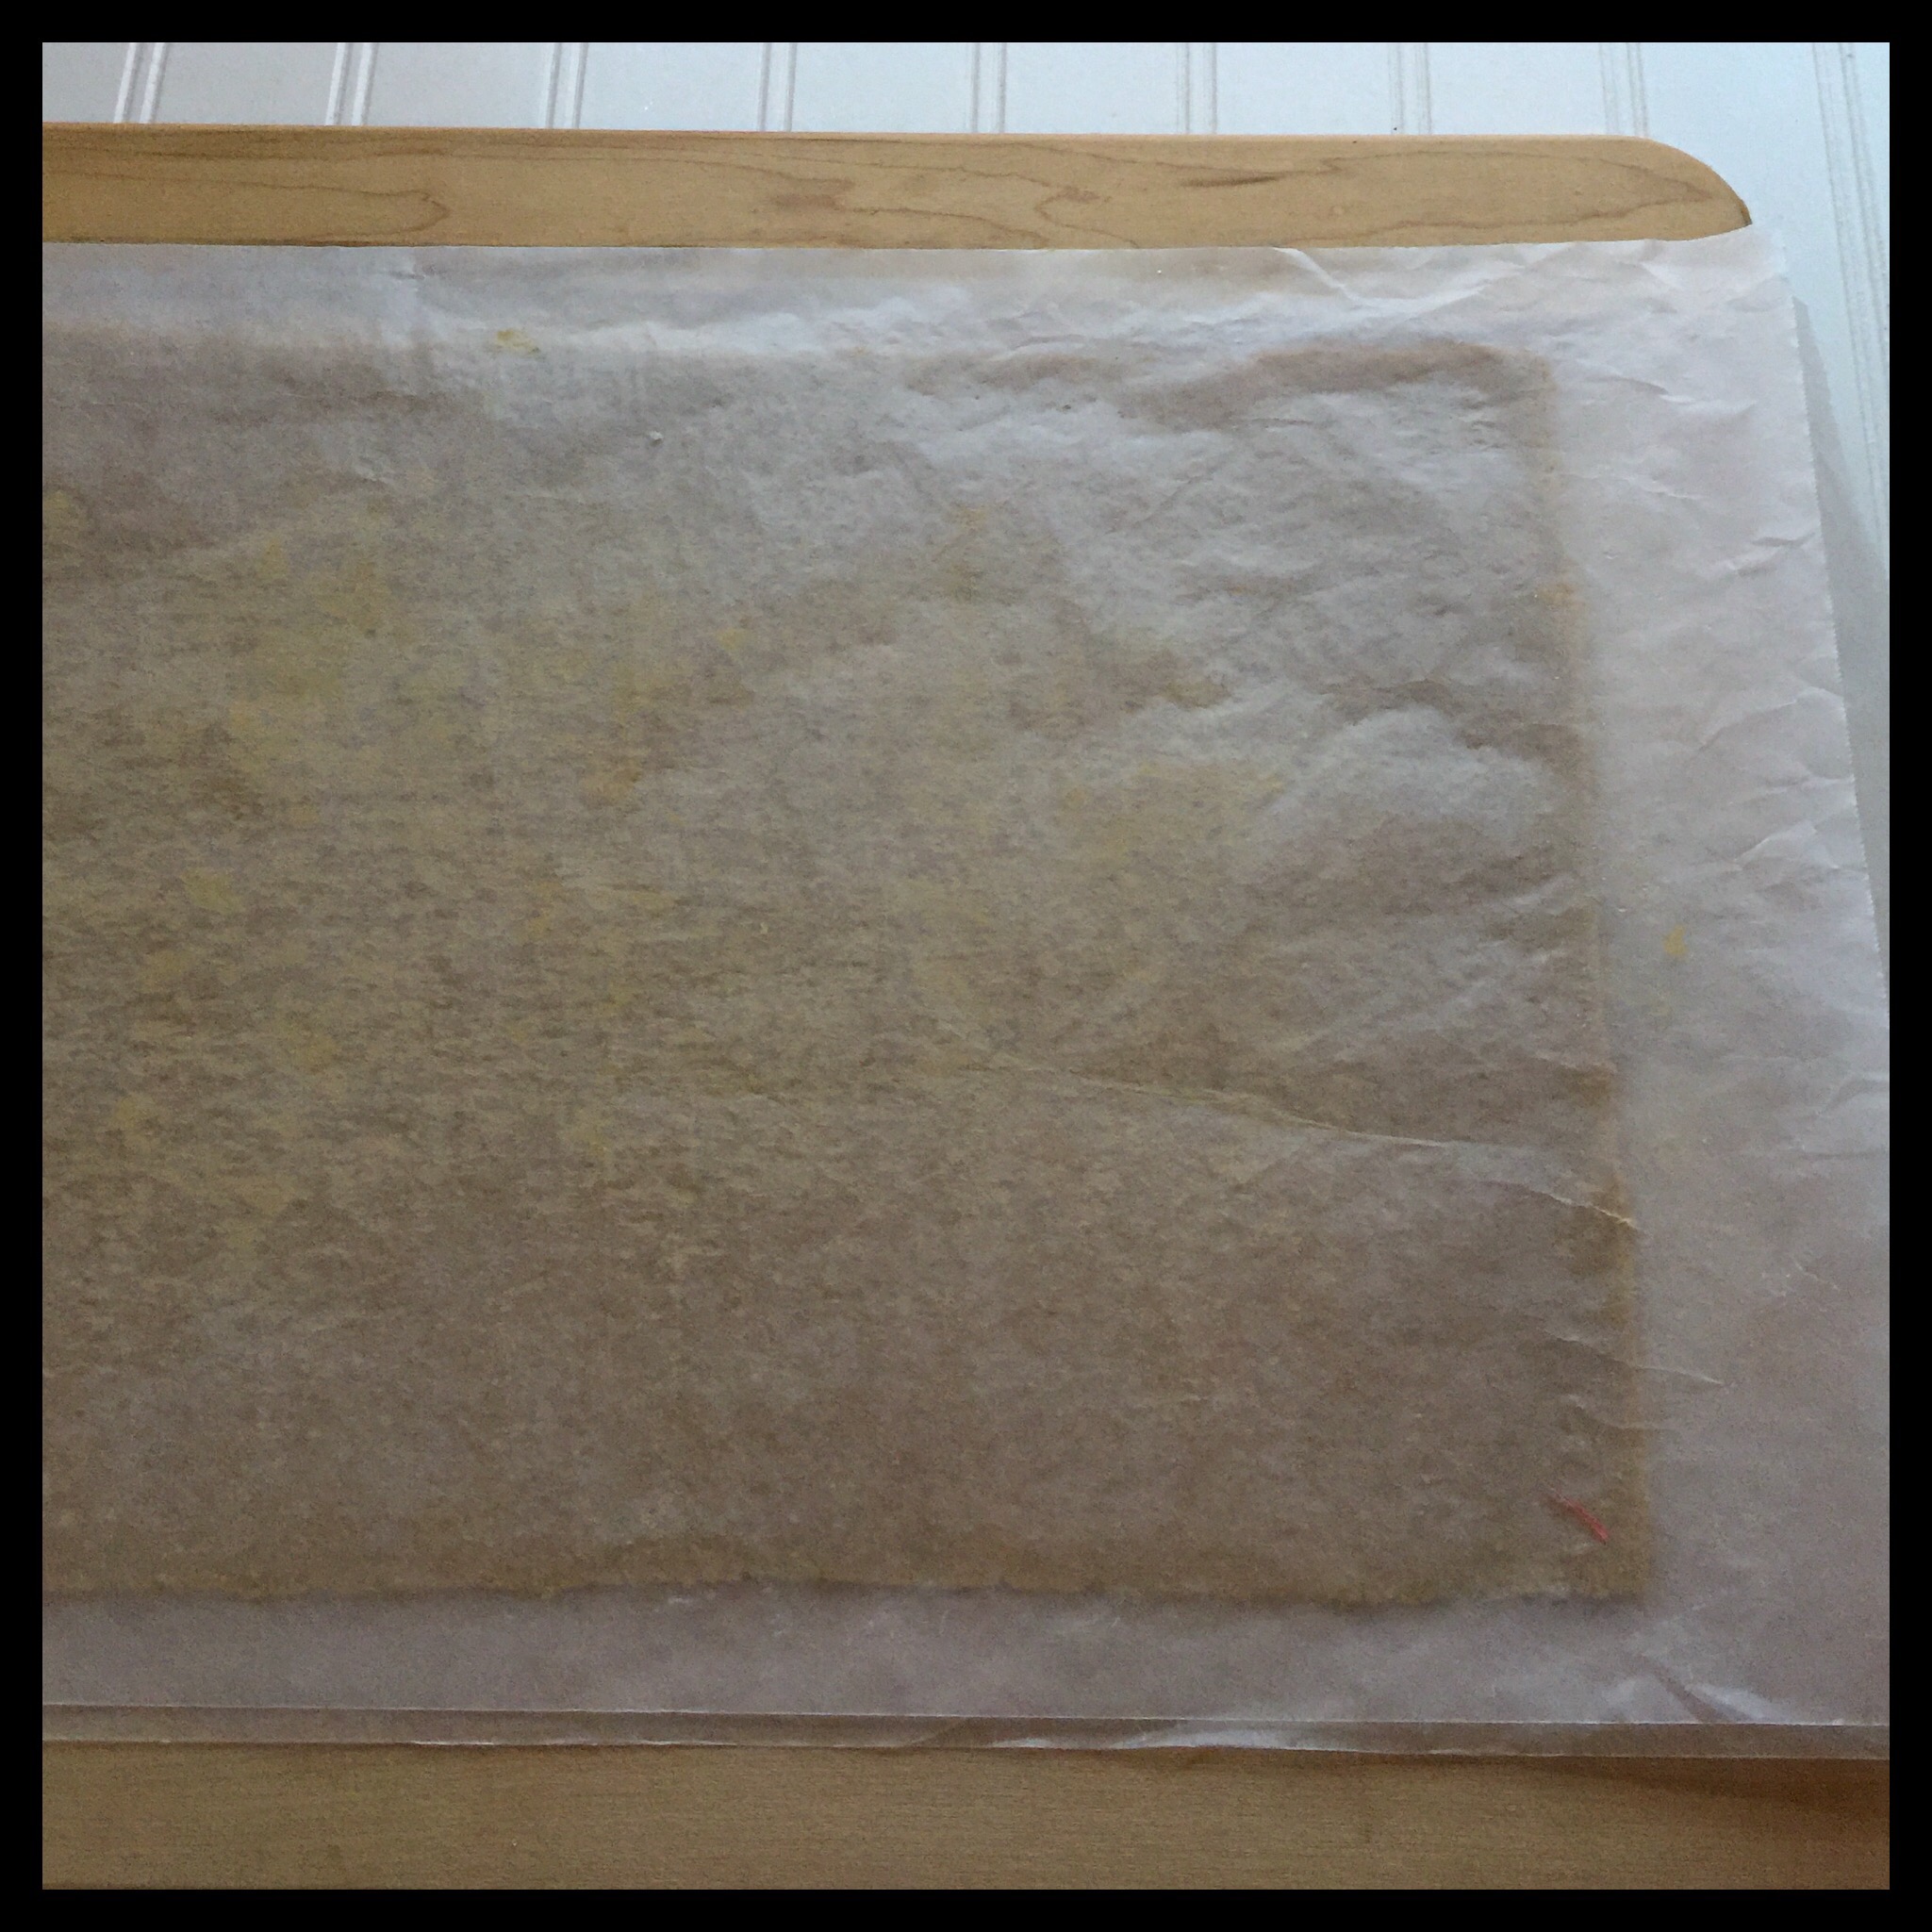
Carefully peel off the top layer of waxed paper, then replace it, and flip the dough over. I do this because wrinkles tend to form on the bottom and they will make your dough tear later if you do not take care of them before they get too deep:
Peel off the now top layer of waxed paper very carefully, then trim and reshape your rectangle again:
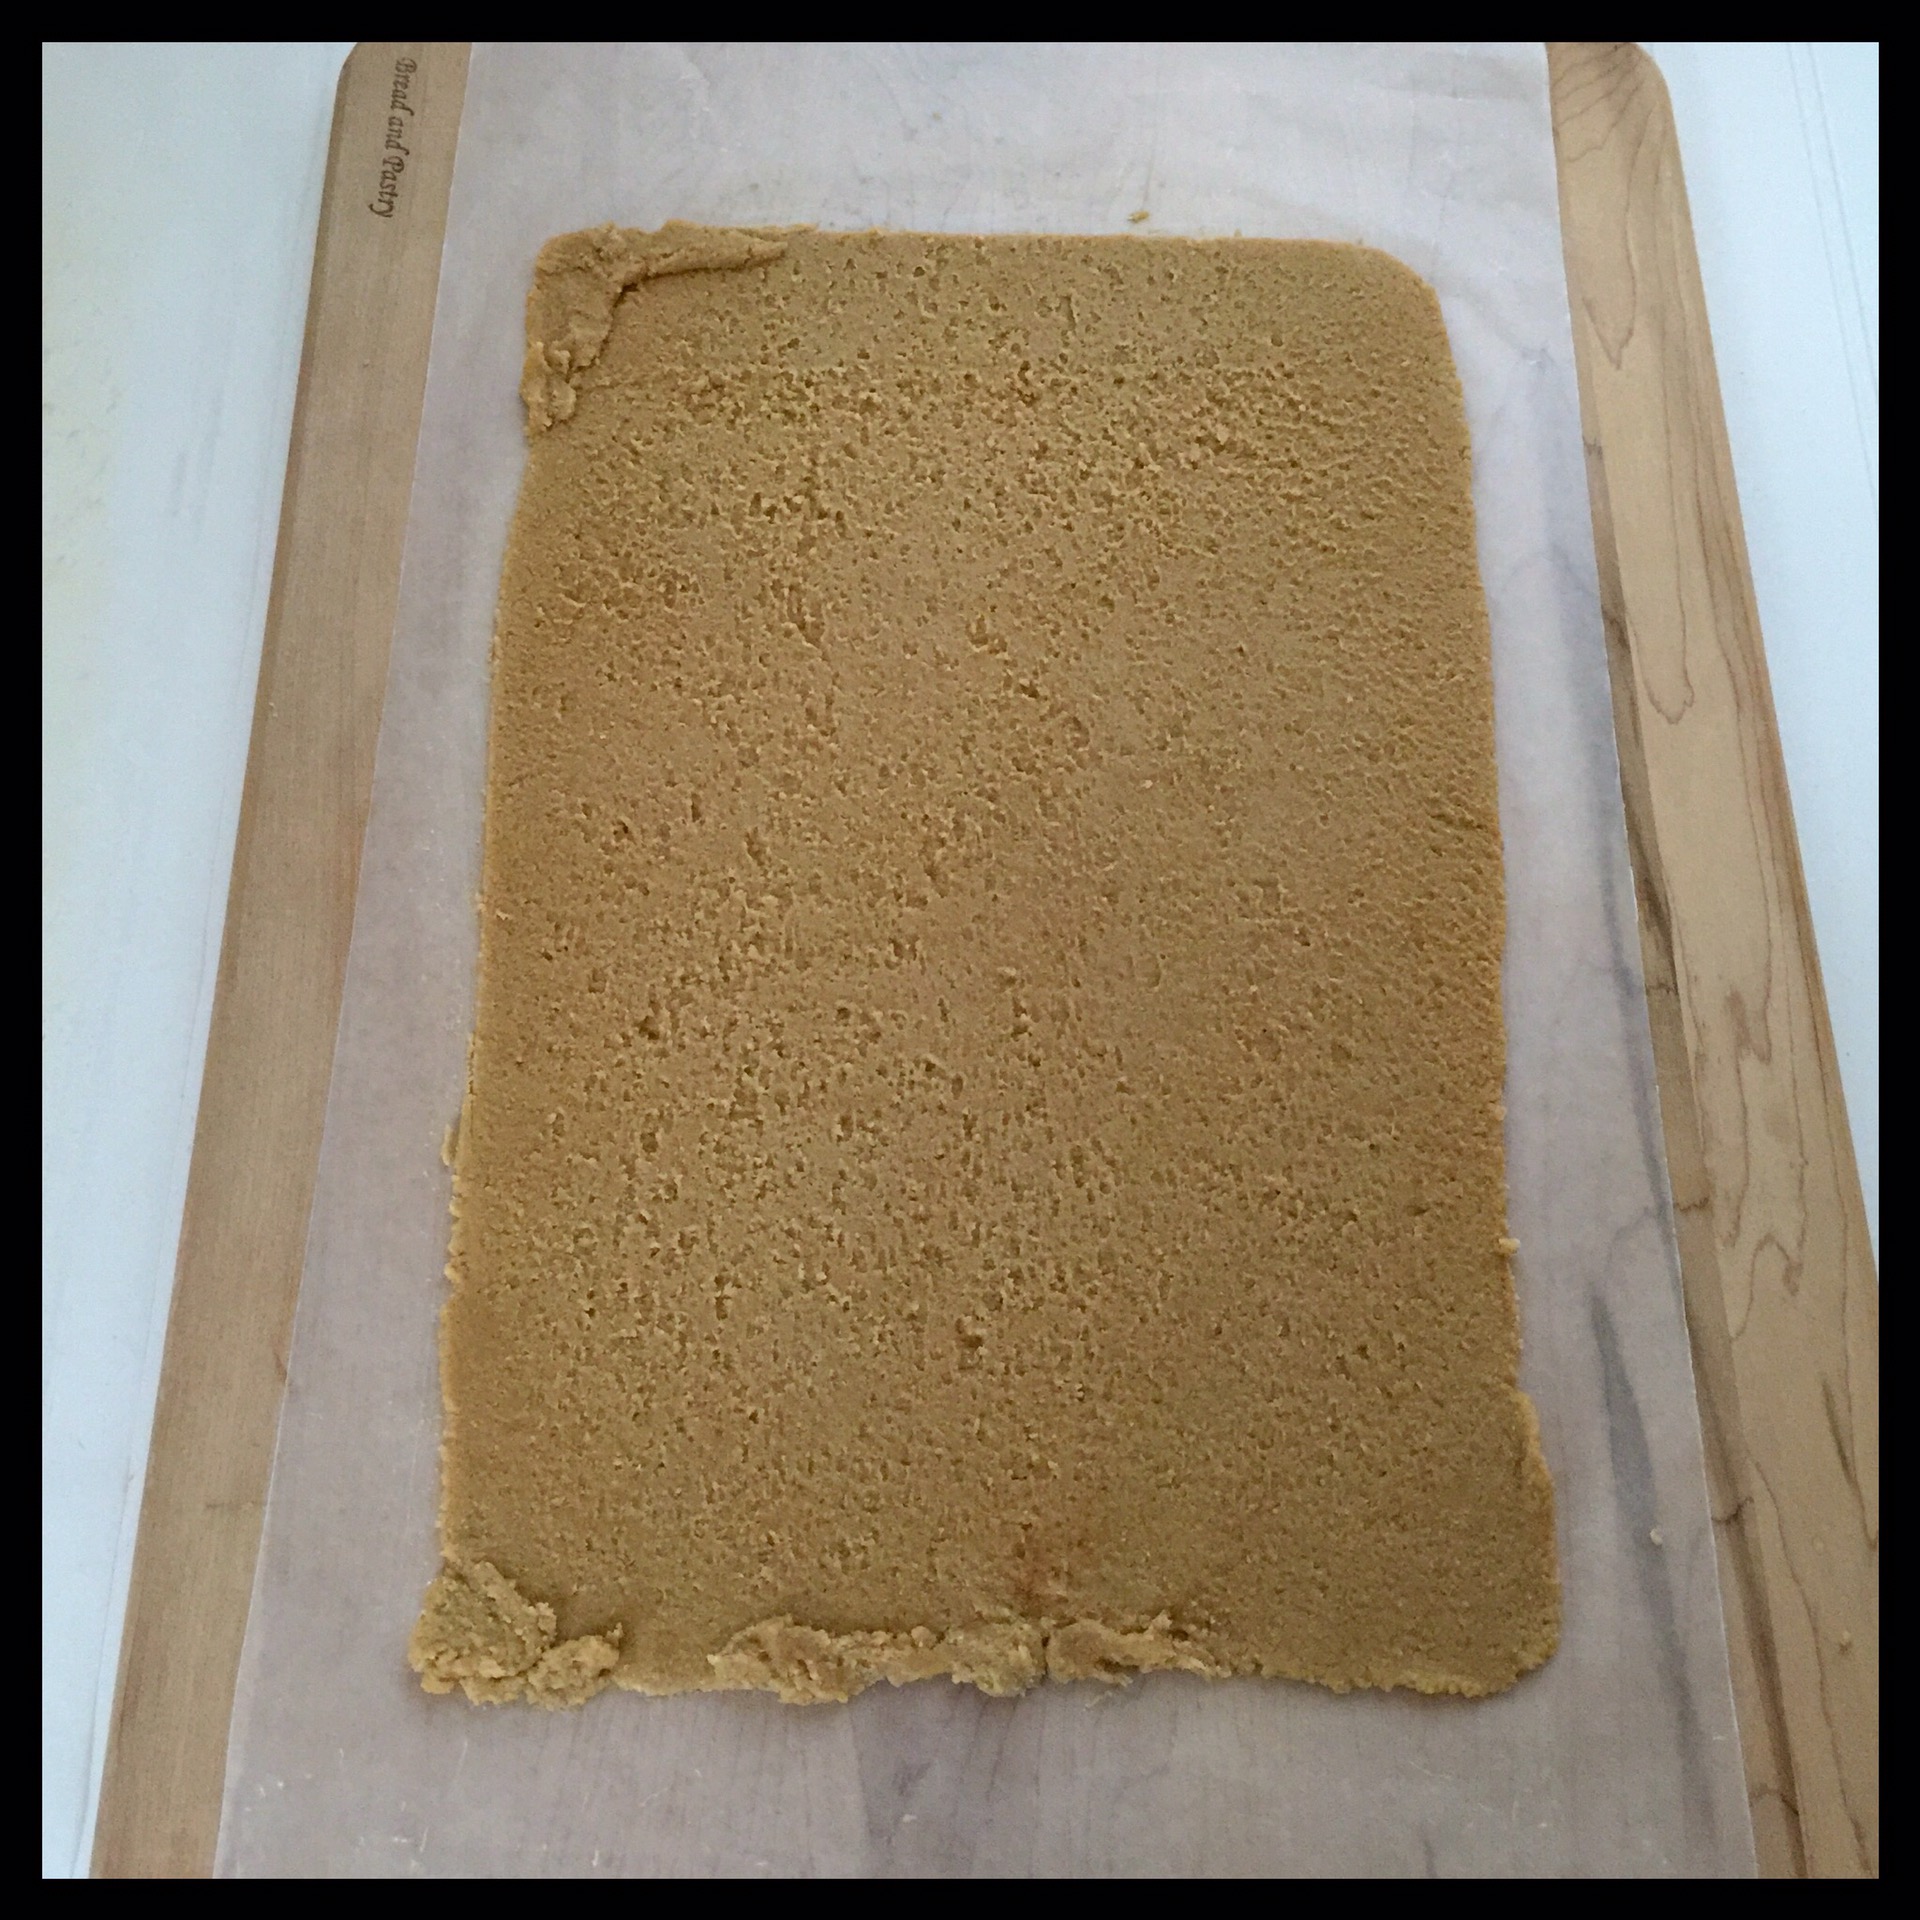
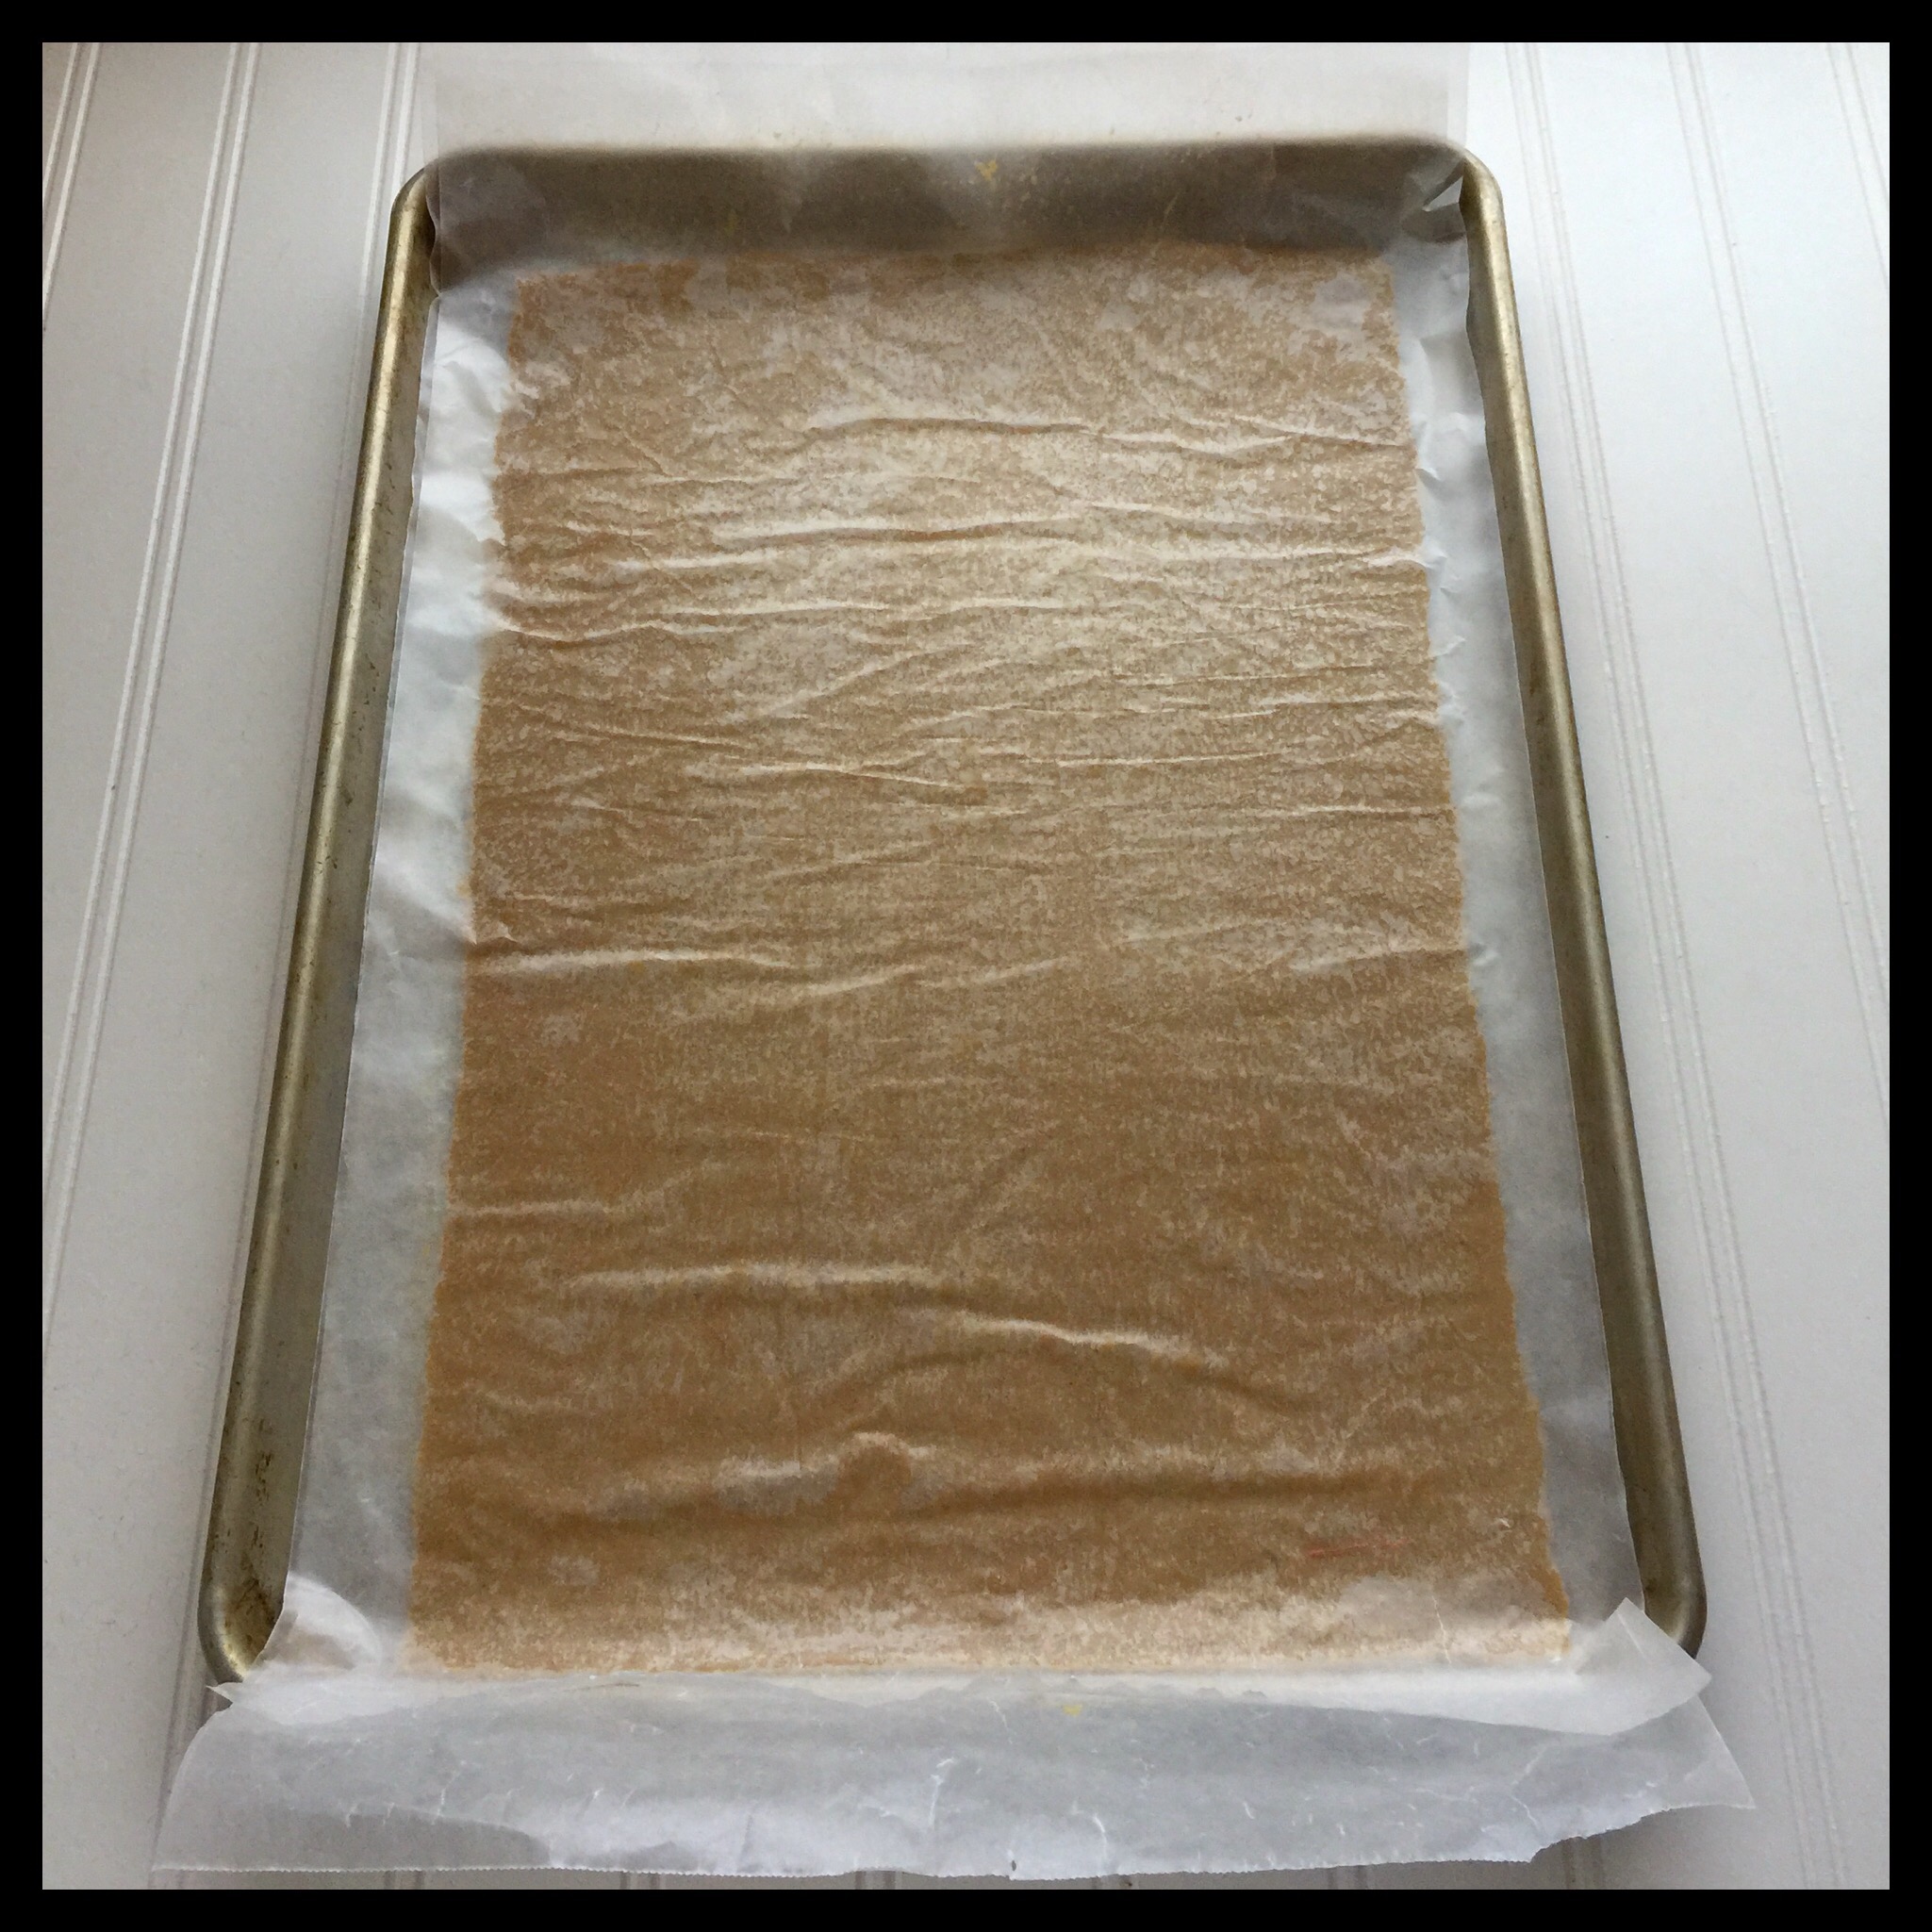
Continue rolling out and reshaping your dough until you have a perfect 10” x 16” rectangle with squared off corners. I know this sounds like a lot of work to do, but it really is not difficult and only takes about ten minutes.
Transfer the dough to a baking pan and pop the pan in the freezer for 30 minutes:
Preheat your oven to 350 degrees Fahrenheit. Remove the dough from the freezer and transfer it back to your work surface. Peel off the top layer of waxed paper, replace it, and flip the dough over:
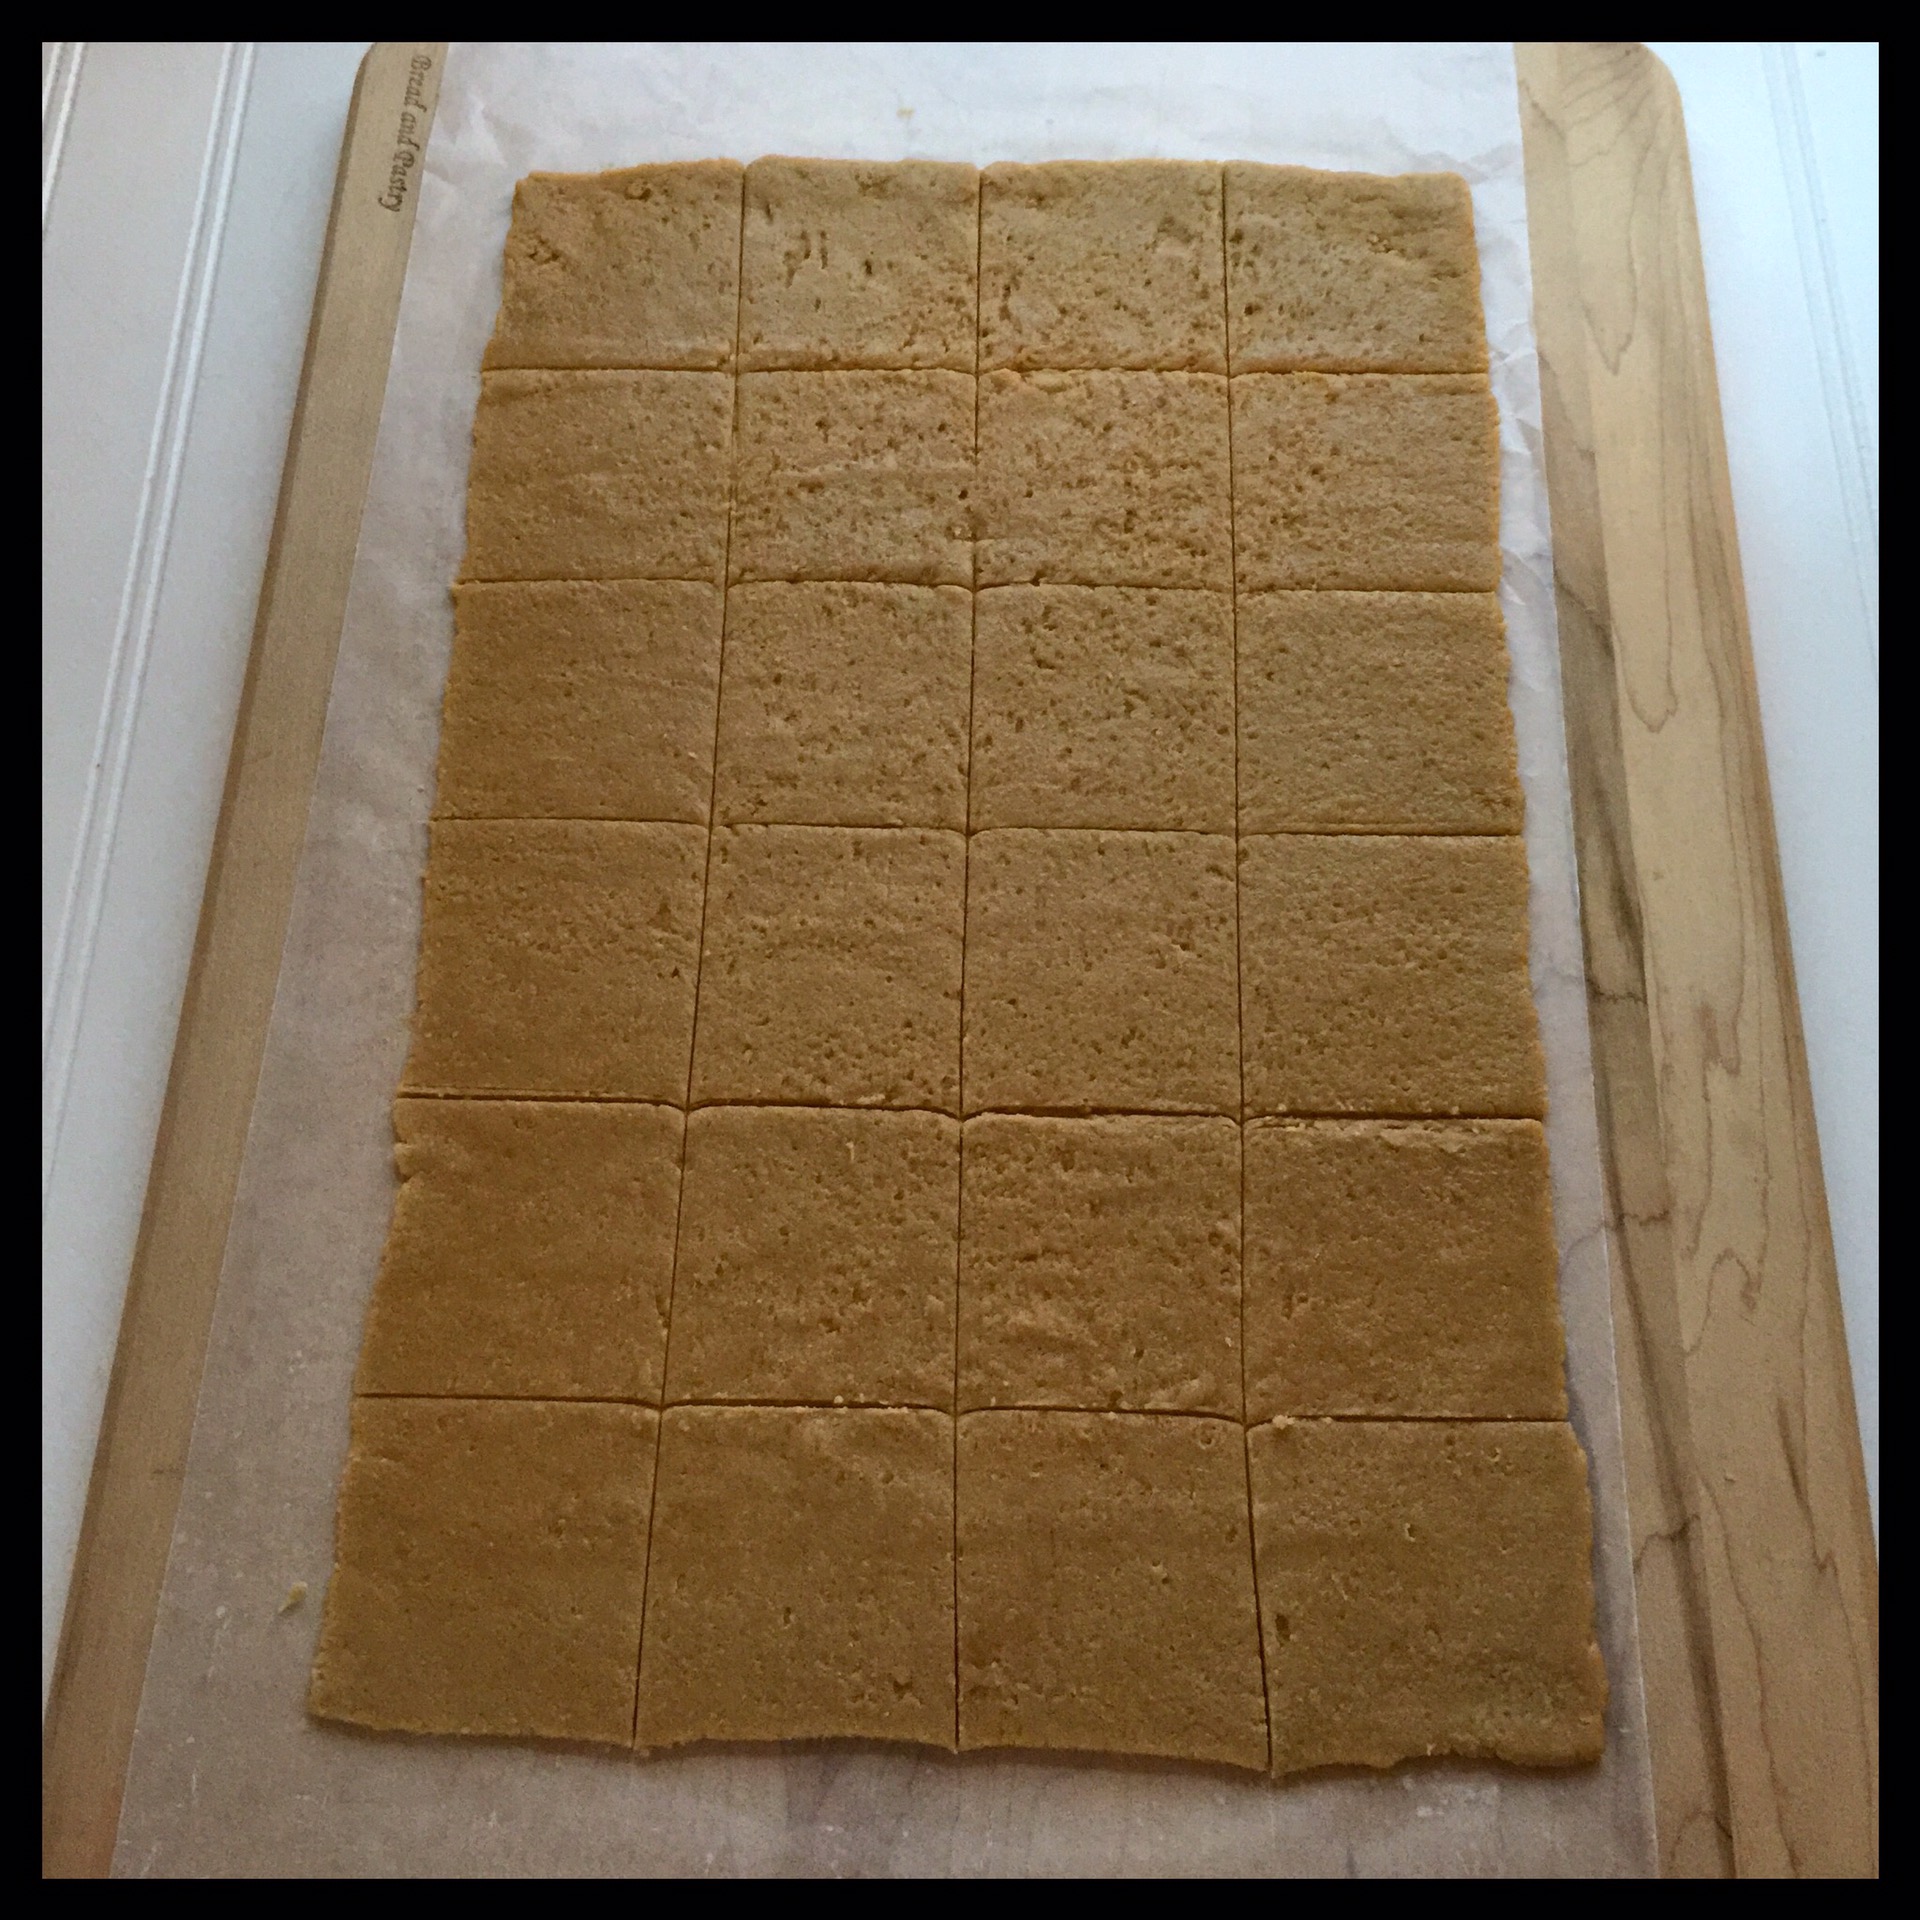
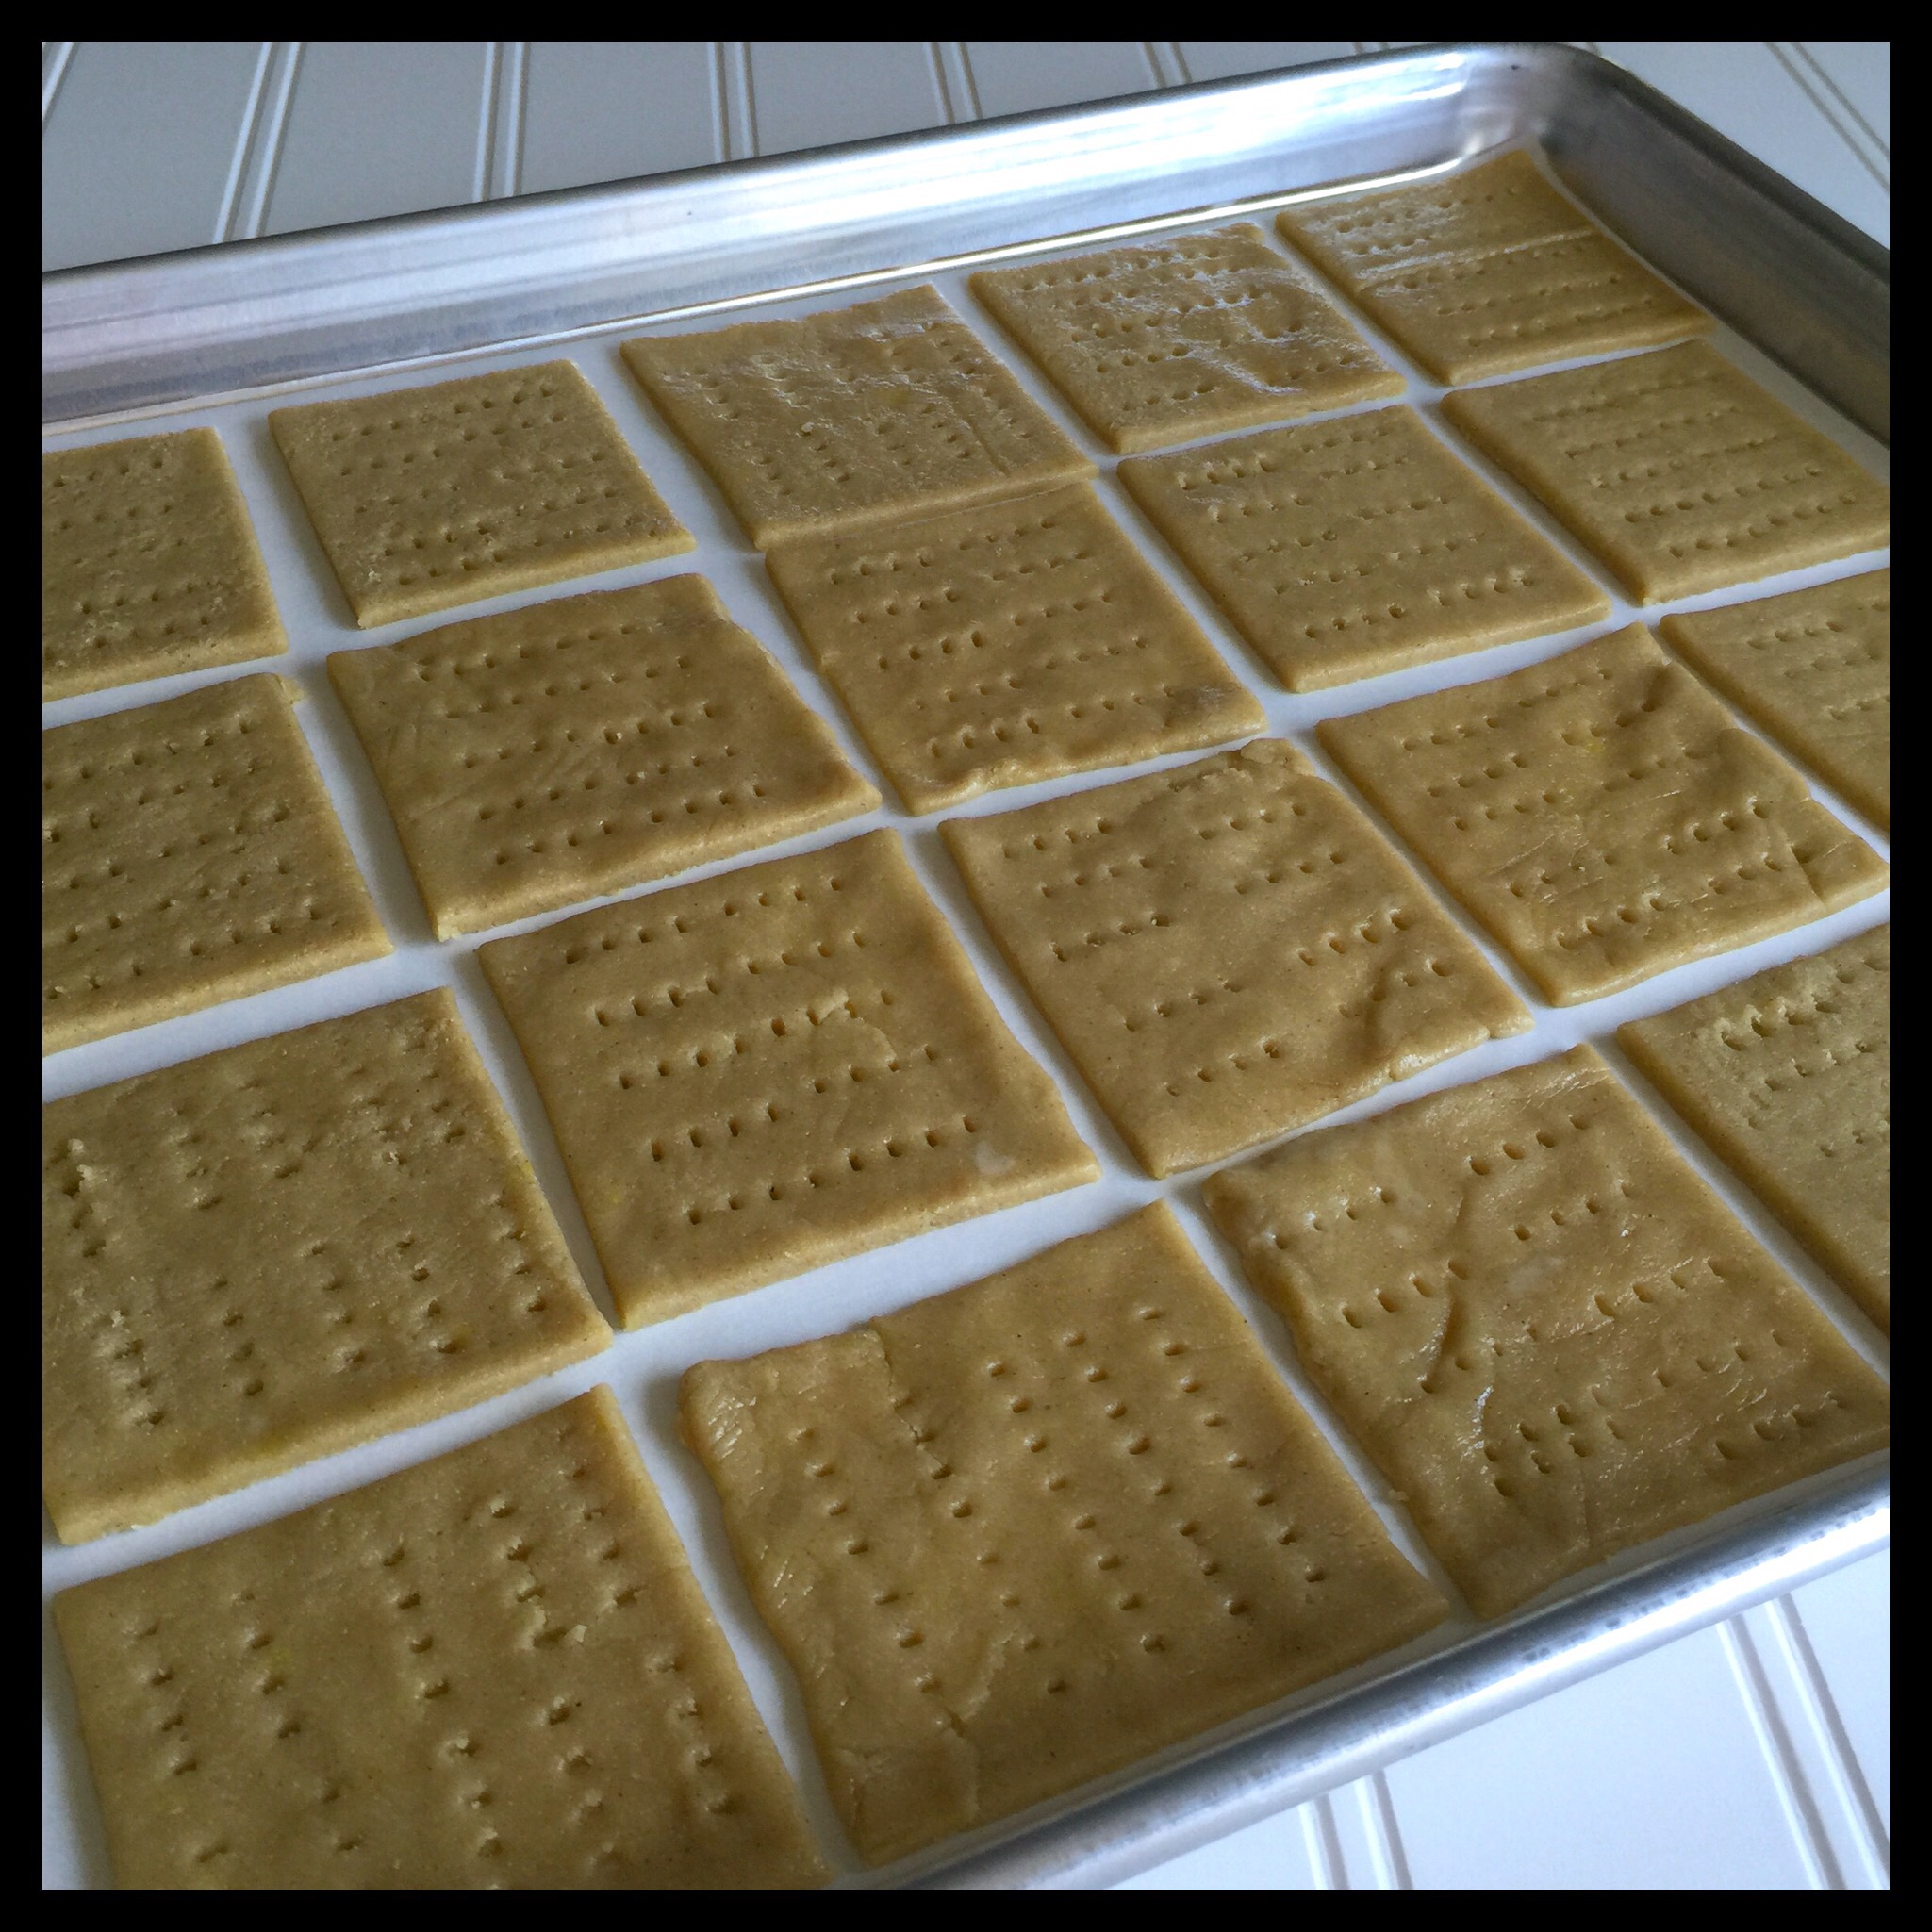
Cut the dough into 24 squares, then transfer the squares to a parchment-lined baking sheet. (They should not be difficult to transfer. If the dough is too soft, return it to the freezer to firm up.)
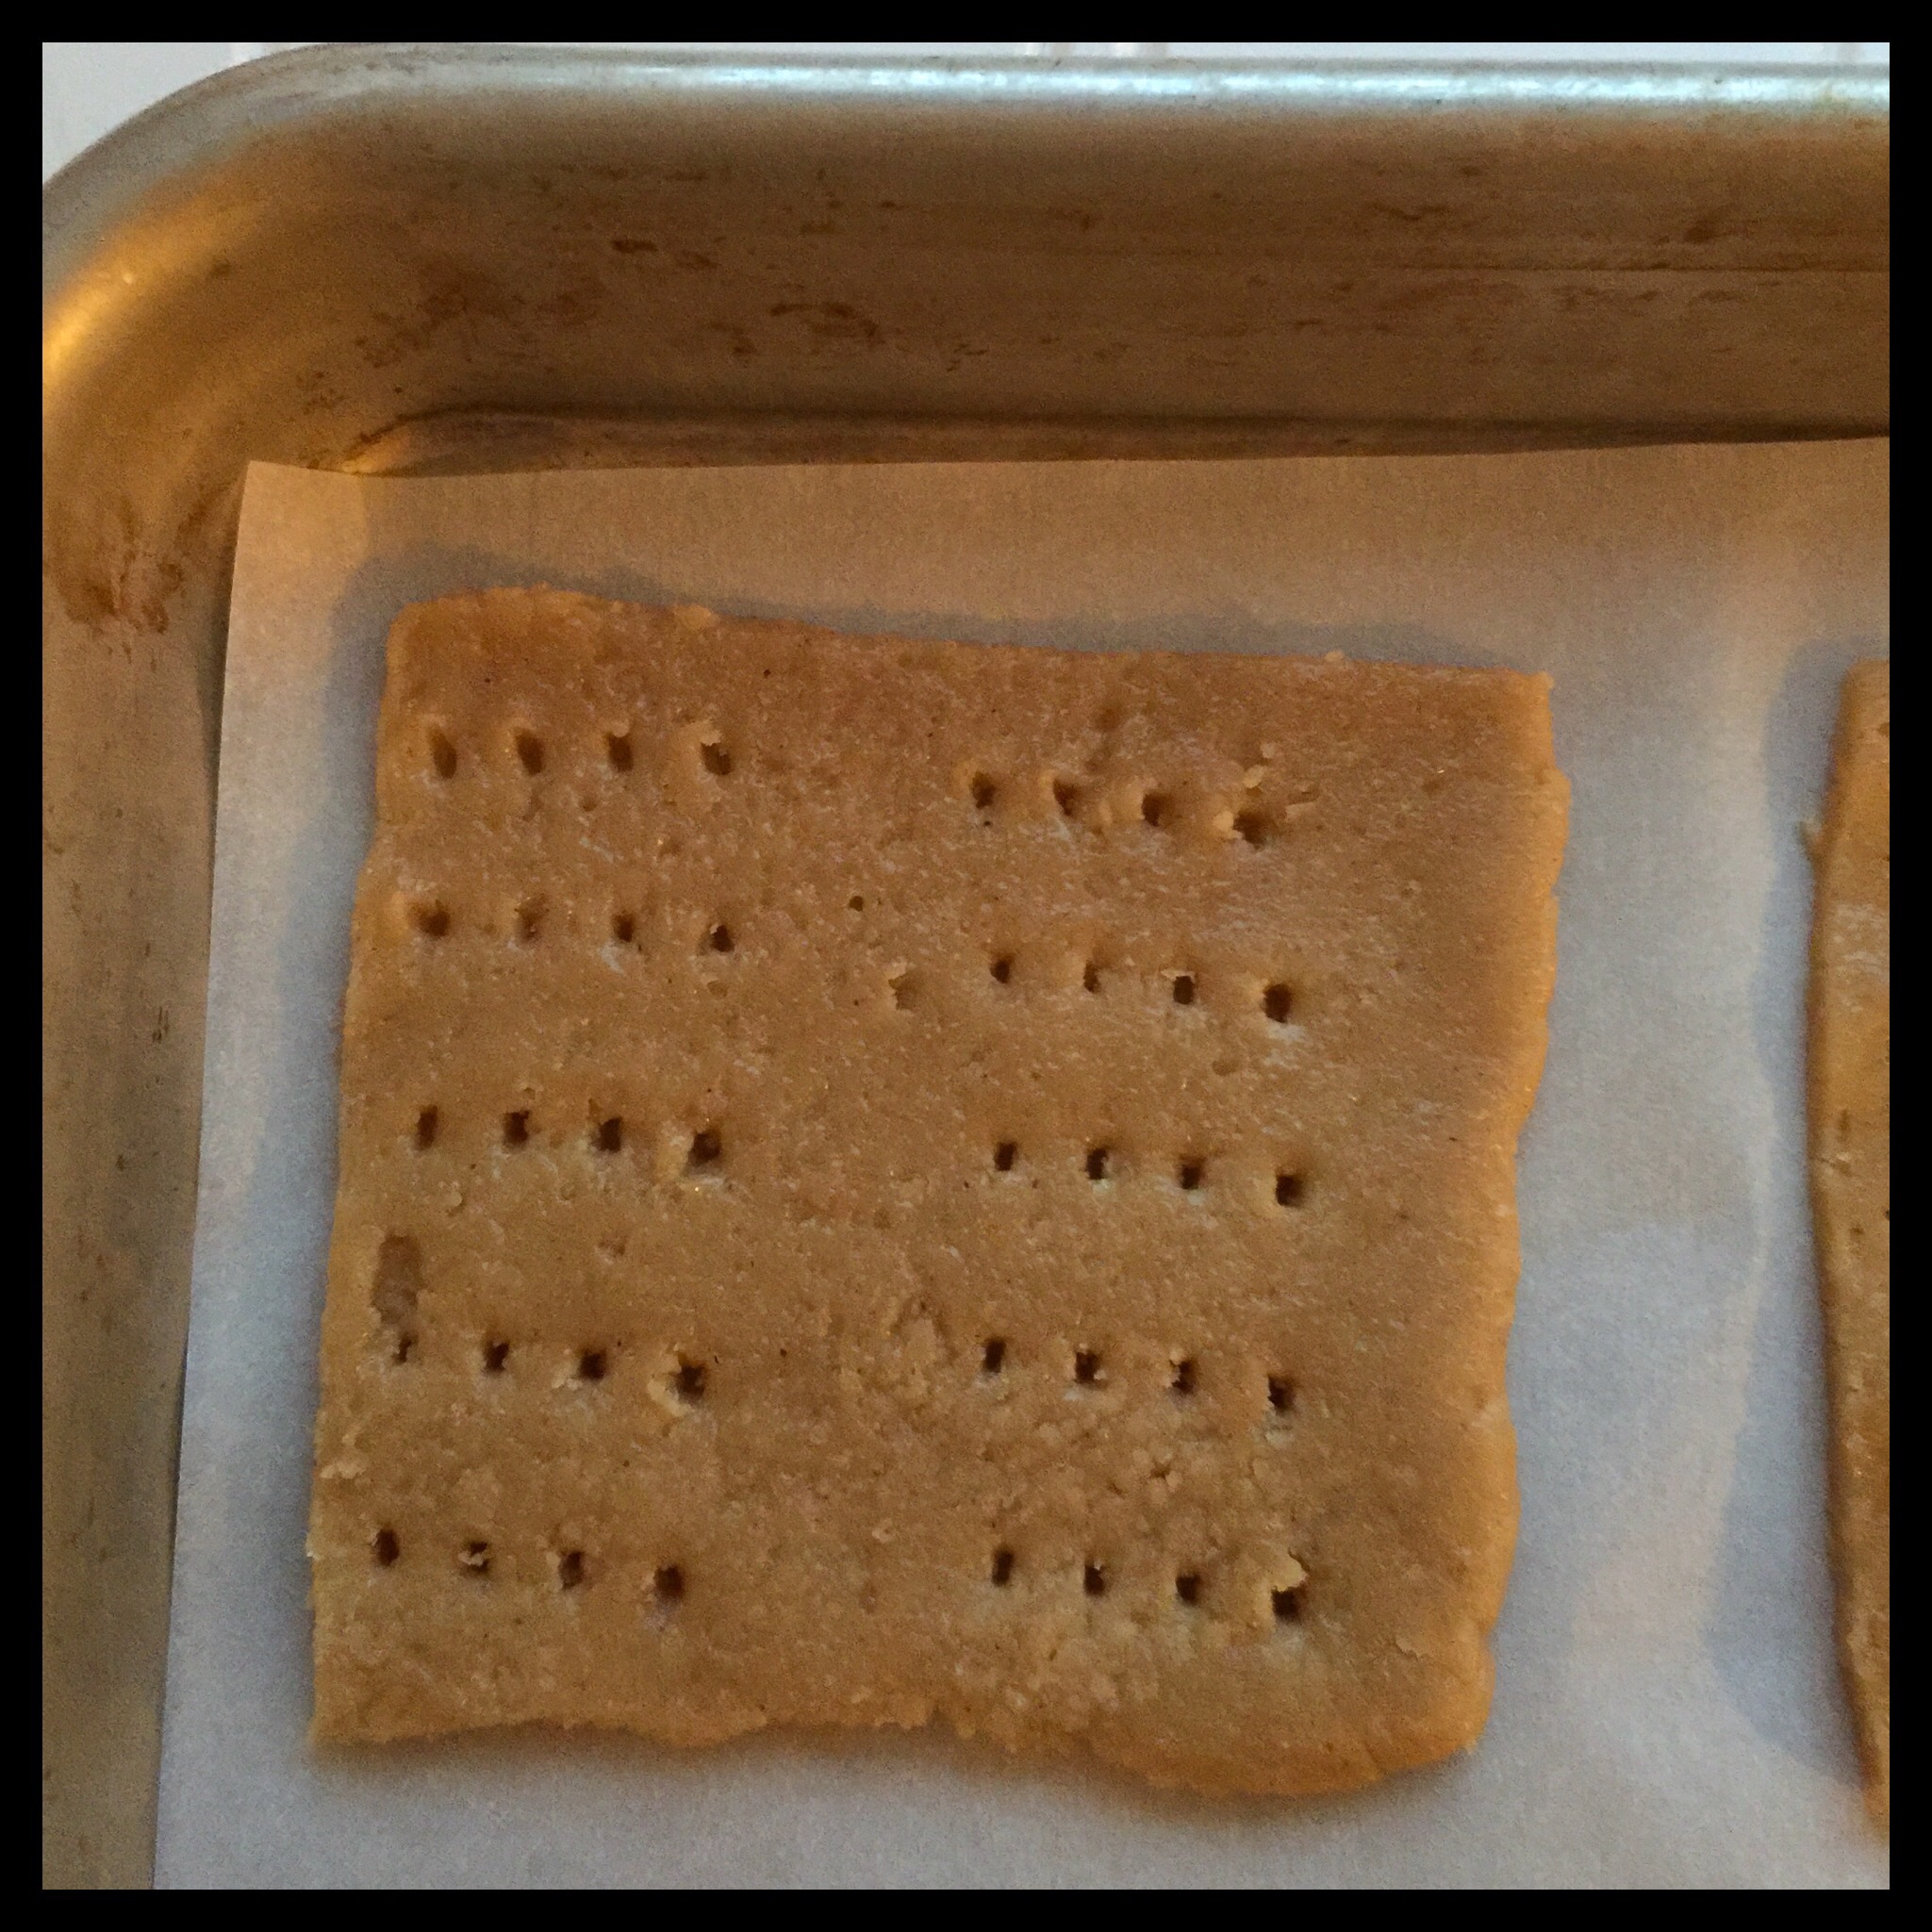
Use a fork to poke ten sets of holes in each piece:
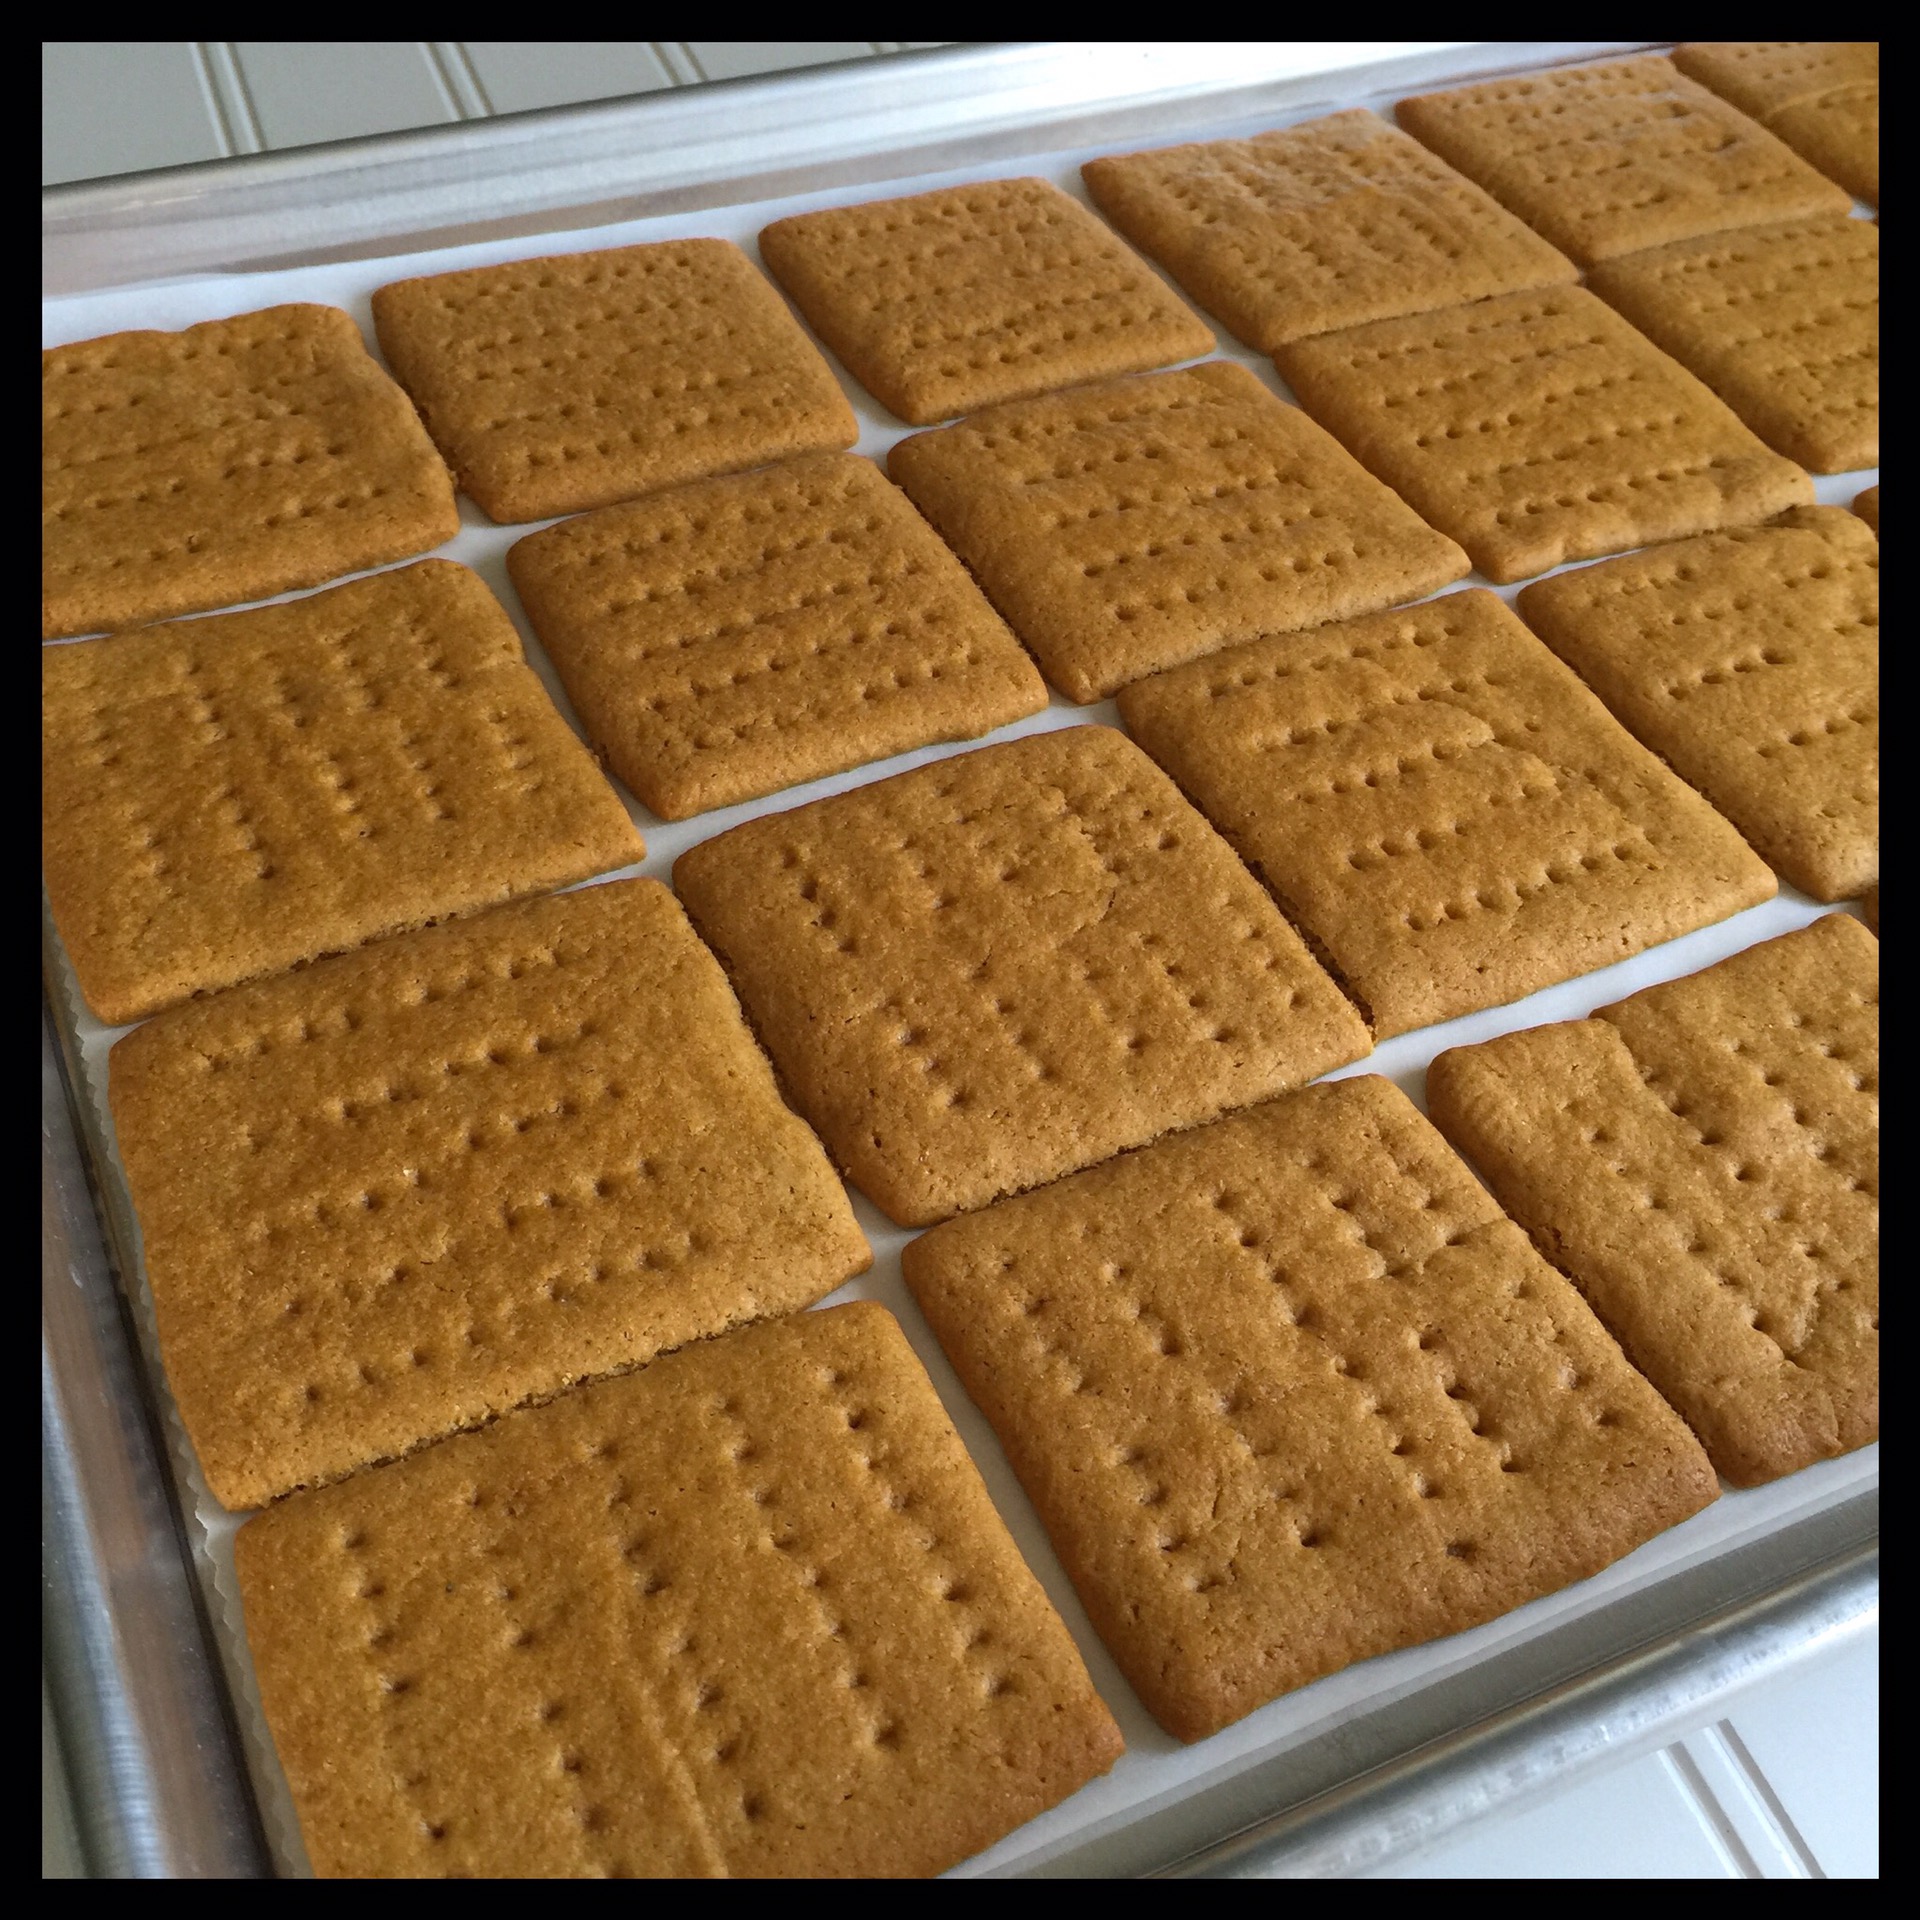
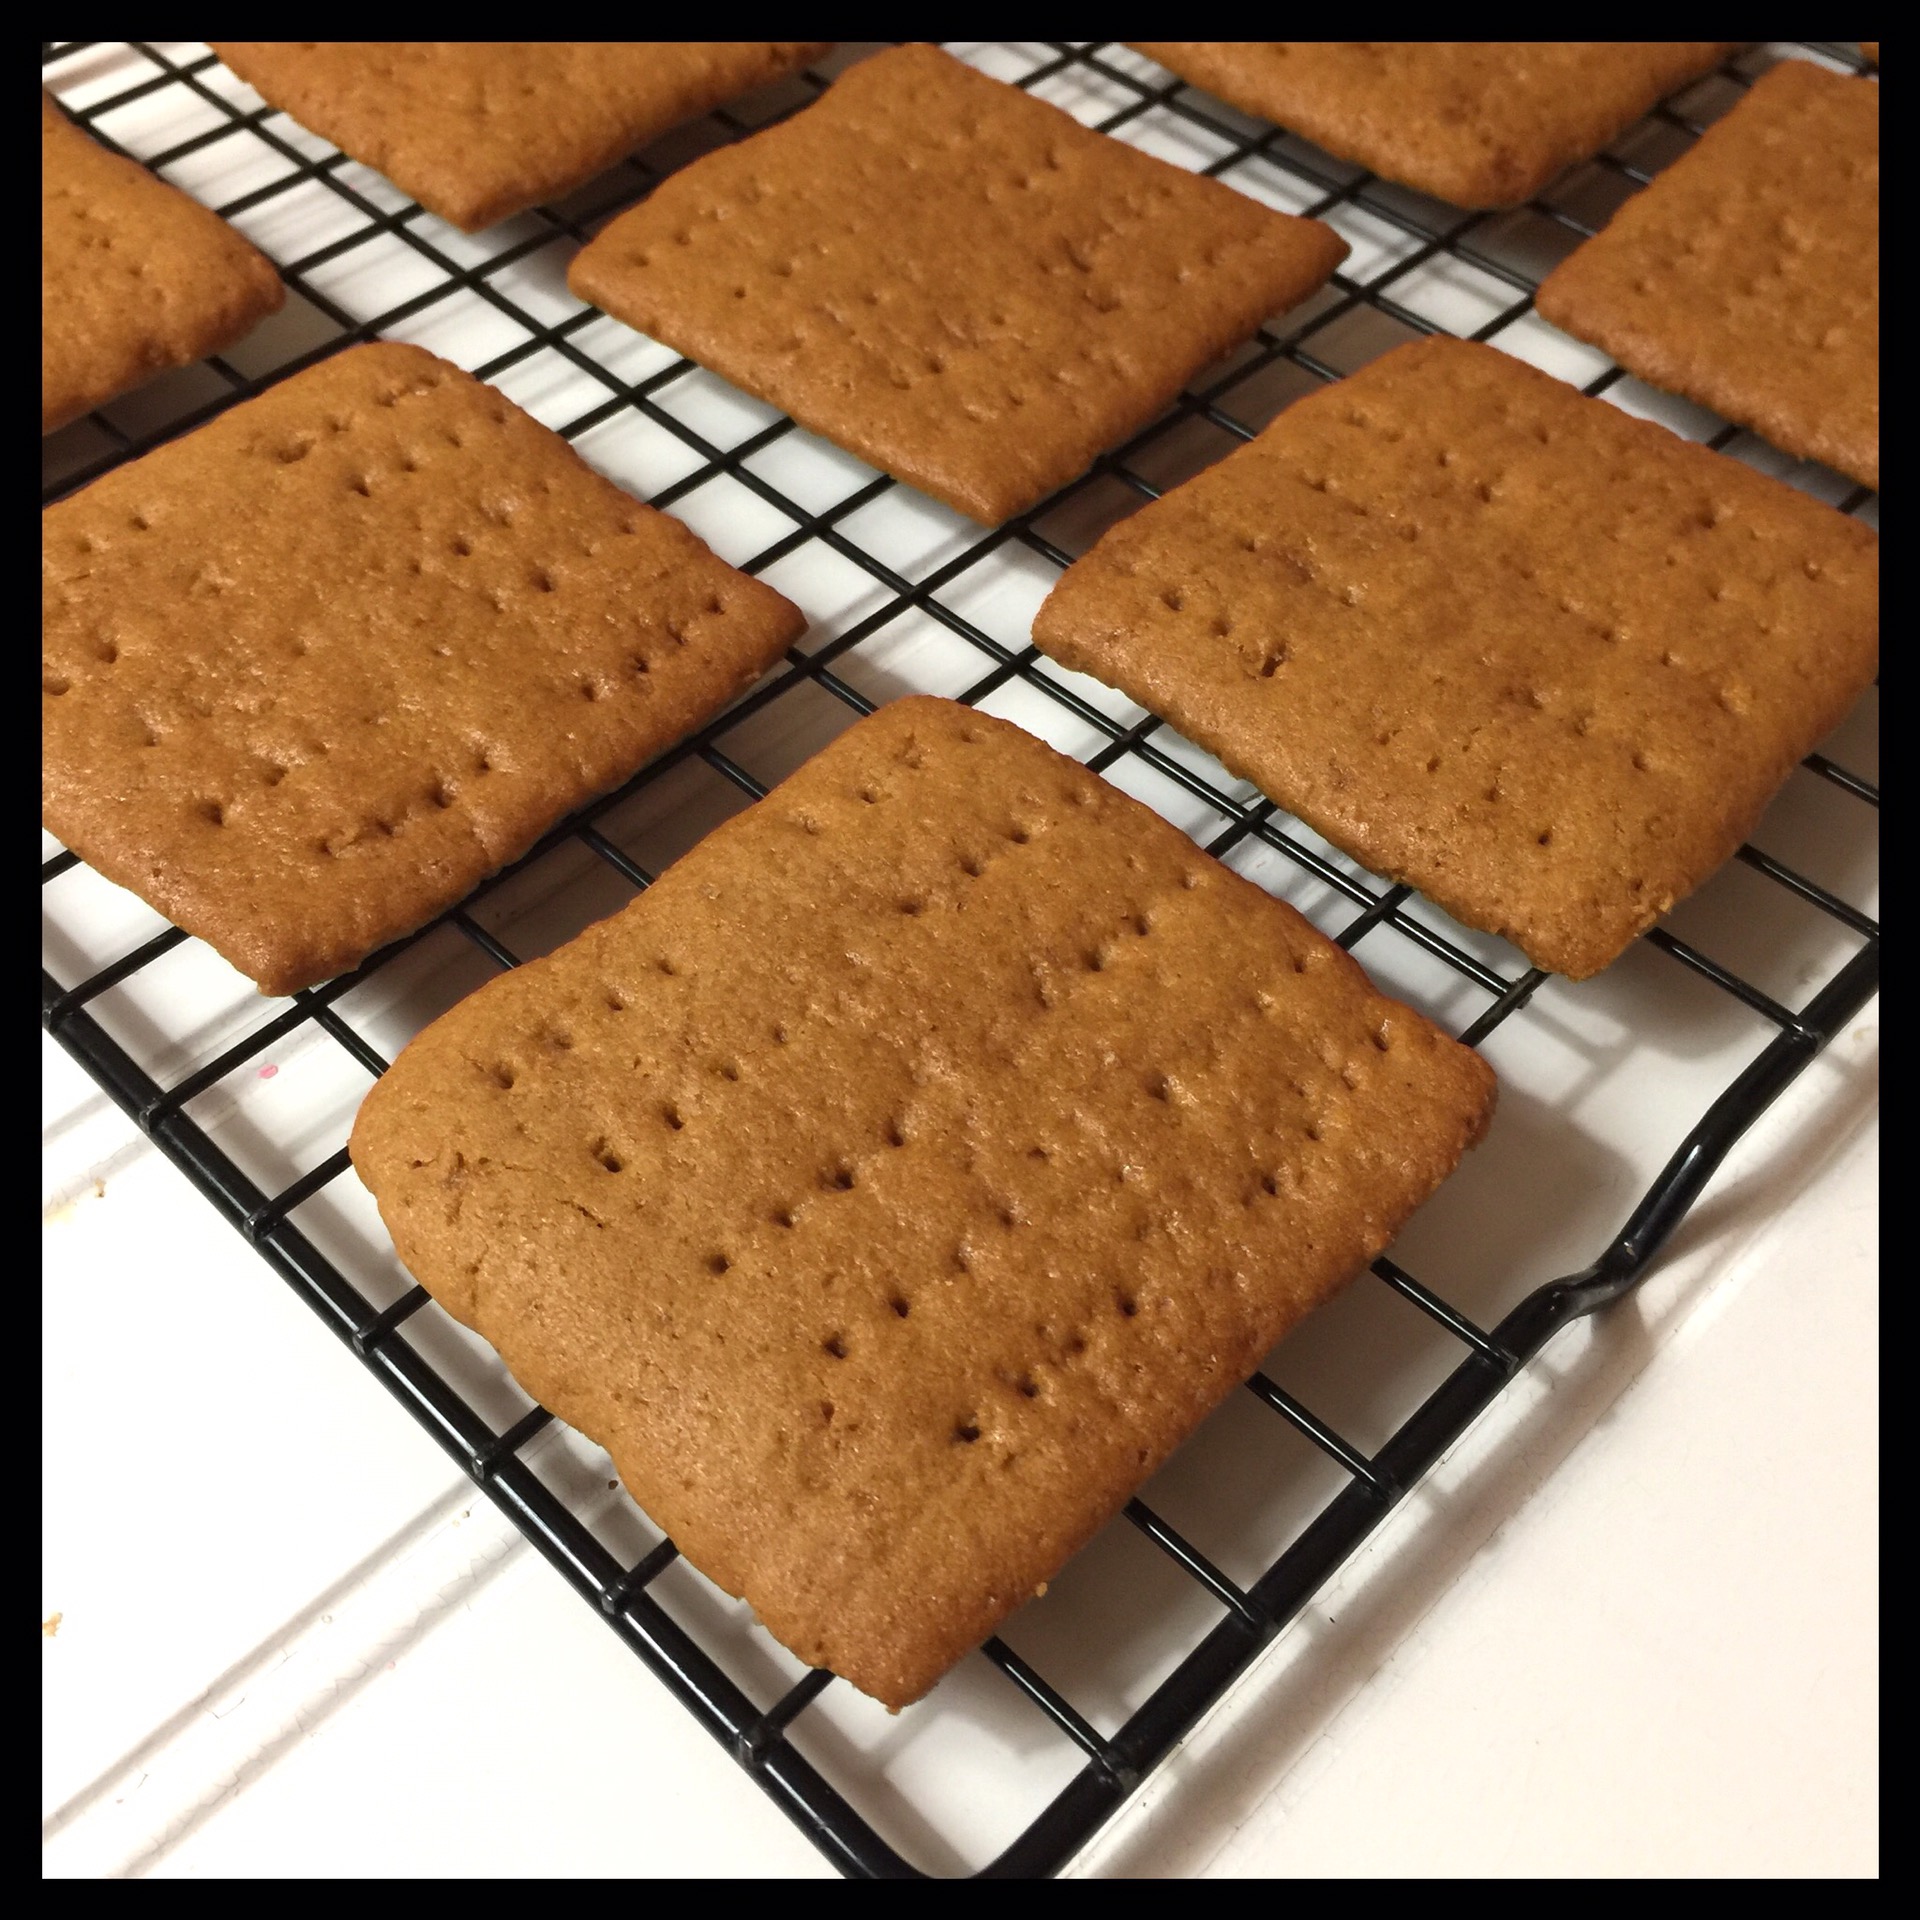
Bake for 16 to 17 minutes at 350 degrees Fahrenheit. Immediately cut between any crackers that have baked together to separate them. Cool for several minutes on the pan, then transfer your graham crackers to a rack to finish cooling. Store your baked graham crackers in an airtight container. You can also freeze them in a Ziploc bag for several months.
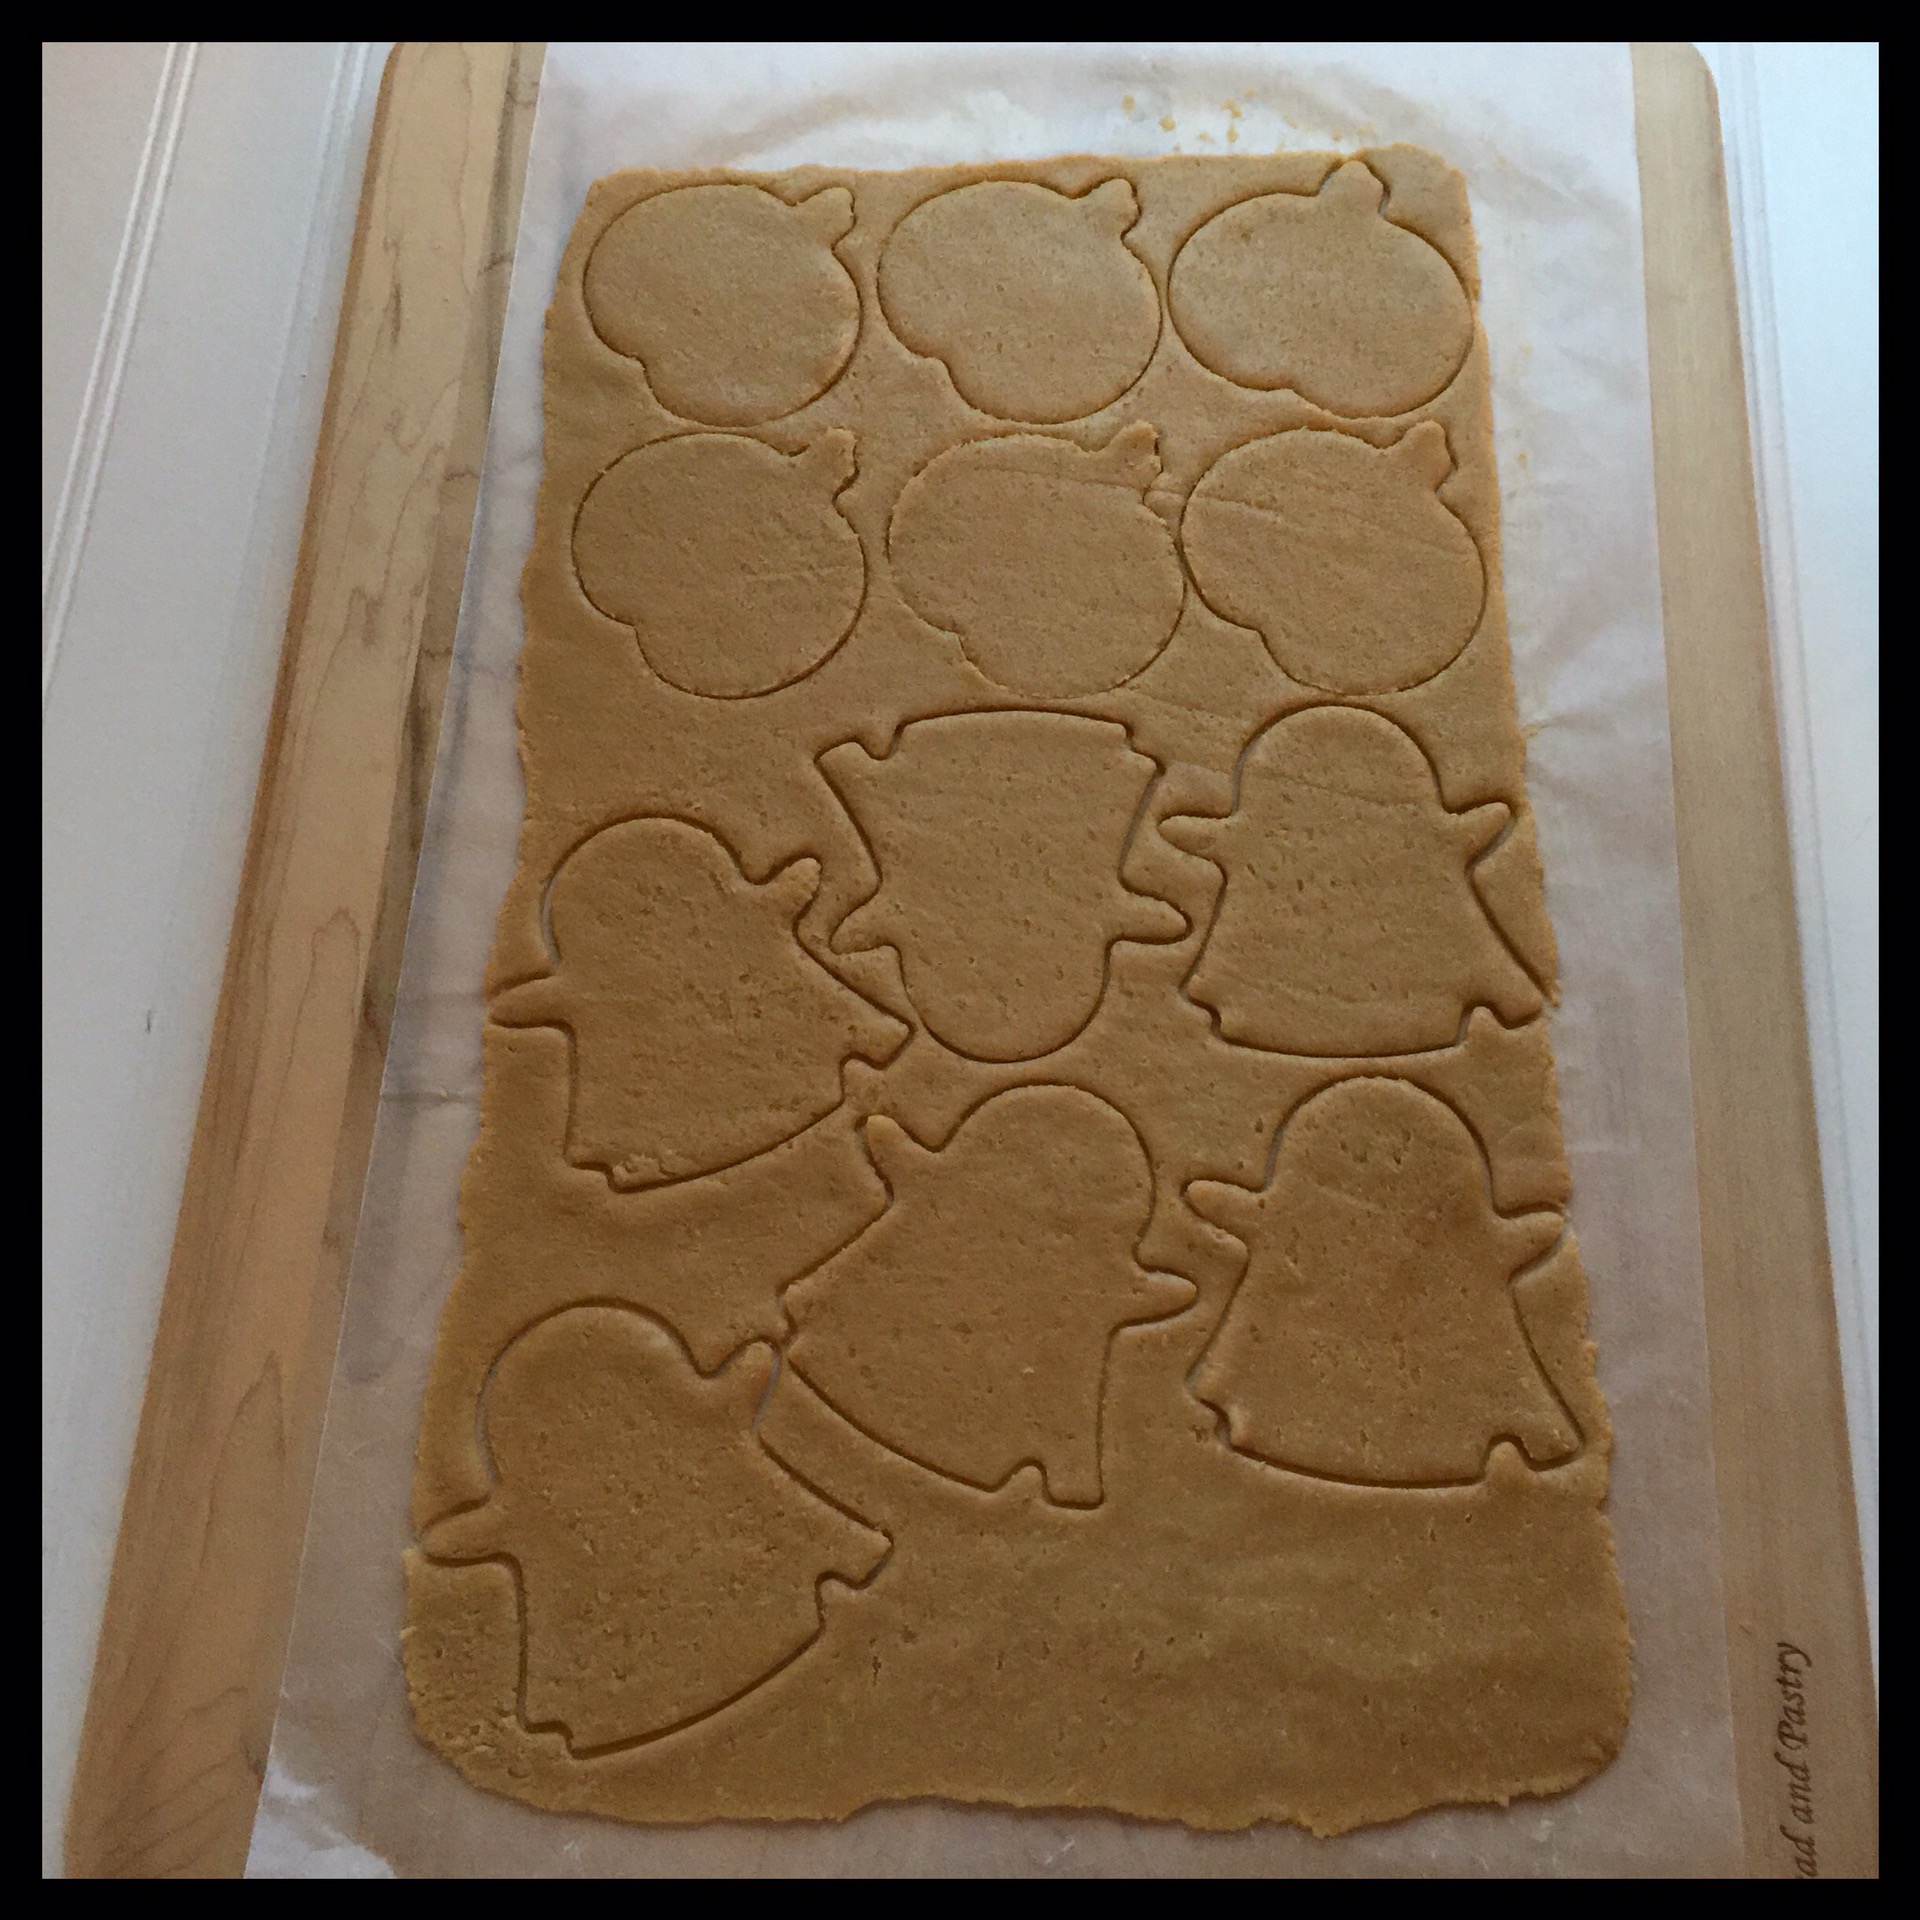
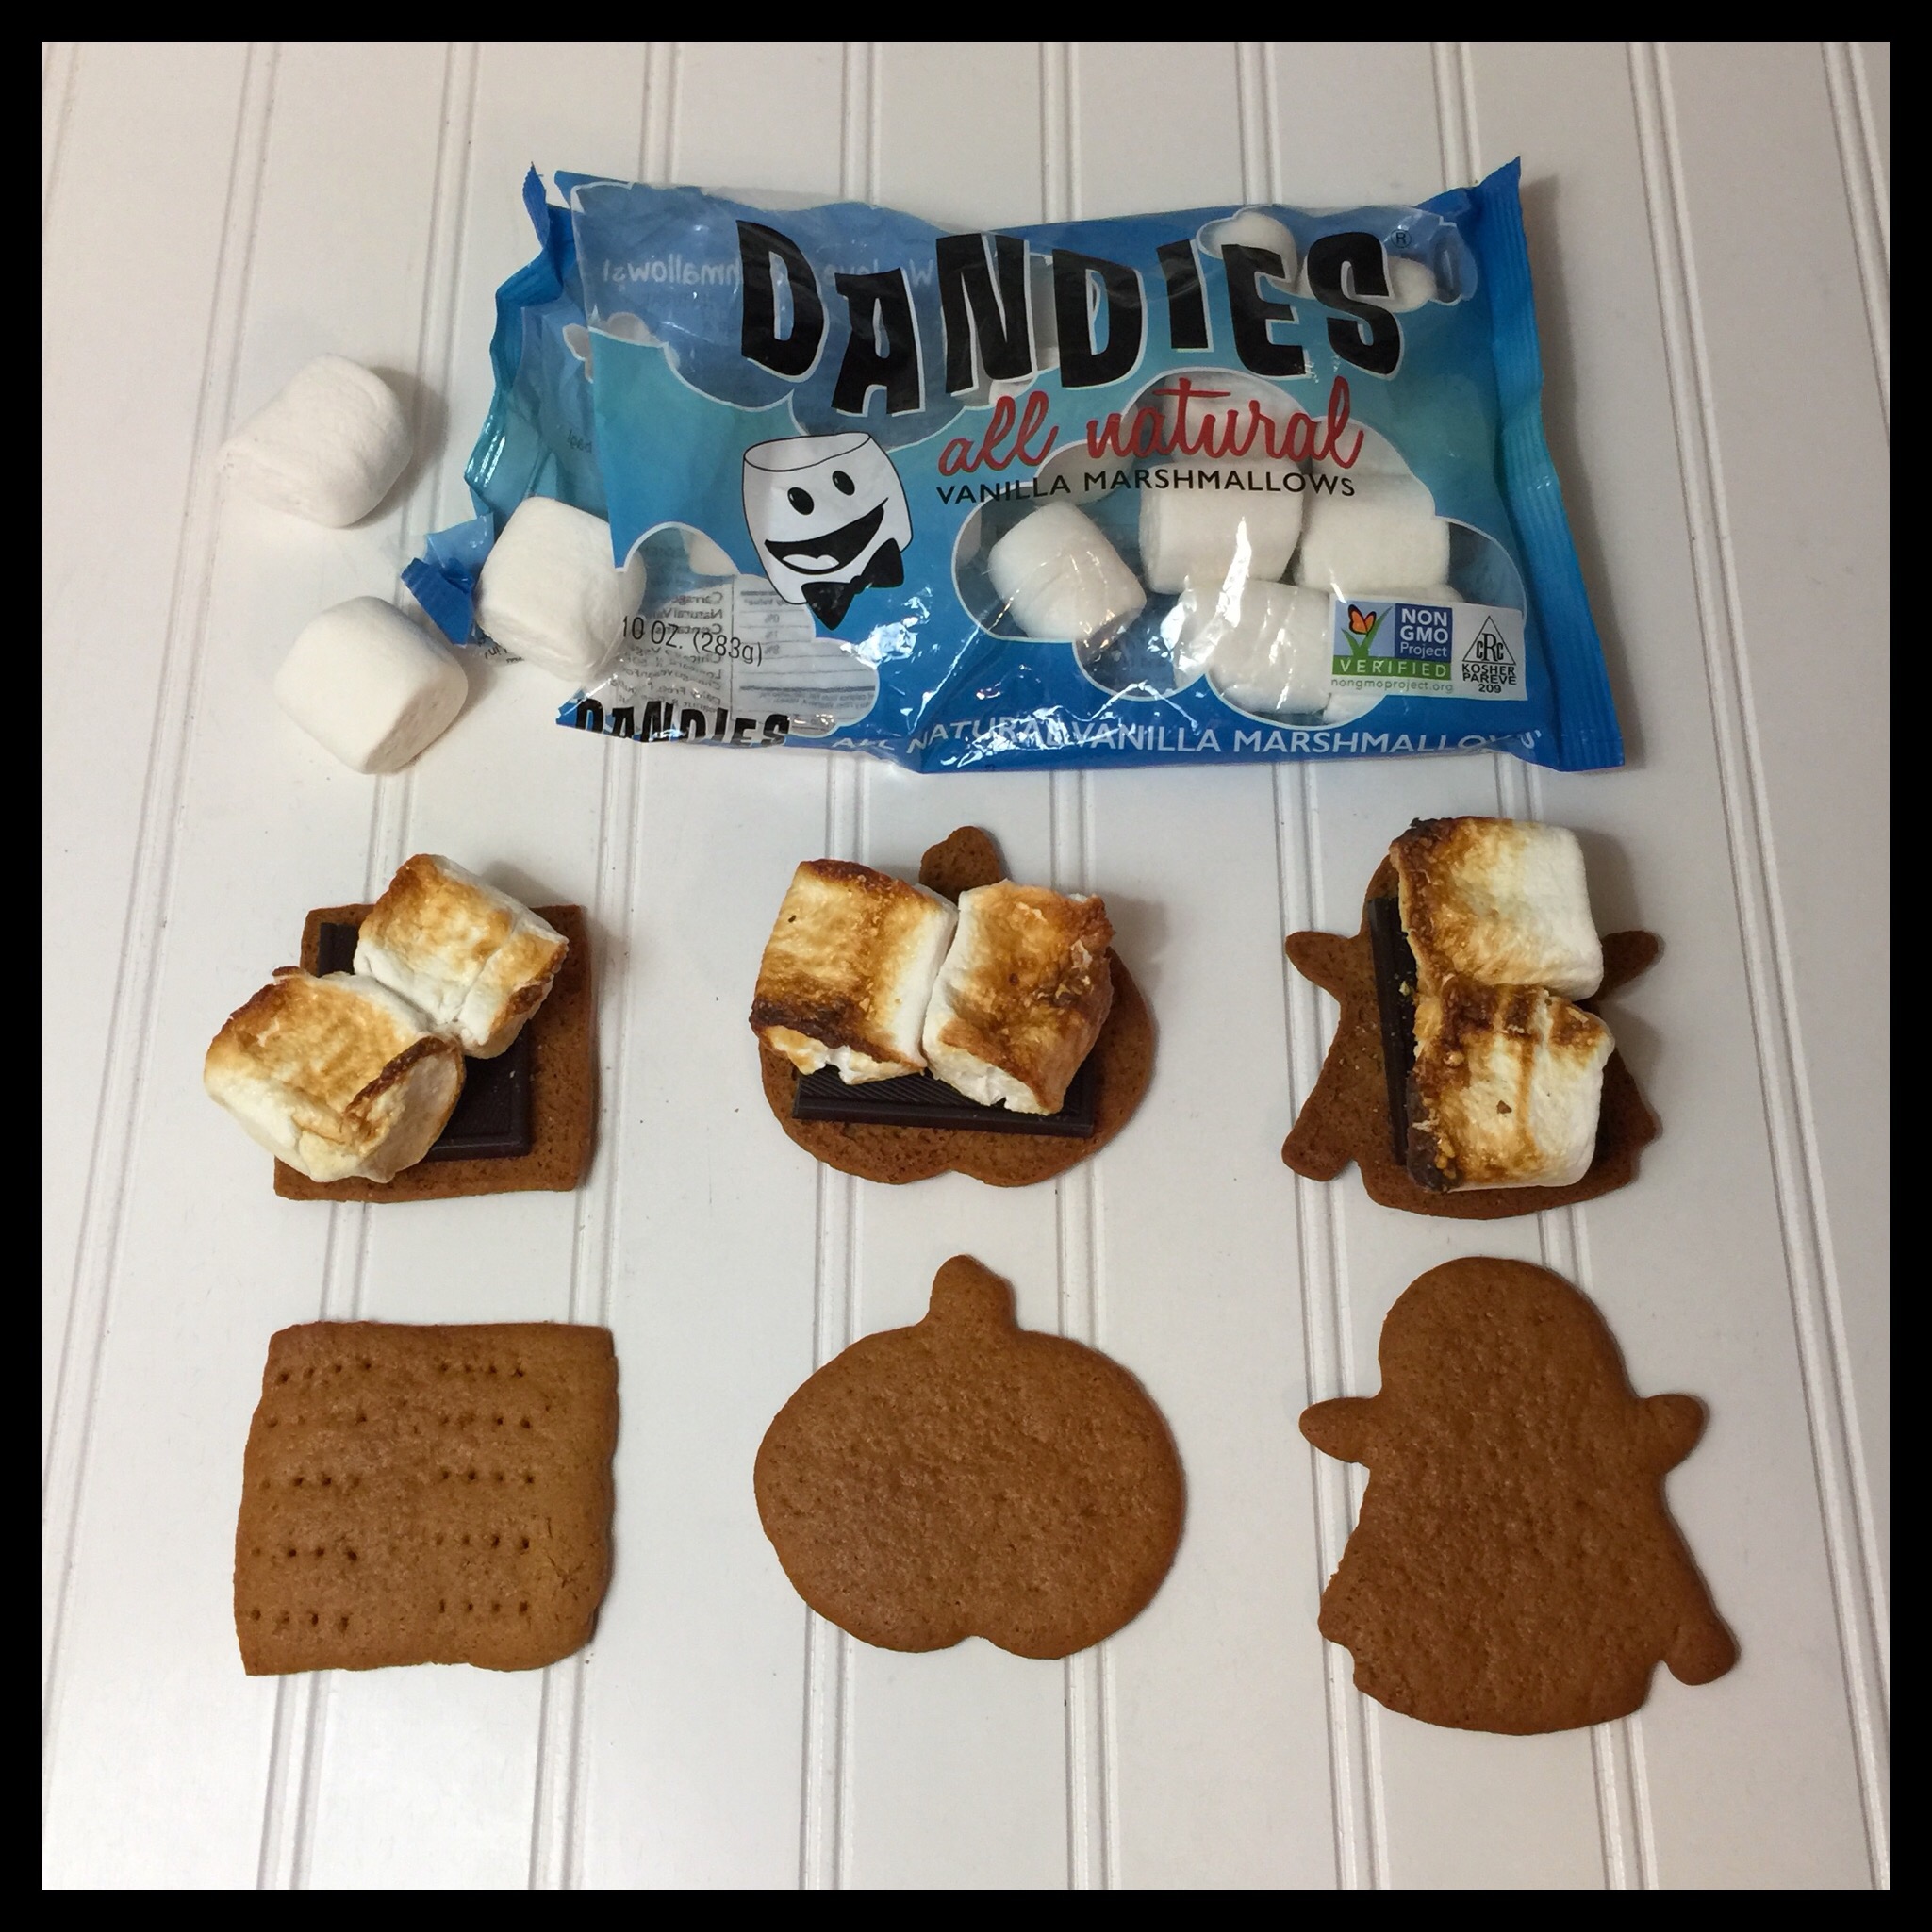
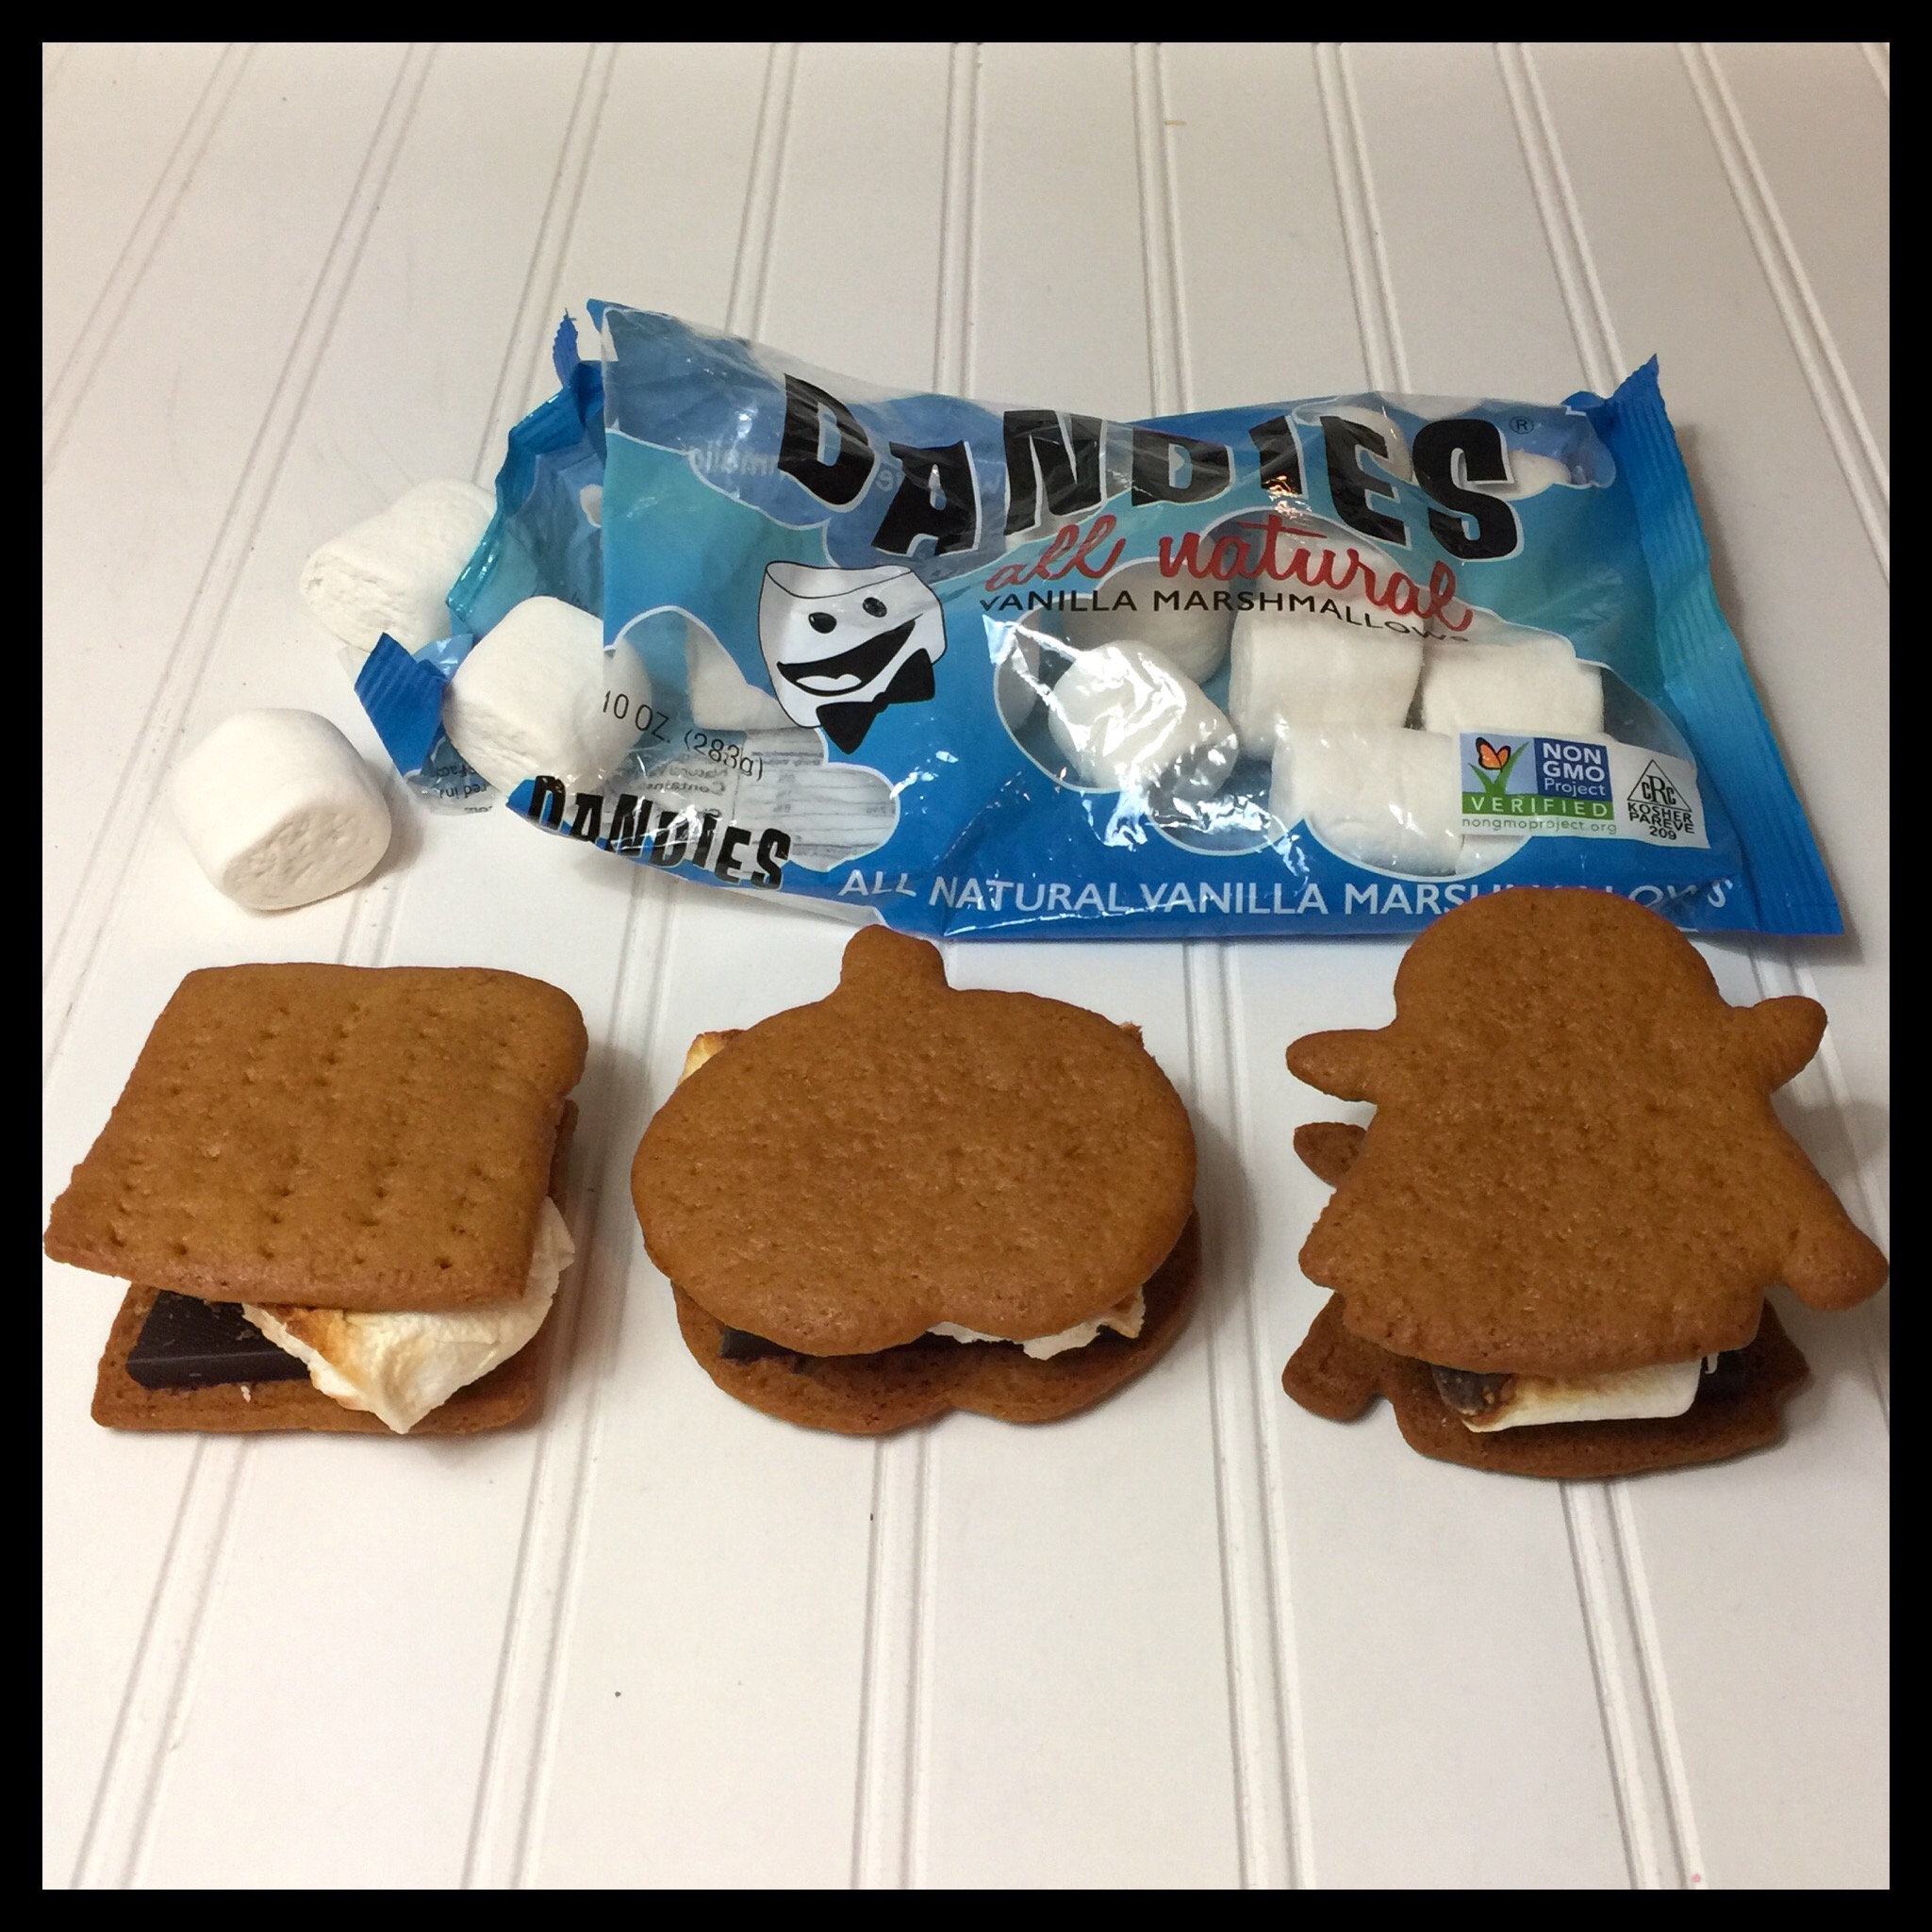
Roll out your second piece of dough and repeat the above instructions. You can also freeze the dough for several months, or cut out fun shapes. I made pumpkins and ghosts for Samhain!
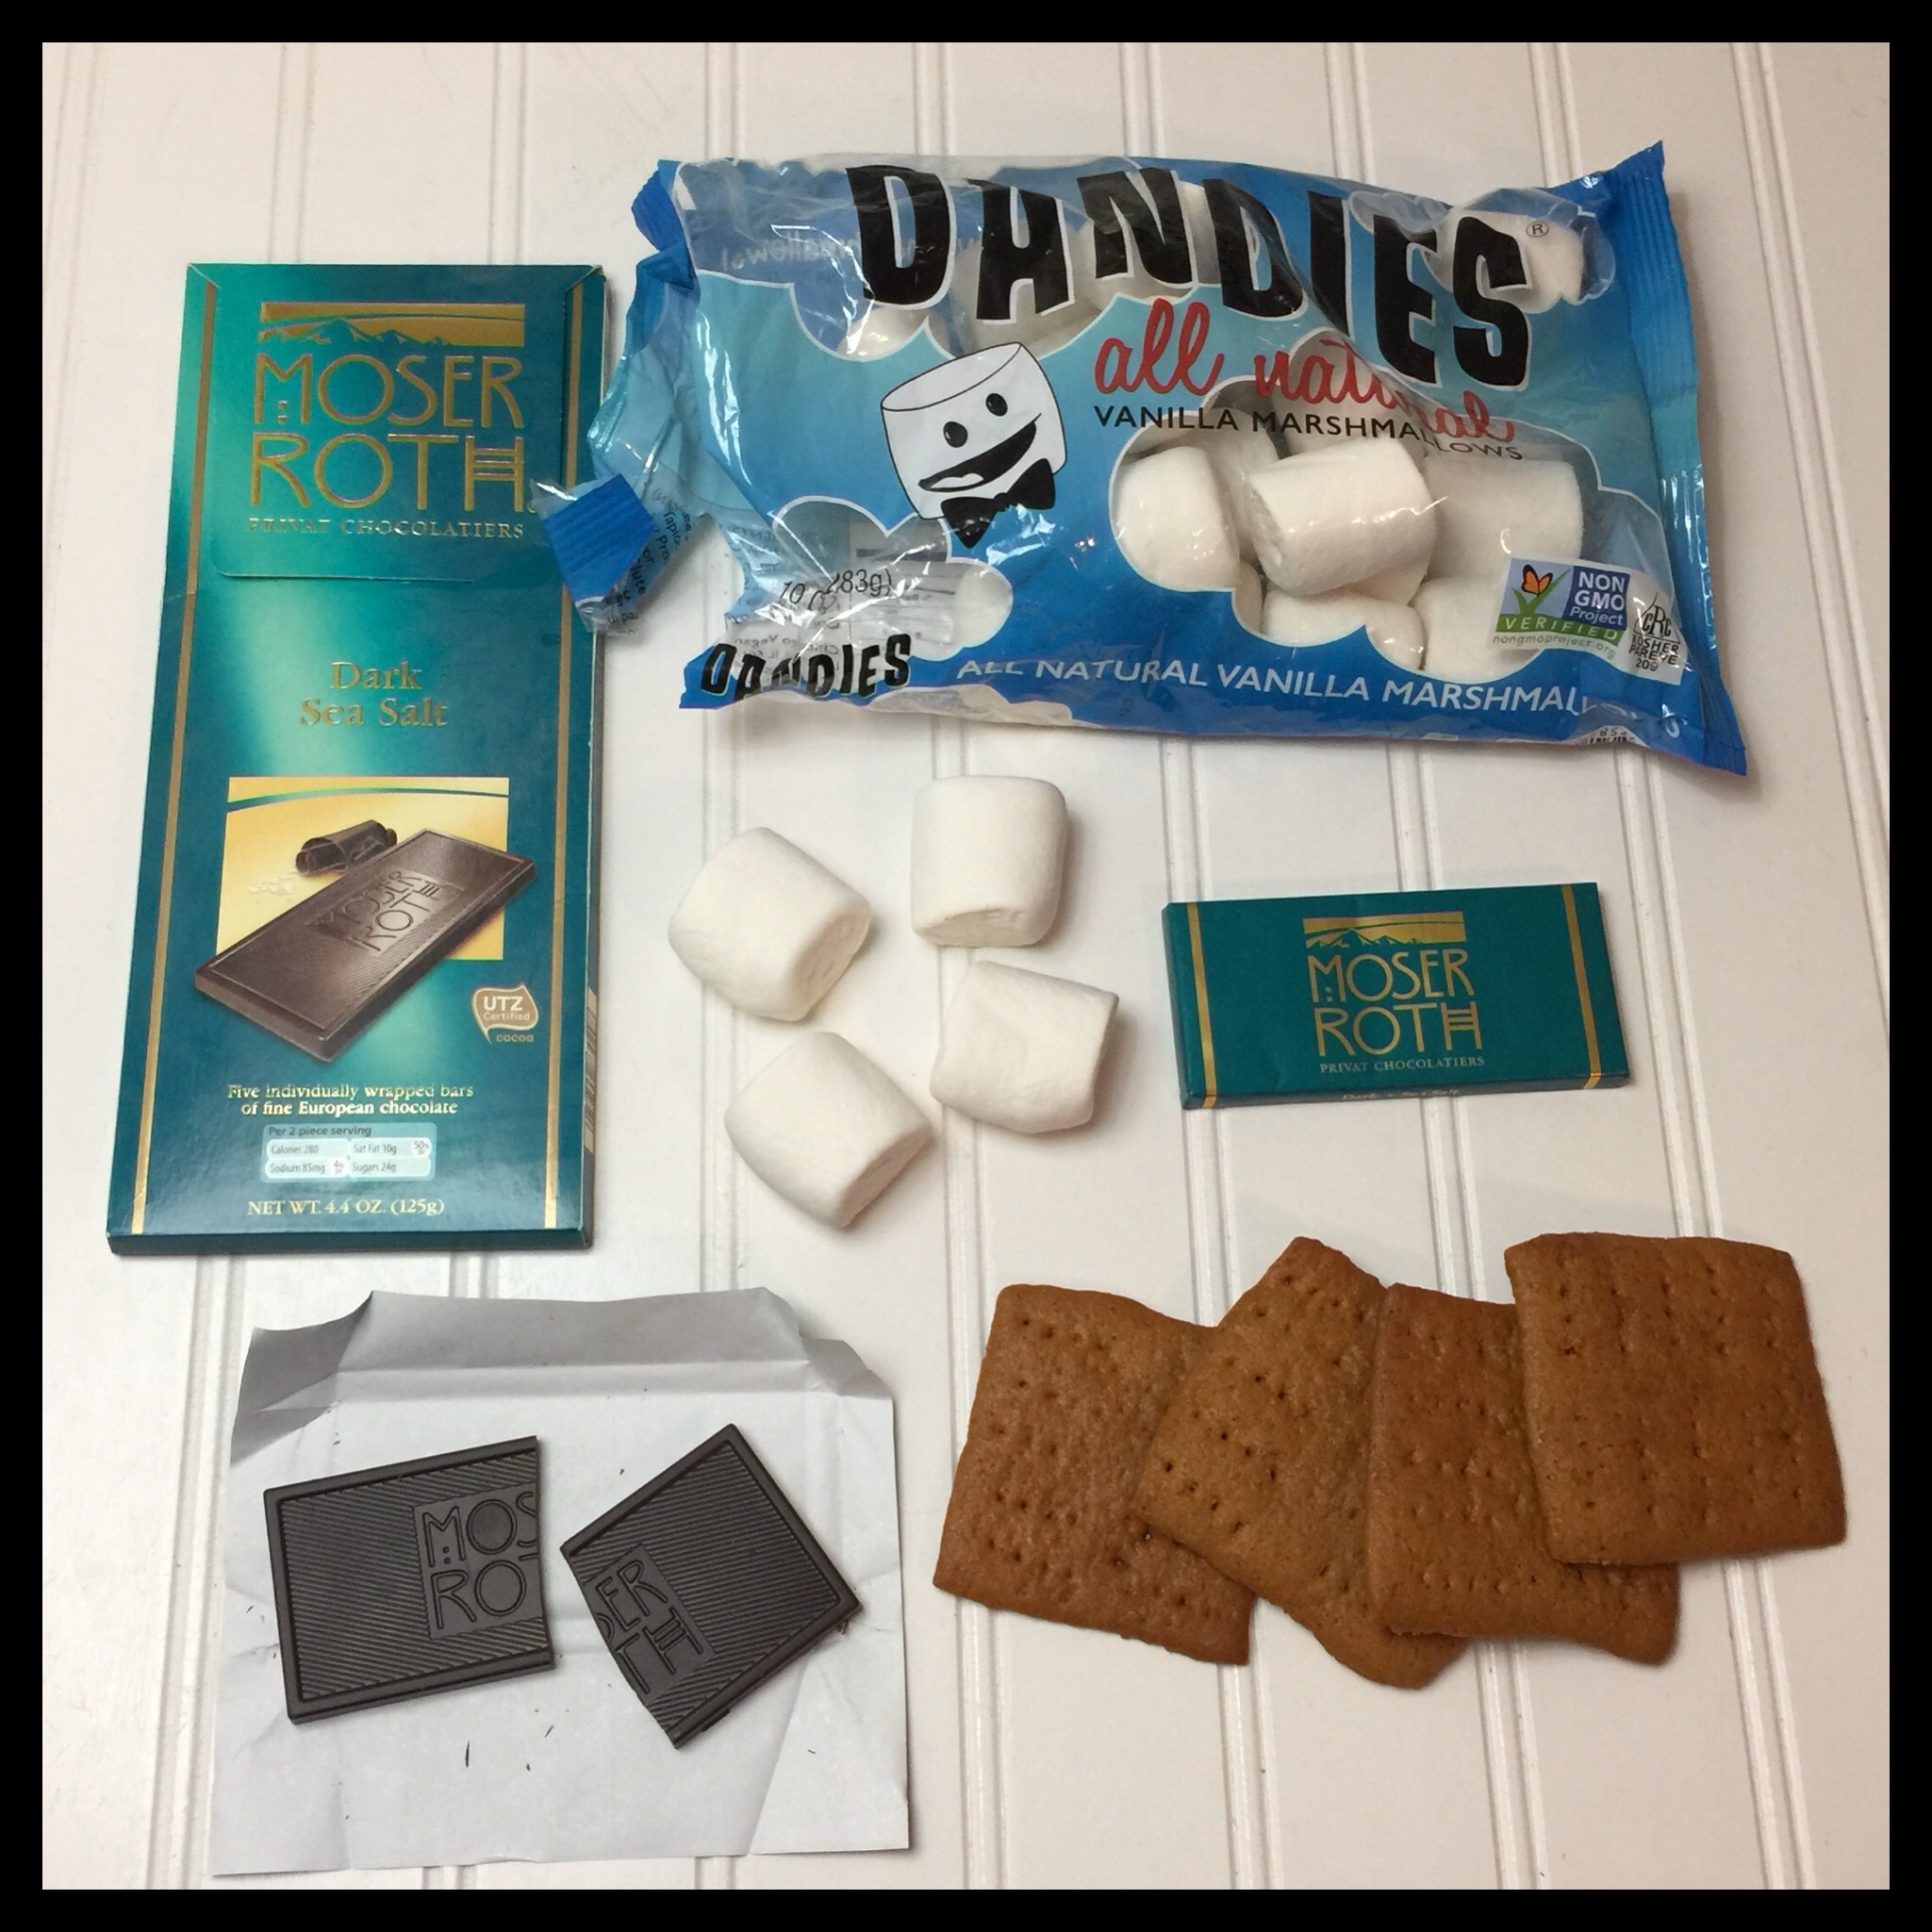
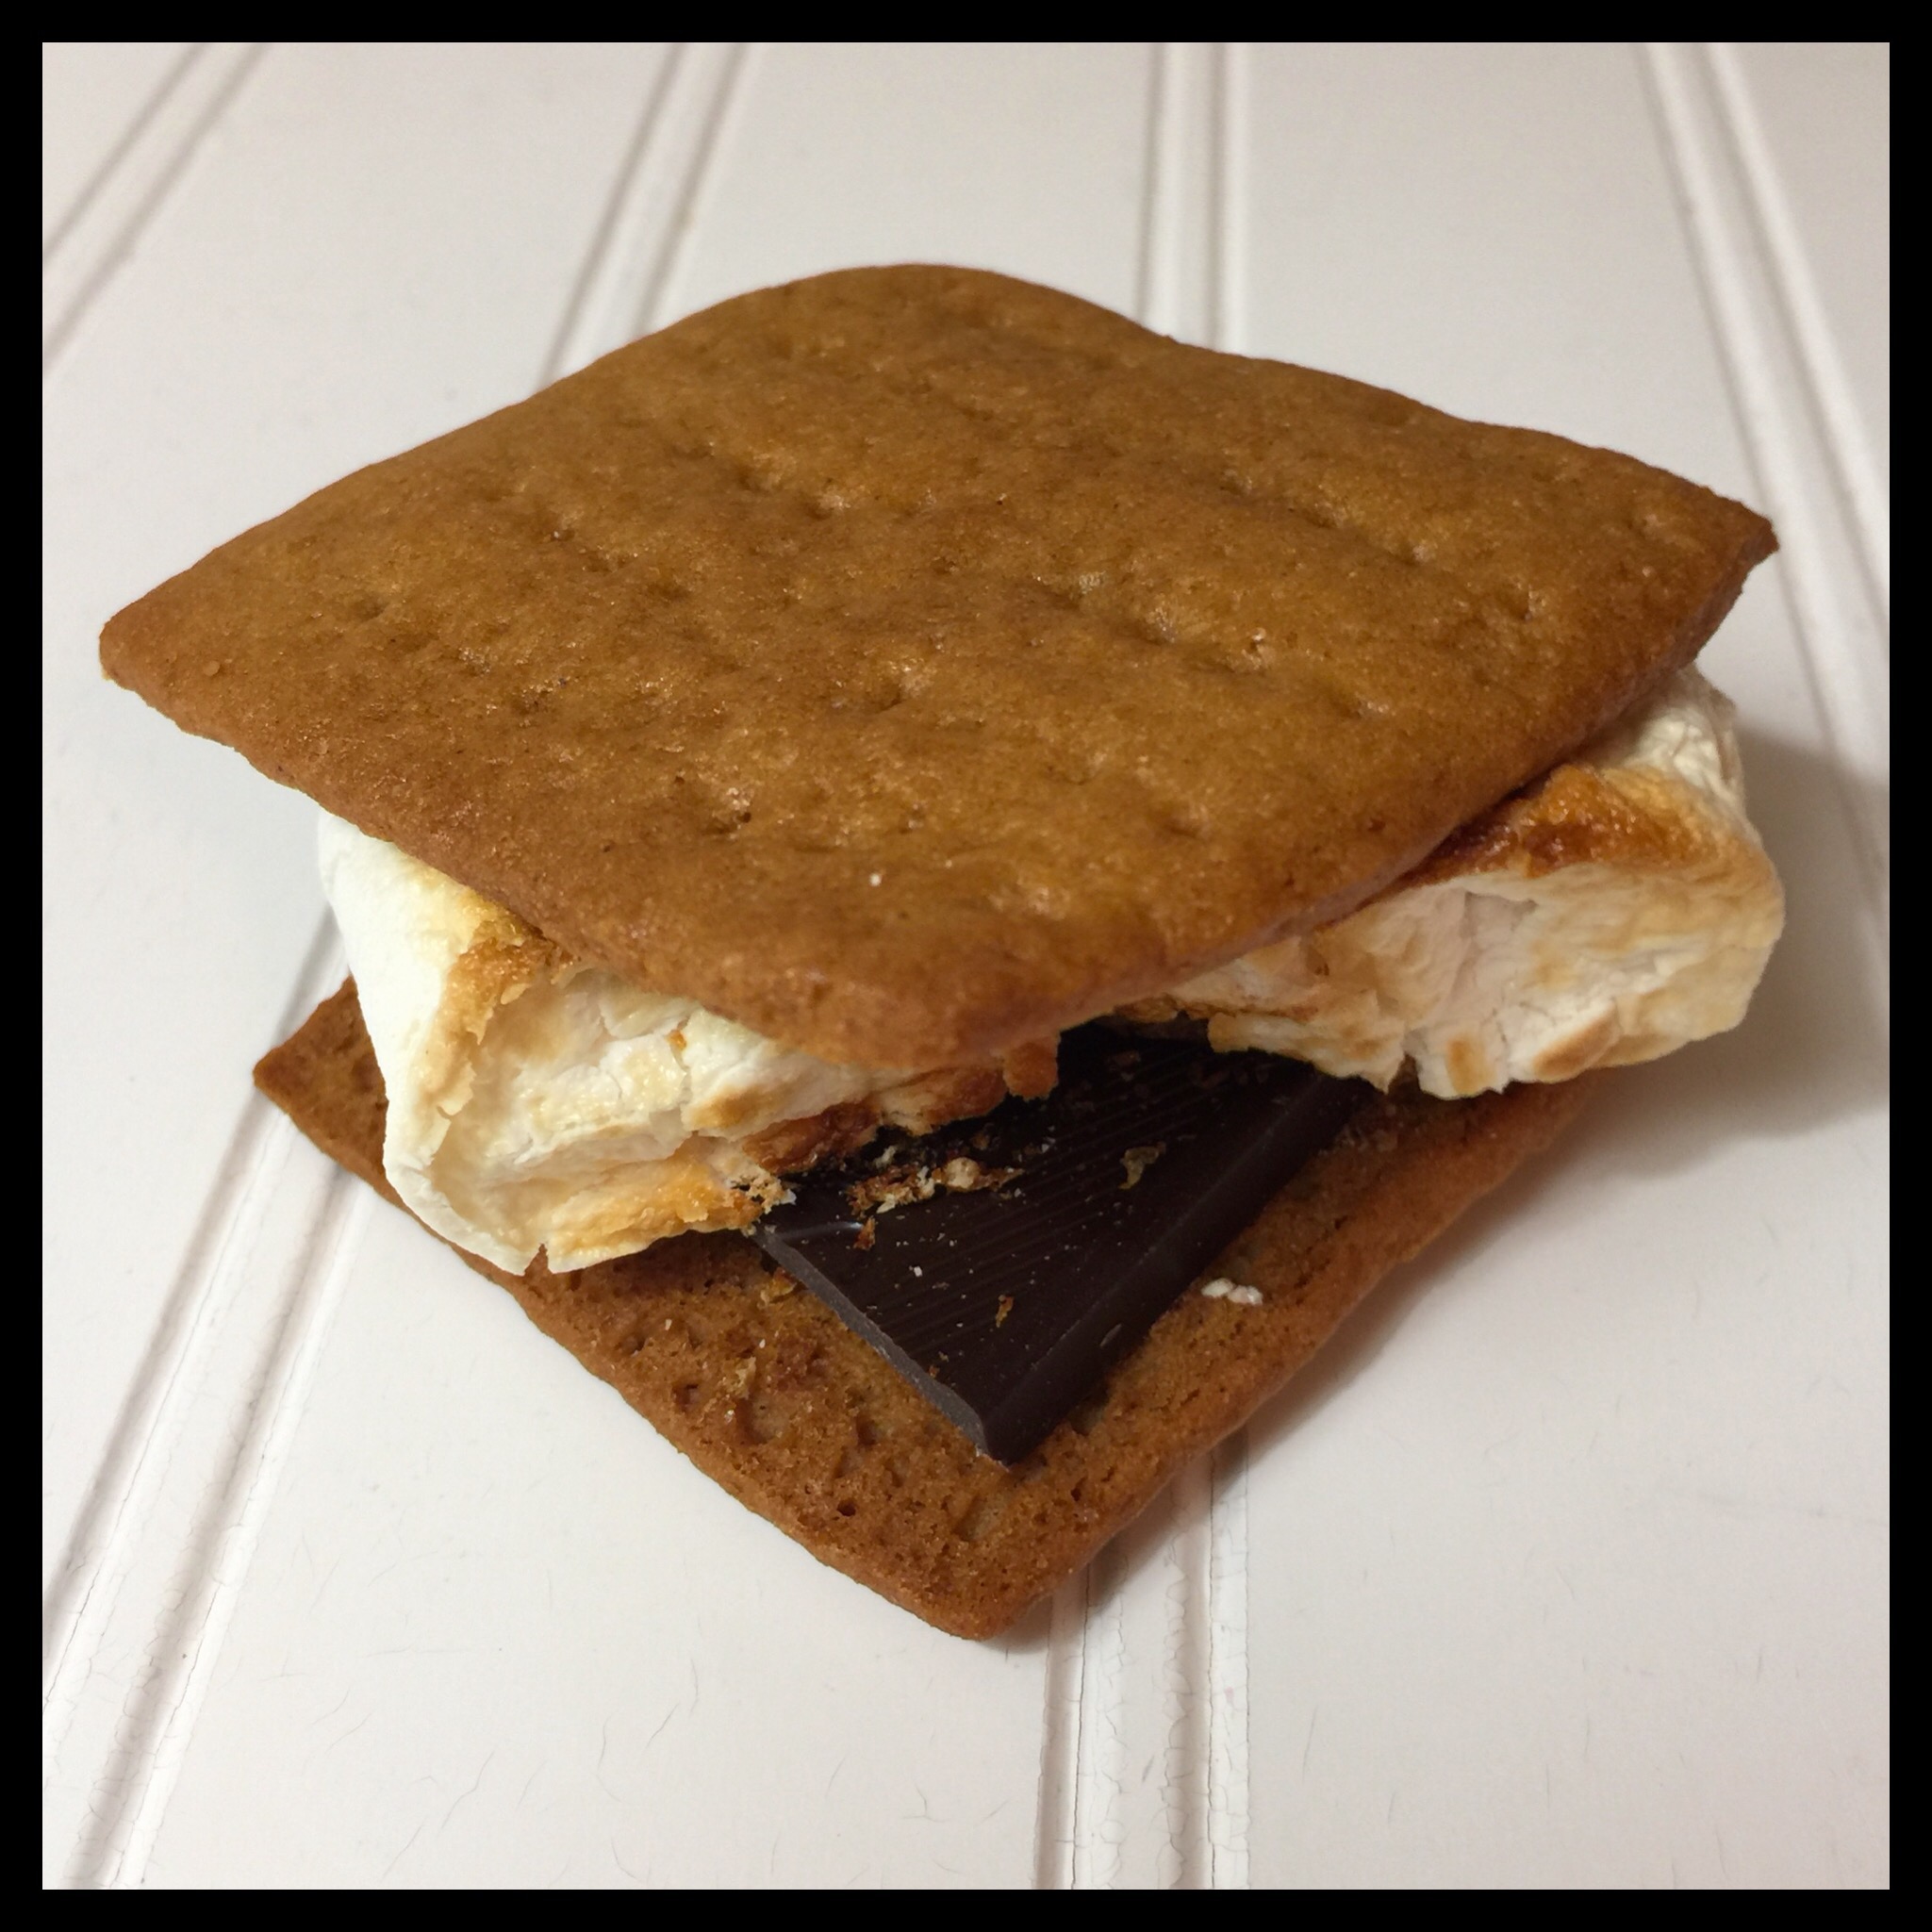
Dandies marshmallows and these little chocolate bars from Aldi make perfect S’Mores!
Enjoy!

Vegan (& Gluten Free) Honee Grahams
These amazing graham crackers are light and crispy with a lovely honey vanilla flavor!
Ingredients
- 385 g (3 c) Gluten Free or All Purpose Flour (see recipe notes)
- 165 g (3/4 c packed) Vegan Dark Brown Sugar
- 5.0 g (1 tsp) Baking Soda
- 4.8 g (3/4 tsp) Salt
- 113 g (1/2 c) Vegan Butter
- 85 g (1/4 c) Vegan Honee
- 90 g (3/8 c) Soy Milk
- 15 g (1 TBS) Vanilla Extract
Instructions
-
Add the flour, vegan dark brown sugar, baking soda, and salt in the mixing bowl of a stand mixer. (I have not made this recipe without a stand mixer, but I think you could whisk the dry ingredients and then mix in the wet ingredients by hand with a very sturdy spatula.)
-
Mix on low speed until well combined. Remove the bowl from the mixer stand.
-
Add the vegan butter (I use Earth Balance), then use two knives to cut the butter into 1/2″ pieces. Toss to coat the butter pieces with the flour mixture. Put the bowl in the freezer for 20 minutes to get the butter very cold, then start mixing on low speed. Increase the speed to medium, and continue mixing until all of the butter is in small bits.
-
Add the honee, soy milk, and vanilla. Start mixing on low speed, then increase to high speed, and mix until the dough comes together.
-
Divide the dough into two equal pieces. This is very easy to do with a scale! Shape the dough into two rectangles, wrap them tightly in plastic wrap, and chill them for at least two hours (and up to two days).
-
Once the dough has chilled, unwrap one piece and place it on a 20” long piece of waxed paper. Cover it with another piece of waxed paper. Start rolling out the dough, then gently peel off the top layer of waxed paper. Cut the edges of the dough and rearrange the cut off pieces to get your dough back into a proper rectangle. Roll the dough out a bit more, and measure it to see how close you are getting. You want to get to a perfect 10” x 16” rectangle. Carefully peel off the top layer of waxed paper, then replace it, and flip the dough over. I do this because wrinkles tend to form on the bottom and they will make your dough tear later if you do not take care of them before they get too deep. Peel off the now top layer of waxed paper very carefully, then trim and reshape your rectangle again. Continue rolling out and reshaping your dough until you have a perfect 10” x 16” rectangle with squared off corners. I know this sounds like a lot of work to do, but it really is not difficult and only takes about ten minutes.
-
Transfer the dough (still on the waxed paper) to a baking pan and pop the pan in the freezer for 30 minutes.
-
Preheat your oven to 350 degrees Fahrenheit. Remove the dough from the freezer and transfer it back to your work surface. Peel off the top layer of waxed paper, replace it, and flip the dough over. Cut the dough into 24 squares, then transfer the squares to a parchment-lined baking sheet. (They should not be difficult to transfer. If the dough is too soft, return it to the freezer to firm up.) Use a fork to poke ten sets of holes in each piece.
-
Bake for 16 to 17 minutes at 350 degrees Fahrenheit. Immediately cut between any crackers that have baked together to separate them. Cool for several minutes on the pan, then transfer your graham crackers to a rack to finish cooling.
-
Roll out your second piece of dough and repeat the above instructions. You can also freeze the dough for several months, or cut out fun shapes.
-
Store your baked graham crackers in an airtight container. You can also freeze them in a Ziploc bag for several months.
Recipe Notes
- The dough is very easy to make and it comes together in minutes. The only slightly challenging step is rolling the dough out to the right thickness, so look at the photos on the blog post to see exactly how to do it.
- The honey flavor comes from homemade vegan honee. It is so easy and inexpensive to make! (You can substitute agave or maple syrup, but either one will change the flavor of the graham crackers.)
- I used Bob’s Red Mill 1:1 flour. The dough was stickier than it is with my own flour blend, but otherwise it worked very well in this recipe and I was quite pleased with the result. You should be able to use any gluten free flour blend that has xanthan gum already added if you can’t find this one. I highly recommend weighing the flour, however, because different flour blends have different densities, and measuring flour is inaccurate anyway. If you do measure, spoon the flour into your measuring cup, then level it with a straight edge. This recipe should also work with all purpose wheat flour.


Hi Deb,
I’m going to make your GF honee graham crackers but I want to make it with your flour mix. Do I still use the same recipe above and just replace your flour and do all the qtys all stay the same or is there a different recipe that I should follow?
Thank you.
Regards,
Milanka
I use the same recipe and just use Freely Vegan flour instead of the Bob’s, and they are even better!
Deb, Also can these graham crackers be ground up with some butter and used as a pie shell?
Definitely!